This is a brief, shortened version of my recipe for experienced bakers or people who want to see how it’s done without all the description. If you’ve never made sourdough bread before, you should read the long version to understand more fully what you are doing.
This is a one day recipe, without a 24 hour cold ferment, but you need to start it around 8am if you want bread by dinner time. It makes a 1 kg loaf, I usually use an oblong 1kg banneton.
Ingredients
100 grams of levain (started the night before) 350 grams of water 500 grams of all purpose flour 10 grams salt
Method
In a large mixer bowl, put warm water, stir in levain, and add flour.
Attach dough hook and mix on low – medium for a few minutes until well mixed.
Remove dough hook and leave in the bowl, then cover bowl loosely with plastic wrap and leave for 30 minutes.
Re attach dough hook, add salt, and mix on low-medium for about 4-5 minutes.
VERY lightly oil a large bowl, put dough in bowl, cover loosely with plastic, and put in warm place to rise. I put mine in my oven on “Proof” but you can also put it in the oven with the light on and that usually keeps it warm enough.
Set timer for 30 minutes, and then do a Stretch and Fold. (See the complicated post for photos on how to do this. It takes about 10 seconds to do.)
Repeat this process every half hour for 2 hours, for a total of four “Stretch and Folds”.
Leave in oven, lightly covered for another 2 hours. Can be longer, but dough needs to have a good rise. This can vary a LOT depending on the strength of your starter, the warmth of your kitchen, and many other little things. It can take time and experience to know when it is “ready.”
When the dough is sufficiently risen, turn it out onto a floured board and try not to deflate it too much.
Let it sit, covered with a tea towel, for 15-20 minutes.
Do your first loaf forming – long or round, depending on what you are cooking it on. (See the long version of the recipe for more info, and watch the video in the link. This take practice to learn not to deflate it while still creating tension on the loaf.)
Leave it for another 15-20 minutes then repeat the formation of the loaf.
Flour a 1 kg size banneton very well and put loaf into banneton, seam side up. Cover with tea towel, and put in warm place to rise for 2-4 hours.
When the loaf looks like it’s almost risen enough, preheat your oven, and baking stone or cast iron pan to 500° for 45-60 minutes.
About 5-10 minutes before you are going to bake, put a baking tray (old 9×13?) in the bottom of your hot oven and carefully pour in 1-2 cups of water. Close oven and allow the steam to build.
When you’re ready to bake, put a sheet of parchment on a cutting board and trim the corners of the parchment a little because they get a bit “toasty” in the hot oven.
Loosen the edges of the loaf a little to make sure it’s not sticking to the banneton, then turn out your loaf, upside down, onto the parchment.
Have a sharp knife handy to score the top of the loaf before you put it into the oven. Don’t dawdle, you want to score and get it into the oven quickly before it deflates (See full recipe for ideas on how to do this. This is another thing that takes practice.)
Pick up the cutting board and carefully slide the loaf and parchment onto the stone in your very hot oven. Be careful! I usually hold the board with one hand and grab the parchment and drag the loaf onto the hot stone.
Close the oven and immediately turn the temperature down to 450°.
Bake for 20-21 minutes, or until internal bread temperature on instant read thermometer is about 200°.
Remove loaf to a cooling rack and try not to cut into it for as long as you can. Good luck.
VERY Rough Time Frame Example
The night before, mix about 75 grams warm water, 75 grams AP flour, and a big spoon of starter from the fridge. Cover lightly with plastic and leave on the counter overnight. It should become bubbly levain by morning
8:00 Mix water, flour, levain, leave to sit 30 minutes 8:30 Add salt, and mix again, put in bowl in warm place 9:00 Stretch and fold #1 9:30 Stretch and fold #2 10:00 Stretch and fold #3 10:30 Stretch and fold #4 12:30 Remove from oven, dump onto floured board 12:50 Form loaf roughly 1:10 Form loaf again, put into banneton, let rise 2-4 hours If you want to do a cold ferment, after the loaf has risen, cover it lightly with plastic wrap and put it into the fridge for 12-48 hours. Then bake as usual. I have found it tends to stick to the banneton when I do this. 3:30 Preheat oven and stone to 500° 4:20 Add water in pan to create steam 4:30 Bake loaf for 20 minutes
Equipment Needed
A baking stone for an oblong loaf, or a large cast iron pan for a round loaf. I have not made a 1kg loaf in a round pan so I don’t know if the recipe might need to be cut down to 750 grams or ?. Google it. 🙂
Large bowl or large plastic container for proofing (rising)
A banneton – 1 kg oblong, or whatever size round. When I first started, I found a random basket that looked about the right size, and lined it with a light tea towel and floured it REALLY well. It wasn’t bad, but a banneton is better.
A flat cutting board
A very sharp knife, or a razor blade for scoring
Parchment paper
An instant read thermometer is nice – no guessing if the bread is ready that way.
An old 9×13 or ? baking pan to act as a steam tray in the bottom of your oven
You can make this without a mixer, doing it by hand, but just skip the mixing part and maybe do more stretch and folds. I have used my mixer for so long that I can’t remember exactly what I did before. 🙂
Every time I make bread, I mix up some starter with flour and water and leave it overnight. This is my “levain” that I use to make bread the next morning. I take some of that levain for bread and then throw the rest away.
I hate throwing away perfectly good levain so sometimes I add it back to my starter in the jar, feeding it with a little more flour and water. I can’t do this indefinitely though, because the jar gets too full, so I’m back to the same problem, what do I with with leftover starter/levain?
I’ve tried making pancakes and english muffins, with mixed results, but then I tried a cracker recipe I found on King Arthur’s Flour website (a kick-ass website by the way – check it out!). The original cracker recipe can be found here, but here is my adapted version.
Sourdough Thyme and Parmesan Crackers.
Ingredients
110 grams all-purpose flour (about 1 sifted cup)
1/2 tsp salt
250 grams unfed discard starter or levain (about 1 cup)
60 grams melted butter
~1 tablespoon olive oil
~1 tablespoon dried thyme
Freshly grated pepper (sorry, I haven’t measured this – maybe 1/2-1 tsp?)
1+ cup grated fresh parmesan (I don’t measure this so I’m guessing a little)
(I sometimes also add a cut of finely grated cheddar.)
Olive oil for brushing
Coarse salt for sprinkling on top
Instructions
In a bowl, mix together the starter, salt, melted butter, olive oil, thyme, and parmesan.
Stir in the flour, and knead the dough lightly on oiled countertop until blended. You should have a smooth, but not sticky dough. Adjust amount of flour depending on the humidity. I live in a very dry place, so this amount of flour works well for me.
At this point you have a couple of options – you can leave the dough on the counter for a few hours, lightly covered with plastic, and let it rise a bit and then put it in the fridge overnight, or longer, until you’re ready to make your crackers. Or you can wrap it up and put it in the fridge right away. You can even roll out the dough and make your crackers immediately if you want to, although I prefer a minimum 24 hour ferment.
When you’re ready to make your crackers, preheat your oven to 350°.
Tear off a piece of parchment about the same size as a large cookie sheet.
Lightly flour the parchment and your rolling pin. If needed, add a little more flour as you roll out the dough.
Take about 100 grams of dough and roll it out until it is approximately 30cm square. These amounts and dimensions are very rough, mine is never a square, but I’m giving them to you so you realize how thin to roll it out. It’s VERY thin. Once you have the idea, you don’t have to weigh/measure. Turn over as necessary so you lightly flour underneath if it gets sticky. (This recipe makes approx 400 grams of dough so, that means 4 trays of crackers to bake).
Brush the rolled out dough liberally with olive oil, then sprinkle with coarse salt. Note: Lately I’ve been grinding coarse salt into some olive oil and brushing the salty oil onto my crackers. It seems to salt them a little more evenly and help the salt to stick.
Use a knife or a pizza cutter to cut the dough into strips, then across into squares, any size you want. I usually do about 2-3cm squares,
Prick each cracker with a fork a couple of times. (I’m sometimes too lazy to do this and it doesn’t seem to make a bit difference).
Now gently slide the parchment onto your cookie sheet. You don’t have to separate the crackers before they are cooked, they’ll shrink and pull apart all on their own.
Bake for 14-15 minutes, but watch them carefully. The outside, and/or thinner crackers will brown faster, so you may have to pull some of them out earlier. *See photos below. They should be very lightly browned when they are ready.
Let cool on a rack and try not to eat them all at one sitting.
This recipe is really just a guideline – experiment with different flavours, different herbs, cheeses, flours etc. Try long ferment 2-3 days. Try warm versus cool ferment. Try different types of olive oils etc. There are so many options!
Another levain note: If you aren’t making bread, I think you can probably make these with a cup of starter straight out your jar. I haven’t tried it but the original recipe says you can. Or you can make some levain the night before by adding 1T of starter to 125 grams of water and stir in 125 grams of flour. Cover with plastic, and leave on the counter over night. Voila, you have 250 grams of levain!
Here are a few photos of the process. Got any questions? Ask away!
Levain in the morning
Levain, butter, oil, thyme, pepper, parmesan
Adding the flour to the dough
Ready to rise or go into the fridge
100 grams of dough ready to roll
Rolled out thin, approx 30cm square
Brushed with oil, salt, and cut with pizza cutter
About 10 minutes in, I pull out the brown ones on the edges
Recently my 20 year old son damaged his passport while travelling in Thailand and we were suddenly swept up in a flurry of activity trying to figure out what to do in this situation. A google search didn’t turn up any useful, current information on how to replace a Canadian Passport when abroad, so I thought I’d write about the process we followed, in order to help others who might find themselves in a similar situation.
First of all, the obvious:
Look after your passport carefully! Always know where it is. Keep it in a very safe place – locked up or in a safe place on your body – and after this experience, I recommend having a waterproof case or tuck it into a ziplock bag at the very least. I’ve always been fairly careful, but other than walking the Camino, I’ve not considered keeping my passport in a waterproof case. This experience has made me rethink things a little.
Also. make sure you have digital photos or photocopies of your passport and all of your ID and credit cards in the event they are lost or stolen, including leaving copies with someone at home. This will speed up the process of getting new ones should the need arise.
Typical Situations
There are three main scenarios – your passport is lost, it’s stolen (possibly along with the rest of your ID), or it is damaged in some way. This post will focus on replacing a damaged passport because that was our situation – replacing a lost or stolen passport is a little more complicated because you don’t have the original with you – however, I will provide links and info on dealing with lost or stolen passports as well.
Our situation
My son and his friend had been travelling in Thailand for about 6 weeks and although they were neophyte travellers when they left home, they now had some experience in a country that is very different from home. However, they were about to embark on a new adventure, a learning experience that I myself have not encountered in my eleven years of travelling, and we all learned a few things.
The boys arrived in Chiang Mai early in the morning on what happened to be the Thai New Year. While they waited to be able to check into their hostel, they wandered the streets, getting to know the city. They’d heard that the Thai people celebrate the new year by spraying one another with water guns but my son had no idea that he would ultimately be doused with water, soaking his passport. Unfortunately for him, his passport was not in a waterproof case, nor even a zip lock bag, so the damage was done.
And so, at midnight on a Friday night, I found myself getting an anxious text from my son, worried that he was going to be sent home to Canada when he tried to leave Thailand, instead of being able to continue his trip to Europe. I had no idea what we would have to do, but I was sure there was some way to get the proper paperwork that would allow him to continue on his trip, even if there might be some delays and costs involved. I got as much info from him as I could, and we both started googling. We learned that there was a Canadian Consulate in Chiang Mai, but it was a holiday long weekend, and it would not open until Tuesday morning. It was now Saturday afternoon in Thailand, and we realized that getting some temporary paperwork might take some time, so our biggest concern was his upcoming flight from Bangkok to Amsterdam in ten days.
Next I went to the Canadian Government website and found the passport pages. I carefully read the section on lost/stolen/damaged passports and was instantly glad he still had his current passport because that would make things a little easier. Meanwhile, he was reading the site as well and familiarizing himself with the process, as well as finding the location of the nearest Canadian Embassy (was actually a consulate in Thailand), and sorting his transportation options for Tuesday morning so he could arrive as early as possible.
At that point, he was content to wait until Tuesday to go in and sort things out, but I wasn’t so sure – if he waited to get things started on Tuesday, he would only have 7 days until his flight. That might be enough time but I wanted to make sure he walked into the consulate with everything he would need to get the process started right away in the event there were any unforeseen delays.
And so I decided to email the emergency services contact in Canada (sos@international.gc.ca) and ask for their advice and this turned out to be extremely helpful. Not only did they provide us with clear step by step instructions with links to documents he’d have to fill out, but they also let us know he’d need a copy of his original birth certificate if he wanted to get a 5 year passport instead of a 2 year (no ten year allowed in this situation), which of course, was still at home. My job was to take his birth certificate down to the passport office in Kelowna first thing Monday morning, and they would make a copy, send it off digitally to the consulate in Chiang Mai, and then give me a “Cosmos” file number which he was to quote when arriving at the Consulate the next day.
He would have to apply (and pay for) a new passport, as well as a temporary passport to use for the rest of his trip (maximum length of one year, no extensions). When he filled out the passport forms, he indicated that he wanted the new passport to be sent to the Kelowna Passport office so when he returned to Canada, he just had to go down to the passport office and trade in his temporary passport for his new one.
The following site lists some of the information you need to know if your passport is lost, stolen or damaged. It is a good starting point but I would also recommend emailing or calling the emergency number to get information specific to your needs. Your process could vary depending on what country you are in, and how close you are to a Canadian Embassy or Consulate.
When my son arrived at the consulate on Tuesday morning, he had:
* his friend, with his own passport, who would act as his guarantor
* two new passport photos, fully meeting requirements on application form
* full names and contact info of two people back home who would act as references (just as you would need for any passport application). He had contacted these two people in advance and asked them to have their phones nearby for the next few days in case they were contacted for confirmation by the passport office. We didn’t want anything to slow down the process.
* a method of paying for all of his new documents – there were fees for everything. In this case, he chose to use his credit card. His total costs came to just under $300 CAD.
* his plane ticket for the following week showing the date he was intending to leave for Amsterdam.
* the “Cosmos” file number I’d been given when I brought his birth certificate to our local passport office.
* in addition, we had carefully looked at all of the forms online and made sure he knew the answers to all of the questions on a standard passport form.
Once they arrived at the Consulate, took a number and waited their turn, the boys were given plenty of help filling out the forms, but the process took some time. When everything was done and paid for (I think he said he had five different forms to fill out), he was told everything would have to be sent to Bangkok for approval then returned to Chiang Mai and likely wouldn’t be back in time for his flight in 7 days. So they anded in the application forms and decided to jump on the train and head back to Bangkok early and pick up the temporary passport there once it was ready.
After another 12+ hour train ride, they were back in Bangkok, and heading to the same hostel they’d stayed on a previous trip because they thought it might be easier to get a room without a passport (it was.) The day before his flight left, they went to the Canadian Embassy in Bangkok to pick his temporary passport, and then had to wait around for a several hours longer to get the new passport stamped.
However, I still couldn’t relax until I knew he was finally on his way to Amsterdam. My son remembered to change the passport information when he checked in for his flight online, and he said it took twice as long to get through security at the Bangkok airport. They had two or three different officials looking over his temporary passport, as if they’d never seen one before. But in the end, he was on his way and luckily, they didn’t he had too much trouble with the temporary passport for the rest of his trip.
Useful Links and Forms for Canadians Abroad
If you do need to apply for a new passport while travelling and time is of the essence, read through the information carefully and make sure you have everything you need before you go to the Consulate or Embassy. They will provide you with forms to fill out, but you should find digital versions online and make sure you know what information will be required. For example, you will need to have full names and contact info for your two references as well as your guarantor – when you’re travelling, it’s not always easy to quickly get a friends’ contact info from afar. You will need get proper new passport photos taken. And you will need some way to pay for all of this. If you are leaving the country soon, you should also take your airline/train/? tickets with you to prove the urgency of your request.
I have provided direct links to the forms online but please be aware that things change and these links could eventually be outdated. It’s best if you go directly to the Canadian Government Passport website for up-to-date documents.
Passport Application Form (must be new passport application, not a renewal)
The following forms are available via email from Canadian Passport Services as well as from the Canadian Embassy or Consulate Offices.
Passport Exchange Agreement form – allows you to choose where you will exchange your temporary passport for your new passport. Our representative recommended having the new one mailed to our local passport office and exchanged when he returned home.
Form PPT116 if you have no birth certificate with you
Form PPTC132 if you are travelling alone and have no guarantor
**********
Also, in case you are interested, here is the email I received from the emergency services people, within a few hours of my sending my questions. As you can see, it was very specific to my son’s situation and it enabled him to be fully prepared when he arrived at the Consulate Office a few days later (sos@international.gc.ca) From Canada, you can also call 1-800-567-6868 (I’m not sure if that is business hours only or not.)
Thank you for contacting the Emergency Watch and Response Centre at Global Affairs Canada in Ottawa.
For a complete application, your son will have to provide the following:
Two passport pictures taken by a photographer in the last 6 months (those taken at photo-booths are not accepted). Please read carefully the instructions concerning the format of the photos. There are photographers near all of our offices
Please see below for a list of locations where passport photos can be obtained:
Name
Address
City
Digital Photo Shop@Central Airport Plaza
2 Mahidol; Haiyaa; Muang
Chiang Mai
Proof of imminent travel, in the form of a ticket or electronic confirmation
The Statutory Declaration in lieu of Guarantor, if you do not have an eligible guarantor in the country. Note that this declaration (which is not available online) must be signed before a Consular Officer, and that the references indicated on this form must differ from those on the Passport application form. You are being asked to provide a total of four references, whom we must be able to contact on the phone prior to issuing your travel document
Valid photo ID, or photocopies thereof, if available
The original of your proof of citizenship, i.e. a Canadian birth certificate or Certificate of Canadian Citizenship. If the original of this document is not with you but available to someone, please ask them to bring it, along with their own personal ID, to a Passport Canada office or a diplomatic representation of the Government of Canada. The document will be validated there and transmitted to us via secure electronic channels to form part of your application.
Please be advised that the issuance of a replacement travel document is entirely at Passport Canada’s discretion. Processing times may change depending on the volume of applications received and are not guaranteed. Complexity of routine verifications and security checks leads to longer processing times. Consular officials at the Consulate of Canada in Chiang Mai will be able to provide him with processing times once your son visits their office.
Should your son require any additional assistance, grateful if you could share our contact information with him. Your son can call us at the Emergency Watch and Response Centre (available 24/7) at 001-800-156-220-0142 (toll-free from Thailand) or reply to this email should he have any further questions or concerns.
I was also given the following information in another email.
** For all Passport services (including notarization of PPTC-132) at the Embassy in Bangkok or Consulate in Chiang Mai, no appointment is necessary. To submit these applications in person, please use our walk-in service. The Consular service hours are every weekday morning from 9:00 until 12:00 noon (except on embassy holidays). Check our website for information on business hours, public holidays and access map to the Embassy: http://www.canadainternational.gc.ca/thailand-thailande/contact-contactez.aspx?lang=eng&view=d
**The passport normal processing time is around 2-3 weeks including mailing system, please have him check his visa validity. In case he needs to travel sooner than 20 days, he may also need to apply for temporary passport which takes 3-5 working days to issue from the day we received all required documents and proof of travel. Kindly see the temporary passport exchange agreement attached. It would be faster if he goes to apply in person at the Embassy in Bangkok as the time for mailing back and forth between Chiang Mai and Bangkok is not counted)
And so we all learned a valuable lesson, and from now on at the very least, I will be slipping my passport into a zip lock baggie, regardless of where I travel. If you’ve experienced a similar situation, and have further information to share, please leave a comment below!
Water damaged passport – not his usual look.
Still enjoying Thailand while waiting for new passport
Tartine Bakery has a great Instagram feed and recently one of the bakers demonstrated the making of a Country Bread loaf, step by step. I have since adapted my recipe and have had better luck with the rise of my bread.
Her videos are so awesome and helpful that I will link them within the body of my post below. The only thing I do differently from her is that I have cut the recipe in half, and make a single 1kg loaf, and I make it an oblong banneton and bake it on a stone in my oven. The recipe and method in her video is the same.
Adjustments I’ve made:
When I first started baking sourdough bread, I was still working, so I adjusted the recipe (as per the cookbook’s guidelines) and gave it a long ferment overnight. That allowed to me get the timing right so I could work around my schedule. Now that I’m home all the time, I start my levain in the morning, mix, stretch and fold, ferment, and form my loaf in the afternoon, put the formed loaf in the fridge overnight, and bake in the morning. I will make note of these adjustments again, in italics, in the body of my post below.
Here is my original post:
In my last post, I explained how I made my own sourdough starter. Now here is the promised post on the process I follow when making a loaf of Country White Sourdough Bread. If you want to try it, you will have to adapt the recipe to work with your own climate and ingredients because temperature, humidity, and quality of flour all play an important part.
I think the most important variable is the flour. I am lucky to be using Canadian flour which has excellent success in bread making, because of its higher gluten content. I think in the US and the UK, you might want to try buying Bread Flour or Strong Flour. I don’t know a lot about it but I’ve read conversations on Sourdough Bread forums and there seems to be some agreement that Canadian All Purpose flour is best for bread making. My suggestion is that you do some research and find what is recommended for your area.
The following recipe is adapted from Chad Robertson’s recipe for Country Sourdough Loaf in his book, Tartine Bread. You can increase or decrease the recipe if desired. All measurements are given in grams because weighing ingredients is much more accurate than measuring by volume, especially for flour. That being said, you may still need to adapt a little depending on the warmth and humidity of your kitchen on any given day.
For the Science-y types (you can skip this part if you aren’t interested) This recipe is considered a “wet dough” at 77% hydration. To calculate you divide the total weight of the liquid in the recipe by the total weight of the flour. A wet dough is difficult to work with it takes time to learn how to handle it. You do not do the normal kneading with a wet dough, instead you Stretch and Fold several times throughout the initial bulk fermentation in order to develop the gluten which allows it to rise by providing resistance when the gas bubble rise.
How to calculate hydration, – divide the total weight of the liquid in the recipe by the total weight of the flour in the recipe.
i.e. 600g flour and 1000 g water would be 60% hydration.
425g (350 + 50 (in levain) + 25) water
550g (500 + 50 (in levain) flour
425 / 550 = ~77% hydration
My Current Recipe for a 1 kilogram loaf (I usually make an oblong loaf but you can also make it into a round boule if you prefer).
The night before – make your Levain (also called Leaven)
Make levain, just before you go to bed the night before:
1 T starter (approx) from the fridge (* see notes on starter on previous post)
100g flour (I almost always use white unbleached flour)
100g warm water
Stir starter into water. Stir in flour. Cover bowl loosely with plastic and leave on counter overnight. (In a pinch, I sometimes do this in the morning, then mix my bread dough in the afternoon.)
~ I now do this step in the morning. I take my starter out of the fridge, mix the levain, and leave it on the counter. By early afternoon, it is bubbly and ready to make my dough.
Bread Making Day
The earlier you start, the earlier you bake. From start to finish, can take as little as 8 hours of time, with only 30 minutes of combined work. However, these days I like a 24 hour ferment so I start the dough one day, and finish and bake the next day. (ie Mix levain Sunday night, make dough Monday, bake bread Tuesday)
~ I now do the mixing, stretching, folding, ferment, and loaf forming, in the afternoon/evening of the first day.
Here’s a VERY rough timeline, but only if things work exactly right. It’s also very flexible.
2 1/2 -3 hours – for initial mixing and “stretch and Fold” – you need to be free for a few minutes every half hour during this time.
2-24 hours – Bulk ferment for a few hours on the counter, or 24 hours in the fridge.
1/2 – 1 hour – You must be around to shape and rest the dough a few times before you form the loaf.
1 – 1 1/2 hours – 30-60 min to preheat oven, and half hour to bake the bread.
Tools I like to Use
Kitchenaid mixer with dough arm (you can do this by hand of course)
digital scale (quite important)
plastic tub for proofing the dough, VERY lightly oiled (I sometimes use a glass bowl)
1 kg banneton proofing basket (natural cane) (or a basket lined with a light tea towel, or even a bowl bowl lined with a cloth, well floured)
fast read thermometer
parchment paper
rectangular baking stone
rubber spatula
cutting board
sharp knife or razor blade
I broke this baking stone in two pieces but it still works fine
Digital scale, 1 kg banneton, fast read thermometer, cutting board (yeah, I should have wiped down the scale before I took that picture. 🙂
Ingredients
350g warm water in a large bowl (I use the warmed bowl of my Kitchen Aid)
100g levain, made night before
500g white flour (or mix of flours)
10 g salt
Method
Weigh 350 grams of water into a mixing bowl. I use my kitchen aid mixer bowl.
Stir 100 grams of prepared levain into water. (Put the rest of the levain to your starter jar in the fridge).
Stir in 500 grams flour and then scrape down sides of the bowl with rubber spatula. I usually do this step in my mixer with the dough hook for 2-3 minutes.
Lightly cover bowl with plastic and leave on counter to rest for 30 minutes. This is called “autolysing” when the flour cells fully hydrate and the cell walls begin to break down. It also develops to gluten bonds without having to knead the dough, and the dough becomes stretchier so it rises higher.
Add 10 g salt, wet your hand, and mix it in. It won’t stick to your hand much if you wet it first. I also do this with the mixer now. I usually let is mix with the dough hook for 3-4 minutes.
The photo makes it look like it’s moving fast, but I actually have it on the lowest speed.
Here is the Tartine Bakery IG videos for this first “mixing” steps.
Place dough in large plastic container (or glass bowl) and cover loosely. I use a tall plastic container that I oil very lightly then wipe down. I sit the lid on top but don’t close it airtight. If I’m using a glass bowl, I cover with a cheap plastic shower cap.)
Leave container in oven with light on to keep warm for the 3-4 hours for bulk fermentation, and door propped open with wooden spoon so it doesn’t get too hot. I’ve done this by trial and error so obviously it depends on the temperature of your room and your oven light etc. Main goal, find a nice warm spot.
Instead of kneading, do the “Stretch and Fold” technique (see photos below) every 30 minutes for first 2 hours, and then just leave it alone for another 2-3 hours. I like to mark the dough level with non-permanent marker to see how much it rises and aim for double.
Wet your hand, and slide it in under the dough on one side, grabbing it from the bottom
Lift that side of dough up high to stretch it out
Pull the stretched dough across the top and fold it over. Turn the tub a 1/4 turn and repeat on each side of the tub. Return tub to warm spot.
Dough should rise almost double by the end of 3-4 hours, leave longer if necessary. When I first started making sourdough, it needed longer to rise, but now that my starter is very active, it’s usually ready in 4 hours total (including the stretch and fold part).
Almost doubled, but not quite
Here is the Tartine Bakery IG videos for the “Stretch and Fold” Steps.
If you want to make bread the same day, you are now ready to form a loaf, but I prefer to let my dough ferment 24 hours and ‘retard’ it by putting the tub of dough into the fridge after 3-4 hours of rising and leaving it overnight. This will allow you to delay baking but will also make your bread taste more sour. The next day, about 4-6 hours before you’re ready to bake, take the tub out of fridge, leave it on the counter, and let it reach room temperature (several hours sometimes). Then let it finish rising for another 1-3 hours or so before forming loaf. That is the process I use now.
To form your loaf, turn the dough out onto lightly floured board.
Fold in half, floured side out. Shape into a very rough round or oblong. You need to handle this dough very lightly and carefully so as not to deflate it too much. Also, remember it is a very wet dough so too much handling means you need to add too much extra flour which changes the structure of the loaf.
Dough dumped out onto counter after fermentation
Cover with towel and let rest about 20 minutes.
Lightly flour top of dough and the table, and then flip the dough.
Form loaf with 4 folds, one pull on each side. Pinch seams, flip, and tighten top.
Rest for 5-10 minutes.
If the dough spreads too much and is losing its shape, repeat the flip/fold/form loaf process to tighten it up. Repeat if necessary.
Once it’s formed, put into a well floured banneton or basket lined with a floured tea towel. Use lots of flour so it doesn’t stick when you’re turning it out later.
Cover with towel and slip into a loose plastic bag, and let rise 2-4 hours. Again, I cover the bag with a towel and keep it in the oven with the light turned on, door propped open.Tartine Bakery has excellent videos to show you how to pre-shape and then form your loaf. (Because she makes double the dough that I make, she has to cut it into two pieces first.)Tartine Bakery Video #5 – Preshape Loaf
Preheat large baking stone in oven at 500° for 60 minutes (sometimes I’m short on time and only preheat for 30-45 min)
Dump 1/2-1 cup of water into bottom of oven to create steam, or put tray in bottom of oven and pour water into tray. Be careful not to let water splash on baking stone or it might crack (mine did).
Lay piece of parchment out on cutting board. Flip the cutting board and parchment over the top of the banneton and then flip the whole thing over so the banneton is now upside down on the board (See photos below). Gently lift the banneton off the loaf, shaking a little of necessary. This is when you find out if you floured it enough.
Very quickly slash with razor blade or very sharp knife. Watch videos online beforehand to learn how to do this if needed.
Open oven, watch out for the steam, and quickly slide parchment and loaf onto the hot stone. Close door quickly. Turn oven temp down to 450°.Tartine Bakery has not yet posted their final video for this series but I will link to it, once they do.
Parchment over risen loaf in banneton
Cutting board over parchment
Flip all three items
Carefully remove banneton. This is when you find out if you’ve floured the banneton well enough. Don’t worry about the excess flour on the loaf.
Score loaf with a sharp knife or razor, and then slide the parchment and loaf into the oven onto your preheated baking stone.
Bake 20-25 minutes, until 200° degrees internal bread temp
Remove from oven and cool on rack.
Cool on rack before cutting. If you store it in the open, the crust stays thick and crusty – put it in a plastic bag, the crust goes softer. I prefer it crusty so I turn it cut side down onto a cutting board and leave it on the counter for up to 2-3 days. Otherwise, I slice the entire loaf and store it in the freezer in a zip lock bag and then take out a couple of slices each day.
If using cast iron combo cooker (must be a round loaf, 750g max size – message me if you want adjusted recipe for 750 gram loaf)
Preheat combo cooker in oven at 500 for 20 minutes. It’s not necessary to add water to oven as the steam is created within the closed pan.
Take fry pan piece out of oven (BE CAREFUL!), or pull shelf out so you can put bread on easily.
Put bread dough into fry pan piece – parchment not needed. You could dump dough onto cooker and then slash with razor and skip the parchment/cutting board step.
Cover with the frypan and dough with the pot piece of the cooker.
Return closed pan to oven and bake for 20 minutes
Carefully remove lid from pan and close oven again. Loaf will be light coloured and a little glossy from the steam.
Bake another 10-20 minutes until bread is brown and internal temp is 200 degrees.
Books and Websites
Tartine Bread – by Chad Robertson
This is my favourite book. It’s a perfect balance of science, detailed explanations, and recipes all bound up in a beautiful book. It was expensive – a gift to myself – but I love it.
Artisan Breads Every Day – by Peter Reinhart
Quite a few decent recipes in this book.
This is also a lot of info and some good recipes on the following sites.
At some point in 2014, I decided I wanted to try to make my own sourdough bread, with my own starter. I had read some interesting articles on the science of sourdough, suggesting that the human body can digest homemade sourdough bread more easily, primarily because wheat proteins and gluten are partially broken down during the long (24 hour or so) fermentation process. Also, according to some research, sourdough is less likely to cause weight gain in the same way that eating high glycemic white bread does. Since I was trying to eat fewer “white” carbs, it seemed like something worth trying.
I’ve read conflicting research on the validity of these claims, so I still don’t know if it’s 100% true (I’ve posted links to a few articles below, but go do some research for yourself), but I do know that my homemade sourdough bread is made from unbleached white flour, water, and my own starter, so it is additive and chemical free. And even if it will still make me fat, it sure does taste good!
Creating my own starter was a long, time consuming process. The concept is that you mix flour and water and leave it on the counter to capture and grow wild yeasts. Whether those wild yeasts are found in the air, or in the flour itself (or more likely a combination of both), is still open to interpretation, but it took me several months to finally get my own starter going. Hopefully, with these few tips, yours might get active more quickly.
White flour on left, rye flour on right
Ultimately, I found that rye flour was much more likely to grow an active starter, and even now, when I want to quickly activate starter that’s been sitting in the fridge for too long, I take it out and feed it with rye flour several times a day until it’s back to its normal, bubbly self.
The second trick that seemed to help, was to mix in a little fruit juice at the beginning of the process. One website had recommended pineapple juice, but since I didn’t have any in the house, I tried a few tablespoons of orange juice. Whether this helped, or whether it just happened that I added it right when my starter was already going to start getting bubbly, I’ll never know, but at any rate, it finally worked. After about a week of this third try, I had a nice bubbly starter that had a sweet, yeasty, almost beer-like smell. I was finally ready to try my hand at making an artisan loaf with no store bought yeast.
My first loaf wasn’t too bad
For the past three years, I’ve made many loaves of varying sizes and success rates and I think I’ve finally nailed the perfect recipe for me. I’ve read a lot of books and websites dedicated to the perfect recipe and I’ve found baking good sourdough is definitely an art, combined with a science, and multiplied by experience. I am still learning, but with the exception of one hard piece of unrisen “bread” which I tossed in the garbage, even my worst loaf has been tasty.
I do find that the weather plays a big part, the temp and humidity in particular. It’s also true that Canadian flour is better for bread than US flour because it is ‘harder’ – has more gluten – which gives the dough more structure and allows it to rise better. I believe in Britain it is called ‘strong’ flour and in the US it’s called ‘bread’ flour. However, Canadian all-purpose flour is still considered better for baking bread than flour from both the US and the UK.
I leave my starter in a jar in the fridge until I want to make bread. Then the night before, I bring it out, let it warm up, take what I need (usually about 1 tablespoon), ‘feed’ the rest, and put it back in the fridge. Starter is a living organism and needs to fed regularly with fresh flour and water. Keeping it in the fridge halts the growth and allows you to go for weeks (and sometimes months) without feeding it. If you leave it out on the counter all the time, you have to feed it every day which I feel is wasteful, unless you make bread every day or two.
To feed your starter, take 1-2 T of your old starter, add equal parts water and flour, and stir. I like slightly more water when using rye flour (because it’s very dry where I live and our flour is very dry) so that I get a thick pancake-batter like consistency. When feeding with white flour, I use equal parts (by weight) of flour and water.
Pour the fed starter into a clean jar, put the lid on, and keep it in the fridge. I used to measure it all exactly but now I just estimate. You can find info on feeding your starter in the links below. If my starter seems a little inactive, I use rye flour, and if it’s active (bubbly), I use unbleached white flour.
If I’m not going to make bread for a few months (like in summer when it’s too hot to have the oven on at 500° for more than an hour), I take the starter out of the fridge at least once a month, dump most of it, feed the rest, and leave it on the counter to activate. In the morning, I repeat this process. If it’s really active, I just feed it that morning and put it back in the fridge, but if it’s slow, I repeat the feeding process several mornings in a row, leaving it on the counter lightly covered with a plastic bag. Once it’s active, I feed it again and put it back in the fridge for another month.
By the way, if you leave your starter in the fridge for a long time, don’t worry if it has a layer of liquid on the top. You can stir it in or drain it off. I’d only toss the starter if it went moldy which hasn’t happened to me yet.
Sourdough Starter Creation Timeline Nov. 2014
This is what process finally worked for me. It was my third attempt, in a jar, lightly covered with plastic, kept in oven with light on and door propped ajar with a wooden spoons which kept a constant temperature of 25-27C. (I had a thermometer to check the temperature).
Nov 12 – 10am started with 2 T rye flour, 2 T OJ and added same amount again at 9pm Nov 13 – 6pm add 2T rye, 2 T OJ Nov 14 – 6pm 2T rye, 2 T pineapple juice (some bubbles showing) Nov 15 – 4pm, Kept 1/4 cup starter, threw away the rest, and added 1/4 cup water, scant 1/4 cup rye flour, (bubbly 1cm rise) Nov 16 – 4pm – all the starter (115 grams) into clean bowl. Add 60 gr rye, 65 gr water
– return to clean jar and marked the level on the jar to watch for rise. Nov 17 – 7:30am – 1cm rise. I took 100 gr starter and added 60 gr rye flour, 65 gr water in a clean jar
– 6:00pm – 1cm rise. 50 gr. starter, 100 gr. water, 80 gr. rye flour
– 2nd jar – 50 gr starter, 100 gr. water, 80 gr. white flour Nov 18 – 7:30am – 50gr starter, 50 gr water, 25-30 gr rye flour (or white/rye mix)
– 6:00pm – 50 gr starter, 50 gr water, 25-30 gr flour (mixed, put in fridge) Nov 19 – 9:00pm fed one batch and made leaven for bread with the other Nov 20 – made first loaf of bread – turned out well
I have continued to make bread off and on since then. For the first year, it was a bit hit and miss – partly due to new starter and partly because I was trying out different recipes. But for the past 18 months, my bread has been consistently good.
I keep two jars of starter in my fridge – one straight rye flour because rye is the most reliable and seems to keep the longest. The second jar is unbleached white flour. In winter I make bread about once a week but in summer, I make it less often. Because I travel a lot, my starter sometimes sits in the fridge for over a month without any feeding or care but it always seems to survive. When I get home from a trip, I stir in any liquid sitting on top, feed it some flour and water, and leave it on the counter until it doubles. Then I dump some out (or bake bread), feed the rest and put it back in the fridge. I feed the rye starter once a month at most.
Drying and Freezing Starter
This year, in June 2018, I decided to try drying and freezing my starter to see if it would retain potency when reconstituted. I smeared a spoonful of my rye starter on a piece of parchment and waited for it to dry. Then I put the dried flakes of starter into a zip lock bag and threw it into the cupboard for a month. I also put several spoonfuls of my white flour starter into a plastic container and put it into the freezer.
One month later, I took one of the flakes of dried starter – maybe a piece about 1cm X 2 cm – and put it in a bowl with a little warm water until it softened up. I stirred it a bit and added about 1 tablespoon of rye flour and a little water. Then I left it on the counter and watched for some growth. After a day, nothing seemed to be happening. I added in the rest of my dried starter and waited another day but nothing. So for me, drying starter doesn’t seem to work but I might give it another go at some point.
I also pulled out the frozen starter and left it on the counter to thaw and warm to room temperature. I stirred in 1 T warm water and 1 T white flour and then watched it for growth as well. Within a few hours, it started to bubble and was clearly active. I left it for 24 hours, fed it again, left it on the counter for another half day, then put it in the fridge. At some point I will try making bread from it and see how it compares to my regular starter.
So – that’s everything I have in my brain about sour dough starter. My next post will be about actually making bread – including my recipe, my method, and the tools I find useful. If you make sourdough, let me know how your experiences compare!
ETA: April 2020. I’ve been giving away my starter to friends as people become more interested in baking with sourdough during the COVID Pandemic and yeast is hard to find. Someone asked me if my starter had a name and so I named it after my great great grandmother who likely baked bread with sourdough starter. If I had another daughter, I would call her Charlotte (Lottie), and so I’ve named my starter “Charlotte”. My Charlotte was born in November 2014. 🙂
Useful Links
The Fresh Loaf – Starter Recipe and lots of great info on the forum and website
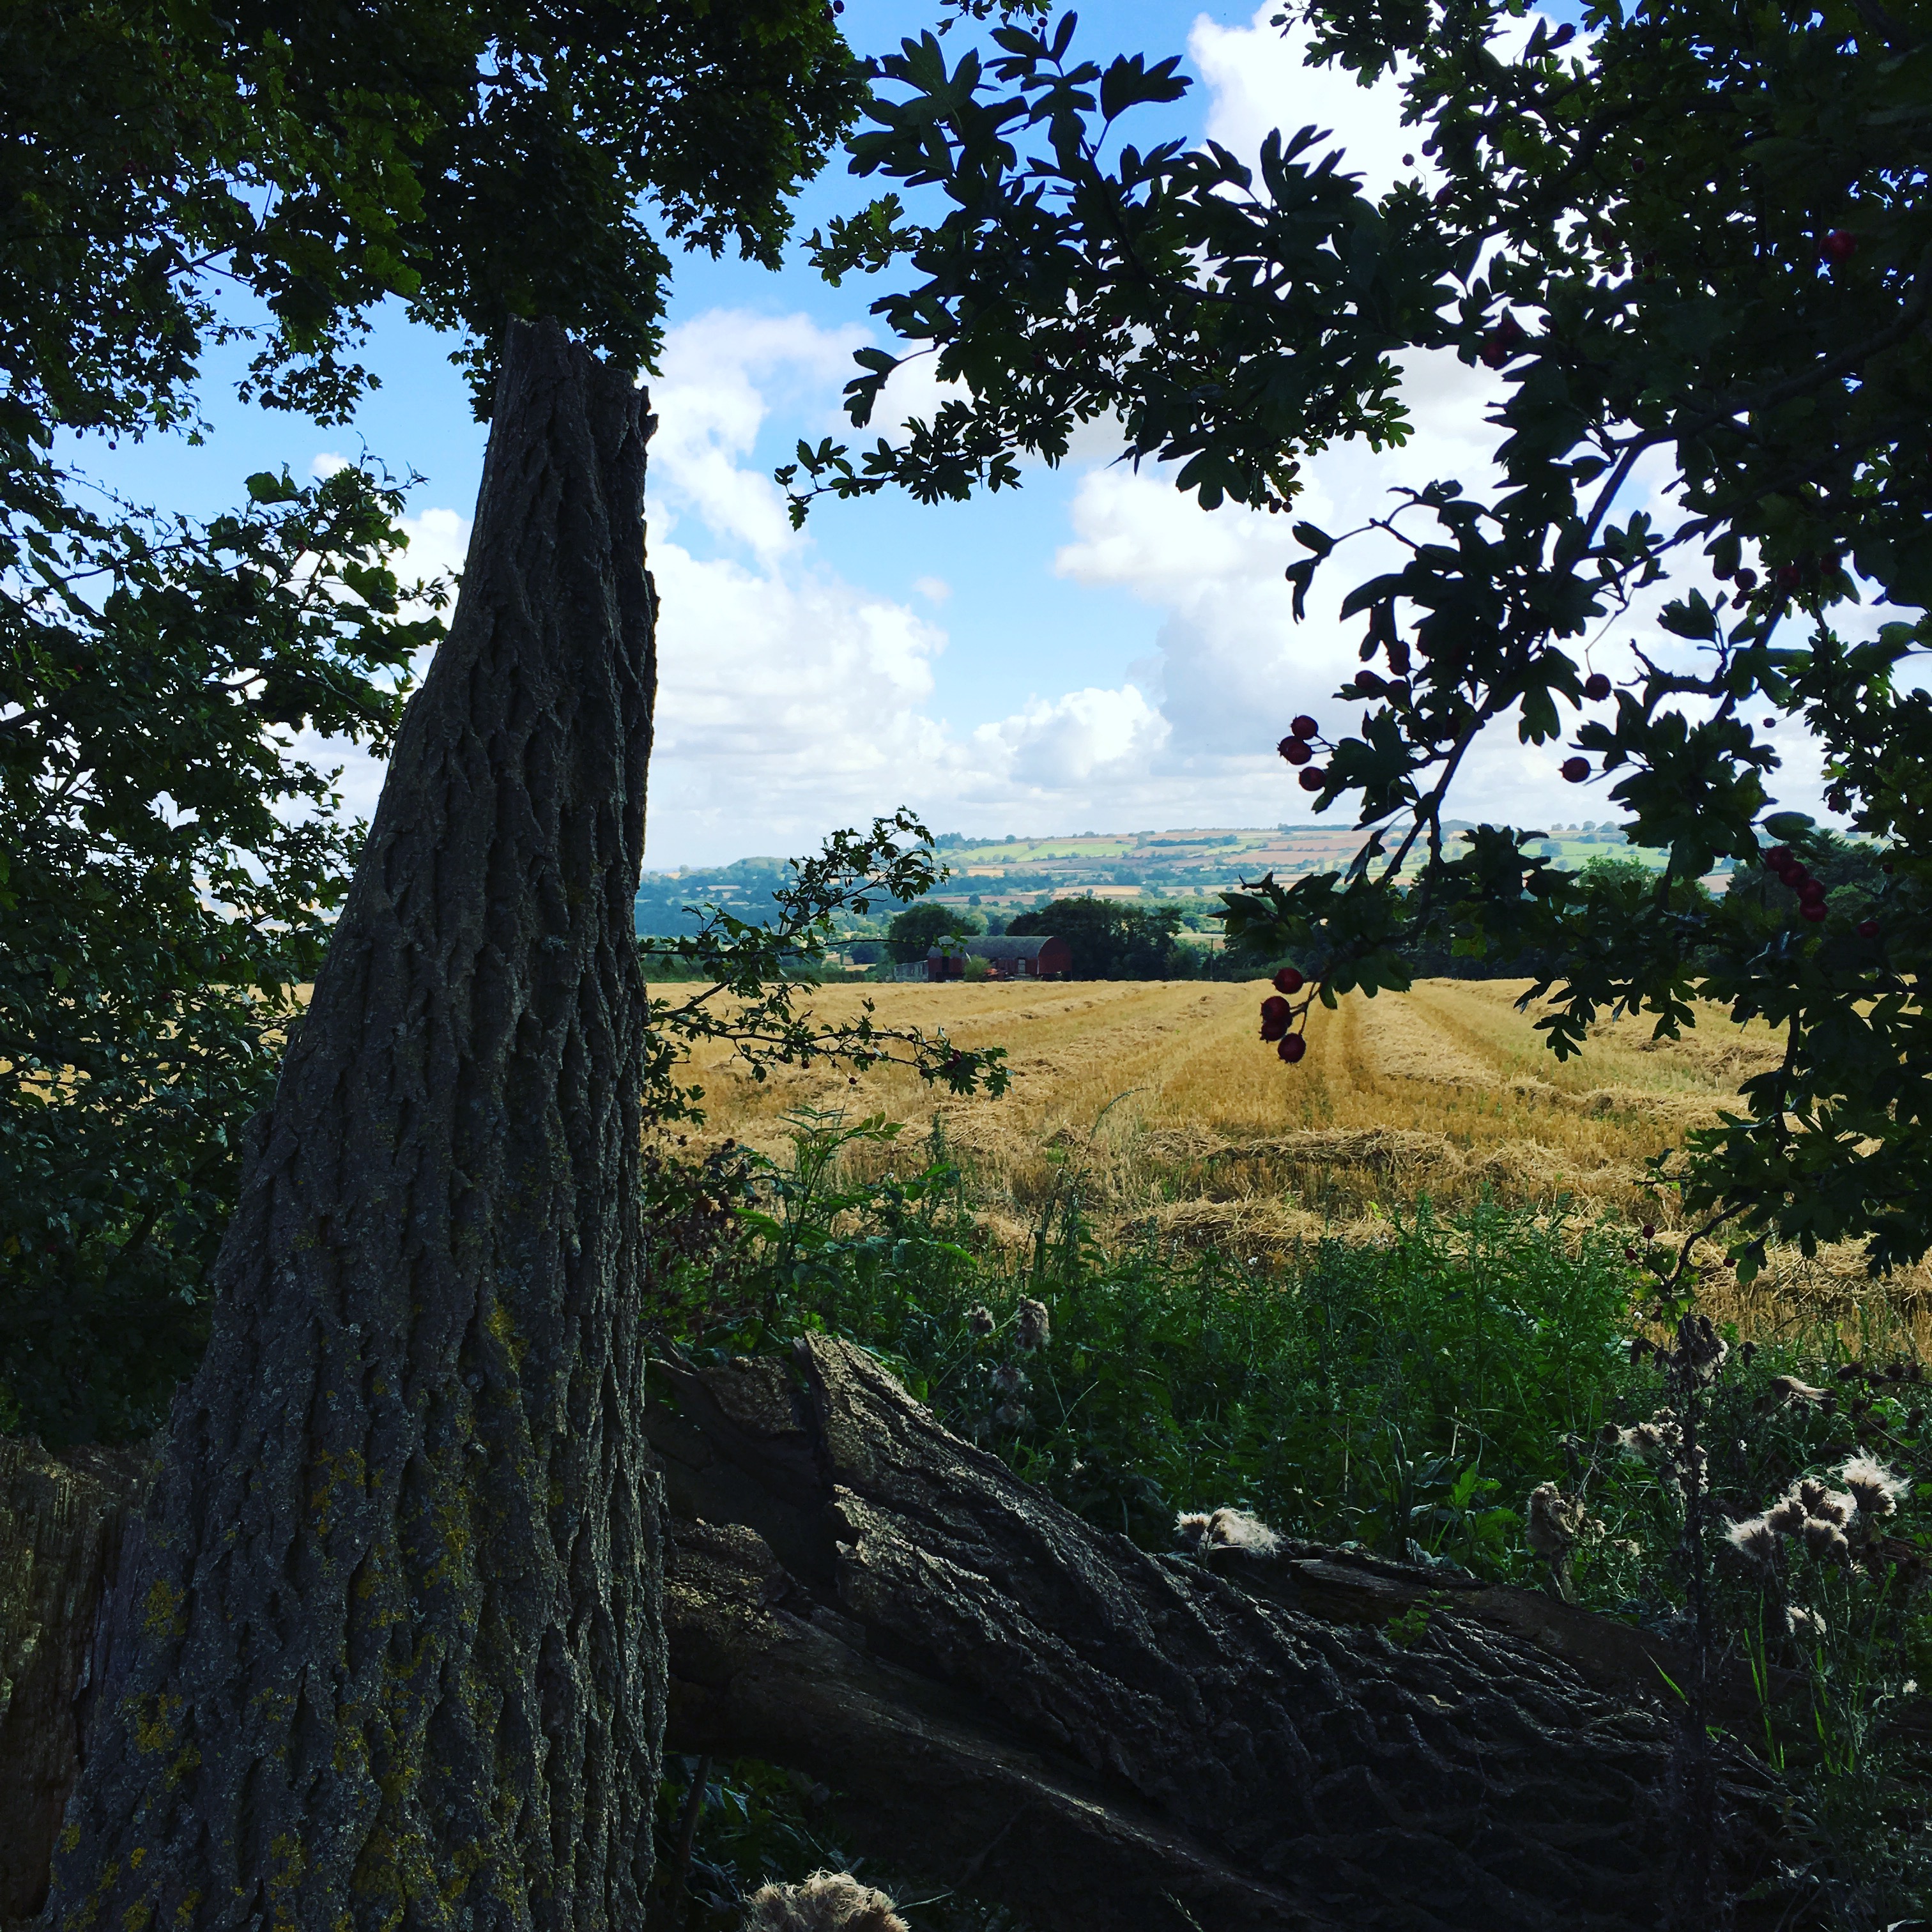
This was one of our favourite house sits so far – a lovely home in a great location with a sweet dog – what more could we ask for? We started off our trip to England with a week in the Cotswolds and then enjoyed 3 1/2 weeks of a single house sit which felt like just the right amount of time for a trip, particularly in this location. I would definitely go back again if they asked us.
We flew into Gatwick via Westjet once again, managing to snag $800 return flights from Kelowna, via Calgary. We have been very happy with Westjet so far – we definitely have more space and leg room than on other discount airline flights and we’ve often been able to book roomier seats (exit row or bulkhead) for an extra fee ($10-40), which we feel is well worth the price. We do have to pay extra for checked baggage ($25/bag each way), and food is available for purchase only, but we prefer to bring our own snacks anyway. A bonus is that Westjet never overbooks and bumps you so that’s always nice. Our favourite flight is to leave Kelowna in the early afternoon, have a short layover in Calgary (Vancouver is our second choice), and then fly to London, Gatwick overnight. We usually arrive in mid to late morning, check into our B&B, have a long nap, go out for supper, and then head back to bed by 9pm. By the next day we are mostly over our jet lag and ready to start our travels.
Once again we stayed at Gatwick House B&B which is convenient, familiar, and easy walking distance to pubs and restaurants. We can take a city bus directly from the airport for cheap easy transport, catch a cab for about £5-6, or pick up our rental car and drive the 3km. Because we are return customers, our hosts usually let us check in early, as soon as the room is clean, so this time, we were in our room before noon.
The next morning, we drove to Wargrave, a small village near Reading, where we stayed at a B&B for two nights. As big fans of Midsomer Murders on Netflix, we enjoyed doing a self-guided driving tour to several nearby towns where we visited some of the sites where the show is filmed. We also saw the windmill on a hill, where Chitty Chitty Bang Bang was filmed in 1968. We enjoyed a couple of pub dinners within walking distance of our B&B, and had an early supper out on a sunny patio overlooking the Thames river one afternoon.
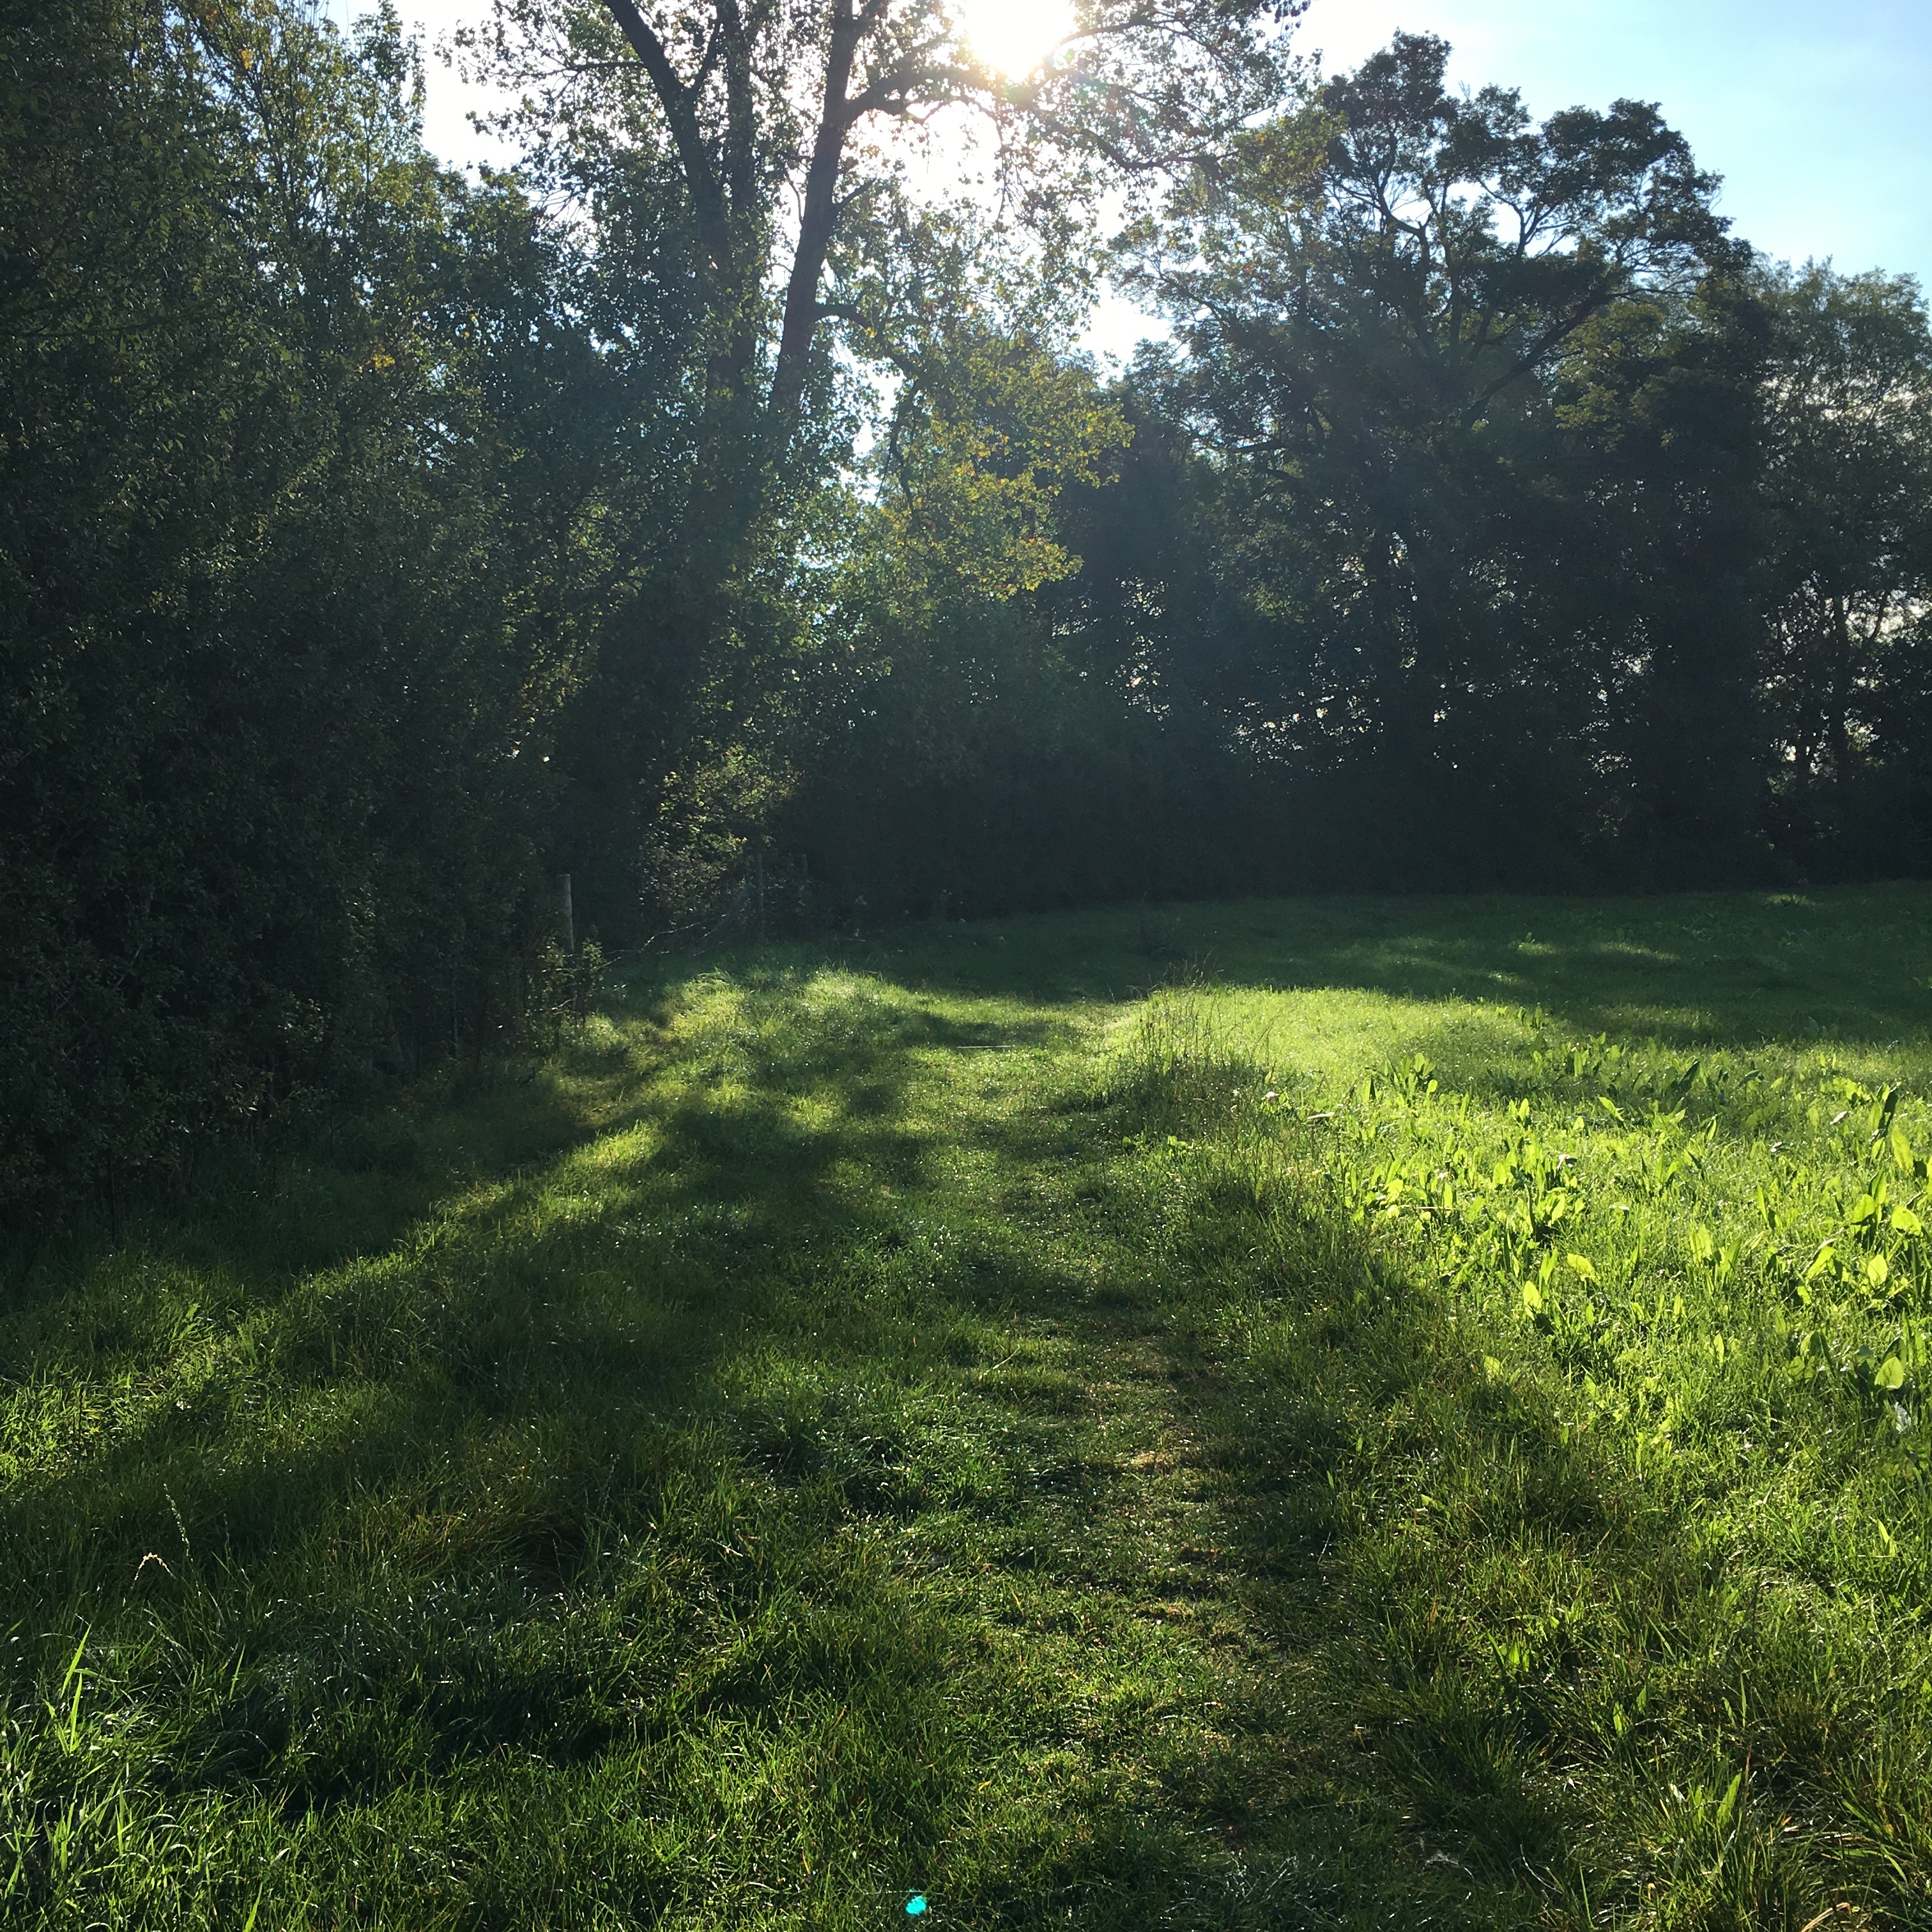
Next, we drove to the Cotswolds, and checked into an Airbnb “apartment” in the tiny hamlet of Broadwell, near Stow on the Wold. It was a two bedroom, 2 bathroom suite in the upper level of garage on the hosts’ property, and was very thoughtfully decorated and kitted out with everything we would need for the next five days. Each day, we took a long walk on one of the local Cotswold trails – the bluebells were in full bloom and the forest floor was glorious – and we spent our evenings at home watching British TV, or sitting out on our little deck.
Finally, after our week of R&R, we were ready to head to the village of Bridge, about 5km south east of Canterbury. It was an easy drive on the motorway, and took about 4 hours including a short stop for lunch.
We arrived at our housesit and the owners and their sweet pup, Jaffa, met us at the door. As always, there was a whirlwind of conversation, as we toured the house, got to know each other, and asked/answered many questions. We had a nice dinner, and the couple provided us with a binder filled with detailed explanations of the workings of their lovely home. Then they went off to finish packing and we brought in our stuff and got settled into our room.
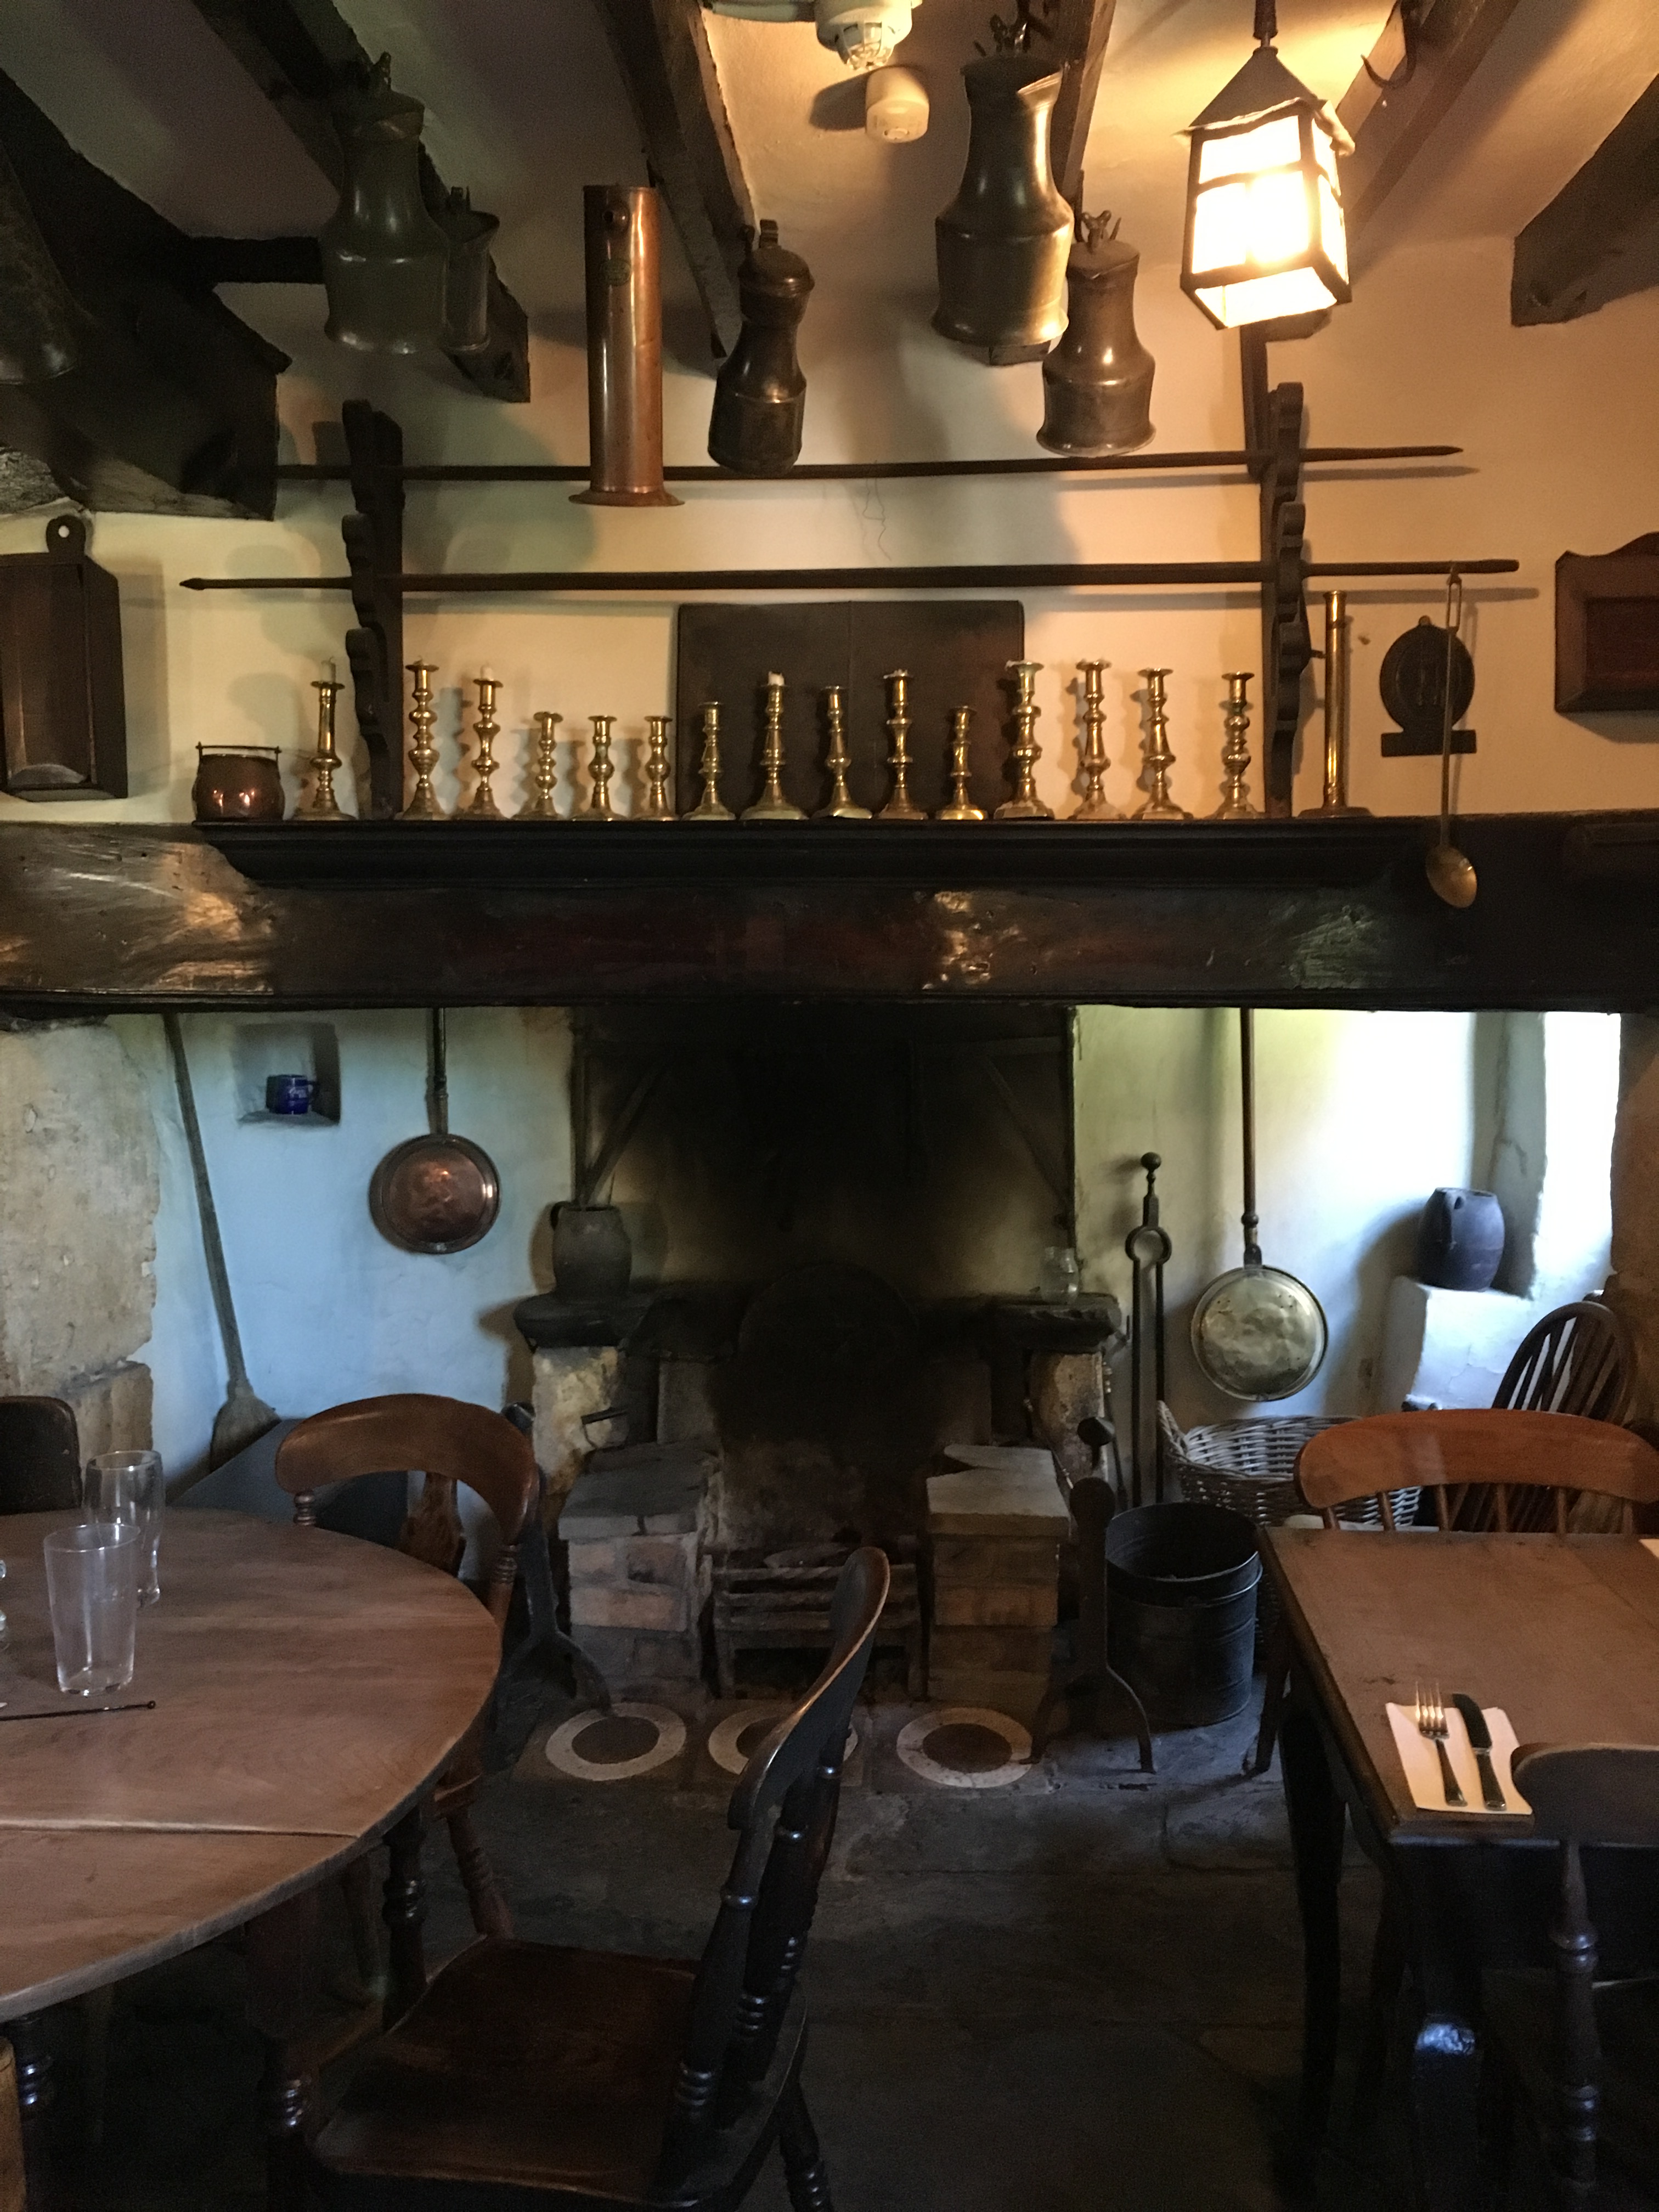
The house was absolutely beautiful. Built in the 1920’s, with an extensive addition added on about 20 years ago, it boasted 6 bedrooms, 7 bathrooms, a lovely huge kitchen complete with Aga, as well as breakfast room and a large lounge. There were a multitude of other rooms as well as a large stone patio and over an acre of beautiful landscaped grounds. We were in heaven.
Our room was at one end of the house – a large corner room with windows over-looking the fields of oats next door. It had nice ensuite with a large walk in shower and plenty of storage for our clothes, which we don’t always seem get at every house sit.
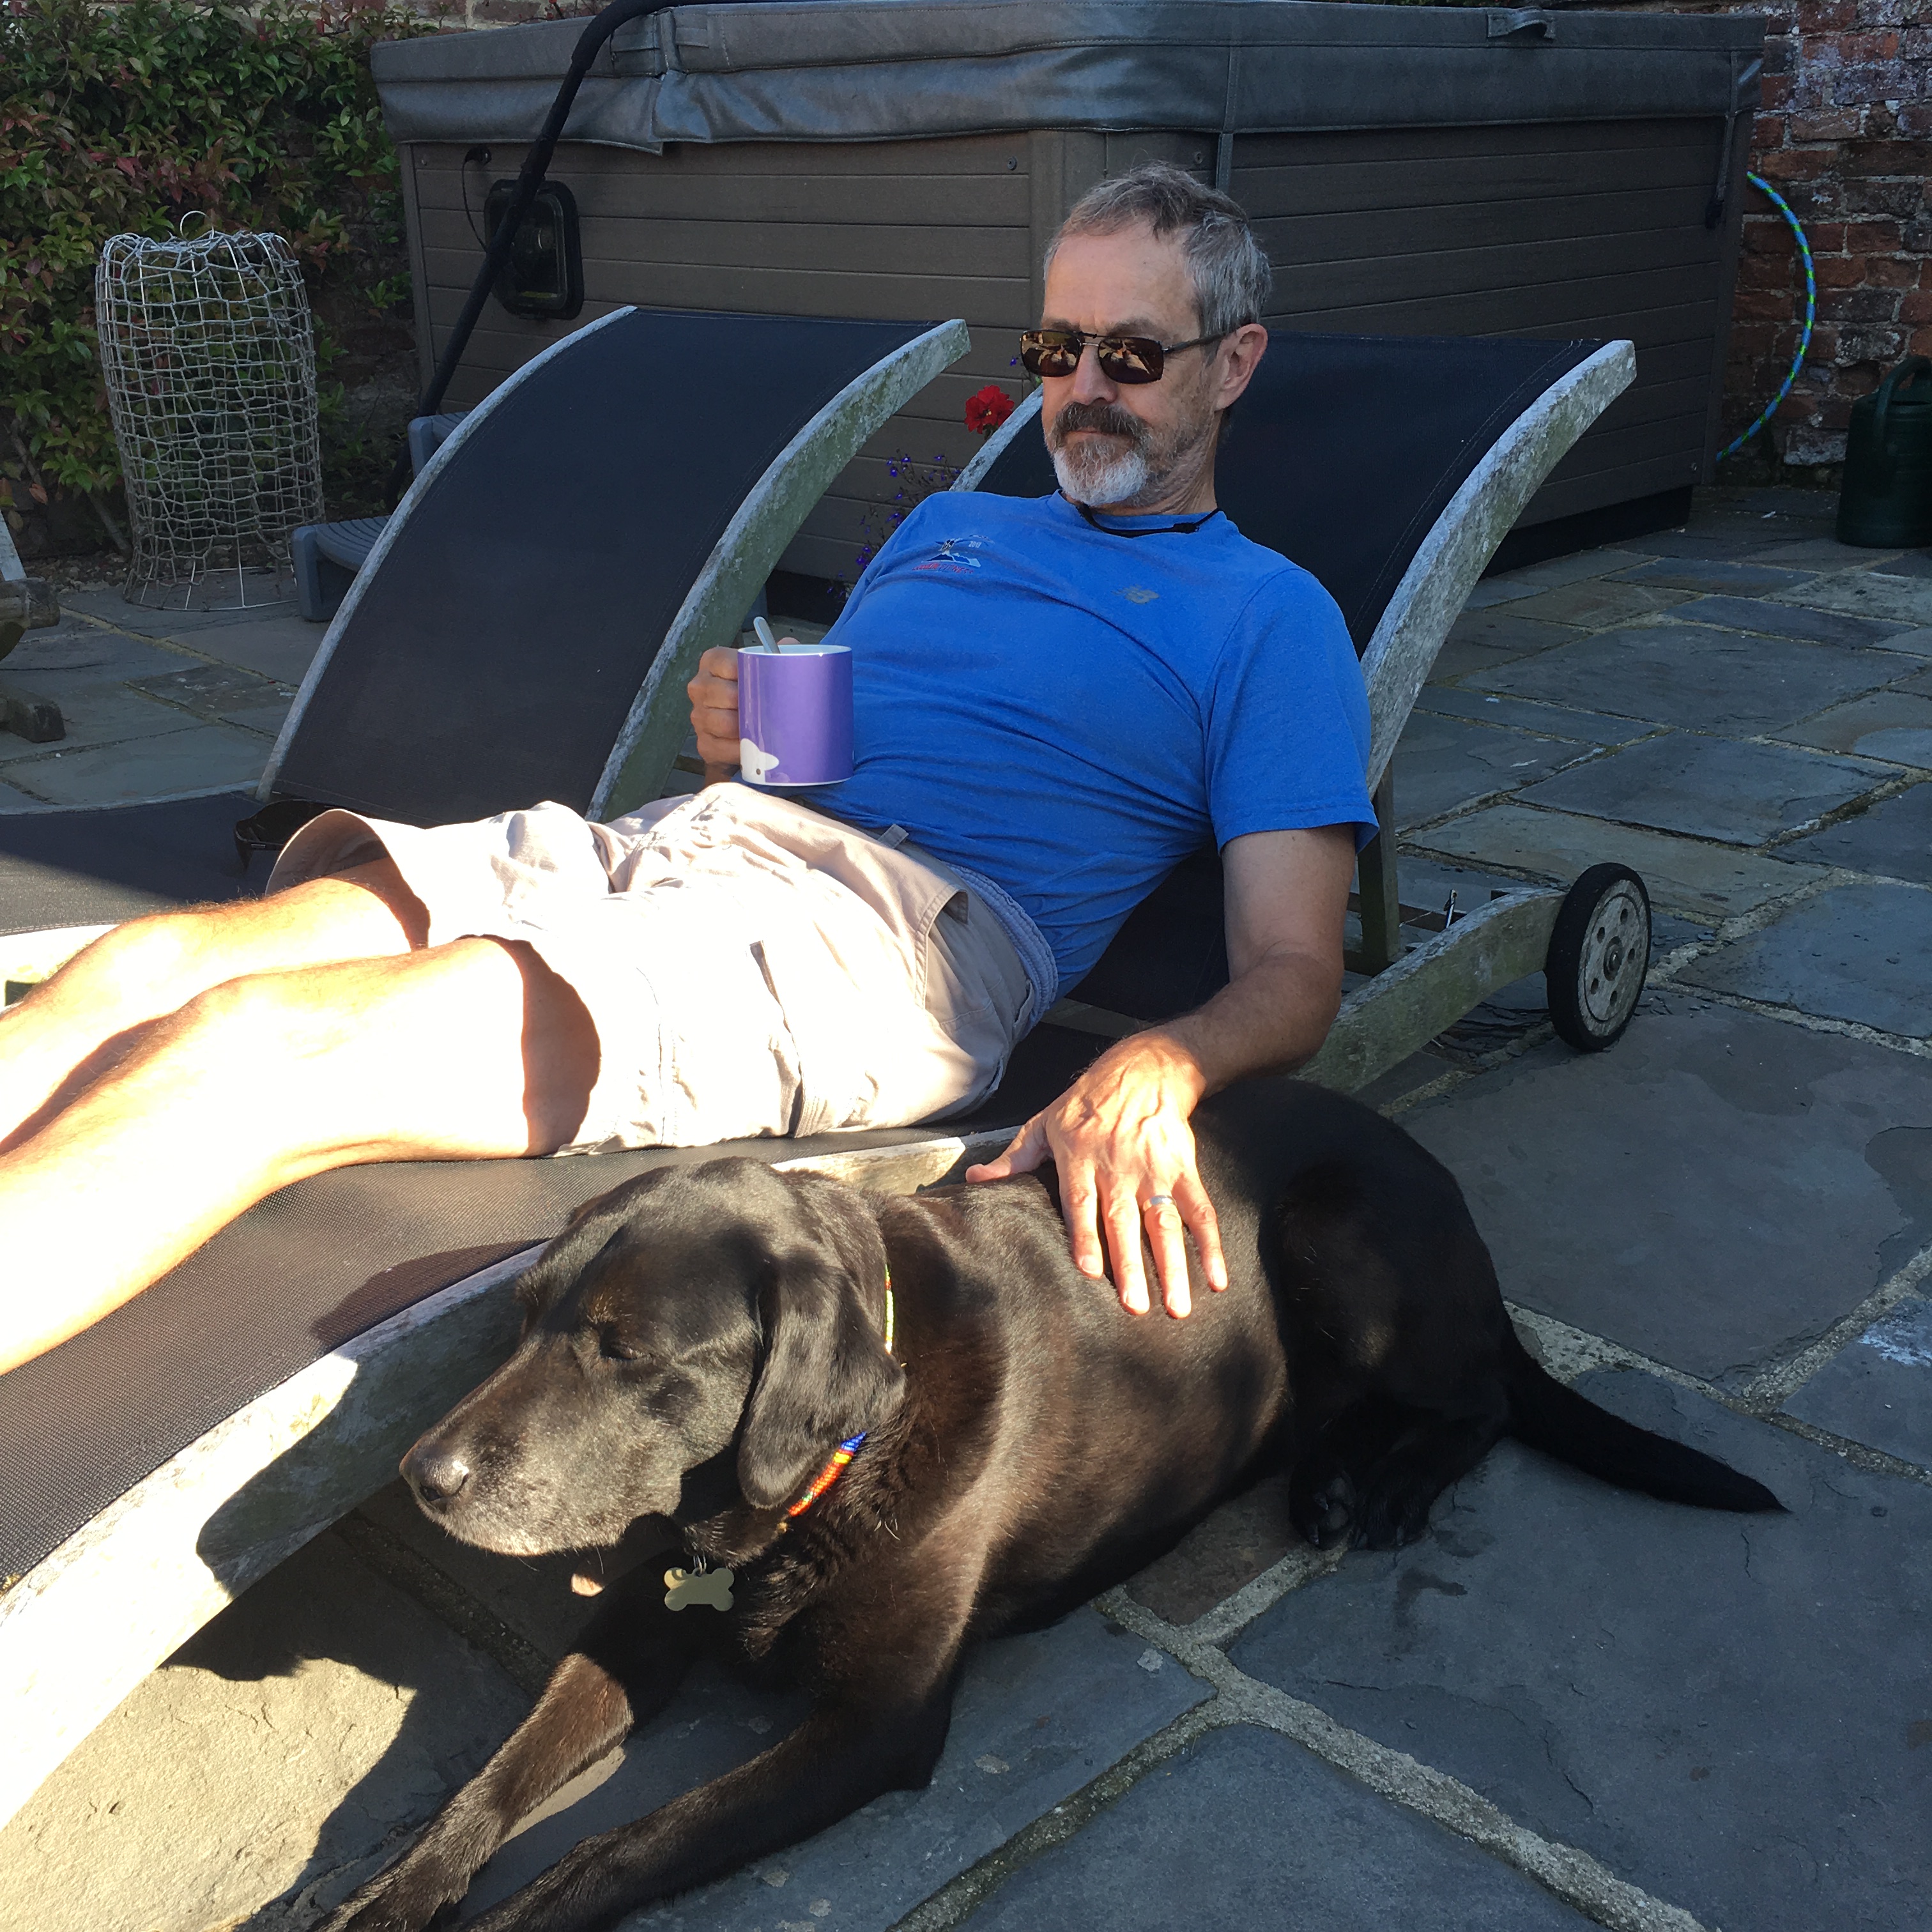
Jaffa was an 11 year old collie cross. I never could figure out what he was crossed with but he had ears like a German Shepherd and reminded me a bit of a coyote. As soon as we arrived, he snuggled right up to us and seemed very happy to meet us. We all went out for a walk to see some of the best places to walk, and over the weeks we stayed there, we found many foot paths and bridle trails through farmland, woodland, and quiet country roads. It was absolutely lovely. Jaffa was extremely well behaved on and off leash and his recall was excellent. He knew his routine well and would always come and remind me if it was time for “walkies”, or eat, or check on the greenhouse, or go to bed.
Our trip was not without its challenges, but it was nothing we couldn’t adapt to. Just before our hosts left, they let us know they had a last minute plumbing problem. That morning, the master ensuite had sprung a leak, and there was water was dripping through the ceiling into the lounge. They had called a plumber and he came that evening to see if he could set things right. In order to stop the leak from doing any more damage, he turned off the Aga which supplied hot water to that side of the house, and promised to return in a few days to fix it and get the water running properly again. In the meantime, we would use the electric stove and oven – totally fine with us – and we’d just bring a bucket of hot water in from the scullery room when we wanted to wash dishes. Luckily, there was a dishwasher that worked fine so it was very little bother, and the hot water in our ensuite worked fine.
The next morning, we had breakfast and sent our hosts off to the airport, encouraging them to relax and not worry about the house – we would manage just fine and deal with the plumber in a few days. As they would be travelling in China, we had both downloaded an app called WeChat to communicate with one another, as WhatsApp and many others, are blocked in that country. This arrangement worked very well for the whole trip.
After they had left, we did a little unpacking and got settled in and then set off to take Jaffa for his first walk. We were only a block away from the house when my cell phone rang – it was our hosts. In the rush of leaving that morning, they realized they’d left an important backpack at home. Immediately, we offered to bring it to the airport, so we quickly dropped off the dog at home, and jumped into the car for the 75 minute drive to Gatwick. They were waiting at the drop off area when we arrived, so we passed them the bag and I’m happy to say they made it through security and to their gate just in time. They would never have had time to drive home to pick it up. Of course, they were immensely grateful that we’d brought the backpack but I was just happy I’d had my phone turned on at the time so we were able to help them out.
And so it had been a rather eventful start to what ended up being a very relaxing house sit. Over the three weeks, we had plenty of opportunities to do short day trips to the surrounding areas of interest as Canterbury is located on the south eastern corner of England, and our village was an easy 30 minute drive to the coasts on all three sides.
One day, we drove to Dover to walk along the famous cliffs and to watch the ferries and lorries coming and going at the busy port. Another day we drove to Whitstable and had lunch on the docks, and on one hot and sunny bank holiday afternoon, we made the mistake of thinking we’d find a parking spot along the busy beach in Broadstairs. Instead, we drove along the streets and looked at the beach from the car, before driving back home.
We drove to Hythe one afternoon, and rode the old 1/2 size railway to Dymchurch and back that the gardener had recommended, and we also visited a few Kent villages where some of my way-back Goldup ancestors lived. While we were in England, Prince Harry and Meghan Markle were married. We briefly thought about taking a train to Windsor and trying to catch a glimpse of the couple when they did their post-wedding carriage ride, but we soon realized that it would be so crowded, it was unlikely we’d be able to see anything, so we elected to stay home and watch the wedding on TV.
And of course, we made plenty of trips into Canterbury itself. It was only about 4km away from the house, and we did most of our shopping at the Waitrose there. We could park at the grocery store for free for 90 minutes, and so several times, we left the car and walked into the old part of town. One afternoon, I bought a pass and visited the beautiful Canterbury Cathedral, while Erik went to get his hair cut. A few days later, I went back to see the cathedral gardens. We also enjoyed walking around the old part of town and seeing so many historical buildings, as well as watching the punters on the Great Stour River.
One thing we love about housesitting is getting to know the neighbours and this time was no exception. One older lady who lived just down the road, invited us over for drinks one evening, and we had a nice visit and enjoyed getting to know her and see some of her beautiful old house. In addition, we looked forward to visiting with Sarah who came to clean the house once a week, as well as David, the gardener who pruned the hedges and cut the lawns once a week. In fact, David and his wife, Lesley, invited us over to their home one evening and gave us a tour of their own beautiful English garden, and their 15th century house. They both had hobbies and Lesley showed us the beautiful doll houses she made, as well as David’s model train village that took up an entire room.
And as for Jaffa, well, he was very sweet. He knew his routine to a tee and would definitely let me know when it was time to go for our morning walk, or for his biscuit and bedtime. There was a greenhouse with many seedlings that needed to watereing every day and Jaffa insisted that we walk out back and check on it a few times a day. Although there was a gardener as well as another lady who came to weed the flower beds, Erik did cut the lawn twice and I weeded the veggie garden just for the fun of having something to do outdoors.
During our trip, the weather was mixed with some very warm sunny days, and other cooler showery ones, with the temps ranging from 12C – 24C. We were lucky not to have too much rain though, as I didn’t have proper shoes for walking on very muddy tracks. Next trip, I plan to bring two pairs of running shoes so when one gets wet and muddy, I have another pair to wear while they dry out. In a perfect world, I’d have a pair of wellies stored at Gatwick airport to wear whenever I arrive in England.
Eventually our idyllic visit came to an end. Our hosts arrived home and we did a walk through the house and shared stories. We headed off to Gatwick to stay overnight at our usual B&B and catch our flight home the next morning. It was another wonderful trip and I’m happy to say, our hosts left us another excellent five star reference on the Trustedhousesitters website.
If you are interested in joining Trusted Housesitters, you can get 20% your membership fee (and give us two free months) by following this link.
Next up: Another trip to England on Aug 21 for three back-to-back housesits followed by a week in Crete.
Our third and final house sit for this trip was for 16 days in rural Lincolnshire, about 15 minutes out of the town of Sleaford. Leaving Liverpool, we took a leisurely route through the Peak District, stopping for coffee just south of Manchester to meet with some longtime Facebook friends, Ian and Pauline, and we arrived at our destination at about 4pm. Our hosts were leaving the next morning and so we had the evening to get to know one another and learn everything we’d need to know about the pets, the house, and the yard.
This would be our longest and likely most challenging sit of the trip with four big dogs to care for – two English Setters and two Springer Spaniels – plus 13 laying hens who needed to be let in and out of the hen house each day, fed, watered, and eggs collected, and several acres of yard to care for (although Erik was excited to have a ride-on mower). As per usual, I chatted with the wife to get the lowdown on the kitchen appliances, washer, dryer, cleaning supplies, and wood stove while Erik visited with the husband to learn about the riding mower, the garage full of tools, the dog gear, and the car which we’d be using to take the dogs to a safe place to run.
After dinner, we brought in all of our stuff and got settled into our room which had a comfortable queen size bed, and private access to a full bathroom with large shower and a huge soaker tub (which was lovely but I never did use for some reason). The next morning, Erik went off with our host to take the dogs for a short run and after breakfast, we drove them to the Grantham train station to send them on their way.
Lincolnshire, or Lincs as it is often referred to in England, is quite different from southern England. Mostly agricultural with rolling fields of grain and vegetable crops, the landscape is decidedly flatter, but still picturesque. We were located on the site of an old farm estate which had been converted into six homes. The result was a small community of six families, all seemingly close-knit, although with busy lives. There was a certain degree of coziness and yet we had plenty of space to roam. We were staying in a large converted granary with a spacious living/dining room, kitchen, and conservatory downstairs, and two large bedrooms, bathroom, and two smaller rooms upstairs. In addition, there was an additional wing off the living room with a number of smaller rooms that were currently being used by the couple’s adult daughter (although she was away at the time.)
The house and yard was fully fenced with several acres of lawn, a large chicken run, and a detached garage and workroom. Every time the sun came out, we made a point of sitting outside on the patio or wandering around the yard and enjoy the landscape, including the lovely field of golden Canola next door.
We had mixed weather while we were there – some days were warm and sunny and other days, it was cool, windy, and showery – and fall was definitely in the air. In the evenings, we often made a fire in the wood stove while we watched TV.
Erik took this beautiful picture of Finlay
It didn’t take long to get into a daily routine on this sit. Erik got up early (about 6am) to let the dogs out every morning, then he came back to bed and I got up little later and let the chickens out, filled the feeders, and fed the fish in the pond out back. Then we’d have breakfast and take the dogs out for their daily run.
We were fairly close to a busy highway so it was necessary to load all four dogs into the back of the car (their car, not our little rental), and drive 3-4 minutes to a place where the Springers could run free, and the Setters could walk on the lead. We usually did a loop down a gravel road and around a farmer’s field, then back to the car which was about two km. But for every kilometre we walked the Setters, the Springers must have run three, and by the time we got back to the car, they collapsed with exhaustion. For the most part, the dogs slept much of the rest of the day as they are not young pups any more (8-9 years old).
During the day, I would check the chickens several times a day, and it was fun to collect the eggs. The chickens were old battery hens, past their prime, and so were no longer laying an egg a day. From a dozen hens, we got 3-4 eggs each day which is not bad at all. I brought the eggs into the house, washed them, and put them into the egg carton in the fridge. In Europe, they don’t keep eggs in the fridge – not at the store, nor at home – but I just couldn’t bring myself to leave them out on the counter at room temperature.
During our first few days, we didn’t venture much further than the grocery store each day to pick up whatever we needed for supper, but we often took different routes into town to explore the countryside. Then after a few days, we took the opportunity to visit two National Trust sites near the larger town of Grantham.
The first was Woolsthorpe Manor where Isaac Newton grew up and where he came up with most of his theories in the 1600’s. It was really interesting to walk through the old house and see the old orchard outside his bedroom window. One of the old trees that had originally grown in the yard had been destroyed in a storm but a new tree grew from its roots and continues to grow to this day. Erik took a leaf from the tree and pressed it between the pages of a book of Dog Quotes that I bought for him.
The second NTS site was Belton House, another huge old home dating back to the 1600’s. What set this place apart was a fascinating “Below Stairs Tour” that showed us what it was like to work in these old places – very Downton Abbey. Given my ancestry, I felt a much greater connection to the lives of the housekeeper and the gardener than I did to the lord and lady of the manor. We went back three times in total, including once to enjoy a long walk around the beautifully landscaped grounds, with its “Orangery” full of tropical plants.
During our second week, we had two consecutive day trips to Lincoln, which was about 30 minutes drive north. We left our car at the Park & Ride, which I highly recommend doing in some of the busier towns in the UK, and caught a city bus into town. It was only a 10 minute ride with free parking and for less than £5 we had easy access to the main sights of the city.
We purchased a special pass that allowed us full two day access to all tours of both the Lincoln Castle and the Cathedral. Because we didn’t want to leave the dogs too long, we split our visit over two days and enjoyed it all a little more because we didn’t have to try to cram it all in. There was plenty to see and do and we could definitely have spent more time there. A highlight was seeing one of the original copies of the Magna Carta, dating back to 1215 – it recently celebrated its 800th anniversary – and I was amazed to realize the impact the document still has today.
We really only had one difficult day during the visit. Early on during our stay, we had the doors to the sunroom propped open, and the dogs were outside roaming around. Suddenly I heard them barking like crazy. They did like to “say hello” to anyone who happens to be walking by, but this time they were particularly excited. I went over to get them to settle down and saw that they had an escaped hen cornered against the fence. I quickly swooped in, picked her up, and put her back into the hen yard, making a mental note to keep a very close eye on the dogs/chicken. We checked the perimeter of the yard but couldn’t find a place that the chicken could have made its way into the yard. However, we suspected she may have flown up onto a low hanging branch and then dropped down onto the tempting grass on the other side of the fence.
Then, about a week later, I went outside to call the dogs into the house because I was going to close up the sunroom door but they didn’t respond. I went to investigate and found three of them were standing around something on the ground, while the fourth was running up to Erik to “tell” him something. They had a captured an escaped chicken. This time there had been no barking, and the chicken must have strayed far enough from the fence that they could easily grab her.
She was still alive but was obviously in distress and clearly injured beyond saving. I took three of the dogs into the house, and Erik had to put a collar and leash on the other dog to get him away from his prey. These breeds are meant for bird hunting and it’s in their blood to catch a hen so it was hard to be angry with them. But it was so sad.
I thought about whether I’d be able to put the chicken down myself, and knew that it would be really hard for me to do. It might be even harder for Erik to do it because he’s had no experience farming and is so caring about animals, however he agreed to do it. I googled the most humane way, discussed it with Erik, and then went into the house and left him to it. It’s a sad part of having livestock but it happens, and neither of us wanted the bird to be in pain and die slowly.
Other than that one distressing episode, we enjoyed our time in this rural location. We had lovely day trips around the country side, making short visits to nearby towns such as Southwell (with its very cool NTS Workhouse to visit), as well as the Cranwell Aviation Heritage Museum just a few miles down the road. We also enjoyed watching the small planes taking off and landing and practicing cool aerial maneuvers at RAF Cranwell next door. We only went out to eat a couple of times – once for Indian food with some fifth cousins that I met on Ancestry.com, and another time for Sunday Roast Lunch at the restaurant just a 5 min walk away.
On the final day, we did a general house clean, packed up most of our stuff, and drove to Grantham at midnight to pick up our hosts from the train station. Because it was so late, we stayed over that night, and then said our goodbyes in the morning. One of the nicest things about house sitting is making new friends and this was no exception. We really enjoyed getting to know the couples at each stay and it was particularly nice to be able to spend at least one night to get to know each other as well as staying in contact frequently during our stay.
The next morning we drove 90 minutes to Cambridge, and stayed at the beautiful Anstey Hall (a real treat for us) just outside of the city. We used the Park and Ride to get into the city, took a long walk around the lovely old university buildings, and enjoyed watching the punting boats on the River Cam. The next day we drove to Horley, near Gatwick airport, and checked into the same B&B we had stayed in seven weeks earlier. We left a suitcase there and flew to Crete the next morning for a week of fun in the sun before heading home. What a wonderful trip!
Next Up: Crete, if I decide to write about it (it was really just some R&R at an all-inclusive resort, not a visit to a Greek island. 😉
In memory of my Great-Great-Grandmother: Elizabeth Jane Sinclair Simpson Aug 26, 1847 – June 6, 1876
Our trip to Liverpool was short, only two nights, but it had a special purpose – we were going to find out more about the life of my GG-Grandmother, Elizabeth Sinclair and her family, before she left Liverpool on a bride ship in 1870. Only 22 years old, Elizabeth made the six month journey to Fort Victoria with a matron and 22 other young women, where she had agreed to work as a servant for at least one year, and then hoped to marry one of the many single men who had settled in this new country. Although Elizabeth did manage to do both, as well as give birth to four children – her life was short and sad, and she died only six years after arriving in Victoria. This is her story.
Elizabeth was born in 1847 to John Sinclair and Mary Davies in the village of Sefton, just west of Liverpool. My plan was to visit some of the places that John and his family lived between 1818-1871.
Elizabeth’s father was actually born John “Shingler”, in the village of Prees, about an hour east of Liverpool. The youngest son of a tailor, John had at least ten siblings that I’ve been able to track down. At least two of his older brothers were tailors like their father and so John likely had to look further to find his fortune, possibly explaining how he eventually ended up as a gardener in Liverpool. The earliest census data available, 1841, indicated he was a labourer, age 20, living near Prees, with his widowed mother, age 65.
And so we found ourselves making our first stop to visit the villages of Wem and Prees. We left Cheltenham early and drove for about an hour along the busy M5 before we turned off to the quieter roads of rural Shropshire, and began to wind our way through the countryside where my ancestors had once lived, several hundred years earlier.
We stopped first in the small town of Wem, where John’s father, Thomas Shingler, had died and was buried in 1823. There was only one church that seemed likely so we stopped and took a few minutes to look at the gravestones, but couldn’t find his name. Many of the 1700 and early 1800 stones are so weathered they are illegible, and of course, many have disappeared over the years so I hadn’t been too optimistic.
St Chad’s in Prees, where John Sinclair was baptized in 1818.
Next we drove to Prees, only a few minutes further, and found the lovely church of St Chad’s. Erik found a side door that opened and so we were able to go inside and see the old font where many of my ancestors, including John, were baptised, and then have a wander through the old graveyard. I knew that John’s mother, Elizabeth Done Shingler, had died in 1855, and was buried at St Chad’s, but again, there was no grave marker remaining. However, I did find one stone belonging to John’s cousin’s, Joseph Shingler, and so I knew I was in the right place. We continued our drive to Liverpool and over the next two days, visited a number of places where the Sinclair family had lived.
Mary Davies and John Shingler(Sinclair) were married on Oct 13, 1846, at St Philip’s Church, in downtown Liverpool. The church is now gone but I found a photo of it online from the late 1800’s. Mary was illiterate, signing her name as X on the marriage certificate. John could write, but just barely, and he spelled his name differently on every document. On the marriage certificate, he wrote his last name “Sinkler”, and you can see where he had written over top of some of the letters to try to correct it. Finding his Shingler birth records wasn’t easy, but with the help of some people on a Shropshire genealogy forum, we were able to figure out his name was originally Shingler. His daughter Elizabeth’s birth was registered as Sinckler, but the next generation eventually changed the last name to Sinclair and maintained consistency from then on.
The certificate also shows that John was living downtown on Finch St at the time, and that he worked as a gardener. HIs bride, Mary, was born in Denbigh, Wales, and was the daughter of a labourer, David Davies. Unfortunately, there are so many “Davies” families in Wales, it’s almost impossible to find Mary’s birth certificate with any certainty, but I believe she was born about 1823. Erik and drove to Blackburne Street to see the area where Mary had been living when she married John. Interestingly enough, as we walked down the street, we found ourselves at the Liverpool School of Art where John Lennon had attended.
John Sinclair worked as a gardener for most of his life and it seems that he moved his family around a lot. I have census data for 1851, 1861, and 1871 and each decade, they were living in a different area in and around Liverpool. It looks like John worked for some wealthy families, sometimes living in terraced housing nearby, and other times, living in a gardener’s cottage on site.
Elizabeth was the eldest of five children. She had a brother, George, born in 1850, in Cheshire, across the Mersey River (and the 1851 census puts the family near Rock Point.) Two more brothers – Joseph (1854) and John (1856) – were born in Wem, Shropshire, where their father had been brought up. John’s mother died in 1855 so it’s possible the family had moved back to the area to look after her in her declining years.
Elizabeth’s youngest sibling was her sister Mary, who was born in 1859, near Ruthin, Wales, not far from where her mother had grown up. I guess it’s possible that the family was living near Mary’s parents while she waited to give birth again.
Victoria Rd where the family lived in 1861
Anyway, we finally find the whole family together on the 1861 census, in Gerrard’s Cottages on Victoria Road, in Aigburth, a suburb of eastern Liverpool. I’ve learned that there were a number of terraced streets in the area and a lot of gardeners and other tradesmen lived there, working for local estates. This census shows John Sinclair as a gardener and servant, living with his wife Mary, and their children Elizabeth age 13, John, 10, Joseph 6, John 4, and Mary 2. Erik and I drove to Victoria Road and I walked down the street and took some photos of the current buildings, although very likely none of the row houses from the 1860’s are still standing. Still, I enjoyed standing quietly in the places where my family had lived so long ago – it gave me goosebumps.
Oak Hall, where John worked as a gardener in the 1870’s.
By the 1871 census, the family had moved again, this time to the gardener’s cottage at Oak Hall, a large home owned by local attorney and landowner, William Cooper. John and Mary Sinclair only had three children left at home – Joseph 17, John 15, and Mary 11. Their older son George was already living on this own, and their eldest daughter Elizabeth had left for Victoria the year before. Young Joseph and John were working as gardeners with their father, and Mary was in school. Erik and I were able to see the big house, and also the location of a small property called Oak Cottage that was originally part of the estate. Whether this was the gardener’s cottage is unclear, but it did give me an idea of where and how my family was living at the time Elizabeth left Liverpool.
So why did Elizabeth leave her family and board the bride ship, Alpha, in 1870 to travel halfway around the world? I can only imagine. Knowing that she was already 22, unmarried, and likely had few prospects, perhaps she and her family saw this as an opportunity and maybe even an adventure. Or perhaps, she had no other choice and was terrified. I guess I’ll never know. But as I stood on the Albert Docks in downtown Liverpool, and looked out along the Mersey River towards the sea, I felt a little choked up imagining her standing here and saying goodbye to her parents and siblings, knowing she would likely never see them again.
The Albert Docks in Liverpool.
In the 1860’s, the London Female Emigration Society was working with a similar society in the new colony of British Columbia to find young women of “good character” to travel to BC to work as servants to the upper class families, and/or become wives to the many single miners, farmers, and fisherman. Wealthy families were in dire need of good “help”, and the Emigration Society believed that the uncivilized men of BC needed the more cultured influence of a British wife to recreate a society like the one back home. The Society encouraged young women to come to the new world and usually subsidized their travel costs in return for a minimum of a year of service to a family living in Fort Victoria.
And so, on January 10, 1870, my great-great-grandmother found herself on a ship sailing across the Atlantic Ocean, around Cape Horn, and up the coast of the Americas, landing in Victoria Harbour on June 14, a full six months later. What she thought when she landed, I cannot imagine, but I do know that the people of Victoria, in particular the single men, were very excited by the ship’s arrival. Luckily for Elizabeth, the crossing was a pleasant, and the Victoria Colonist newspaper reported that:
“…it was gratifying how that, although the passage was not a quick one, it was remarkably free from any disagreeable features. Not an accident; not a storm; not a case of sickness. The immigrants were all cleanly, healthy, and well behaved, and are unanimous in their praise of Captain Neilson.”
We can assume that Elizabeth had a position arranged once she arrived in order to fulfill her contract, but exactly one year later, on June 10, 1871, she married my great-great-grandfather, Elijah Simpson. Elijah, born in Essex, England, had lived in Fort Victoria from the age of seven. He and his family had come to work on one of the Hudson Bay Company farms near Victoria, in 1853. Elijah owned farmland and worked with his father, and supplemented his income with a job in town.
Elijah and Elizabeth had a daughter, Jennie Elizabeth, in 1872, and a son, William George (my great grandfather) in 1873. I like to think that Elijah wrote letters home to Elizabeth’s parents so she was able to let them know they had grandchildren.
Sadly, Elijah soon became ill, and in 1874, Elizabeth’s new life took a turn for the worse when her husband died of tuberculosis on Christmas Eve. She now found herself alone with two young children, and pregnant with a third. Baby John Elijah was born in March 1875 and Elizabeth married a local farmer, Richard Maltby a few months later, no doubt out of necessity. At least she now had a husband to support her young family, and he had a wife to take care of his home. But there was more sadness to come, as new baby John died of atrophy from vomiting that winter, and Elizabeth once again found herself pregnant.
By this time, Elizabeth herself was beginning to show signs of tuberculosis and no doubt struggled through a difficult fourth pregnancy with advanced TB, while trying to care for her two small children. Baby Frederick Maltby was born in April, and poor Elizabeth died of TB a few months later, in June of 1876. After only six years in the new country, at the age of 28, she was gone, leaving two small children orphaned, and a newborn son with her new husband, Richard.
Richard Maltby kept his son, but put Elizabeth’s children – little Jennie age 4, and William George, almost 3 – up for adoption. I’ve sometimes wondered why one of Elijah’s siblings didn’t take in the children, but most were still in their teens, and the one sister who might have been able, was newly married and perhaps her husband didn’t want the responsibility of her niece and nephew. Ultimately, a childless couple from New Westminster, Joseph and Martha Turnbull, adopted the two children and raised them as their own. I’m happy to say that my Grandmother (William’ George’s daughter) remembers them as kind and caring grandparents so the two children had a good life in the end.
Elizabeth Jane Sinclair Simpson is buried with her baby son, John, next to her husband Elijah, in an unmarked grave in Ross Bay cemetery, and I always go to visit them whenever I am in Victoria. I’ve always felt a special attachment to Elijah and Elizabeth and some day, I’d like to buy a marker for their grave. For many years, I have wanted to visit Liverpool to learn more about Elizabeth’s roots and this trip enabled me to come full circle and find some closure to this sad part of my family history.
Churchyard in Wem, where 3G-Grandpa, Thomas Shingler is most likely buried.
The village of Wem, where the Shingler’s lived in the early 1800’s
The area where John lived with his mother on the 1841 census
St Chad’s where John was baptized in 1818
Inside St Chad’s
Cousin Joseph Shingler’s marker at St Chad’s
Oak Hall, where John and Mary Sinclair worked in 1871. No longer a grand estate
Oak Cottage – slight possibility this was the gardener’s cottage in 1871
Blackburne St where Mary Davies lived when she married John Sinclair in 1846
Victoria Rd where the family lived in 1861
St Michael’s in Garston where Elizabeth’s Mother, Mary, was buried in 1876, just 4 months after her daughter died in Victoria. Did she know her daughter had died?
The Albert Docks in Liverpool.
Statue of a family of emigrants leaving Liverpool. It made me think of Elizabeth’s departure.
We had two days off between housesits which we spent in the Cotswolds, and then we headed south for a 2 1/2 hour drive to the small village of Stour Row, near Shaftesbury, Dorset. Along the way, we made a stopover for lunch in the famous city of Bath, leaving the car in the Lansdown Park & Ride, and catching the bus that left every 15 minutes, and dropped us off right downtown (£5.50 return for the 2 of us). The city was quite beautiful but a bit too big, busy, touristy, and pricey for my liking, and the hour we spent there was plenty. I didn’t have any urge to spend £20-35 each to visit the famous geothermal pools, as we have plenty of hot springs at home in British Columbia. And so we were back on the road around 2:45, and arrived at our next house sit right on schedule at 4pm.
This time we were sitting for a young couple who were on their way to Chile to run the Patagonian International Marathon. Laura has set herself a challenge to run a marathon on all 7 continents in one calendar year. So far she’s run the London Marathon, the Everest Marathon, and the Banff Marathon. Apart from the physical challenge, she is running for charity and you can donate here if you are interested. Her husband, a well known mountaineer, was at one time the youngest person to climb the seven summits, reaching the top of Everest on his 20th birthday. Clearly, these two are an extraordinary young couple and we really enjoyed getting to know them.
We had two lovely mini pointer crosses to care for on this sit – a male who was very fun and rambunctious, and a female who was very shy and cautious. Both are rescue dogs from Cyprus and unfortunately, given her demeanour, there’s no doubt that the female has been terribly abused in the past. We had to take very special care with her and worked hard to gain her trust. Both dogs were very sweet and it was a joy to care for them for the week.
We had a really nice room with a super comfortable queen bed and a private ensuite and our bedroom window looked out onto a courtyard. The cottage was a converted stable and was nicely finished with a open plan for the kitchen, living, and dining room, two bedrooms and an office.
We were at the edge of a tiny village, and we could walk right out the door to the footpaths running through open fields and into the woods. There was an excellent farm shop about 2 km away in East Stour, and a larger Tesco and other stores in the town of Shaftesbury, only a 5km drive away.
When we arrived, the couple took us out for a walk in the fields to show us where to run the dogs, and then showed us around the house. Once again, we were left with detailed written and verbal instructions, and we connected on Whatsapp to stay in touch during the trip. They made us supper and we visited for the evening, getting to know each other. Their plan to was leave around 9am the next day, and so we were all off to bed by 10. The dogs are pretty funny and know their routine very well. At 10pm, they get up and walk to the bedroom and wait for their beds to be moved, then they curl up and go to sleep. Seriously, you could set your watch by them.
It took the little female pup several days to start to relax around us, and she spent a good part of her day snuggled in her doggy bed in the office where she felt safe and comfortable. However, she enjoyed her walks which were kept brief due to a sore paw, and we often went in to sit with her in the office for a visit and snuggles.
The boisterous male pup was hilarious and full of beans. We had to keep the bedroom doors closed because he loved to run off with socks and shoes if given the chance. He really enjoyed his longer walks in the fields and Erik would often take him in the afternoon while I stayed home with the little girl.
We didn’t head off anywhere exciting on this segment, being more than content to sit home, read, watch TV, knit, and go for walks. The weather was quite cool and showery much of the time but we were always able to get out for walks between the showers.
We made a trip to the grocery store every day, and a couple of times we walked around the town of Shaftesbury to see some of the sights, including “Gold Hill”, the famous steep cobbled street that was featured in a 1973 Hovis Bread commercial. It has been used as a film location several times now and in fact, one afternoon when we were walking around town, we saw some filming going on.
Near the end of our 9 days, Steve, our friend from Bournemouth, picked us up and we went into town for supper. We had a good catch up, not having seen him since our last visit to the UK in 2014.
On our last full day, we drove 20 minutes north to visit a National Trust site – Stourhead – a beautiful old Palladian mansion with gorgeous sprawling gardens. Luckily, the sun came out for a little while, so we enjoyed a long walk around the lake, where we took many photos of the park-like surroundings. Afterwards, we drove to the Compton Abbas Airfield with its grass runway, where we had a nice lunch and watched the small planes take off and land. It was a nice day trip, and the only day that we spent 4-5 hours away from home.
That evening, we tidied the house, swept and vacuumed, and generally made sure everything was in tip top shape. We picked up bread, milk, butter etc, and replaced anything we had eaten from the cupboards. Originally the couple had expected to be home very late the next day and we had intended to stay over that night before heading to Liverpool, but it turned out their flight landed at noon and so we were able to get away a day early. We booked a B&B in Cheltenham for the night, and headed to Liverpool early the next morning, giving us more time to visit the city, so it worked out well.
Our little female pup had gradually been venturing out into the living room during the day a few times which was a good sign, but quite amazingly, on the morning that her family was due home, she came into the living room, sat down, and didn’t want to go back into her safe space in the bedroom. I thought she might need to go out for a pee, so I took her out briefly, but when we got back, she went straight back to the carpet and sat there waiting. Eventually I brought her bed out into the living room (which had been unsuccessful on previously occasions), and she happily climbed in and curled up for a snooze. I really do think she knew somehow, that her “mom and dad” were on their way home that day.
I do love the excitement when the families come home at the end of a long trip. The dogs are always so excited and happy! It’s wonderful that they are able to stay in their own home when their people are travelling, and they do settle in and get to know the caretakers pretty quickly, but they are always happy when mom and dad are home again.
We chatted for 15-20 minutes to let them know how everything had gone (in addition to my daily updates on Whatsapp), and left them a card and a jar of chutney. They gave us a 4 pack of Chilean Beer which was fun to try, and we headed off for the 2 hours drive to Cheltenham, at about 2:30pm.
Overall, we were really happy with our second house sit. We loved the house and the dogs, and had fun being a “homebody” in the lovely countryside. And every time we hopped into the car for a drive, we marvelled at the beautiful green rolling hills. I do loved the pastoral views of rural England.
And so now we are off to Liverpool for a few days to see the sights and to visit some places where my ancestors lived over 150 years ago. Can’t wait!
Next up: Liverpool!
Bath
Bath
In her safe place
You can tell he is mischievous 😉
“Walkies”
Beautiful countryside
We had mixed weather, but the views were always beautiful
Our next door “neigh”bour
More gorgeous-ness
Our back yard
Famous “Gold Hill” in Shaftesbury. (Google the Hovis Bread commercial from 1970’s)
Well it’s one down, two to go, and so far, we are giddy with excitement! Our first house sit was a dream house with a really sweet, calm, well-behaved black lab, and two cute bunnies who lived out back. As this was our first “job”, we really had no idea what to expect, or even what questions to ask, and although things went really well overall, we did learn a few things. In order to respect people’s privacy, I won’t be posting photos of people’s homes, giving names of family or pets, or provide any other identifying information, but I can certainly share about our experiences. I did ask for permission to share photos of their pets out on walks around the area.
When we arrived at our home for the week, the pup came running out to greet us and the couple brought us in, showed us around the house and yard, and tried to fill us in on all of the things we’d need to know. We swapped contact info, and as I had my iPhone with a UK SIM card, I was able to text or use WhatsApp to keep them updated. After a whirlwind tour of the house, we went out for supper to chat more casually and get to know one another.
Everyone went to bed early as the family had to be up at 2:30am for an early morning flight, and the dog came into our room and slept on the floor right away. I left the bedroom door open so that puppy could go out for a goodbye visit in the middle of the night if she wanted. When she came back into the bedroom at 3am, I knew the family was off.
When we got up in the morning, we got dressed and went straight out to take the dog for her morning walk. We knew roughly where to go – out the back gate, onto the lane, and then take one of the many footpaths that criss cross this country. The first field had about 20-30 calves which had recently been separated from their mothers and they were eager to come to visit us, looking for food. By the end of the week, they had figured out we weren’t the farmers and mostly ignored us, but it was really fun those first few days as they crowded around us a couple of times. I will post a cute video below.
As an aside, I absolutely LOVE England’s policy of public footpaths on all property. Every field has a gate of some sort – kissing gates, regular latched gates, steps up and over a rock wall, and more – and the public is expected to act responsibly when on private property. That means keeping pets away from livestock, picking up dog poop, staying on pathways so as not to trample crops, and not leaving trash. And as far as I can see, people seem to respect it and of all the footpaths I’ve been on in the UK, I haven’t seen any messes left by walkers or tourists.
Anyway, there we were, walking the footpaths with our lovely pup, in the early morning, while the grass was still wet with dew – heaven! Although she seemed very well behaved and the family told us she would be fine off-leash, we were hesitant to do so for the first 2-3 days, until we were certain she’d come when called. However, we soon realized how well she listened and eventually let her run when in the fields. We always carried treats with us and rewarded her each time she came when called, and we kept her on leash when on the roads or in fields with livestock.
When we got home from our walk, Erik fed the dog while I fed and watered the rabbits, and then finally, it was time for a cup of coffee! There was bread, milk, and eggs left for for us to use, and we were encouraged to use up any food that might spoil while they were away, as well as condiments/spices etc. We did use a few things, but most of the time, we bought and cooked our own food, or ate out at the pub. I would have used our own coffee, but they had a Nespresso machine and I couldn’t find anywhere that sold the capsules. I found out at our next sit, that you can buy them at Tesco… Ah well, live and learn.
The first day, we walked around the village to get our bearings, checked out the pub close by and bought a book about the history of the pub, and picked up some groceries at the village shop. It seems that a lot of these small villages will have a community shop, and unlike small groceries stores at home, the prices are very reasonable. I suspect this is because for the most part, the shops are manned by volunteers, with only a few paid staff who take care of the books and the ordering etc. I think it’s a great idea!
It was fun to be able walk around the village with the dog because lots of people would stop to chat – some knew our pup and so by proxy, knew who we were, and others just stopped to chat because we were strangers.
The Brits really love and care for their dogs. Everywhere you go, you see people with their pets and it’s a lovely sight. They really take responsibility for their animals and most pets seemed to be very well mannered. Maybe that’s one of the reasons why most pubs allow dogs inside. In fact, it’s almost surprising to walk into a pub and NOT see a dog sitting quietly under a table. It was a custom that Erik was anxious to try.
Bretforton was a gorgeous little village with the typical yellow Cotswold stone homes with either stone or thatched roofs, and a typical town square called the Cross. Our house was near the square, and very close walking distance to a 600 year old pub, called the Fleece Inn. Originally a small three room peasant farm house, succeeding generations of the same “Byrd” family added onto the home over time until it became the larger, rambling building it is now.
In 1848, Henry Byrd decided to open the house as a pub in order to make a living but he soon died and his widow, Ann Byrd, took over. The next three generations who ran the pub were all women – successive daughters and granddaughters of the Henry and Ann Byrd, ending with Lola Taplin who died in 1977. Local stories suggest she was quite a character, and although bit surly, was much respected. Some say she occasionally haunts the place by moving furniture around in the bar at night, and sometimes throwing food across the room (she never allowed food in the pub when she ran the place).
Having no heirs, Lola bequeathed the Inn to the National Trust who has hired managers to run it since then. The current and arguably most successful landlord, Nigel Smith, has done a great job managing and marketing the Inn, despite weathering a devastating chimney fire that destroyed the thatch roof in 2004. However, the community came out in droves to create a human chain and removed the many antiques, so all was not lost. Eighteen months of renovations eventually brought the Inn back to its former glory with three cosy rooms surrounding the small main bar, as well as a kitchen and other offices, two rental rooms upstairs, and a medieval barn next door. There is a full events calendar posted on the website, with many special events, weddings, and local musicians performing. Every time we went over, the Inn seemed to be a going concern, both inside, and out on the acre of parklike orchard. It was truly the quintessential old English Pub.
During our week in Bretforton, we took several short trips to the surrounding areas, visiting Chipping Campden, where we had started the Cotswold Way in 2014, and Broadway, a very pretty but touristy village, where we went for a full afternoon tea in the garden of Tisane’s Tea Room. We shared cucumber and cream cheese sandwiches, turkey and cranberry sandwiches, scones with strawberry preserves and thick,clotted cream, and two kinds of cake – Lemon Drizzle and Victoria Sponge. I was so full that I didn’t need any supper that evening.
On another showery afternoon, we visited Snowshill Manor, a fascinating old house stuffed full of odd handicrafts and antiques collected by the eccentric Charles Wade over his lifetime. He himself lived in a tiny cottage next to the huge manor that he purchased solely to house his collections. Like so many others, he died without heirs and donated his home and collection to the National Trust.
Another afternoon, we drove a few kilometers down the road and walked a 4 km loop up and down Dover’s Hill. It was part of the Cotswold Way and we enjoyed revisiting some of the views we’d seen a few years earlier. The sun even came out for a little while that day!
During the week, I cooked a few meals and we ate at the pub a few times. We had Sunday Lunch (roast beef dinner) at the Fleece Inn on Sunday afternoon, take out Fish and Chips on Tuesday, and Pie and Pint night on Wednesday (that was a delicious hand made chicken and leek pie with a pint of beer). On Thursday night, we went to the pub after dinner to listen to Folk Music night. We had prime seats in the little Pewter Room which only held about 14 people normally, as the musicians began to file in around 9pm. There were about 10 musicians and about the same number of spectators, but Erik and I had so much fun that we stayed long after most people had left. A young man, Matthew, who played the button accordion sat at our table, and we had great fun chatting with him. One of the men sang the Springhill Mining Disaster song for us, and then later, Matthew invited us to come see the Morris Dancers practice in Stratford Upon Avon on Saturday.
Morris Dancing is a folk dance normally done only by the men (although there are now women’s “sides” as well). The men wear colourful costumes with bells on their knees, and usually include sticks and handkerchiefs, and sometimes even swords in their complex steps. Each town has a “Side” or group with their own costume and dances and they enjoy meeting with other Sides to learn new dances and then lift a pint or two.
Anyway, we had a super night and didn’t head home until 1:30am. Erik had asked me several times from midnight on if I was ready to go, but I wasn’t. LOL…
On Friday, we started to get our stuff collected and packed up, and did some housework – vacuuming, sweeping, dusting etc. The family wasn’t expected home until about 1:30 Saturday afternoon so we had time to clean bathrooms and do laundry after we got up on our last morning. I made a batch of ginger cookies to leave for the family and by the time they arrived home, we were all packed and ready to go, and puppy had had one last walk, bunnies were fed, and the house was clean and tidy. We had a brief visit to tell them how things went, and then said our goodbyes and were on our way to Blockley for a couple of days before heading south to our next house sit.
Overall, we really enjoyed our first house sit, and it actually exceeded our exceptions, if that’s possible. It was lovely to have a dog around again and I felt I really got to know her during our week visit. We enjoyed taking her out for walks out in the fields several times a day. The rabbits were easy to care for and fun to watch, and we never felt constricted in our activities because we had animals to care for – rather they enhanced our visit.
We had time to do 2-3 short trips to nearby towns and were never away for more than four hours by design rather than necessity. We find we are usually tired and want to be home by that time anyway. Most days, we just enjoyed hanging out at home – reading, walking, cooking, and watching TV a few evenings. Erik even had a guitar to play and I had a piano so I was able to practice my Claire de Lune every day.
I can’t say enough positive things about the house as well – it was a beautiful, old (as in 1600’s old), rambling, manor house with three storeys and many little cozy spots. They had added a new sunny conservatory, and as it was hot for our first 2-3 days there, we enjoyed the folding doors that opened up to the patio and the gorgeous yard. Our room was large and comfortable with a queen size bed, and we had two bathrooms to choose from on the same floor. I loved the crooked old wood floors that tipped and tilted and made you feel as though you’d had a few too many pints, and our corner room had windows looking out to the pub and the orchard park next door. What’s not to like?!
House sitting is definitely not for everyone though. You have to be content to be a home body for the time you are there, and you have to love animals and enjoy caring for them. It’s easy to love your own pets, but not always so with other people’s, so that part is important. And are you comfortable living in someone else’s home? If you’ve done lots of AirBnB, you might find this part no big deal, but some people might not enjoy that part. For us, it was great, and it was interesting to slip into other people’s lives for a short while.
It’s also important to choose your housesits carefully. Make sure you are in the kind of place you would enjoy spending time – do you prefer city life? Small town? Village? Or a rural spot? Do you loves dogs, or cats, or do you prefer the greater challenge of caring for farm animals? What house and yard work is expected? We watered the pots almost every day, and there must have been at least twenty of them around the the front and back patios, and we had specific times we needed to be home to walk and feed animals. We didn’t have to cut the grass or weed the garden at this home, but we were willing to, but I loved having little household chores to do as it kept me busy and made me feel at home.
My biggest learning curve was worrying about accidentally damaging something while we were there. Obviously, we were being extra careful when using other people’s possessions, but after the second day, when I inadvertently melted the handle of a pretty utensil, I fretted and worried for several days about what to do. (I had assumed the colourful handle was silicone and had left the spoon leaning inside a pot on the hot stove, only to find it softened, dented, scratched, and partially melted.) I googled the brand and found it was discontinued (due to that actual problem), but I was able to contact a local supplier and order a replacement online.
Once I had solved the problem, I messaged the homeowner and told them what had happened. Not surprisingly, she told me not to worry about it and that I hadn’t needed to replace the item, but I’m still really glad I did, because I think it’s the right thing to do. From that point on, every time I noticed a knick in a bowl or a scratch on a table, I worried that I might have done it. LOL, it was quite silly to fret, I know, but I couldn’t help it. I decided that on our next house sit, I will ask about any dishes or items that we should avoid because they have great value, either financially or sentimentally, and I will take a close look, and perhaps even take photos of scratches on tables and etc so I can tell if I’ve done anything.
After the house sit, I did google the situation on some housesitting blogs that mentioned that some housesitters often videotape parts of the house so they know how to put everything back exactly the way it was when the homeowners left. We didn’t have need to move anything around so that wasn’t necessary, but I did like the idea of taking pictures of pre-existing damage, like I do when I rent a car, only in this case, it’s strictly for my own information, and not to try to prove that something was already there.
And so now, we have two days off, to visit the town of Blockley (only 20 minutes away) and the surrounding area. We will stay at a lovely B&B built in an old mill, and check out where Father Brown was filmed, as well as take a walk around Upper and Lower Slaughter, and visit Chastletown House.
Next Up: Our Second Housesit in Stour Row, near Shaftesbury, in Dorset
Lots of brambles but they aren’t sweet like Blackberries
Lots of Stinging Nettles too!
The Fleece Inn
The Fleece
All tired out after playing fetch
Early morning beauty
Two happy campers
The biggest apple I’ve ever seen. I made an Apple Crisp with one apple.
So many flowers in the yard
Inside the pub. Note the white circles on the floor to deter witches


 Every time I make bread, I mix up some starter with flour and water and leave it overnight. This is my “levain” that I use to make bread the next morning. I take some of that levain for bread and then throw the rest away.
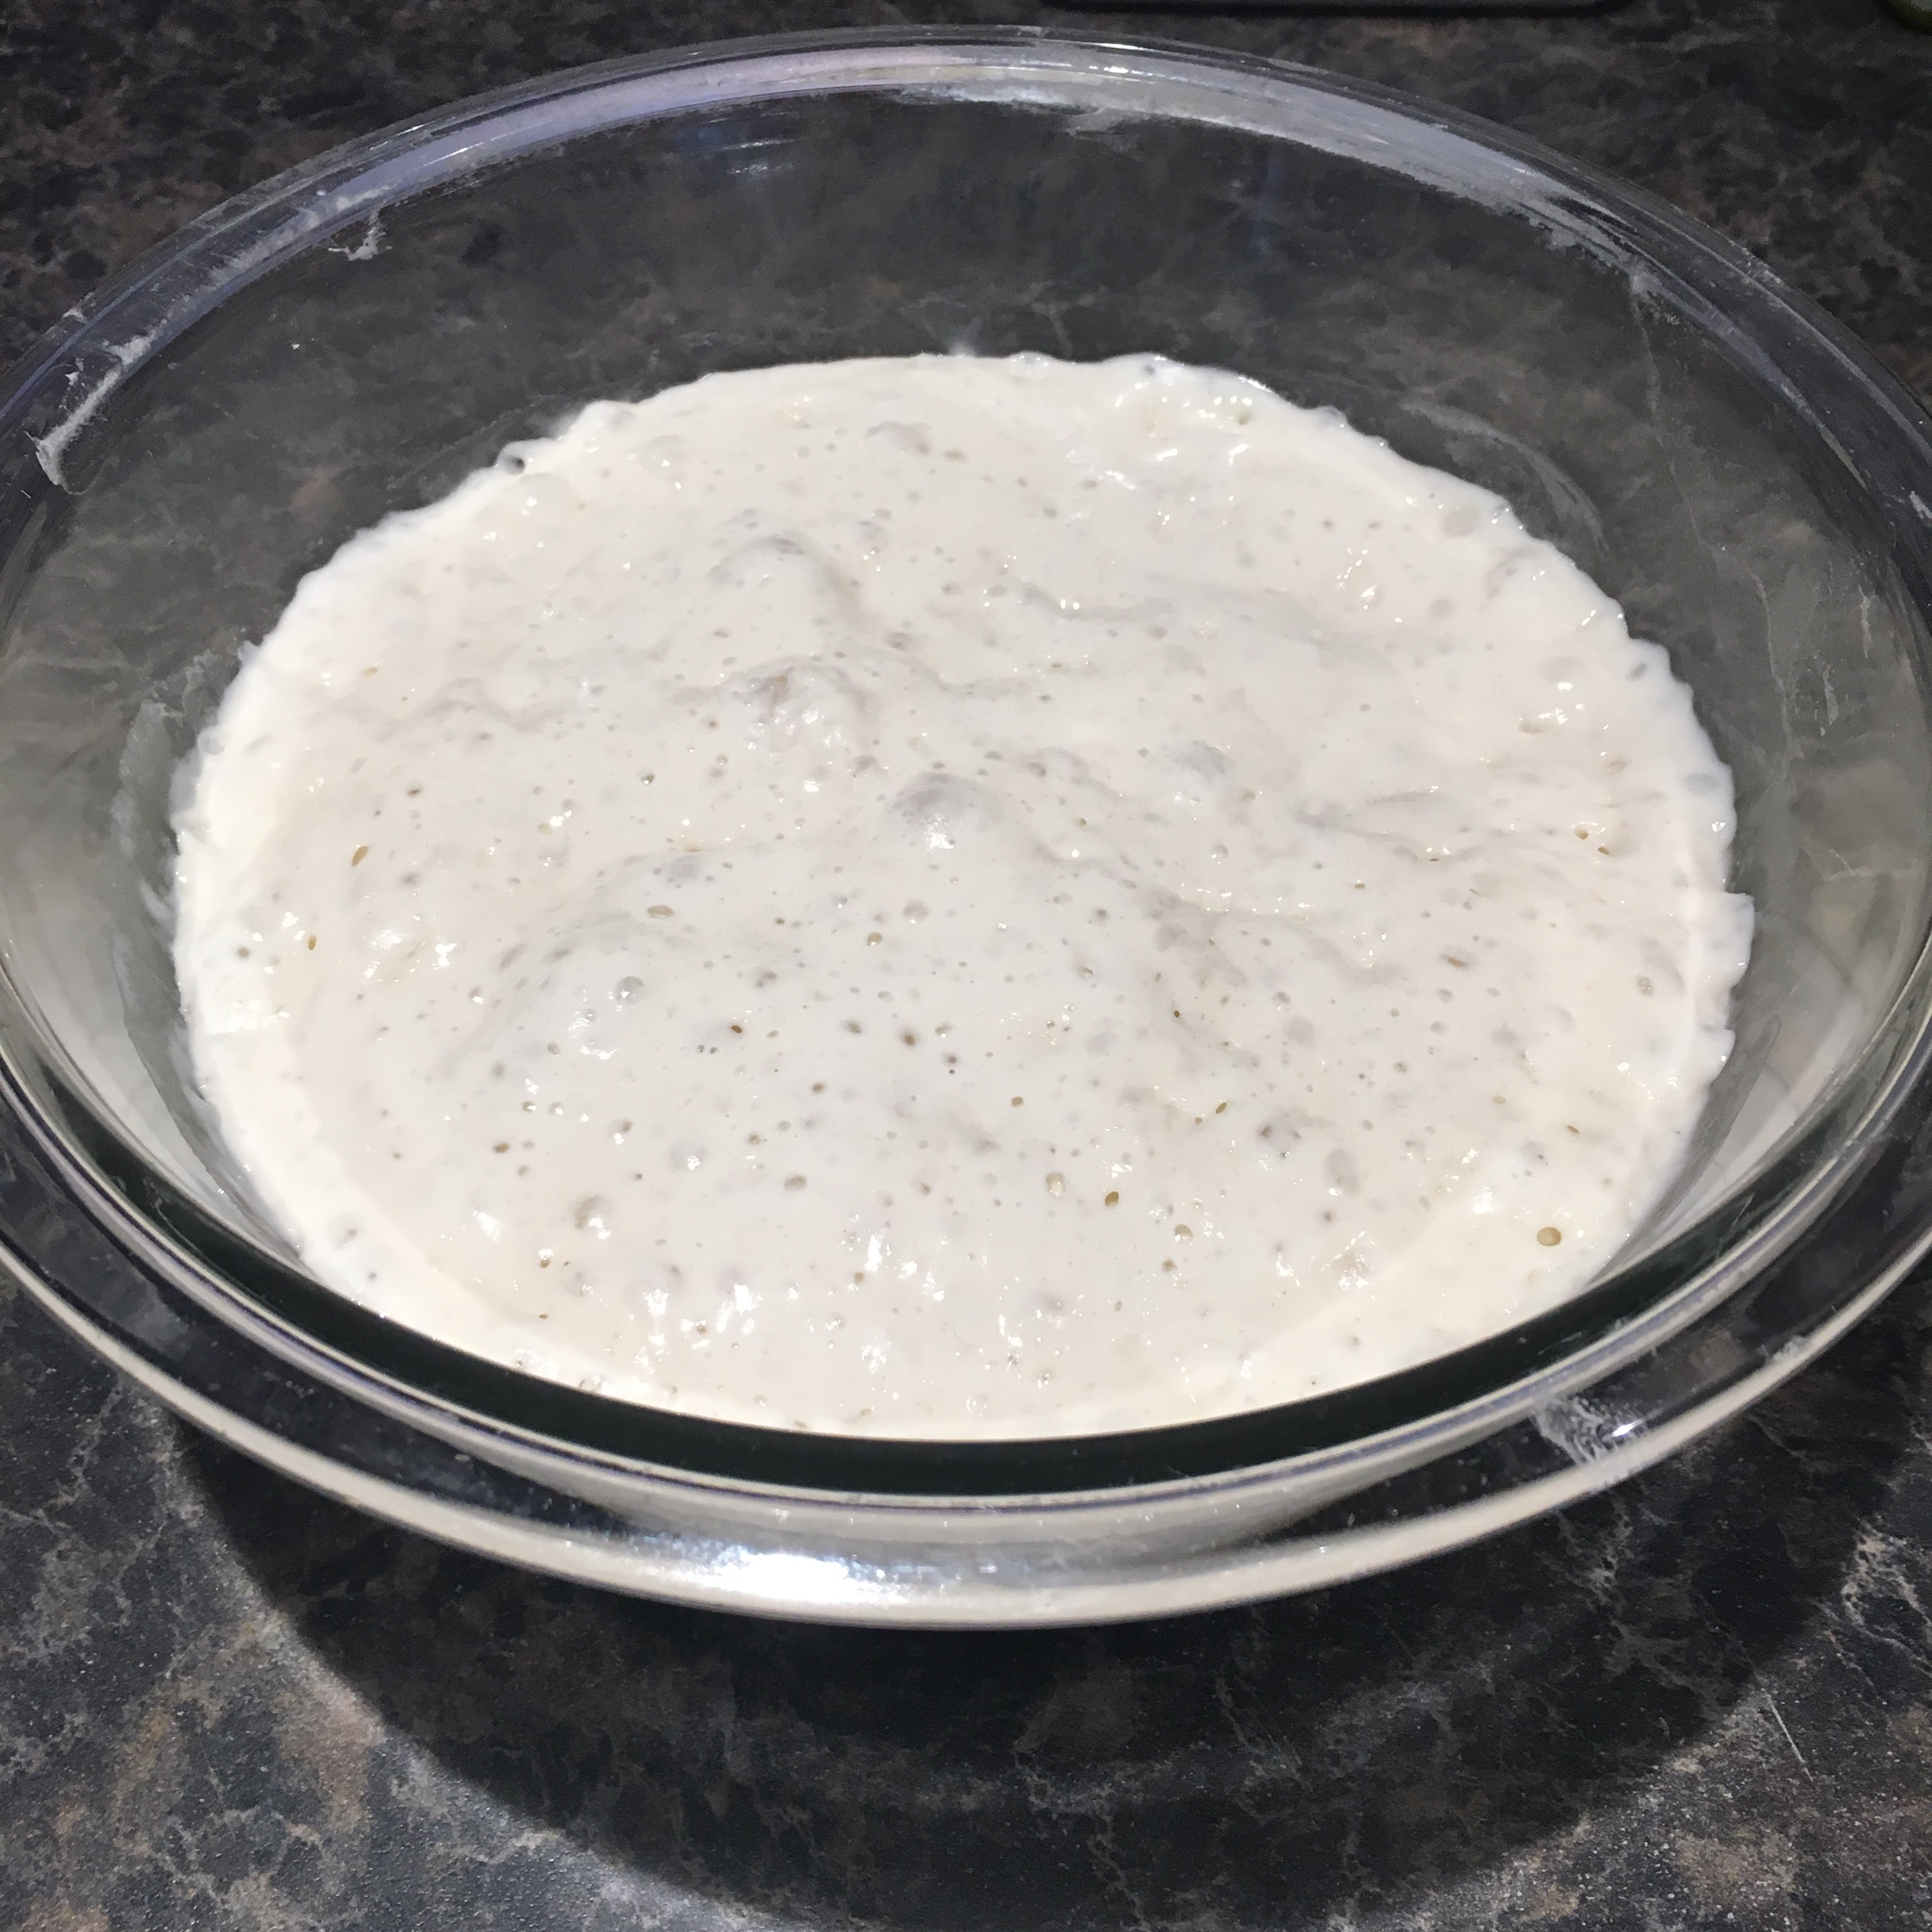

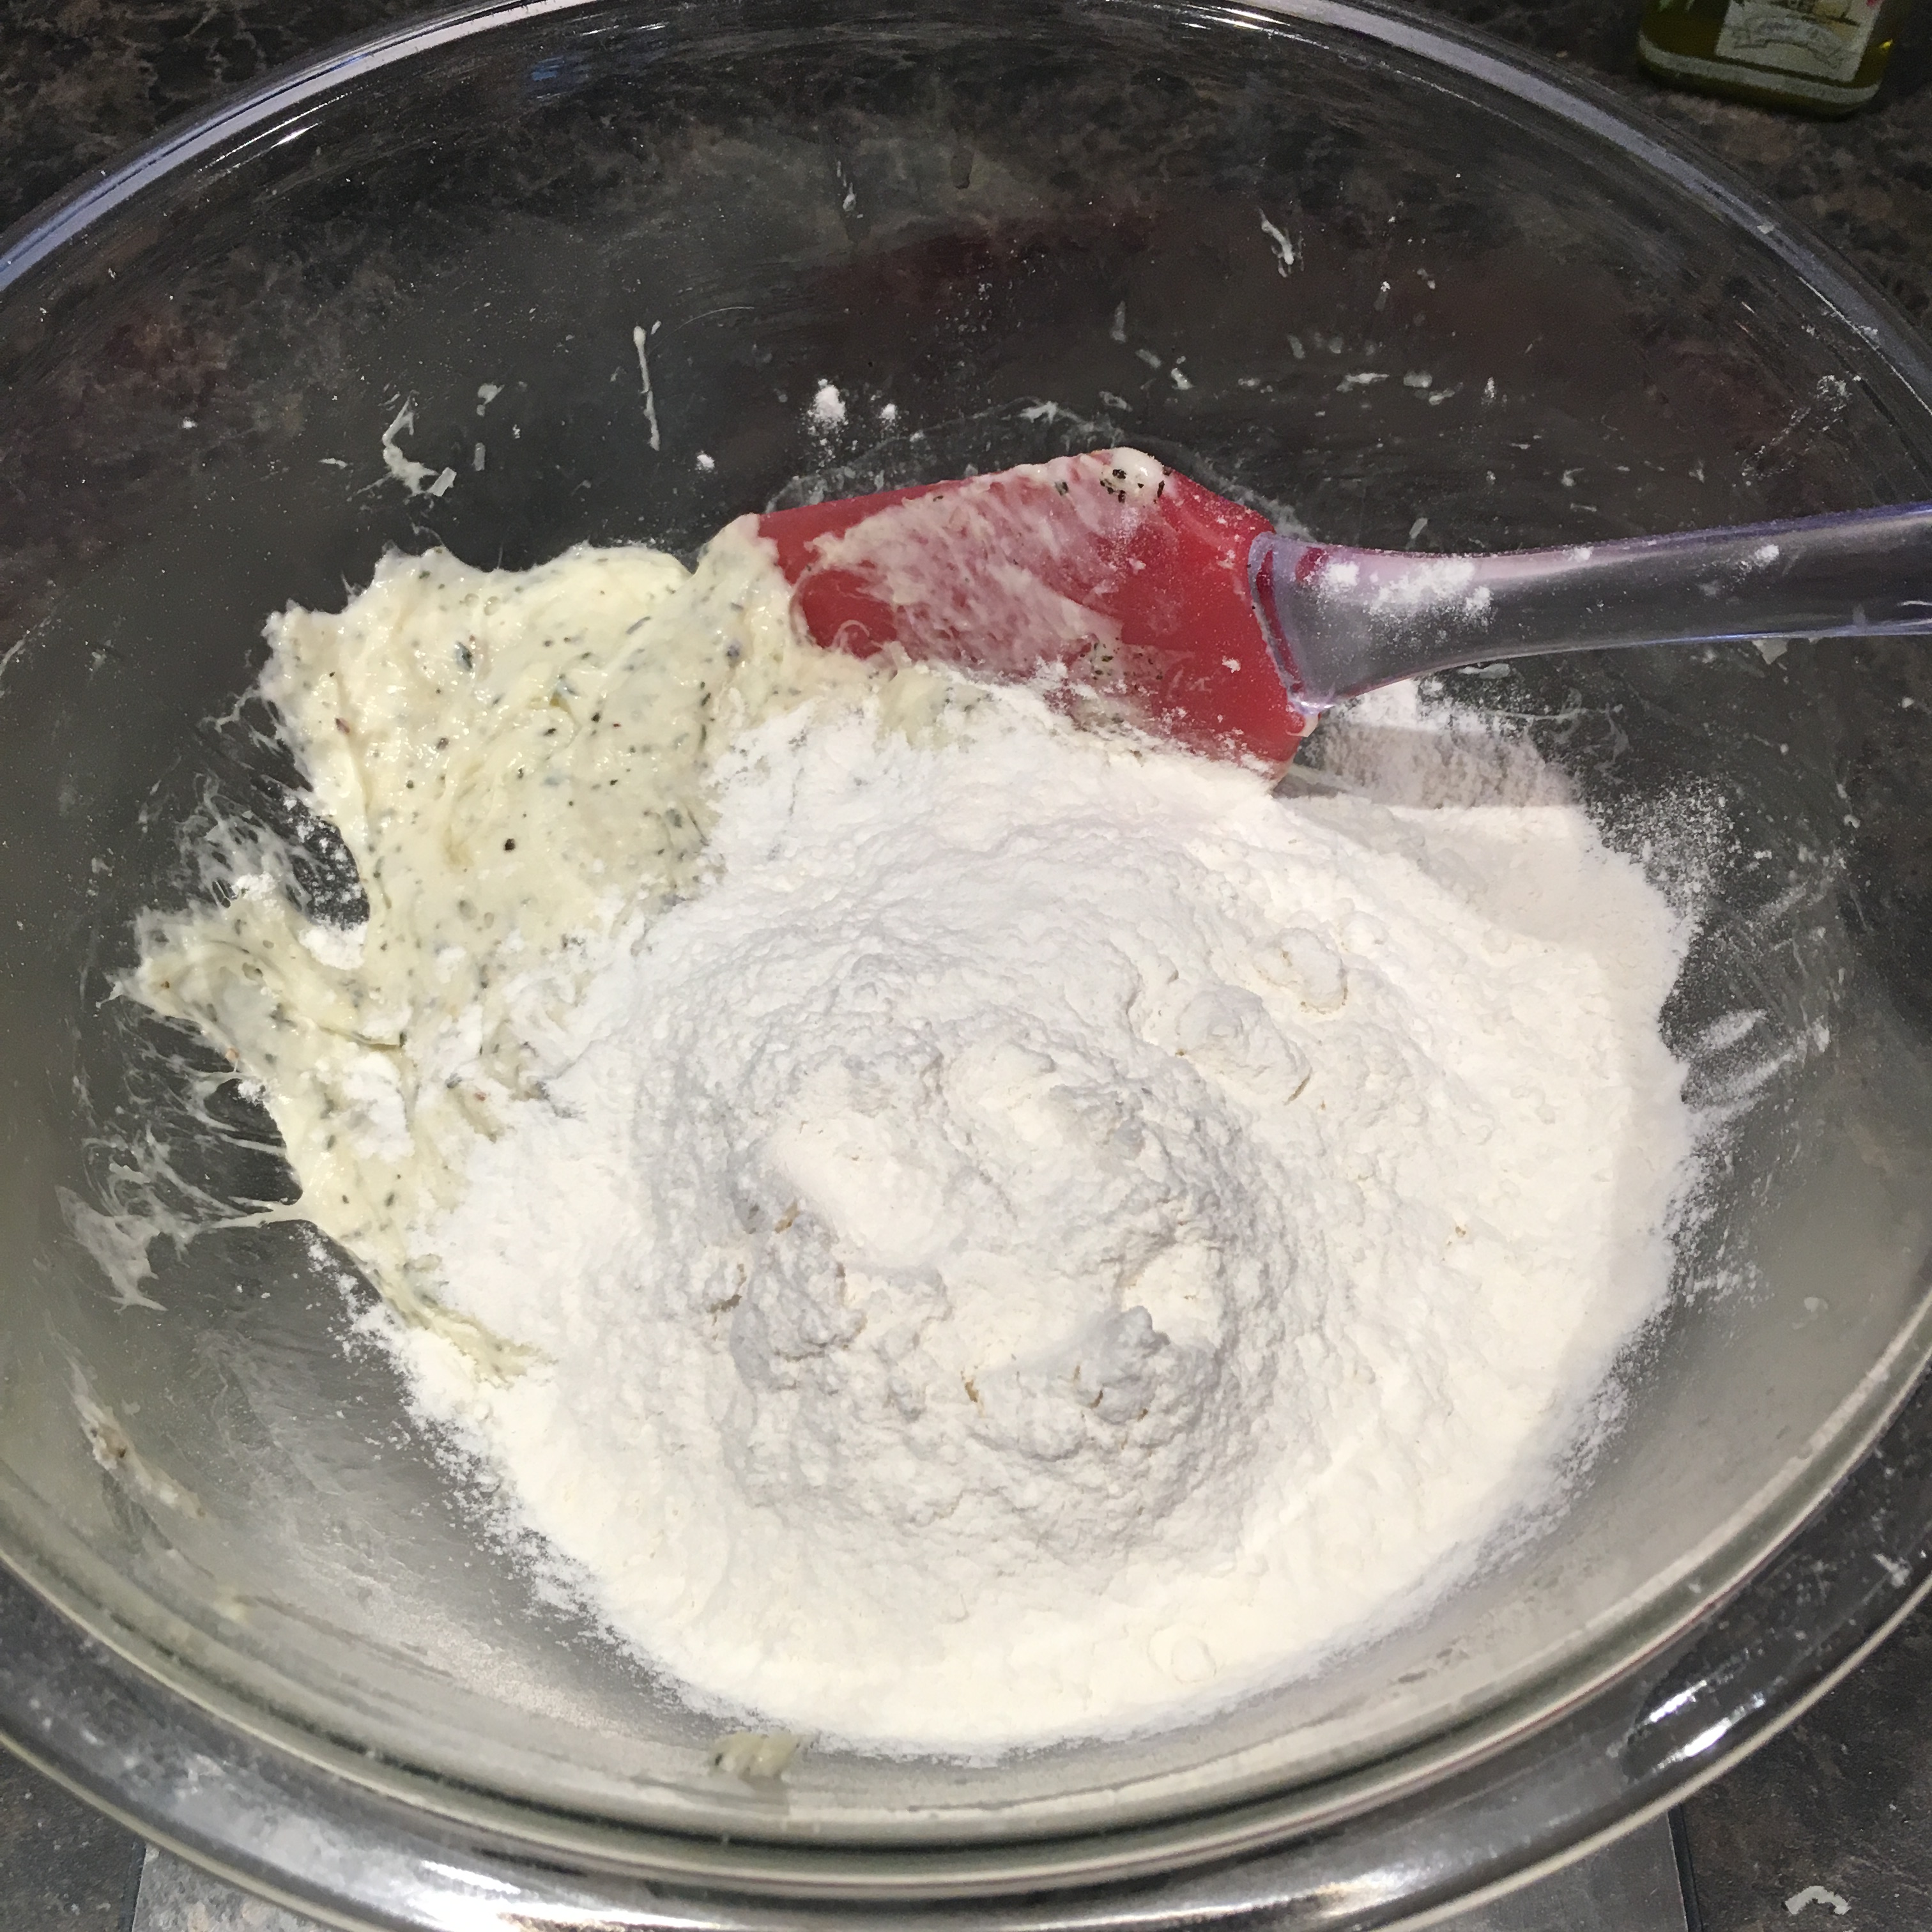
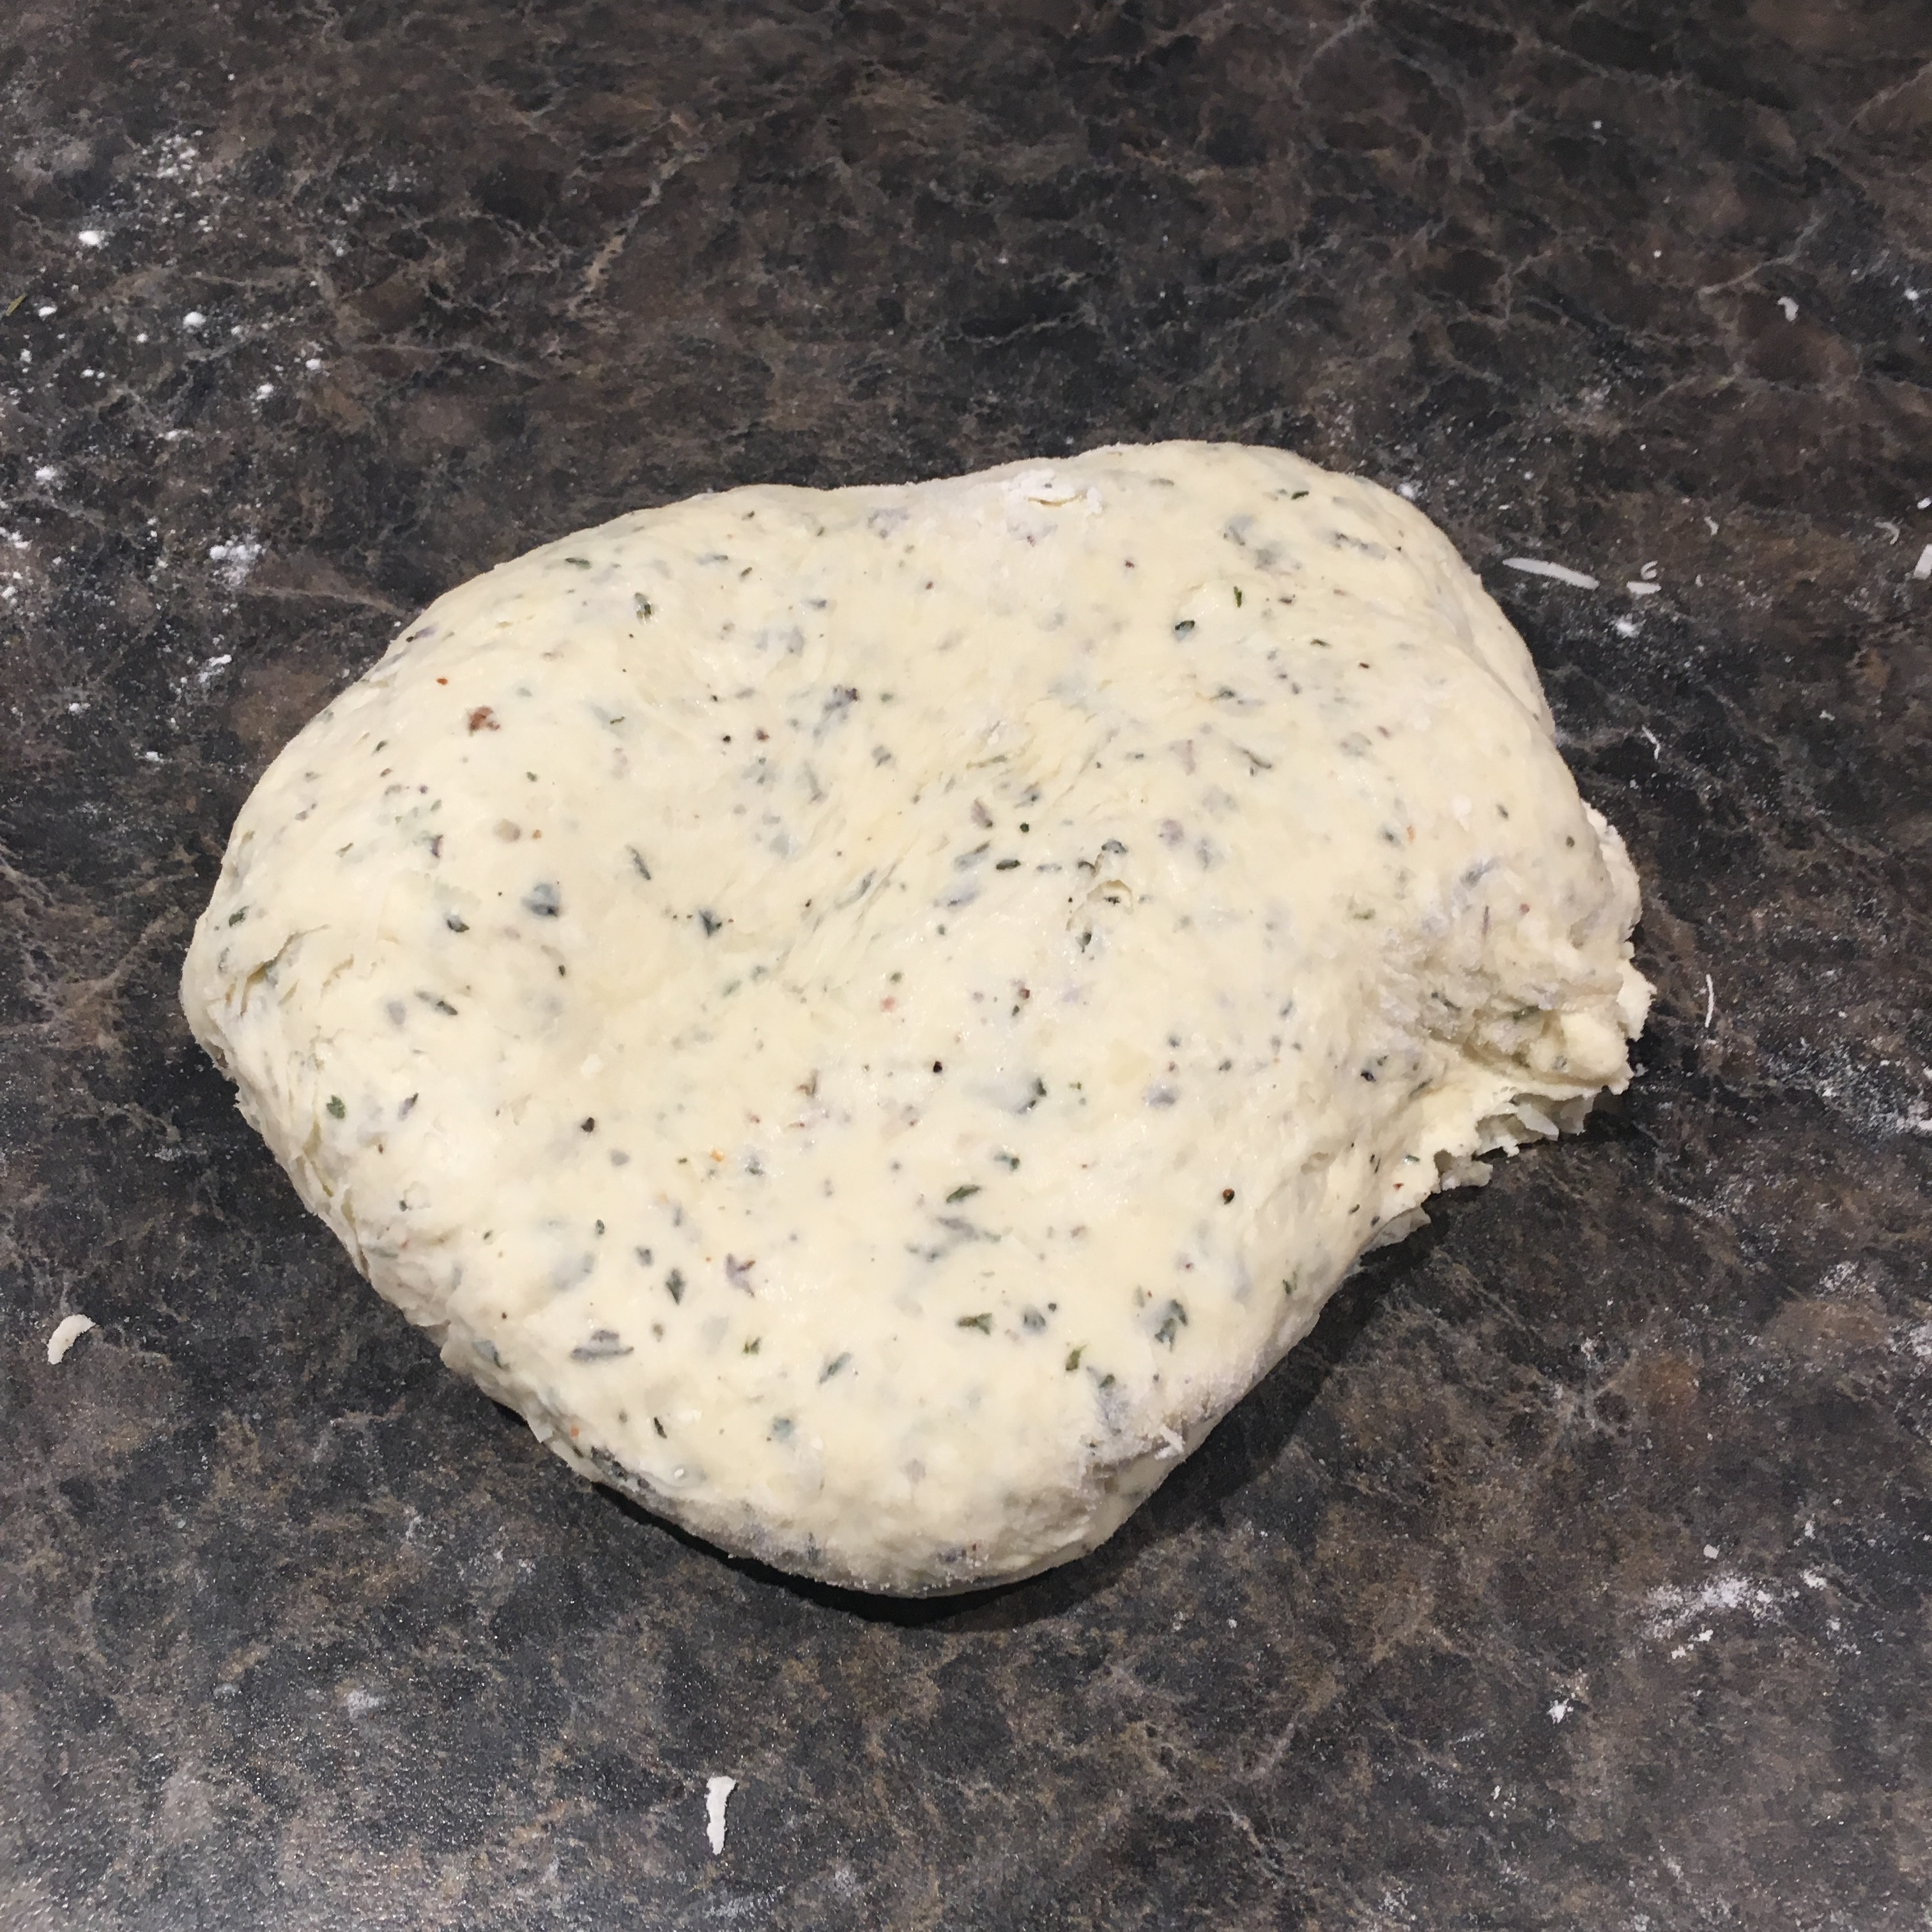
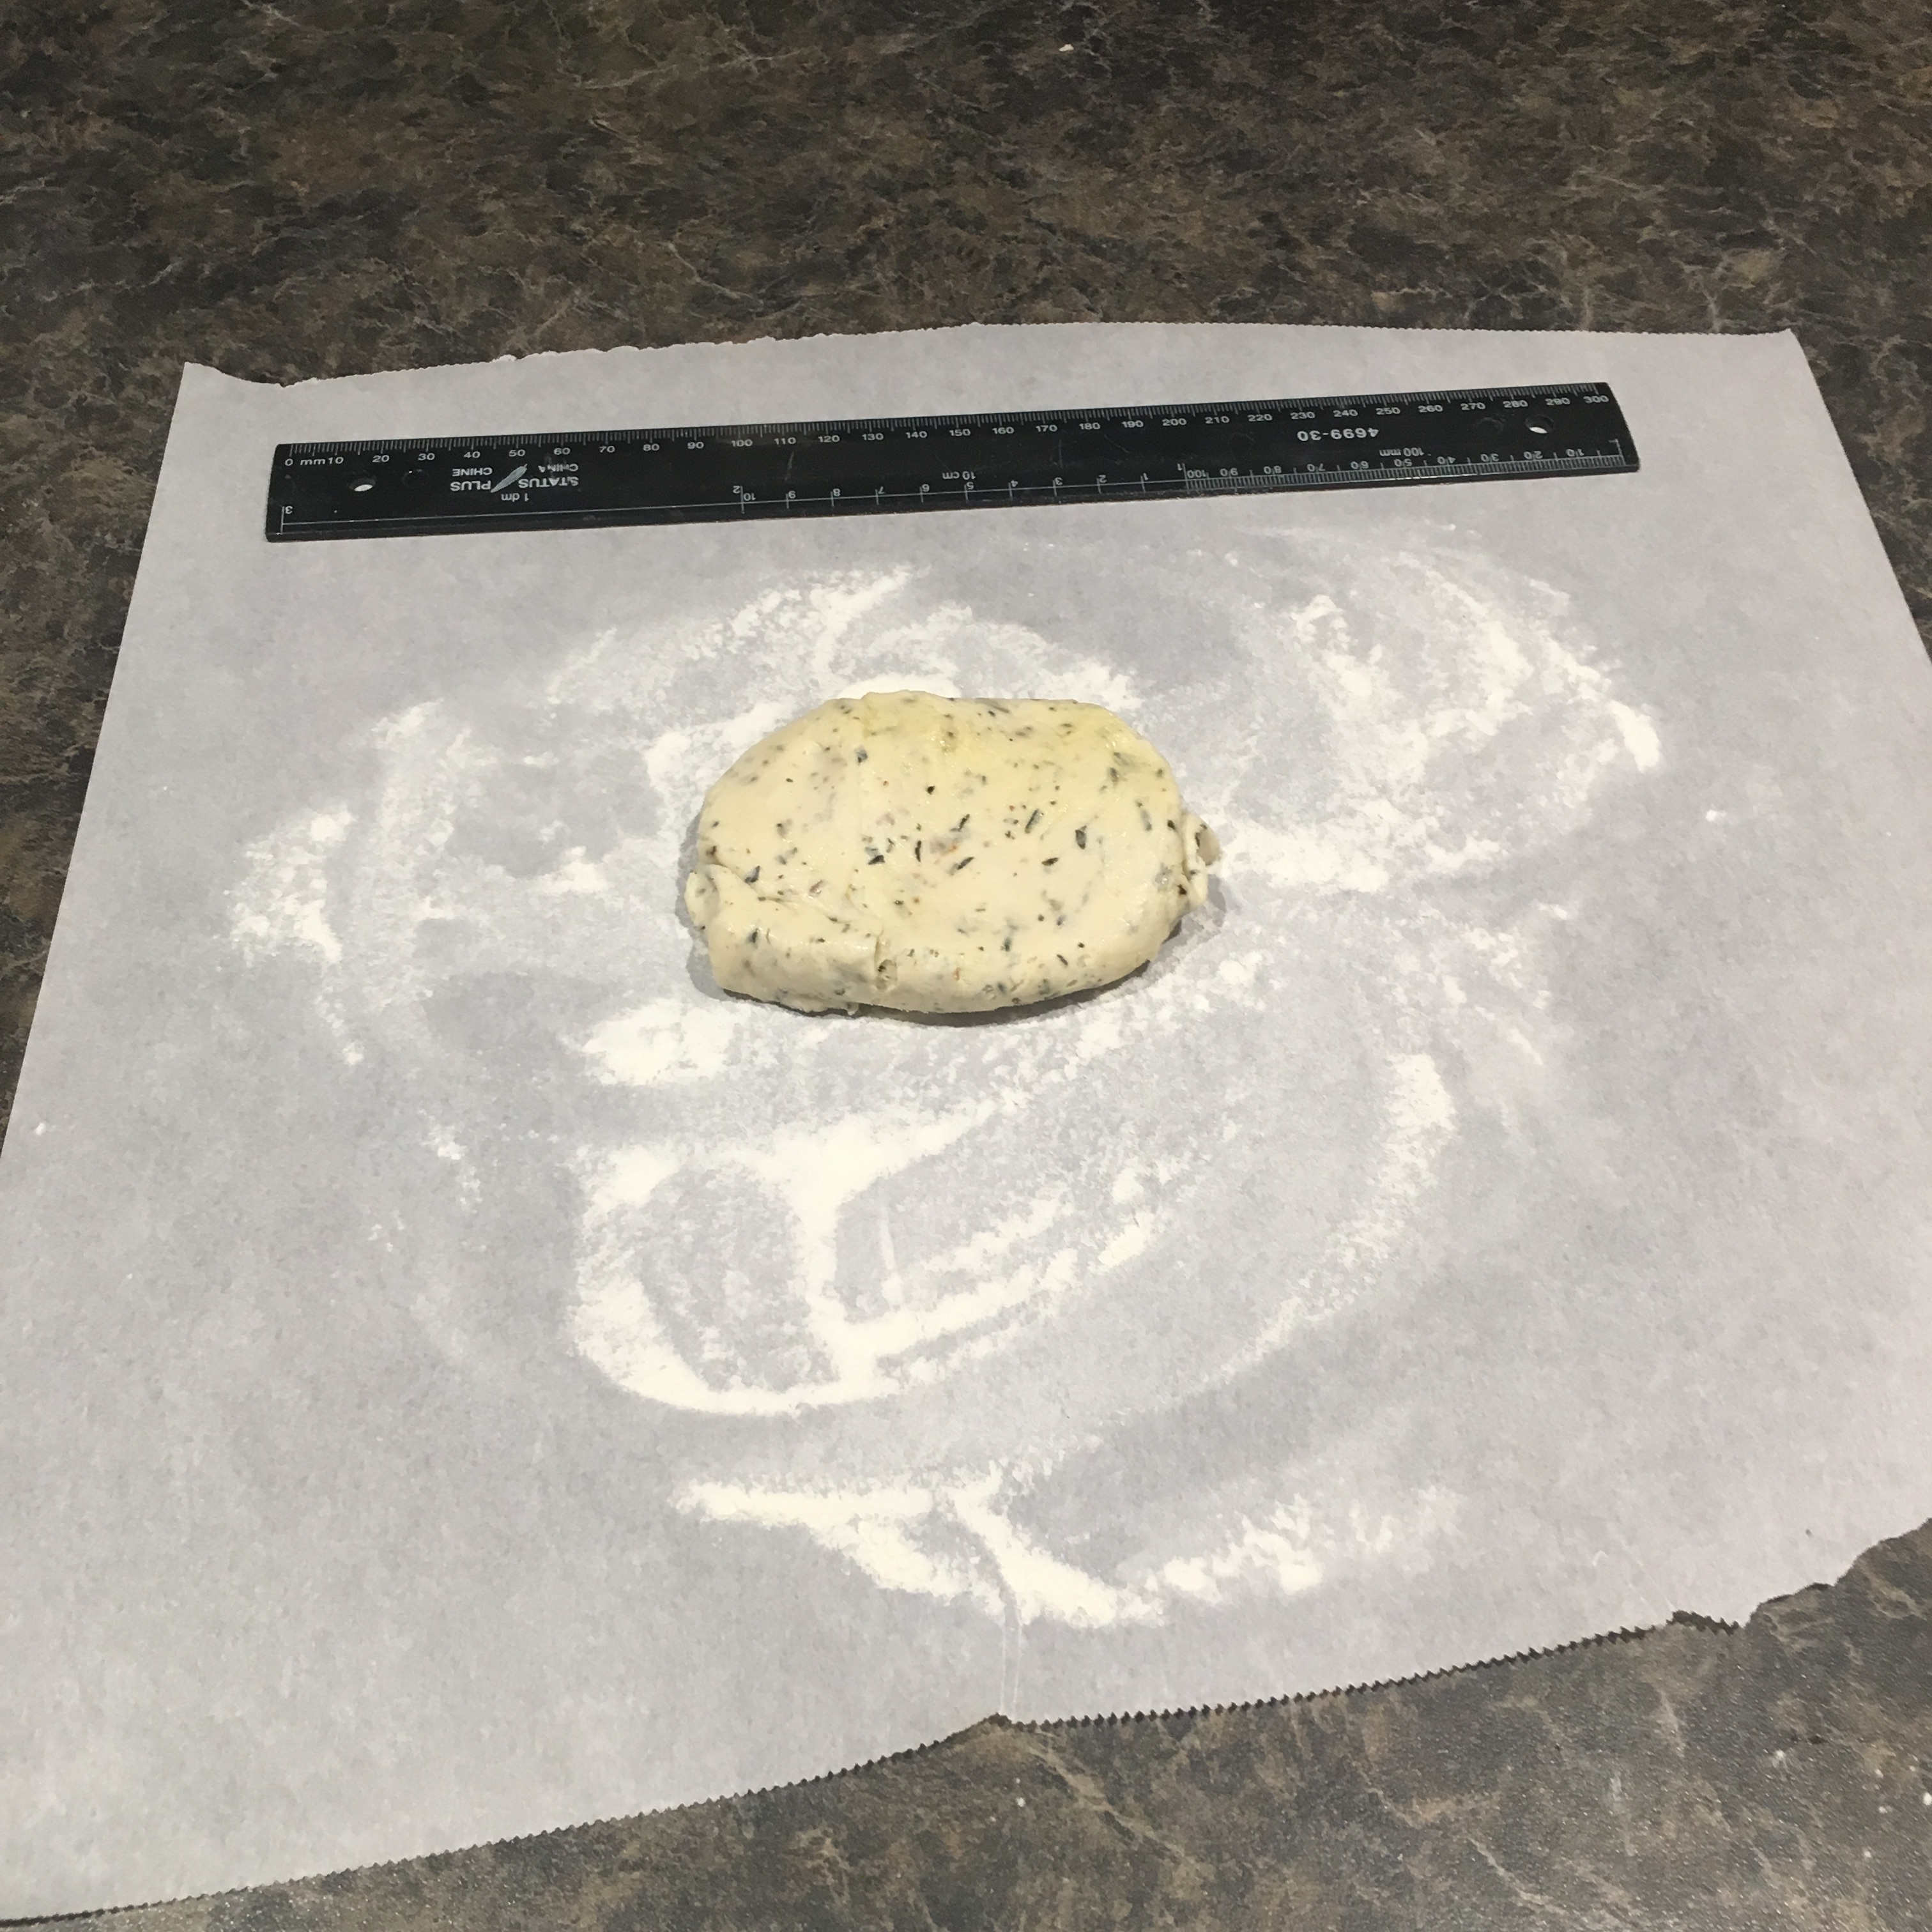
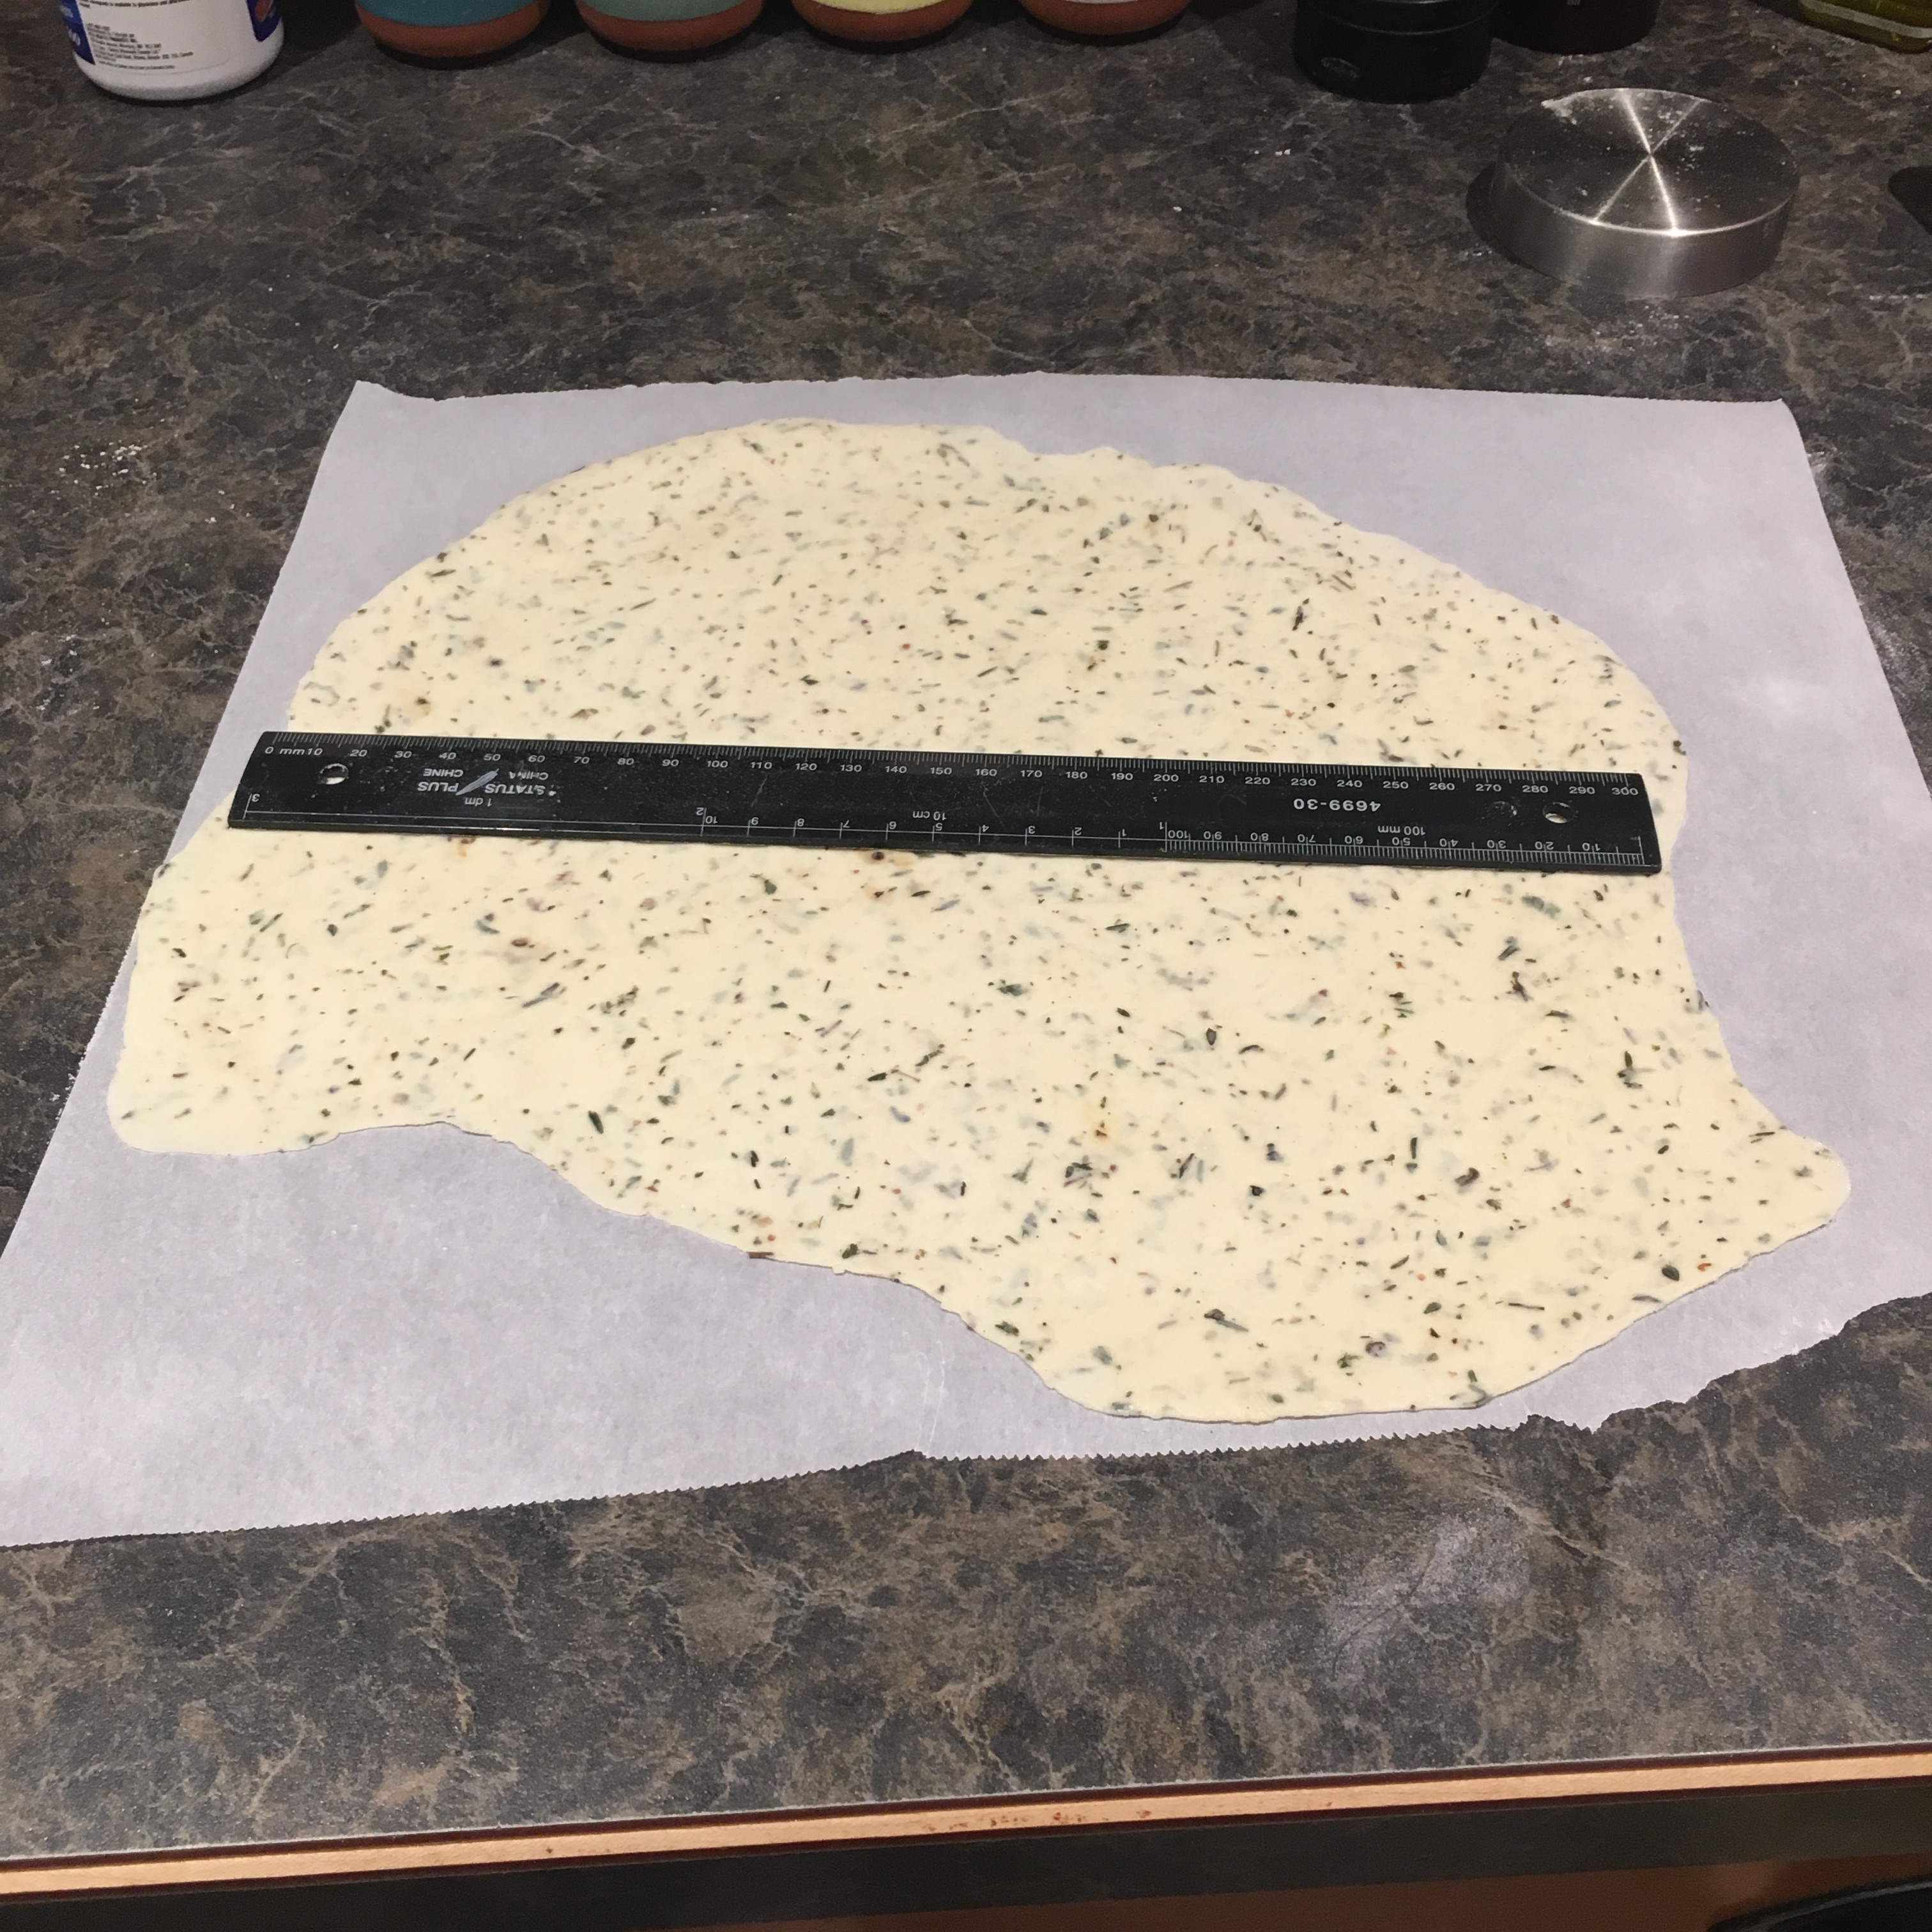
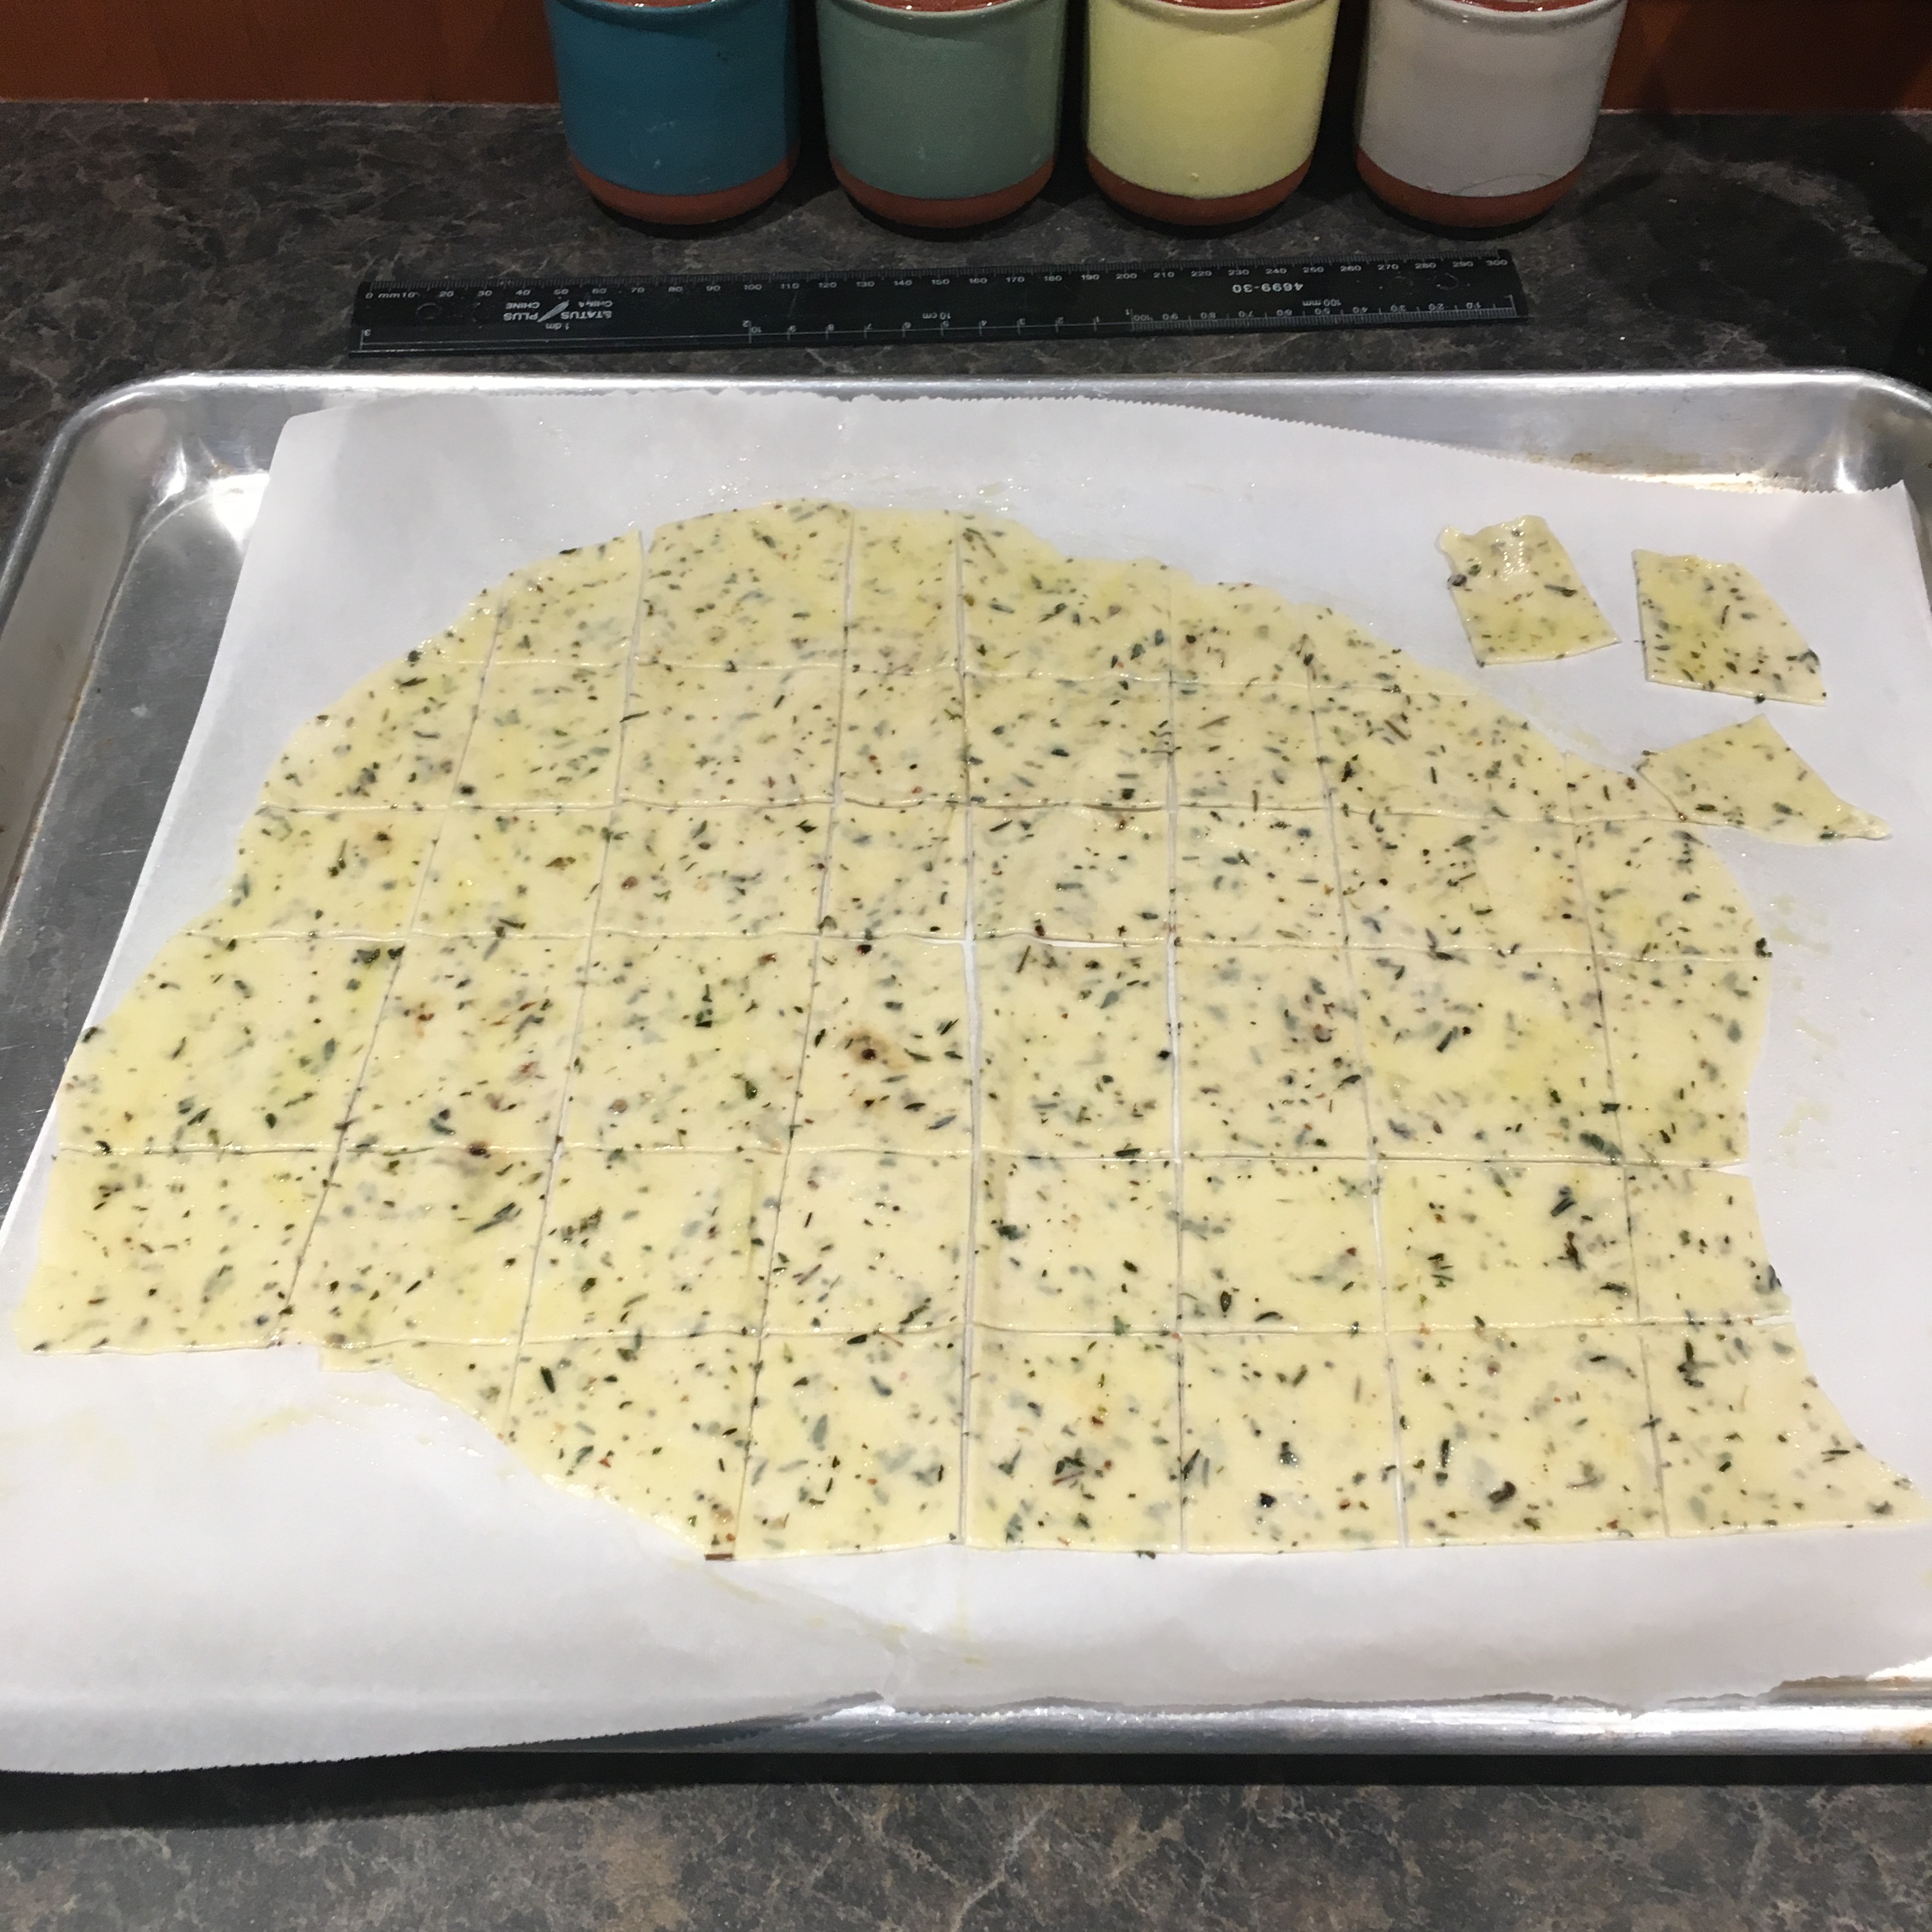
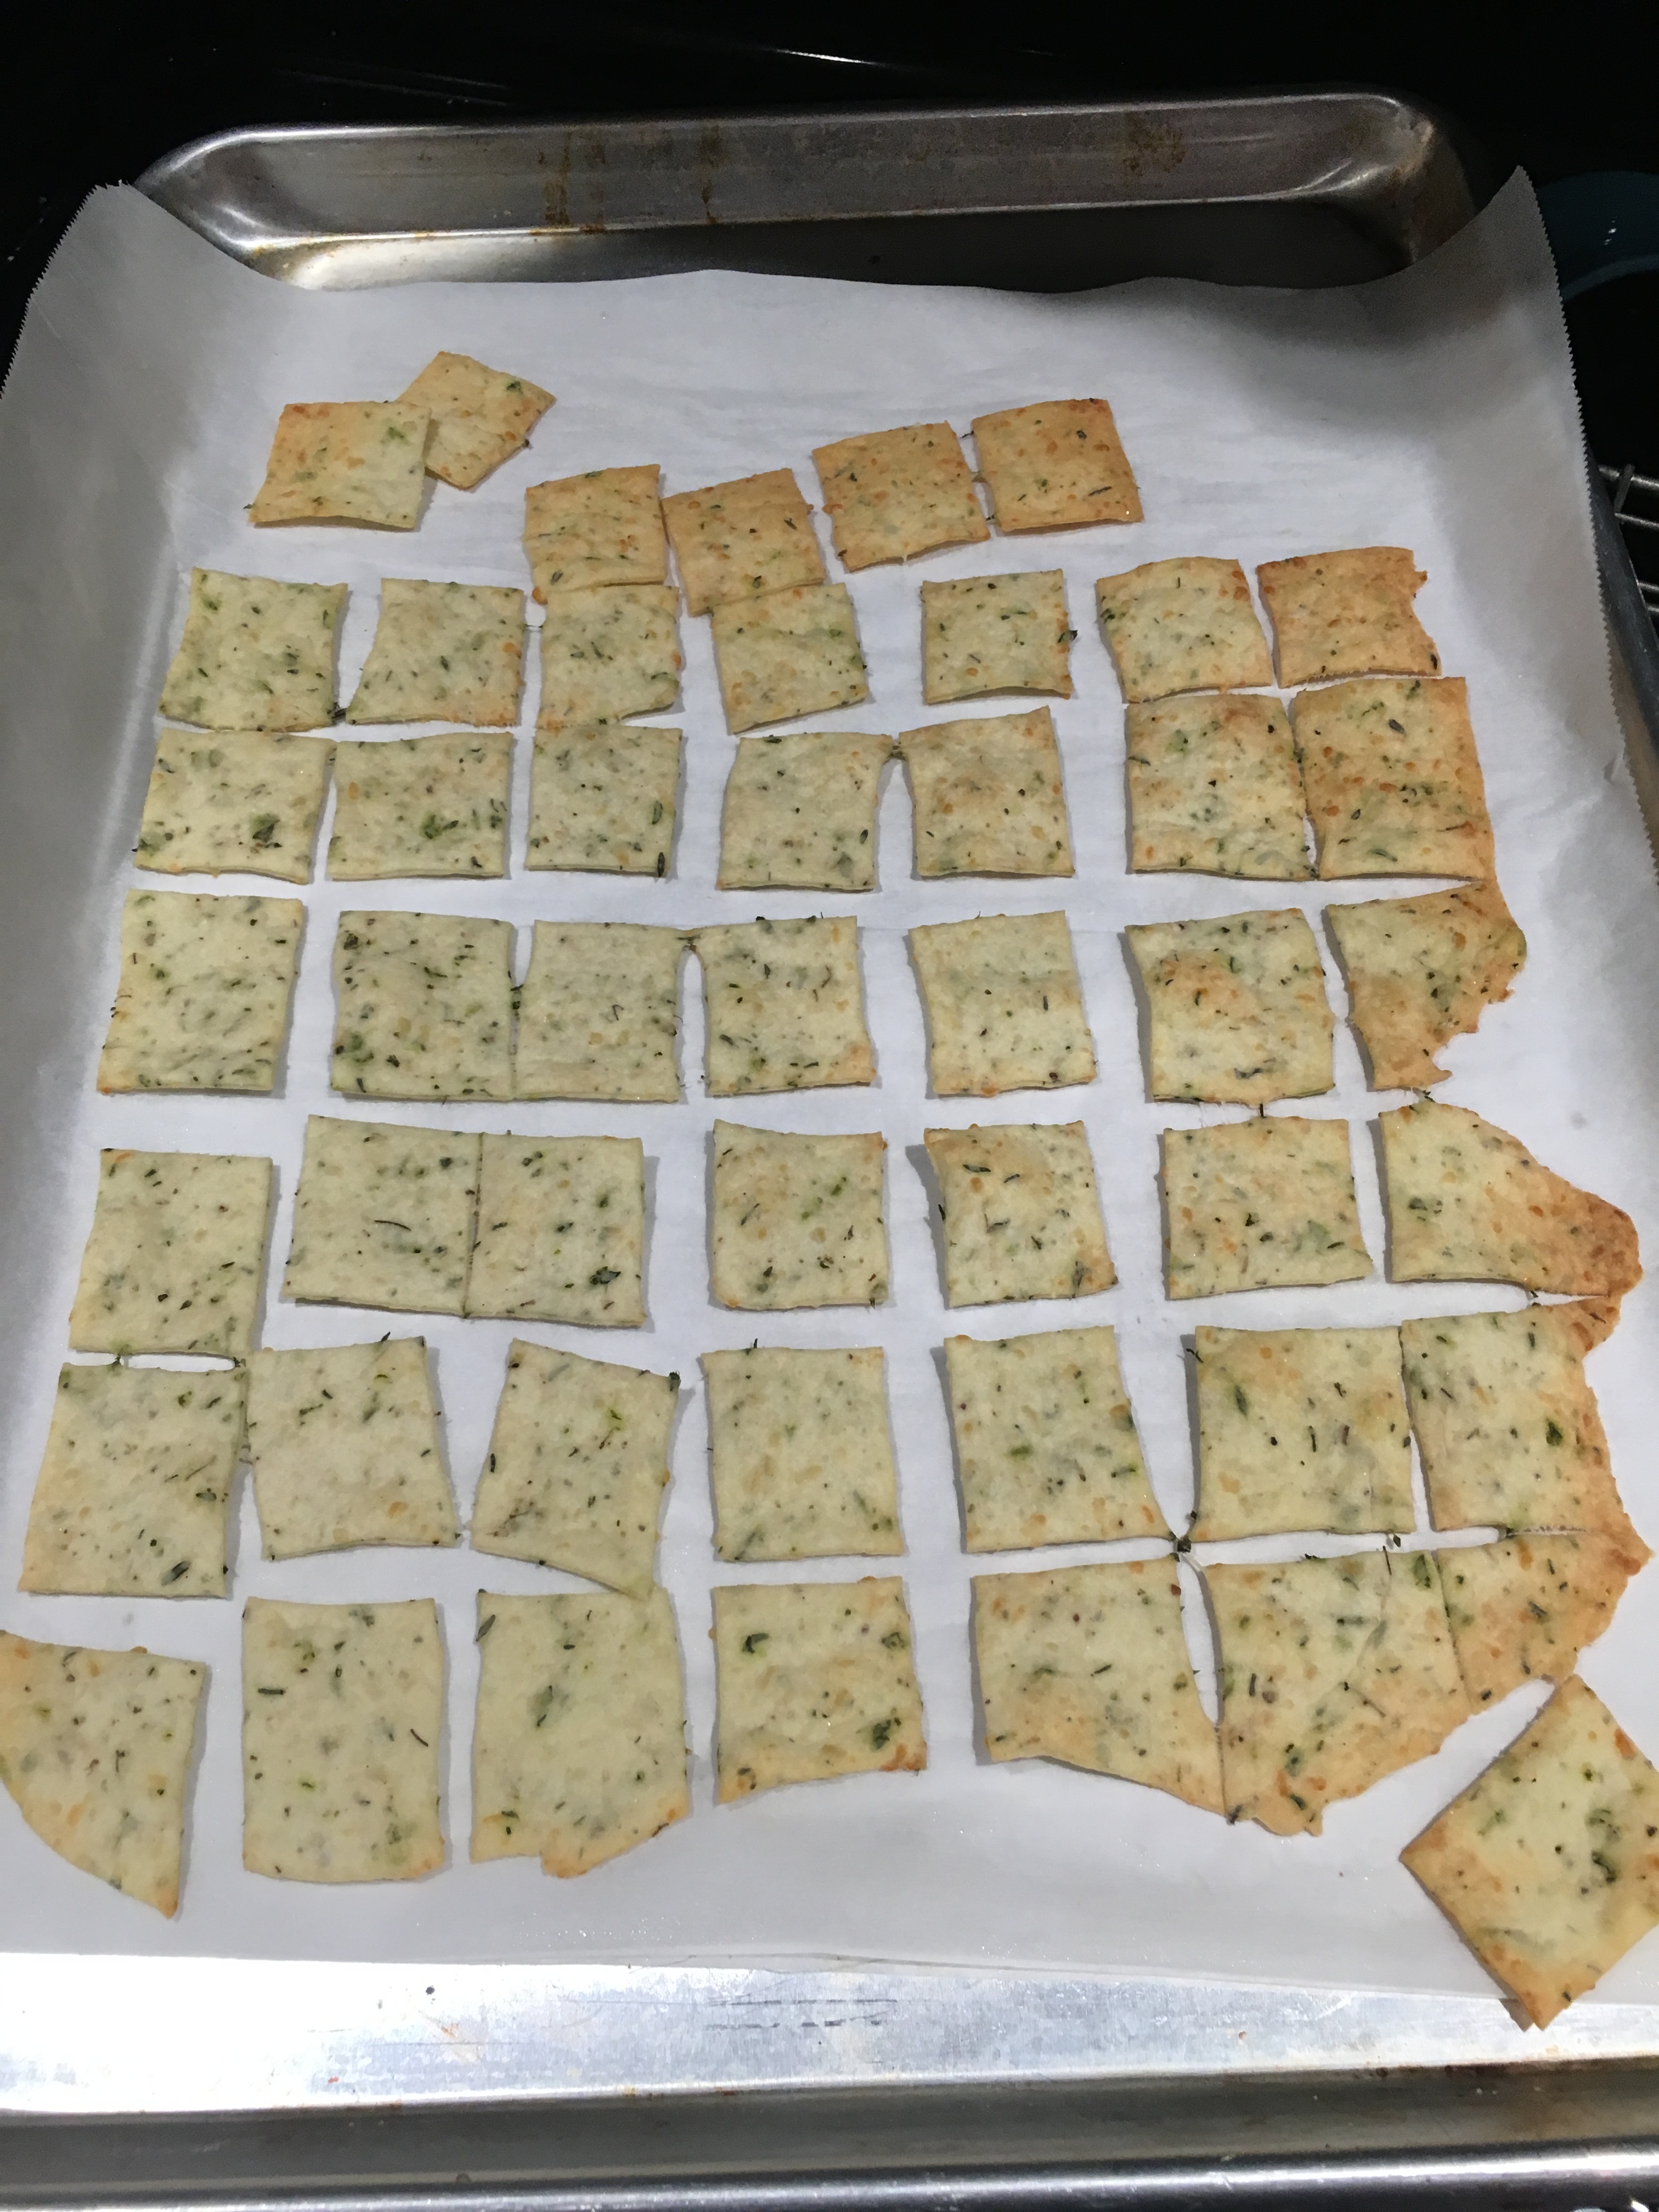

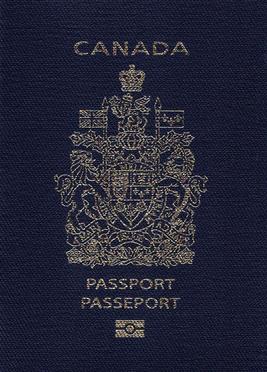


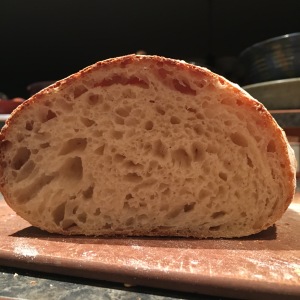
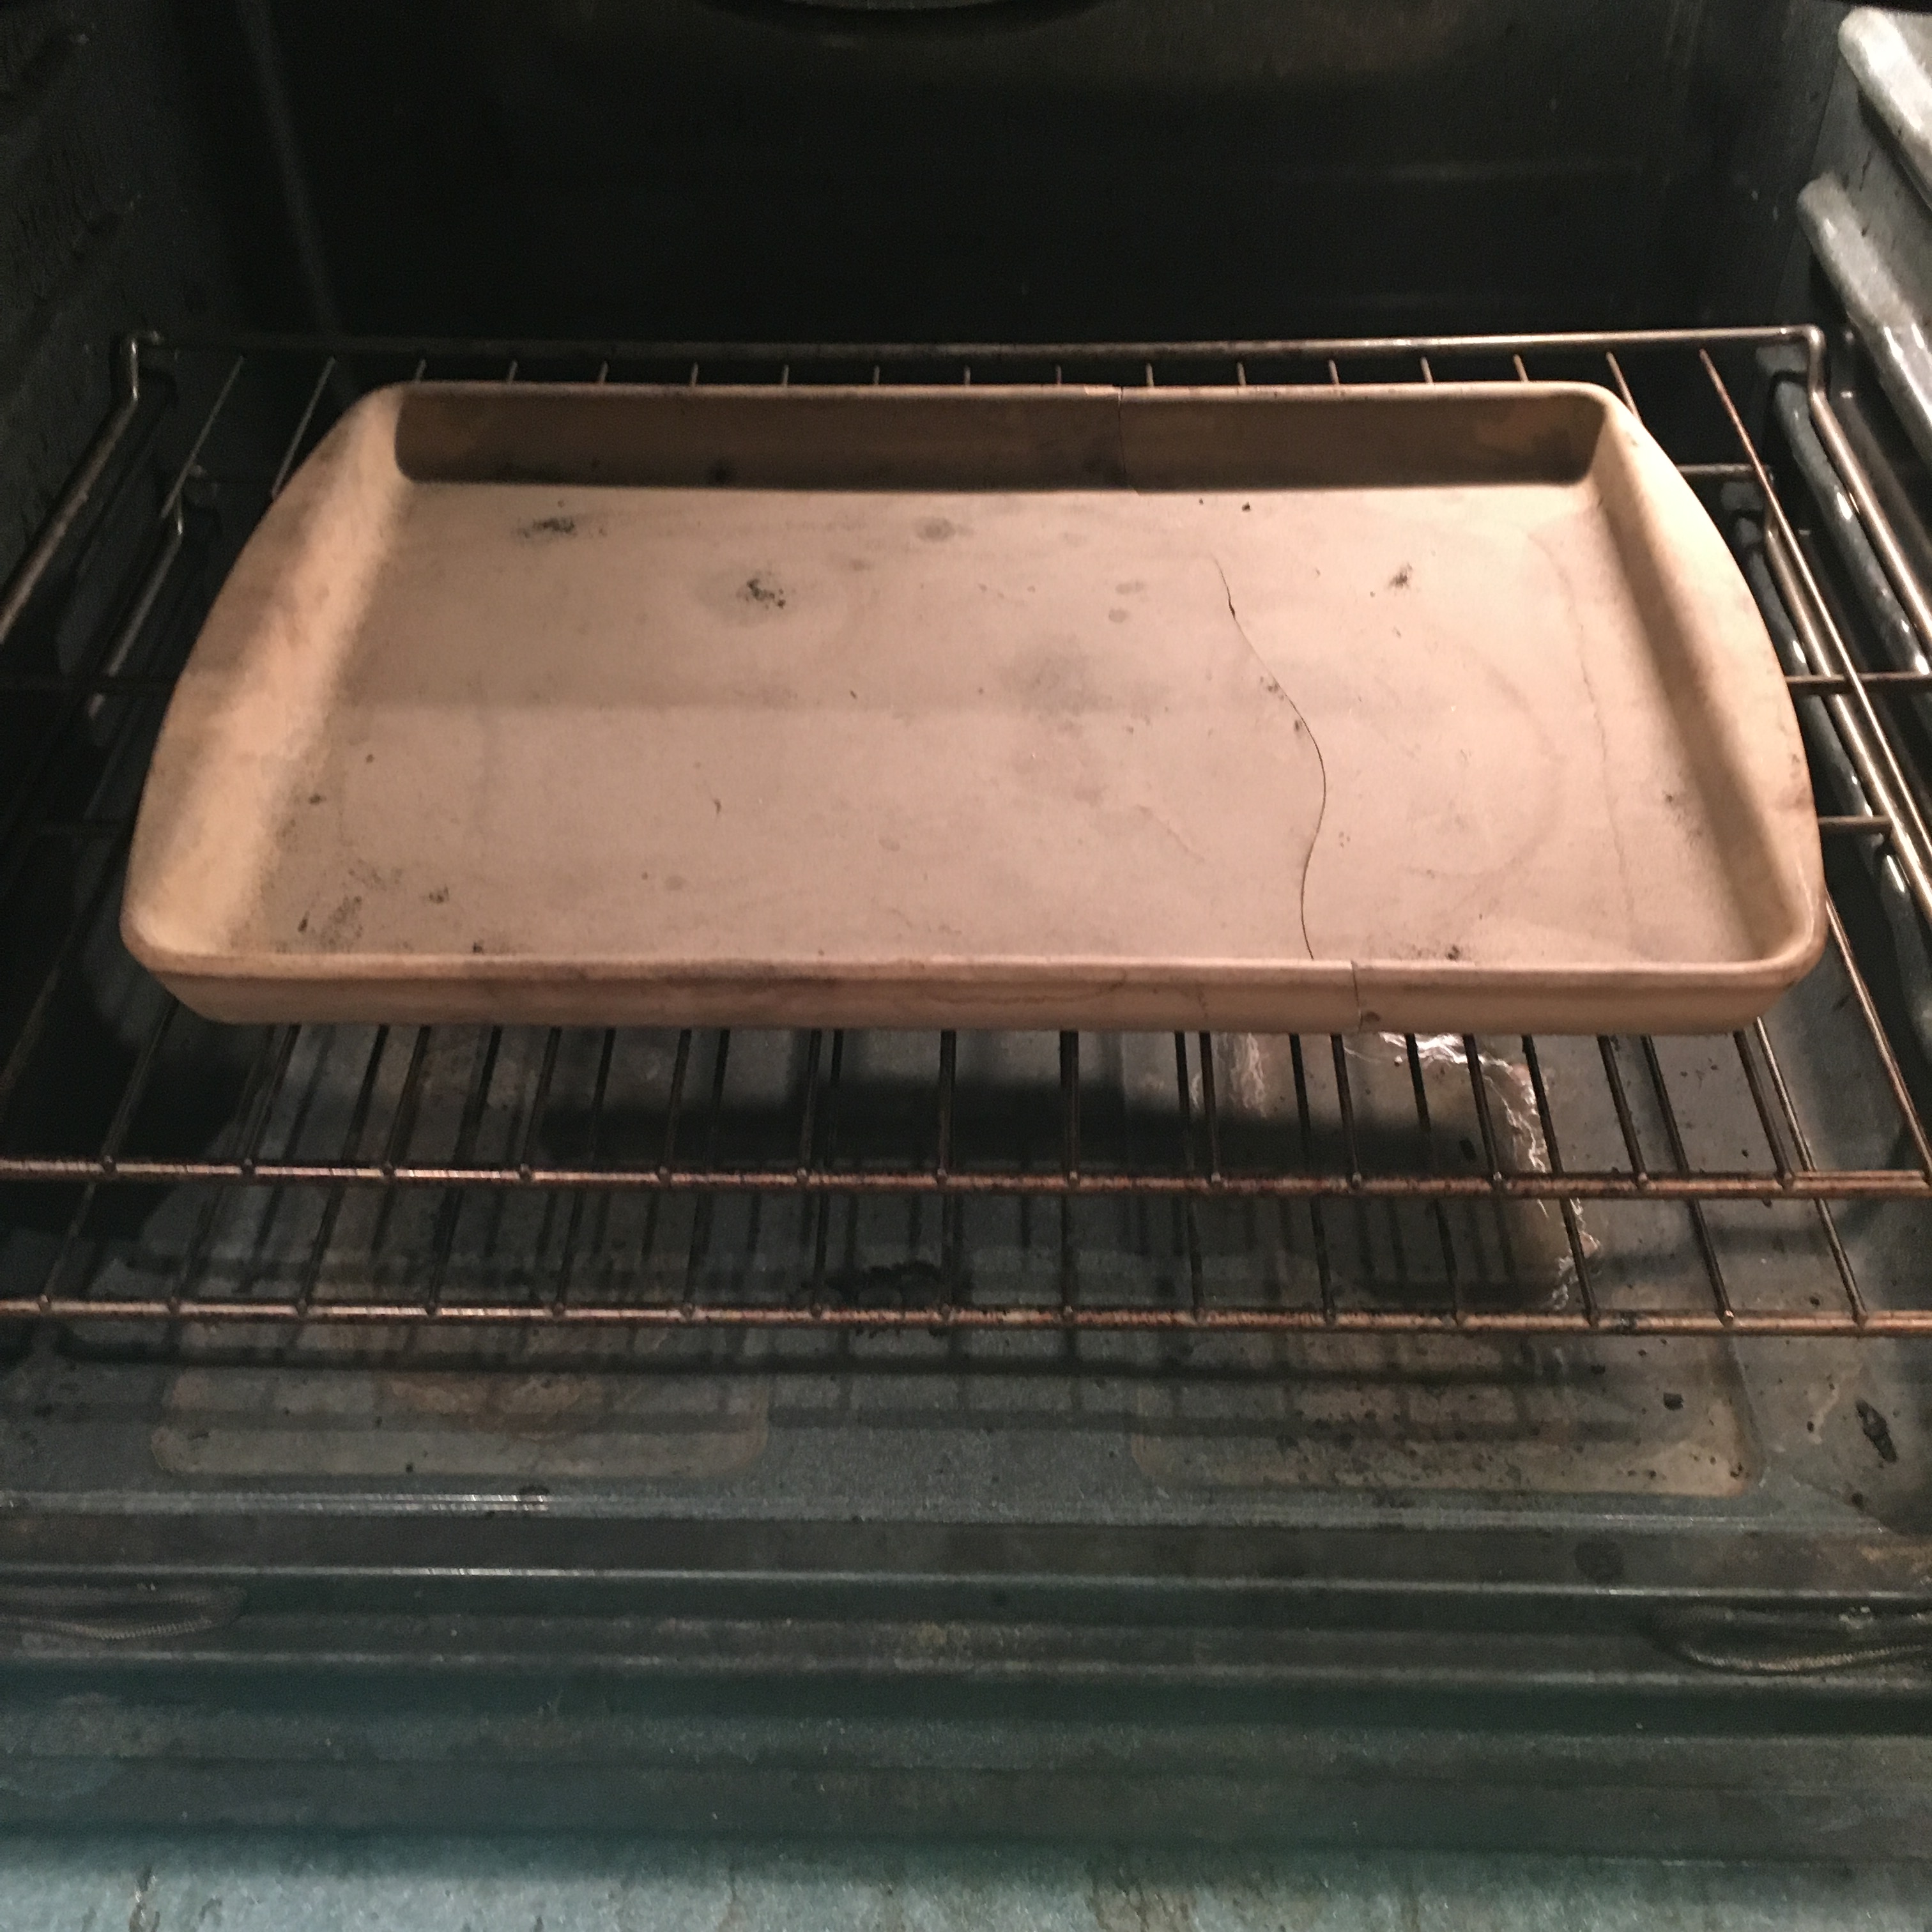
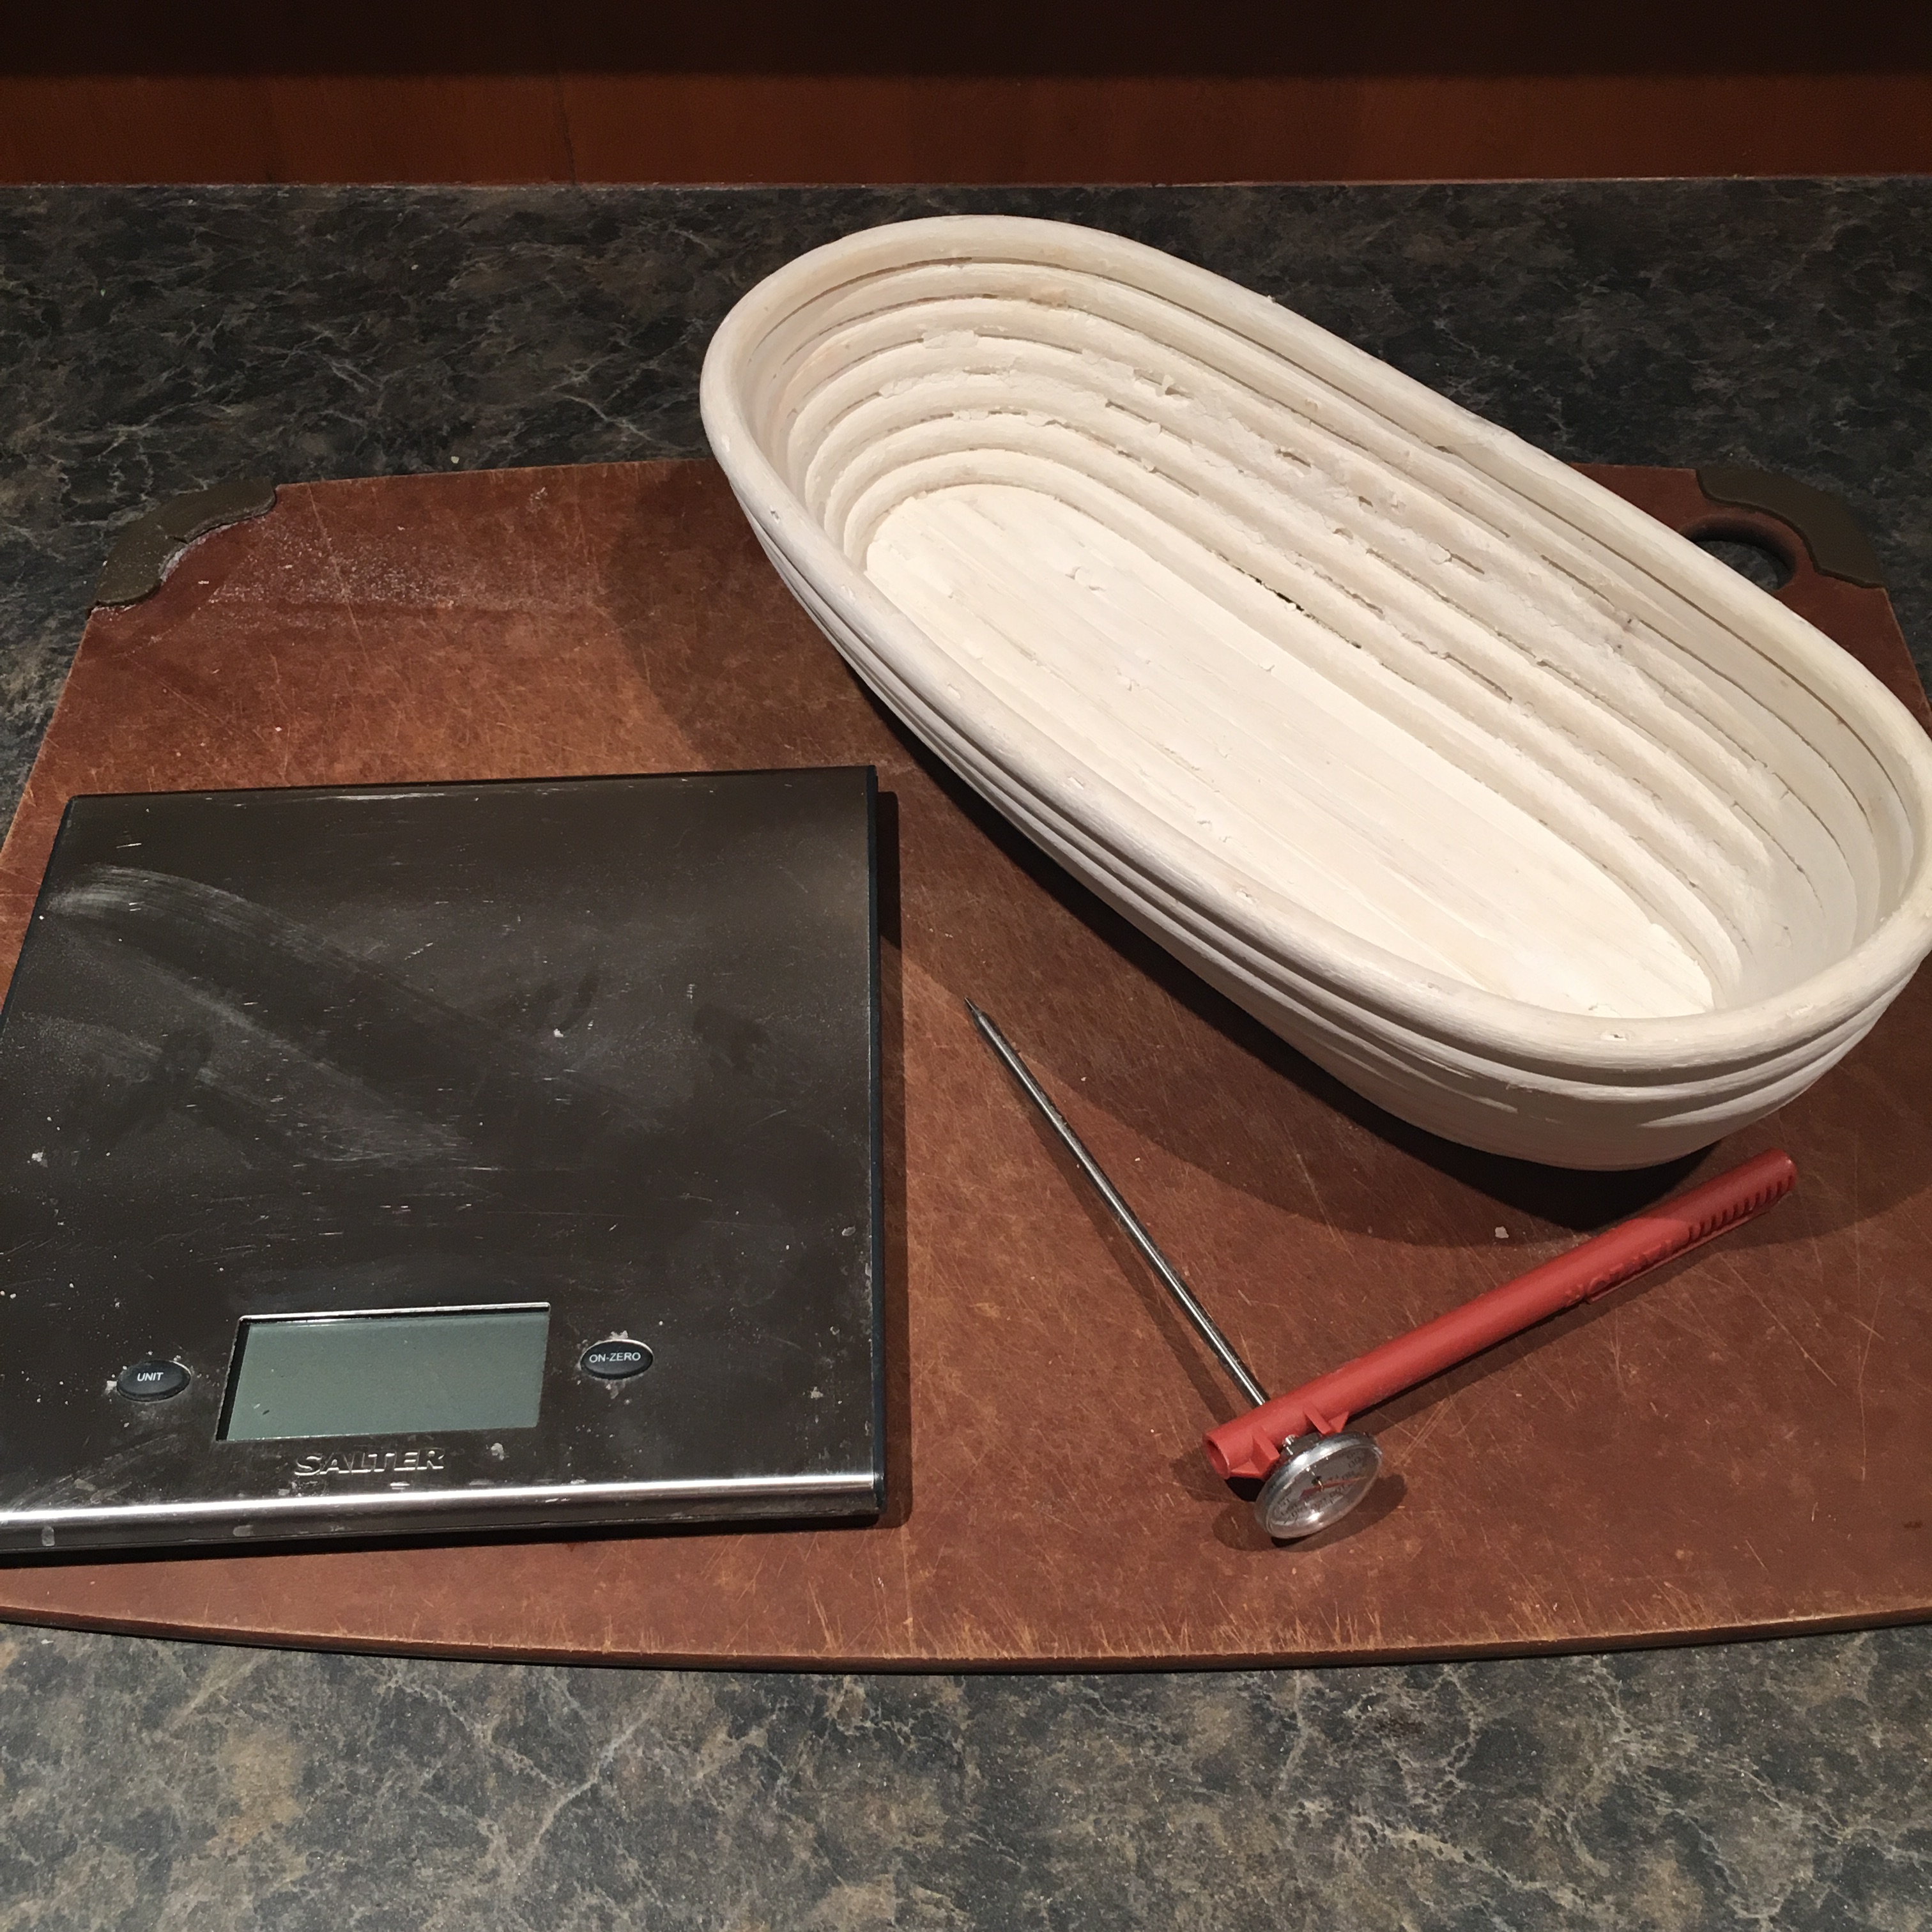
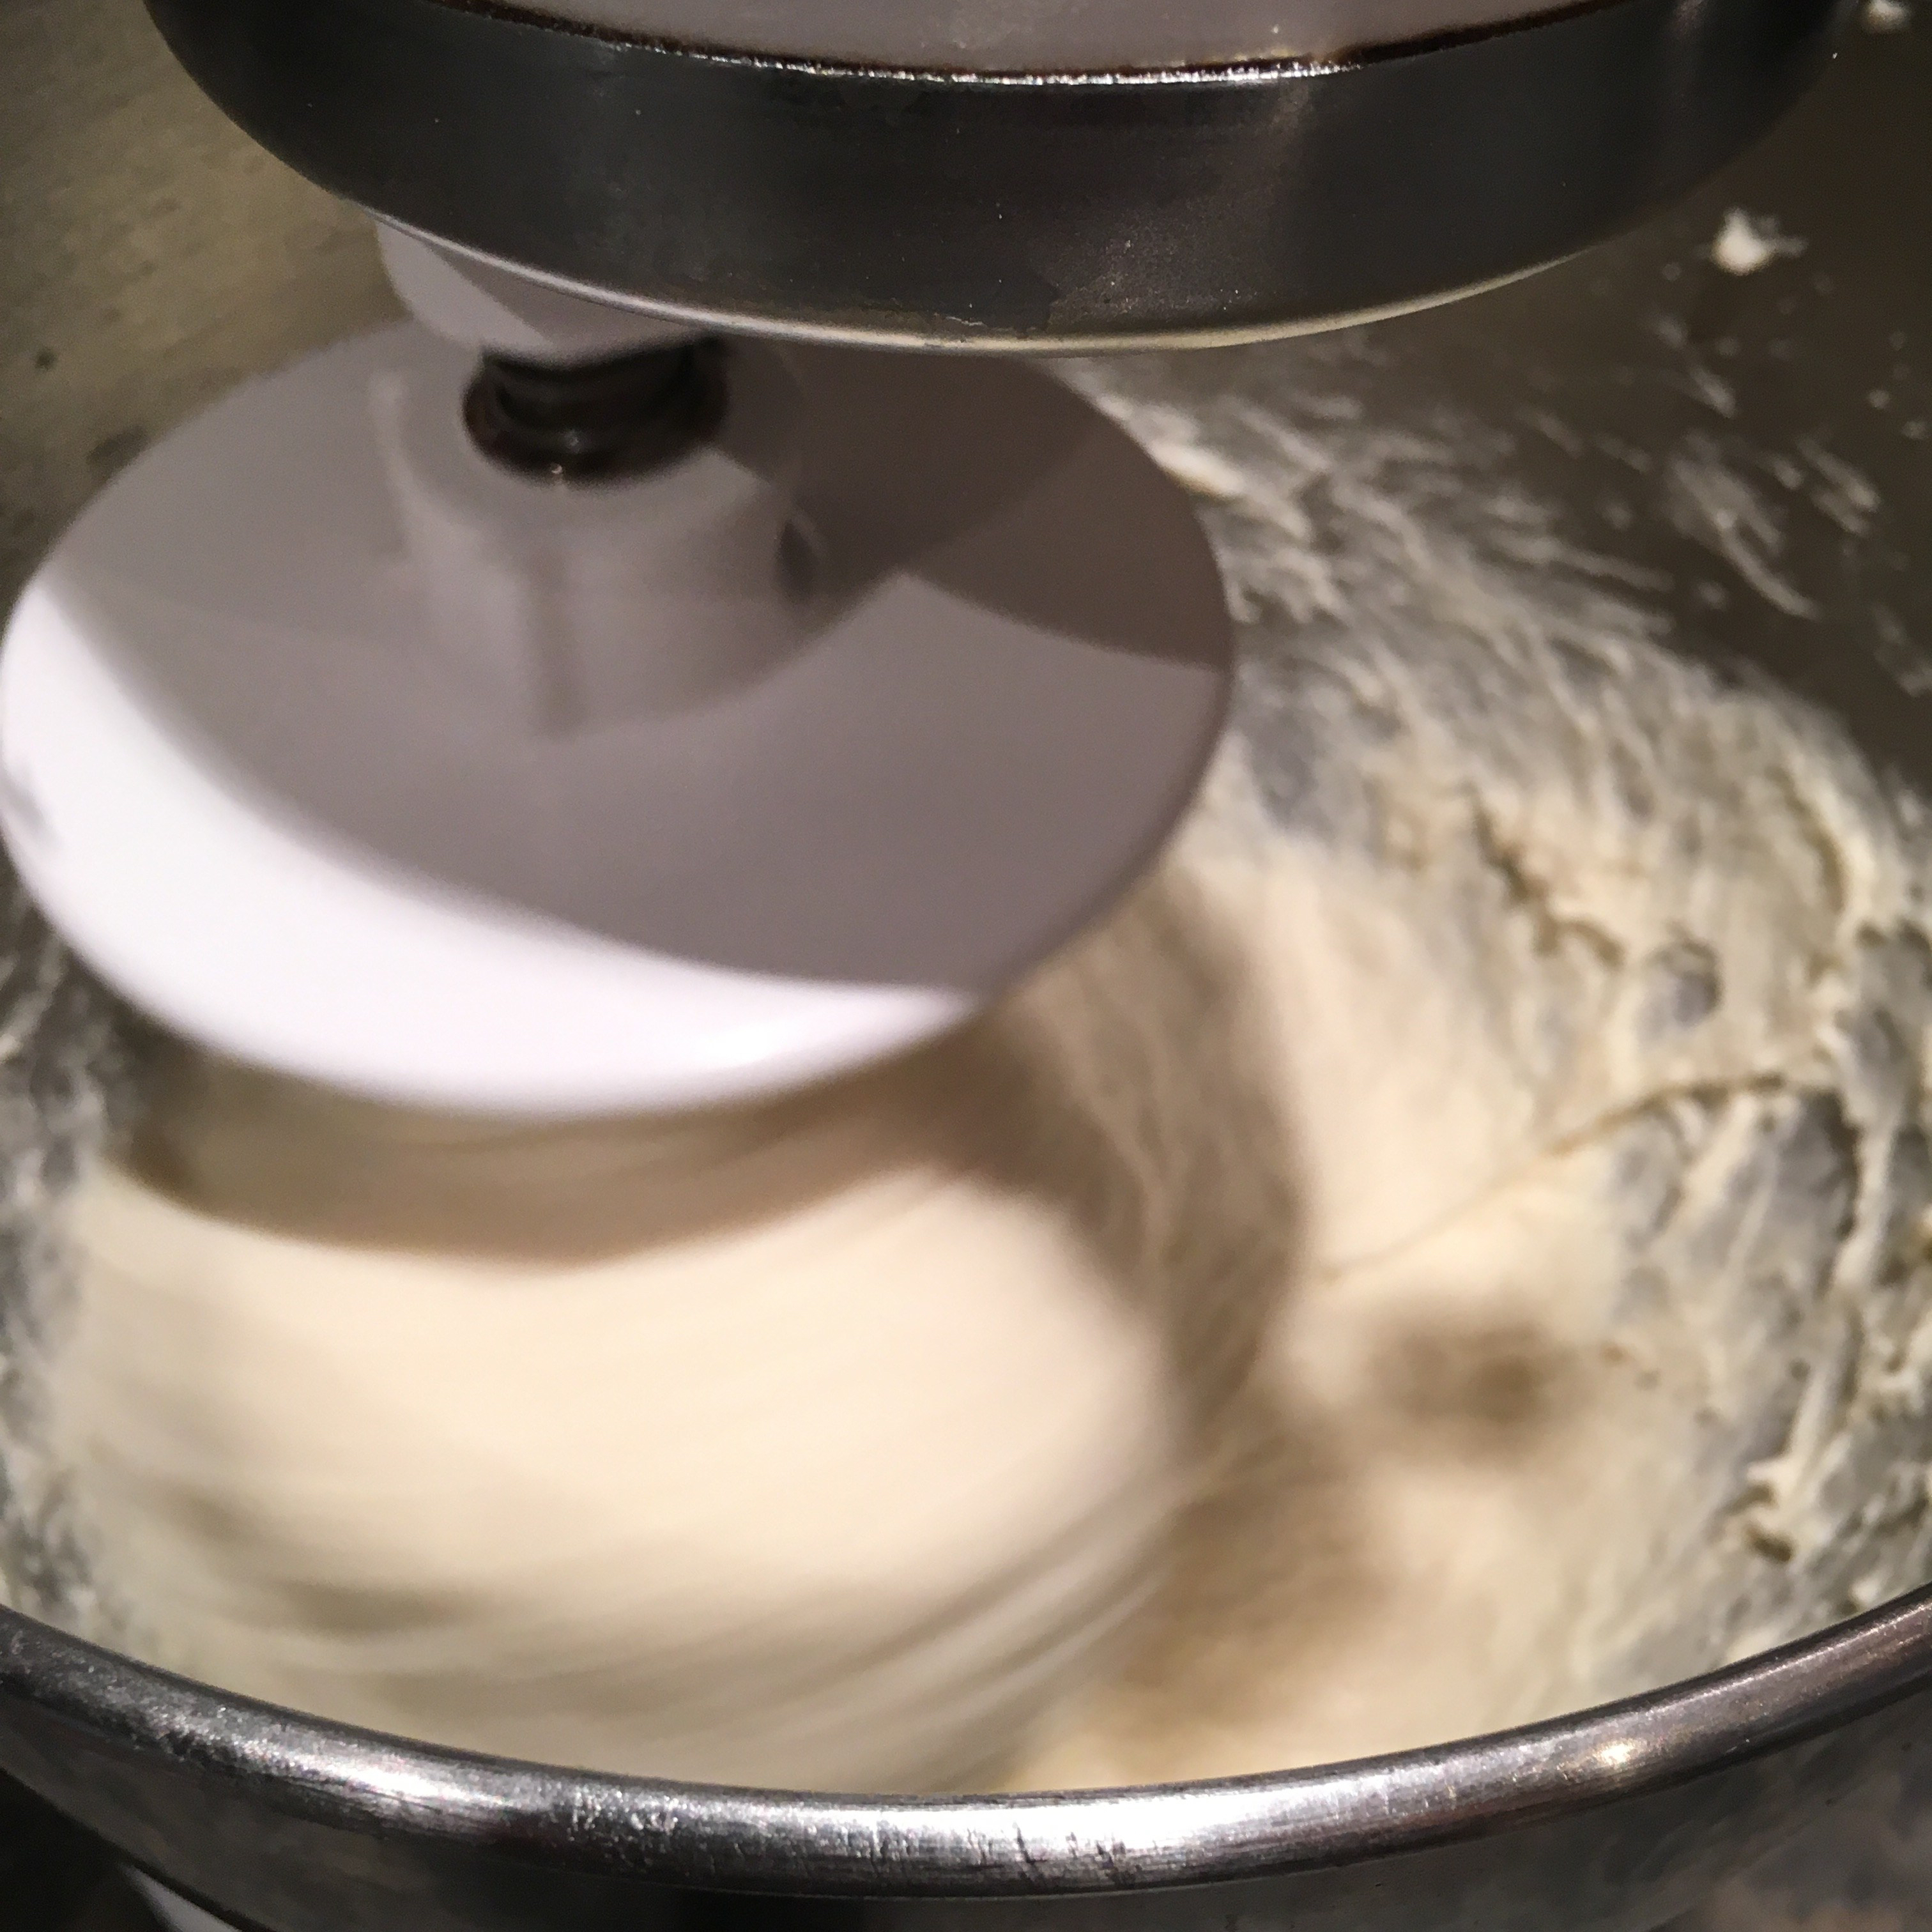
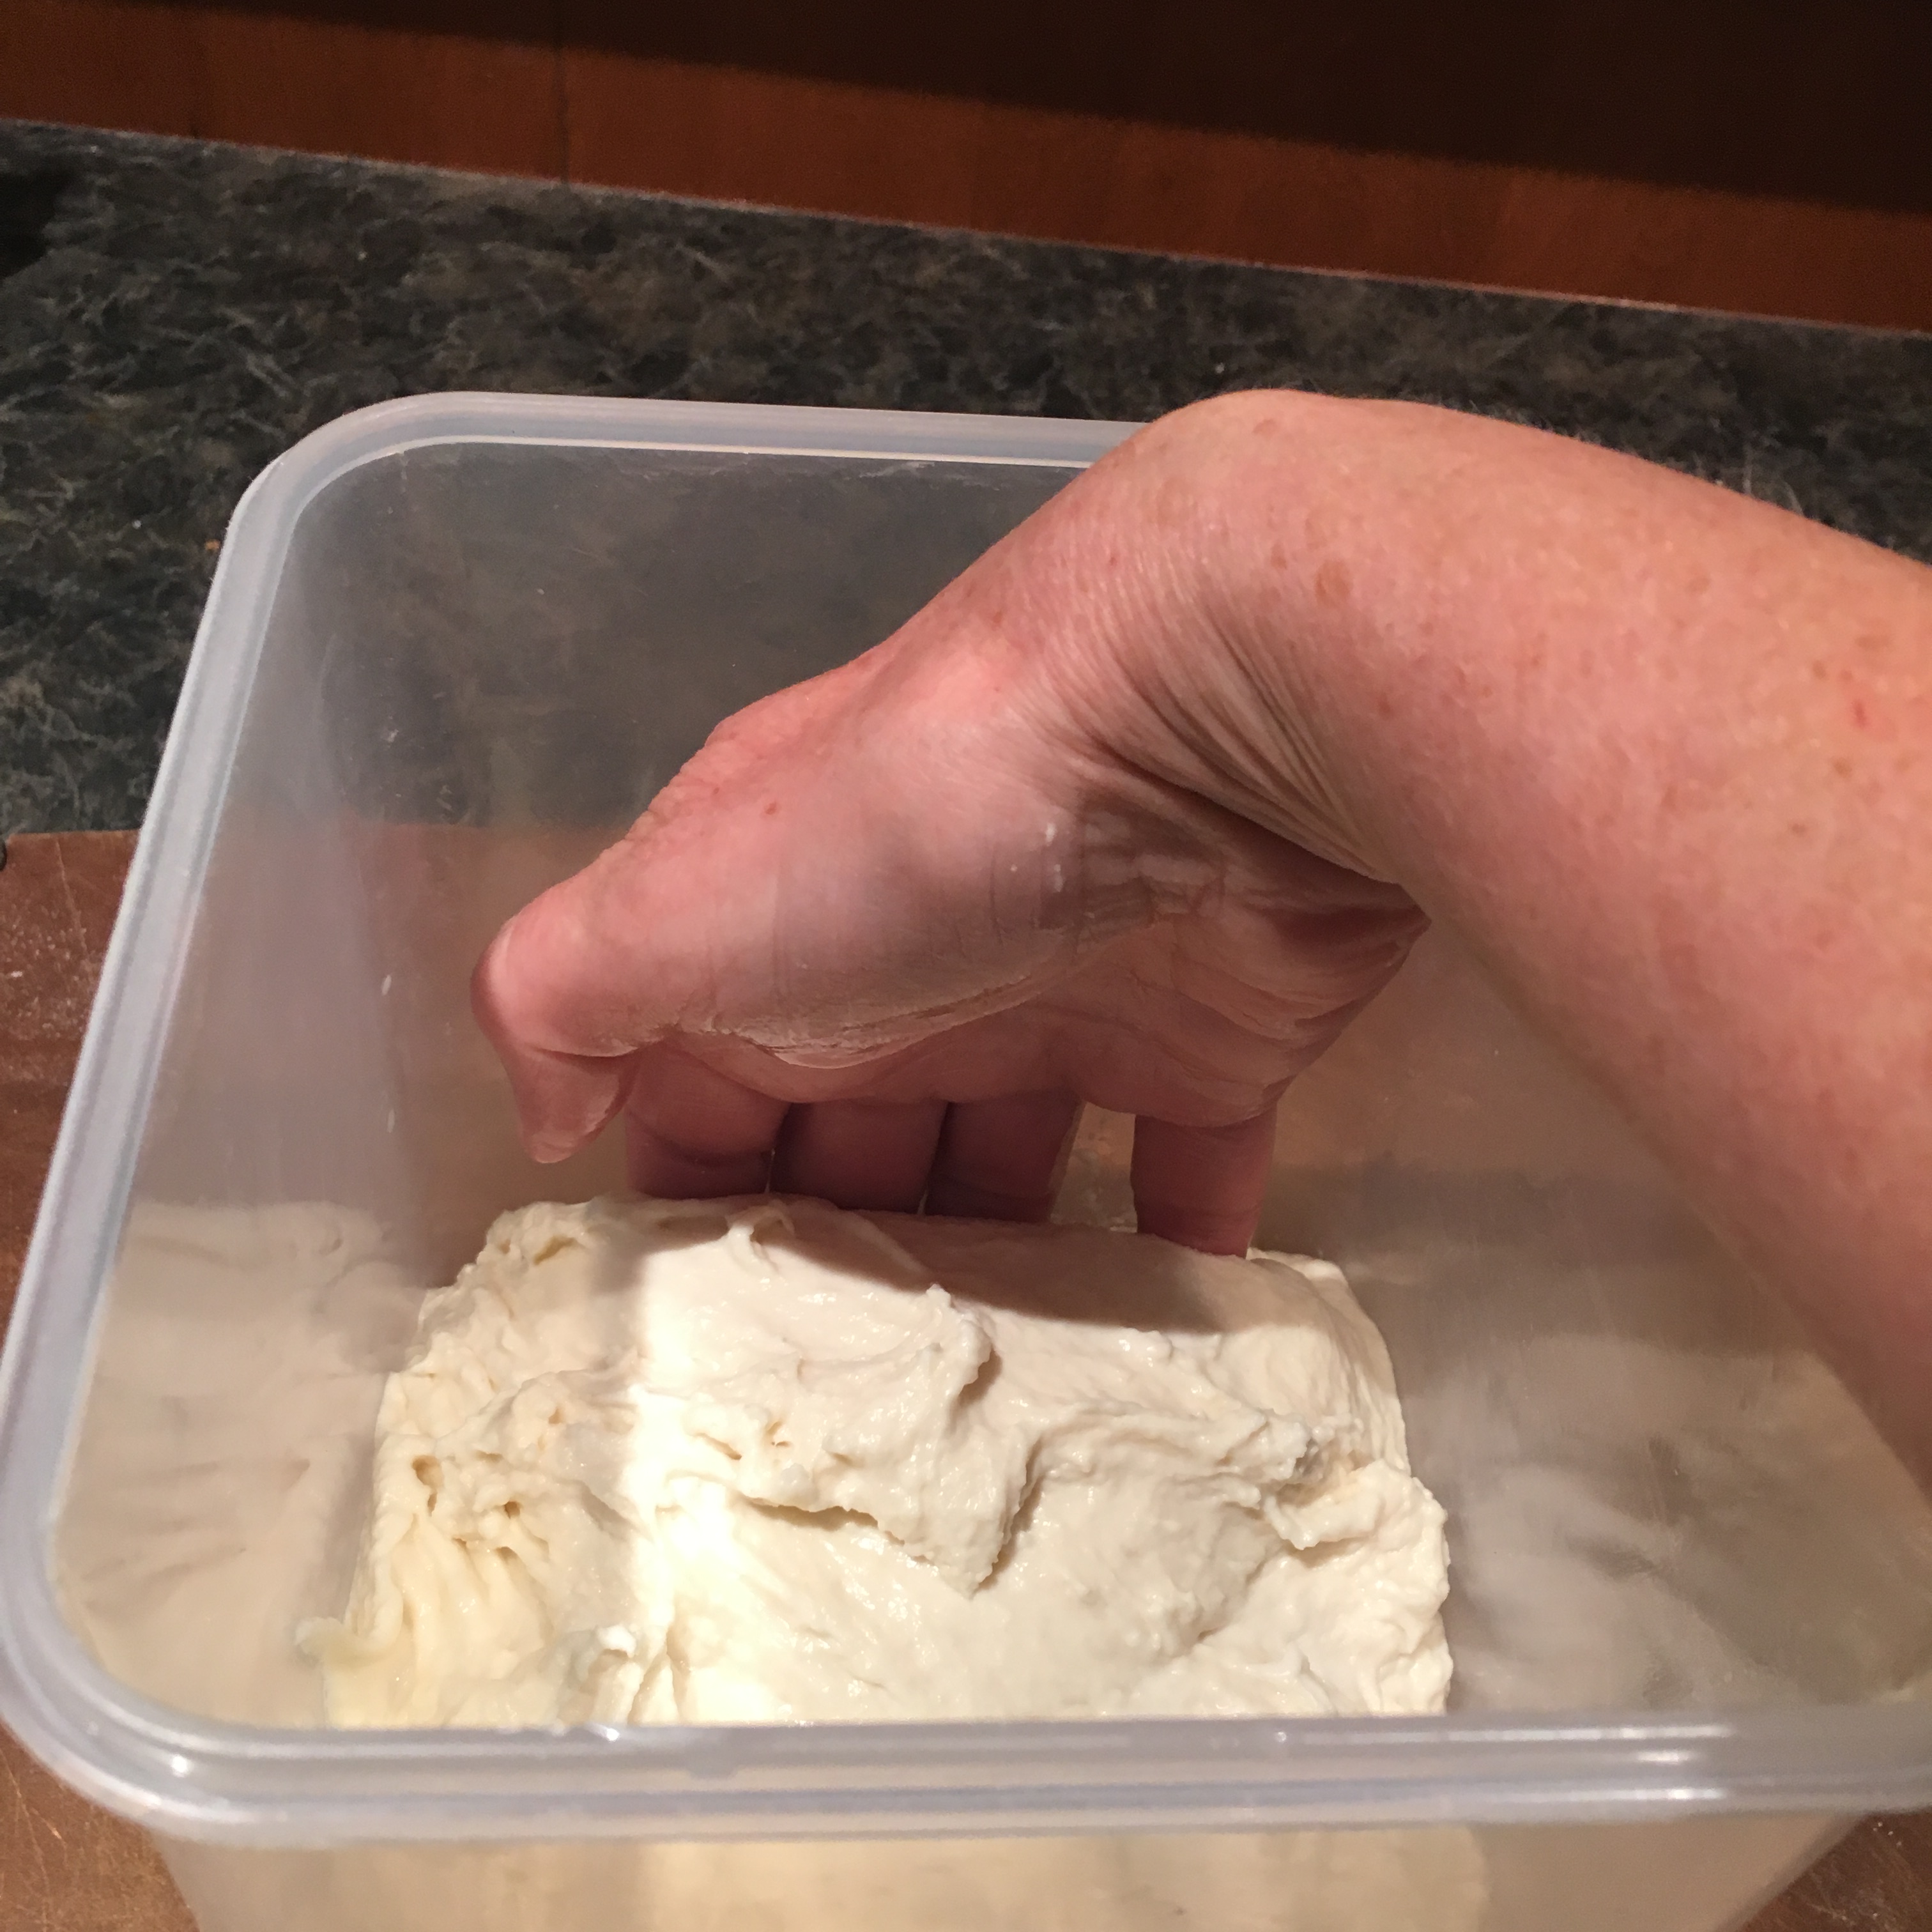
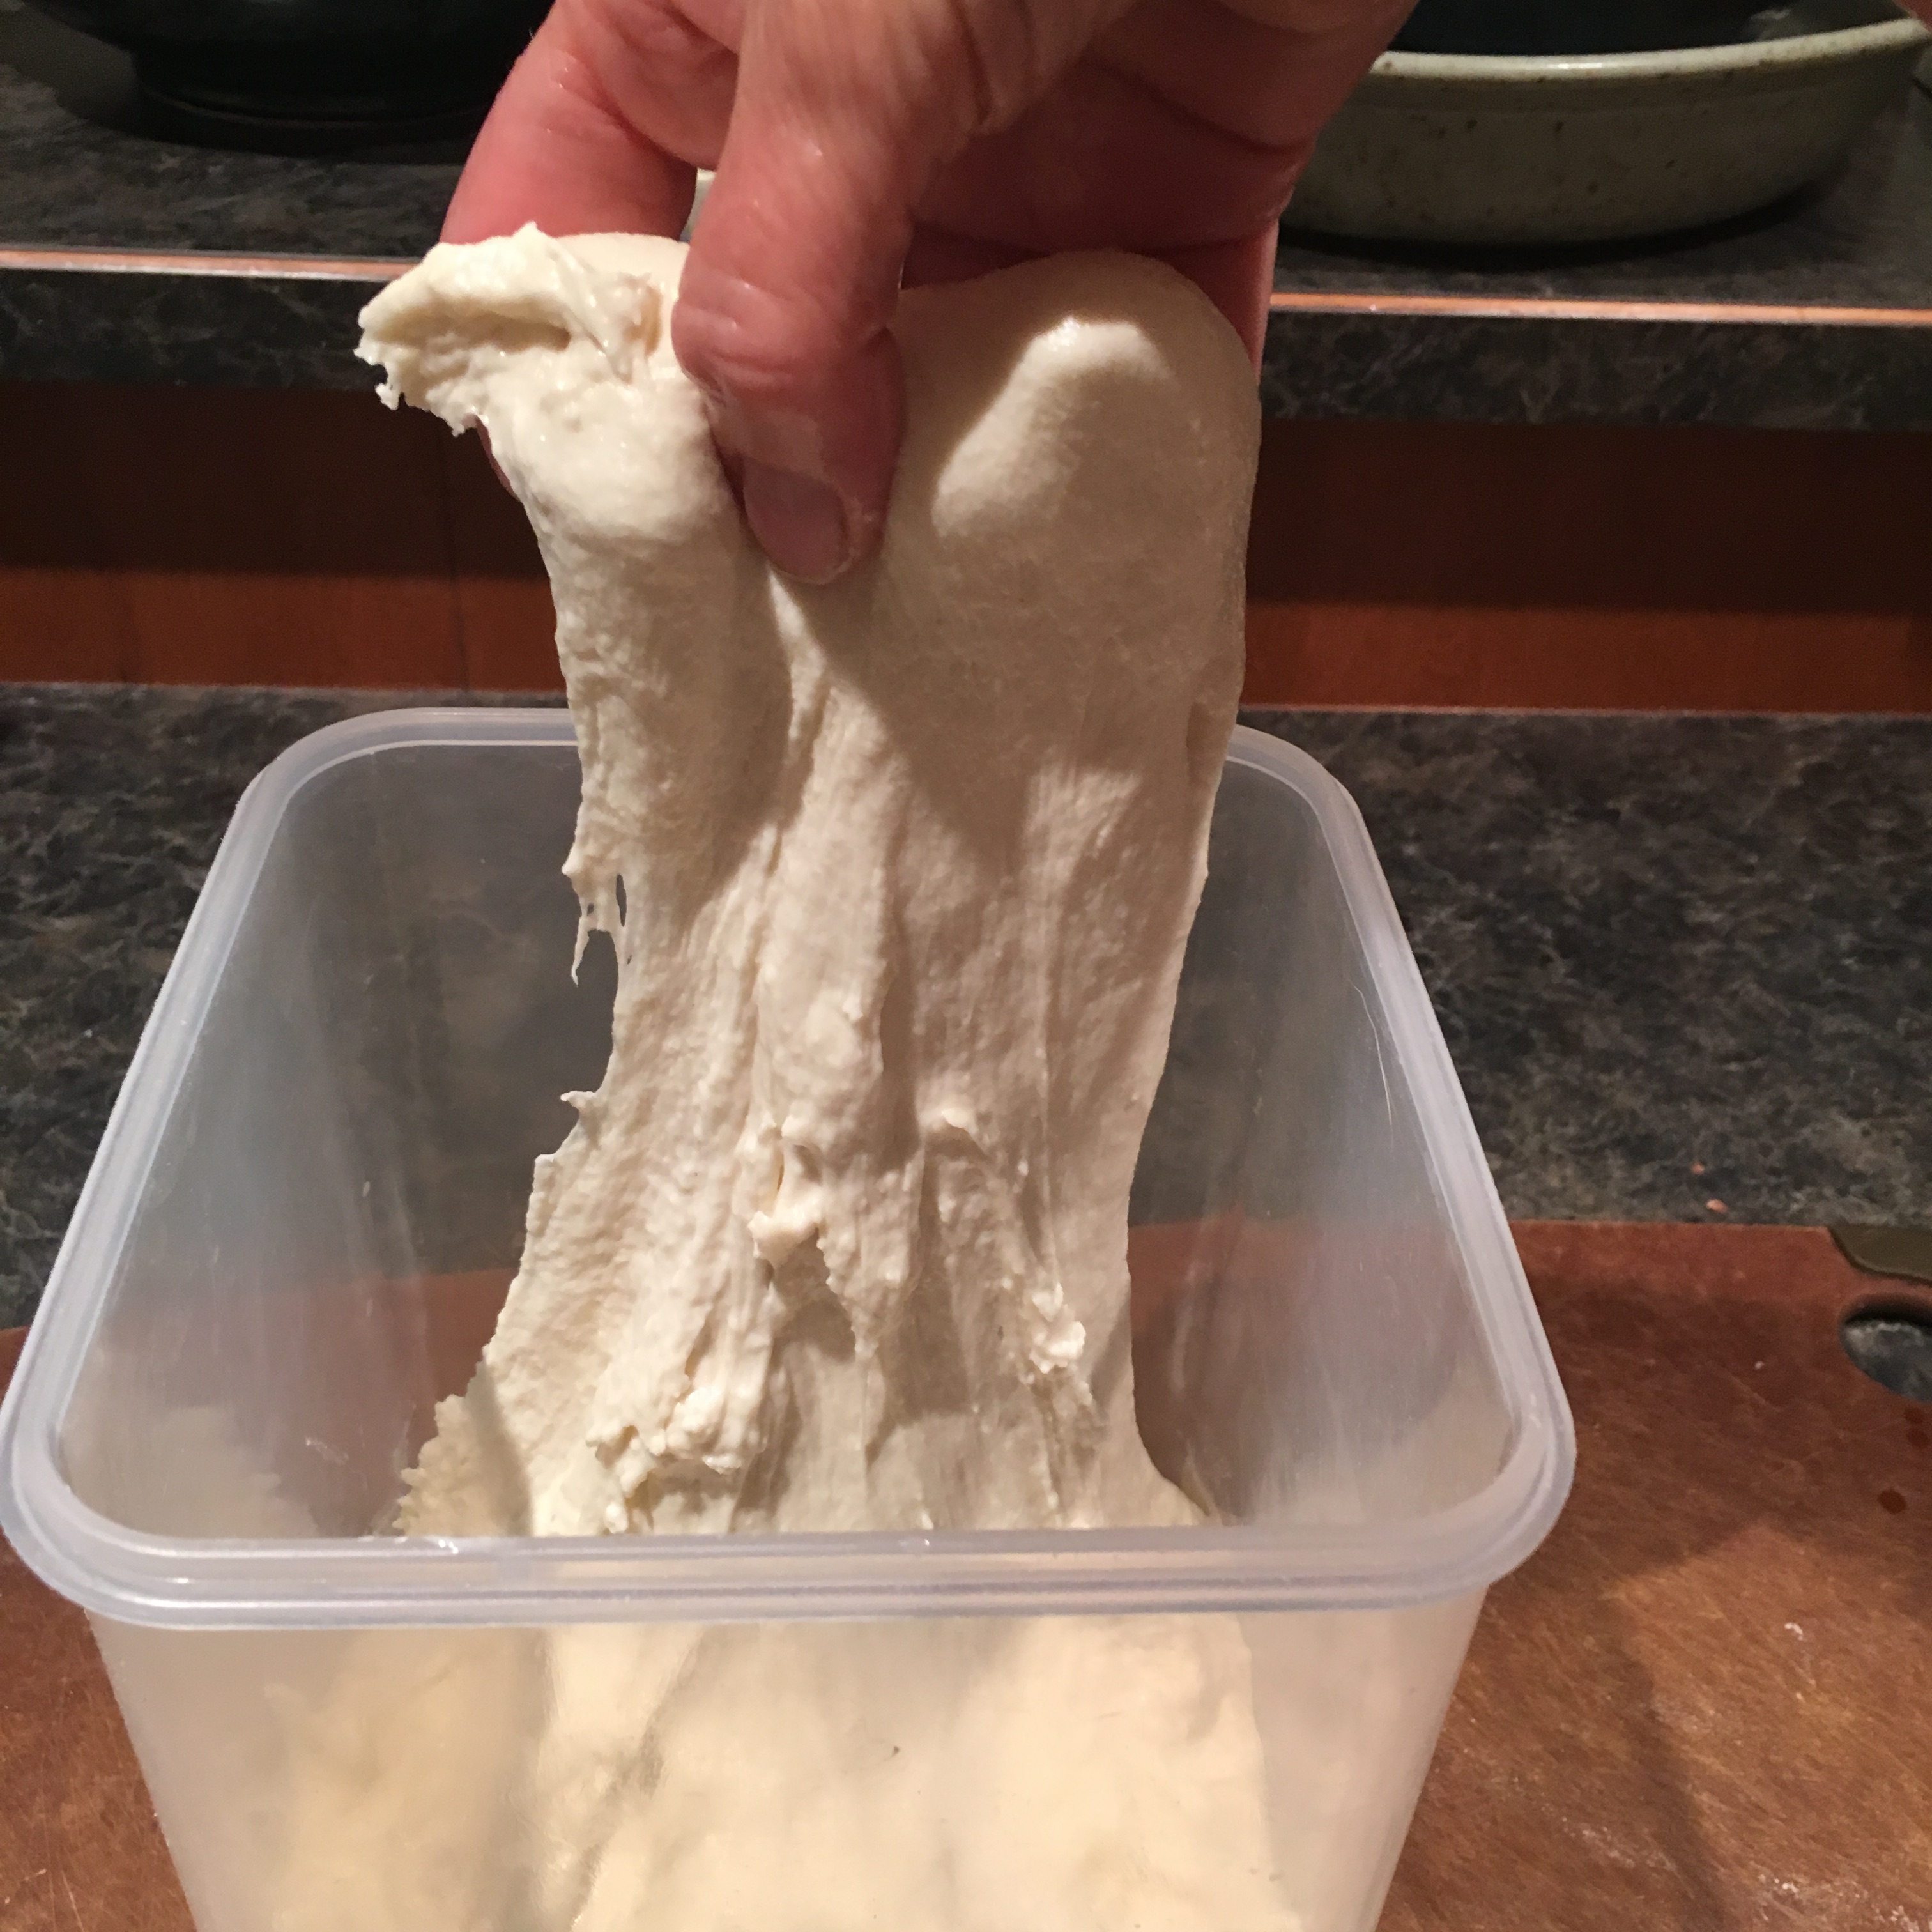
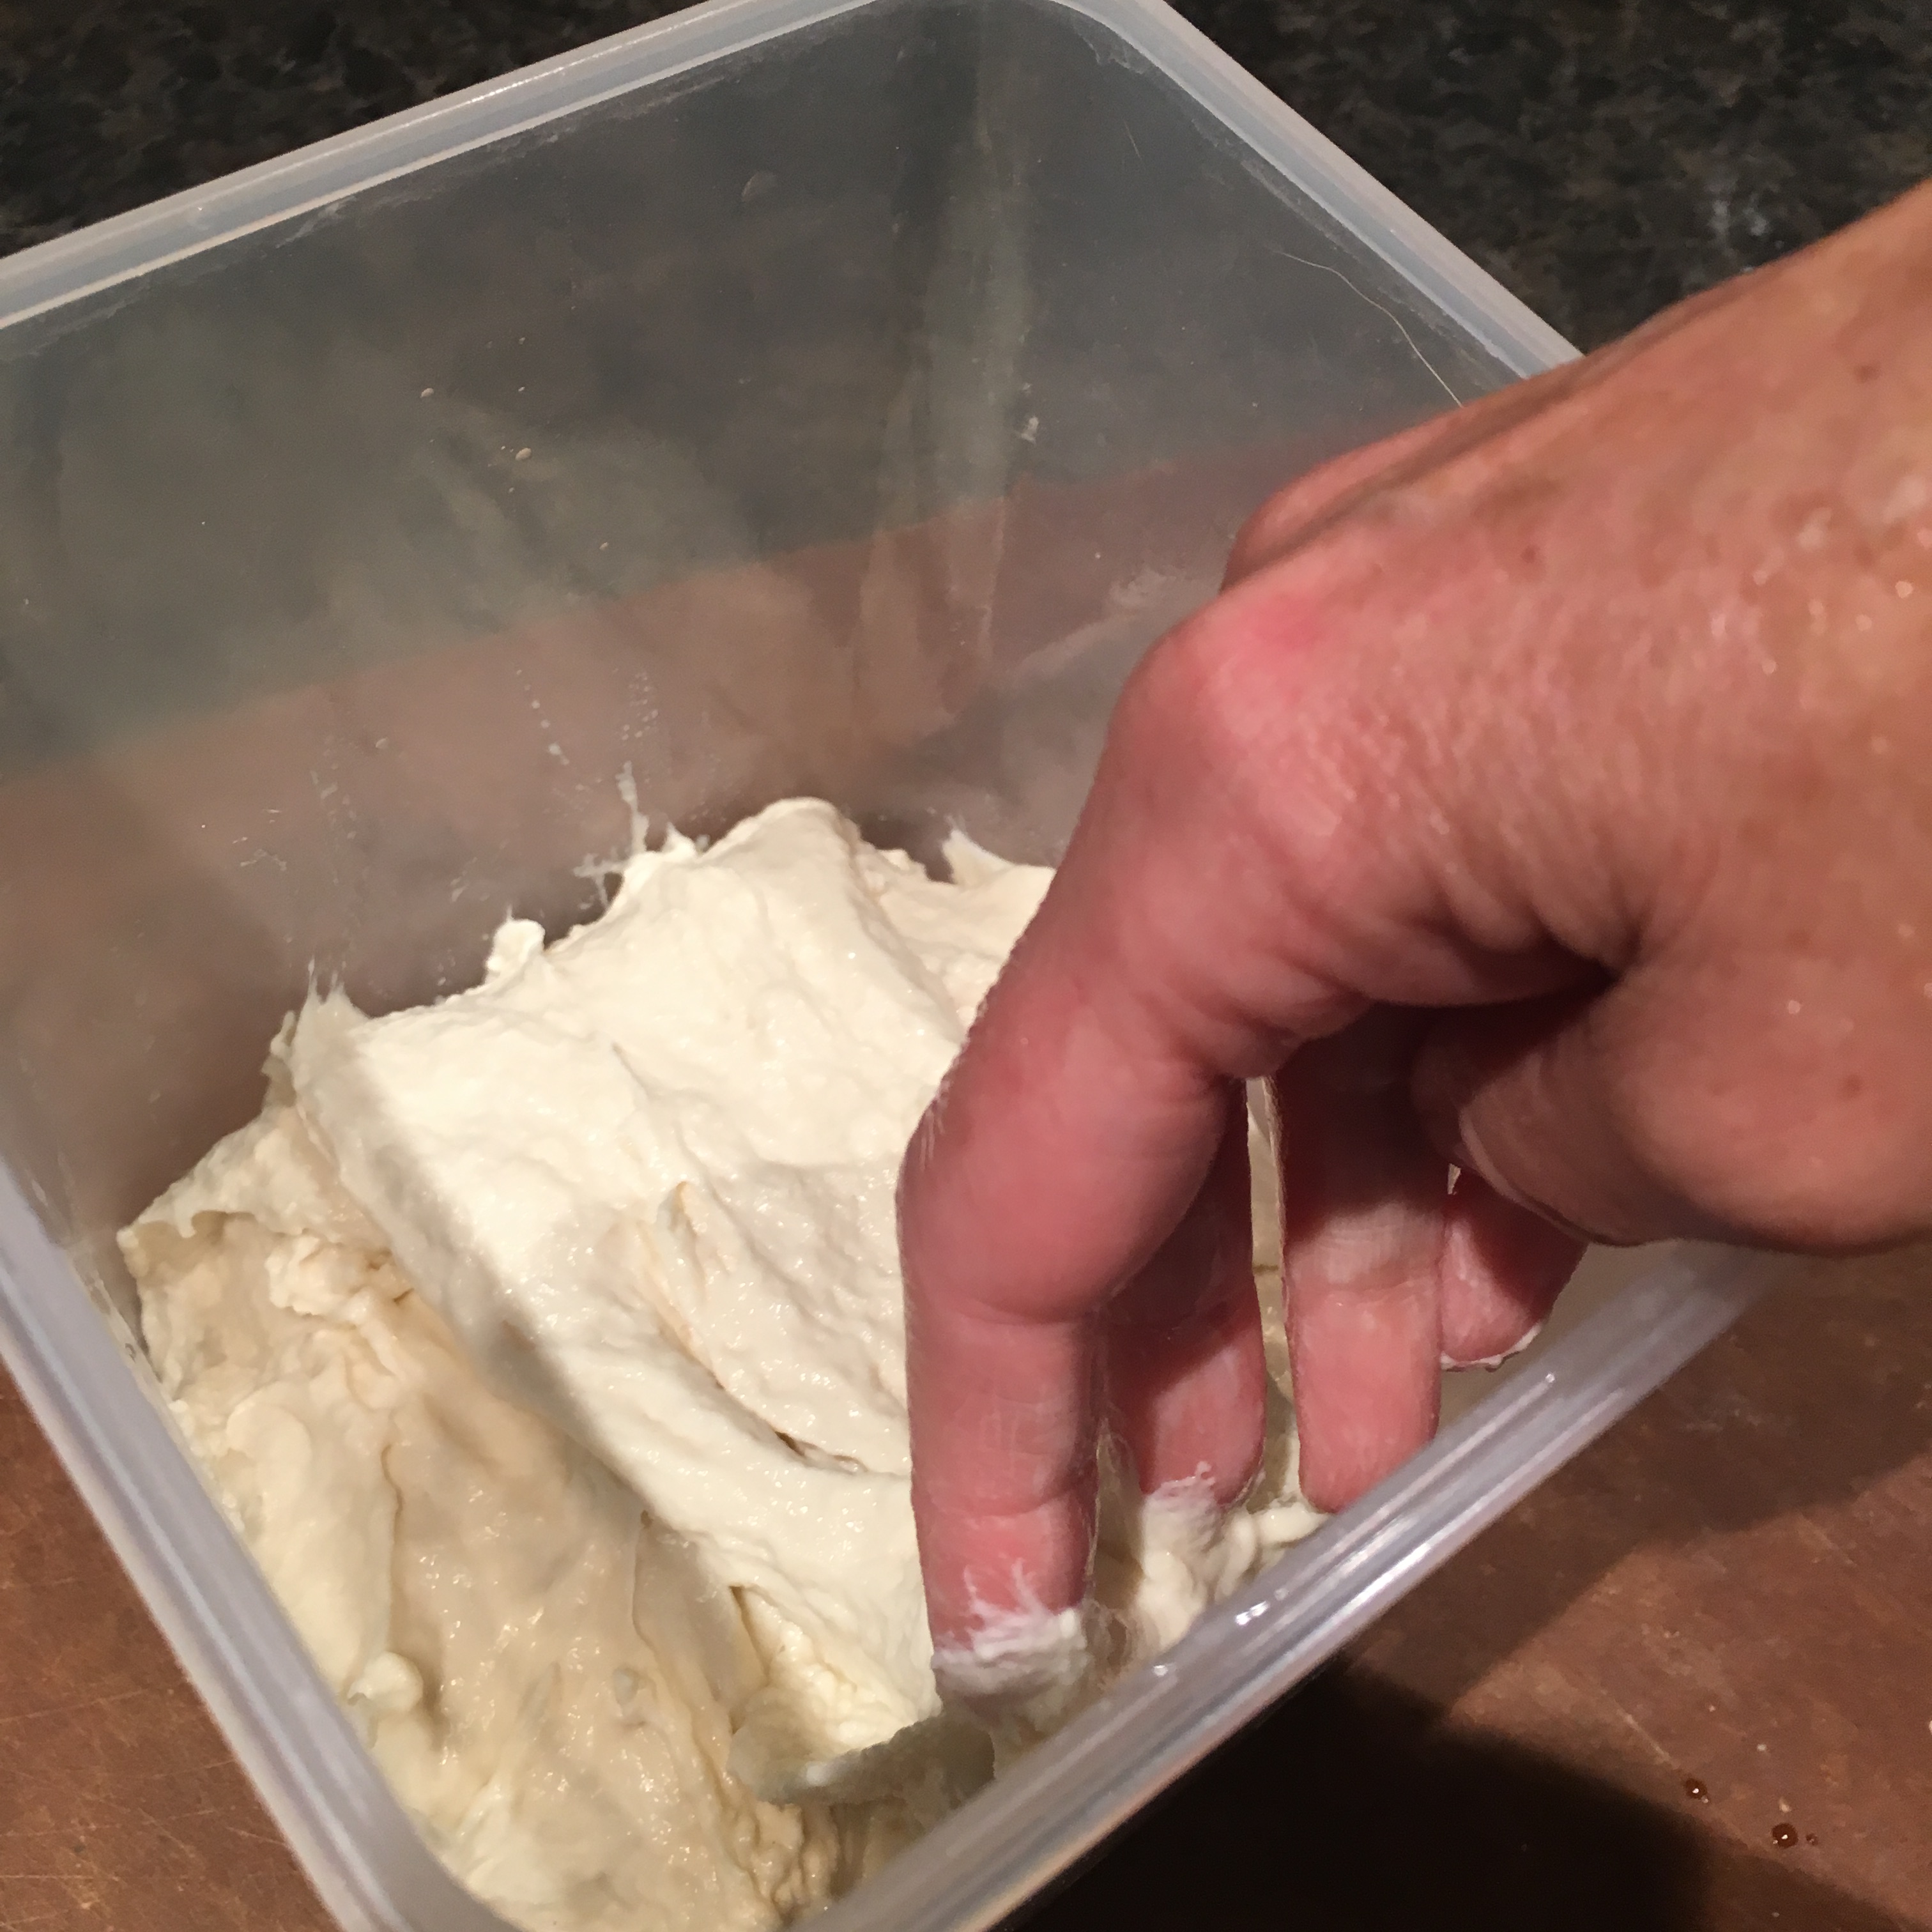
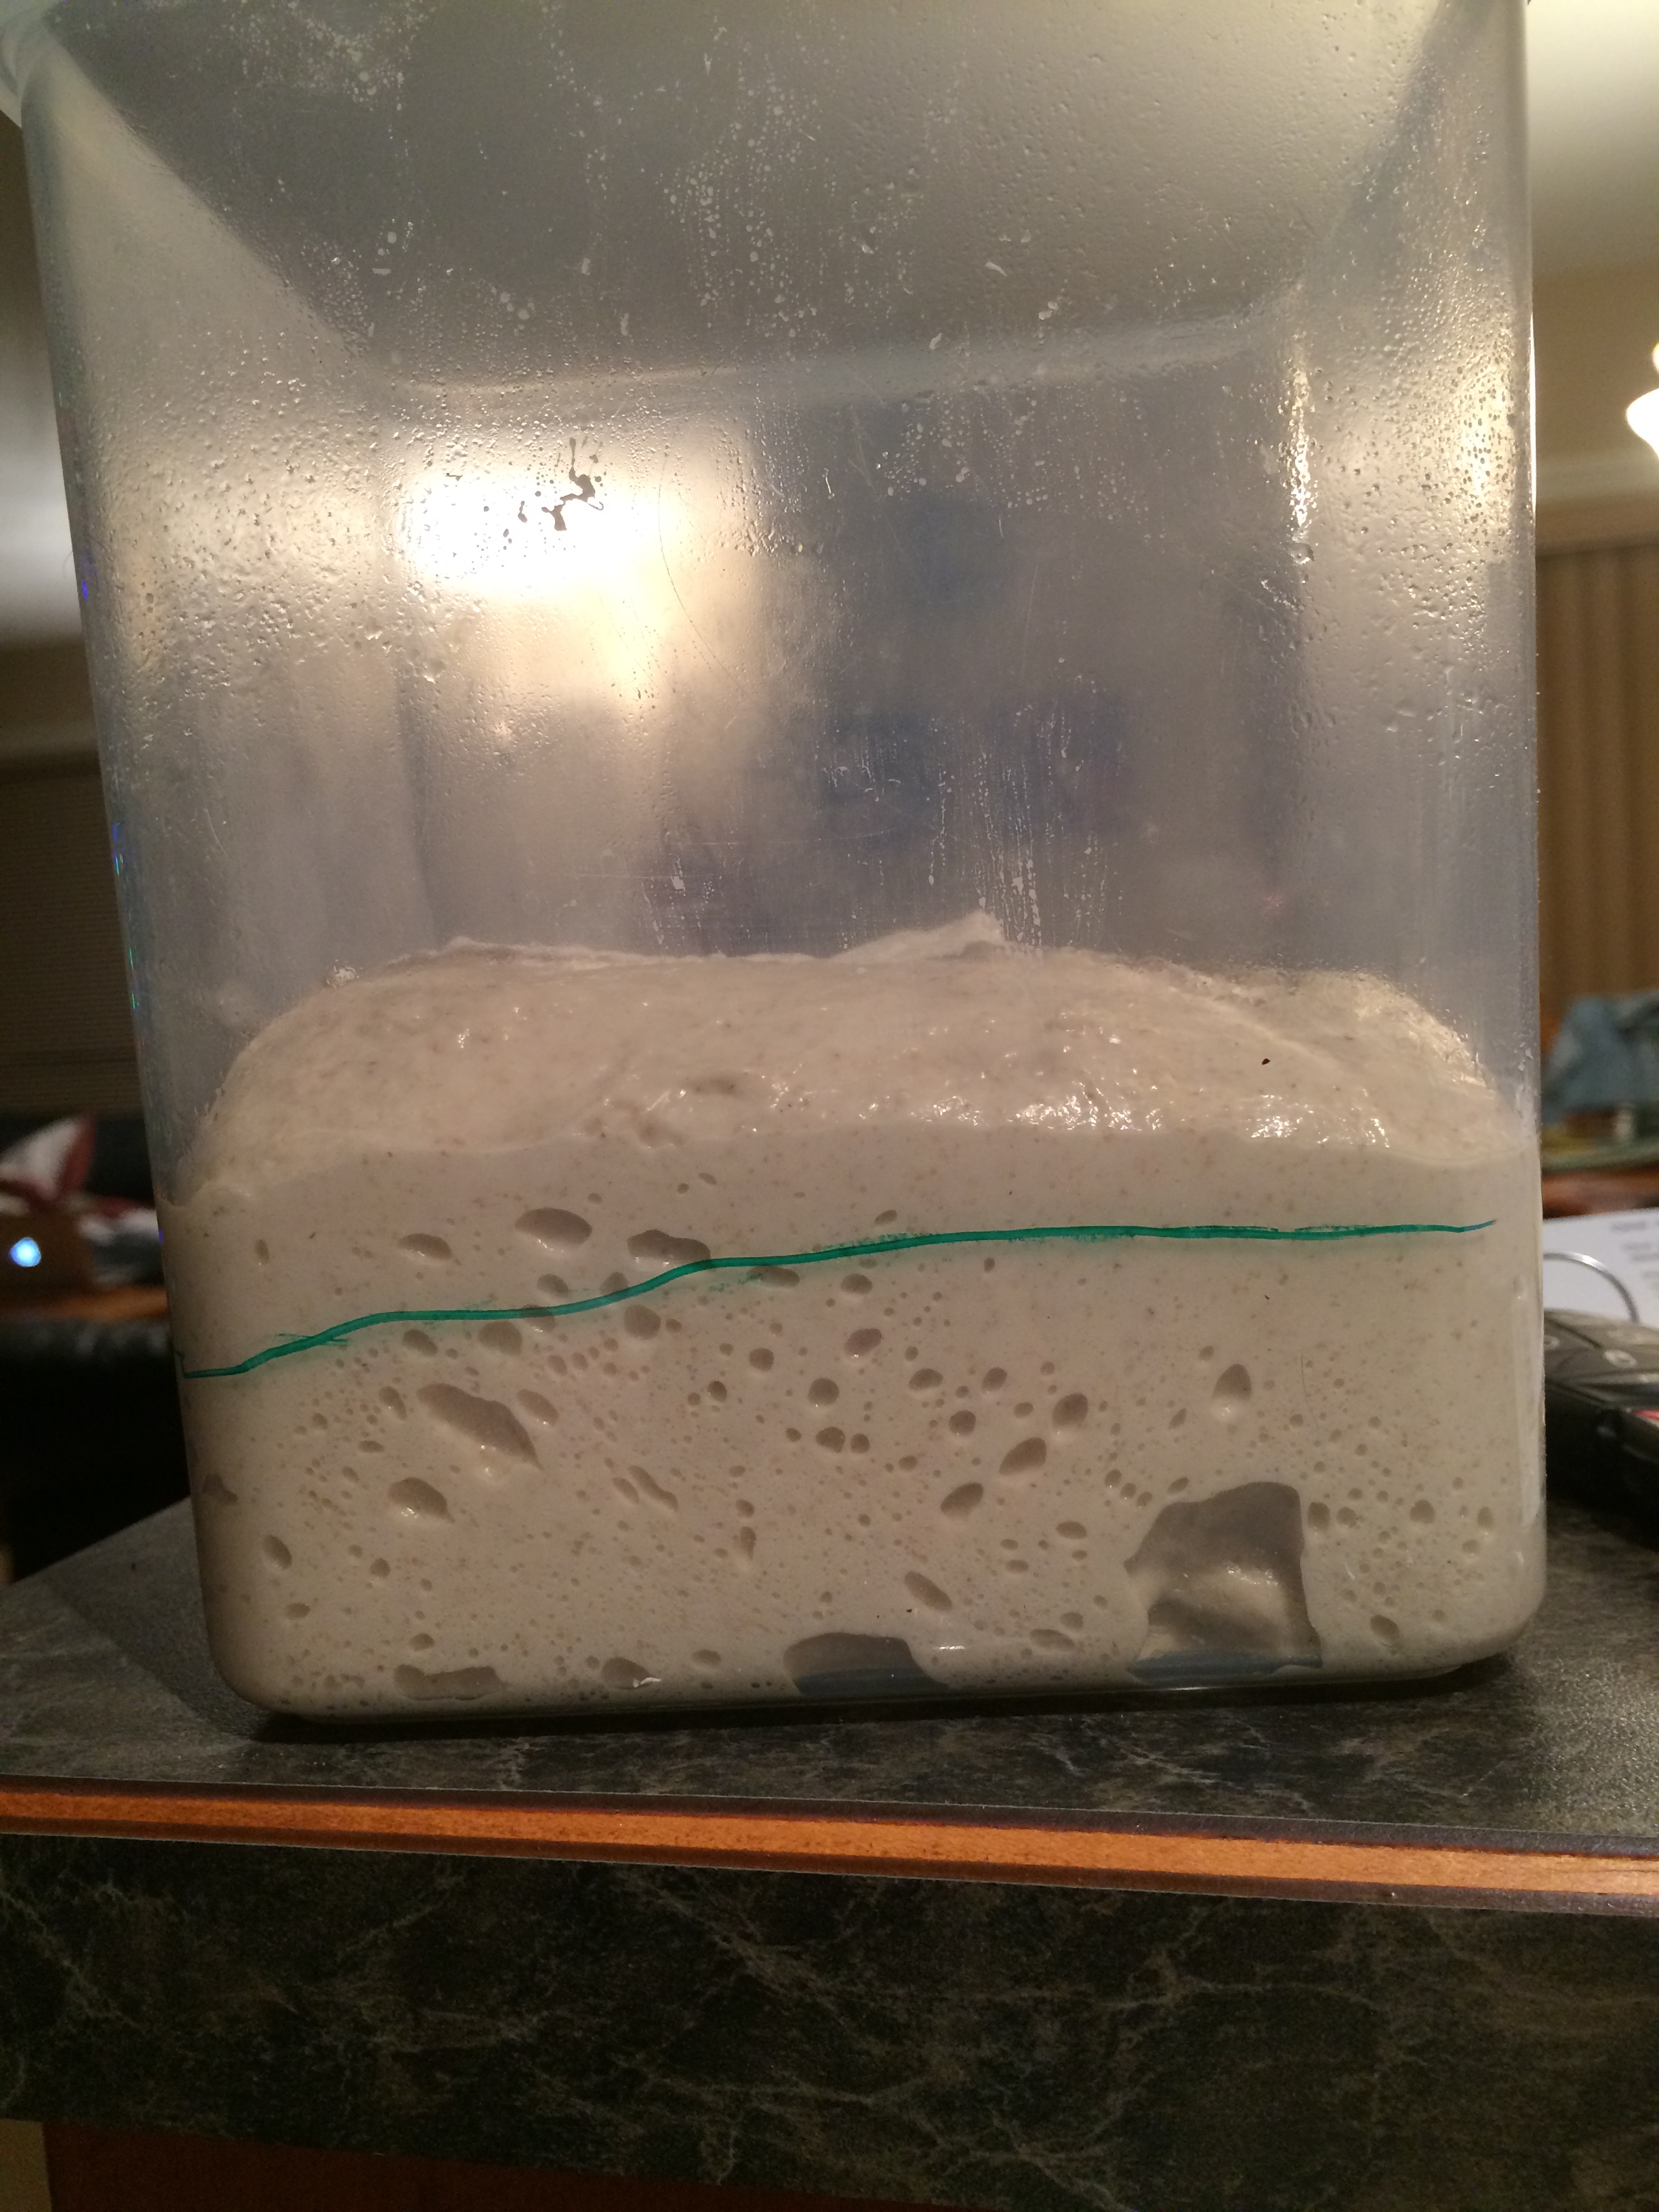
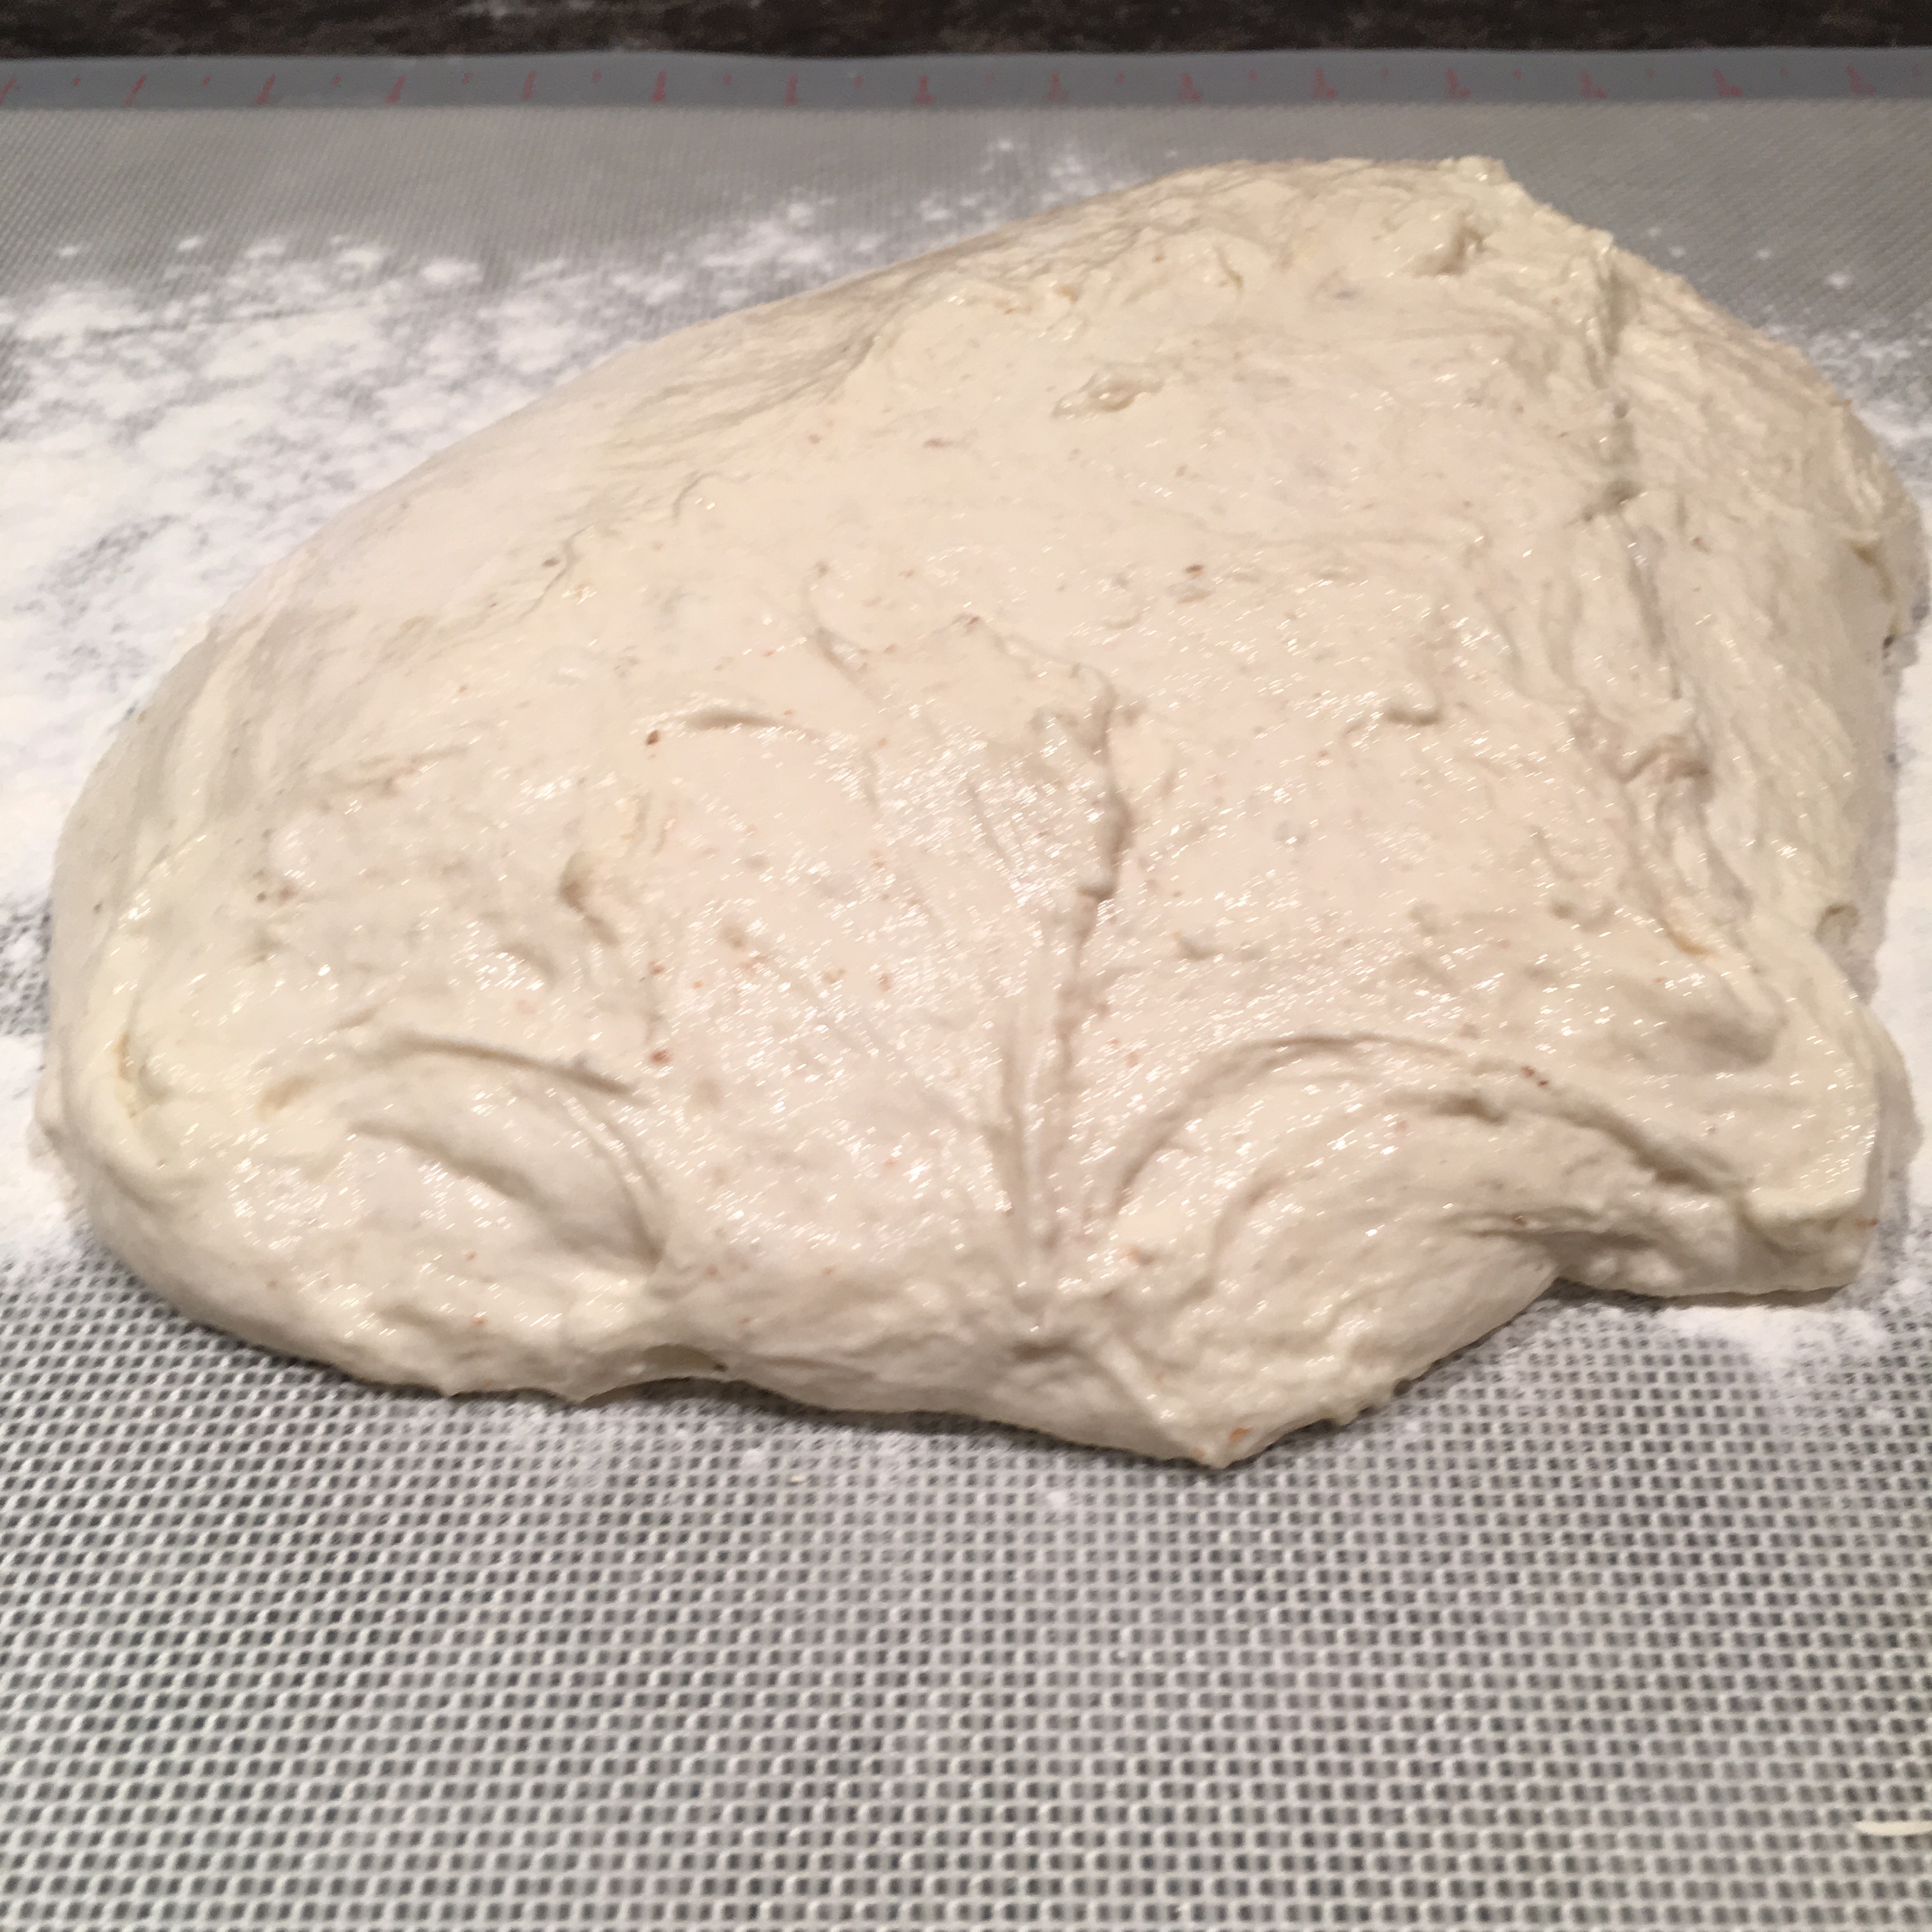
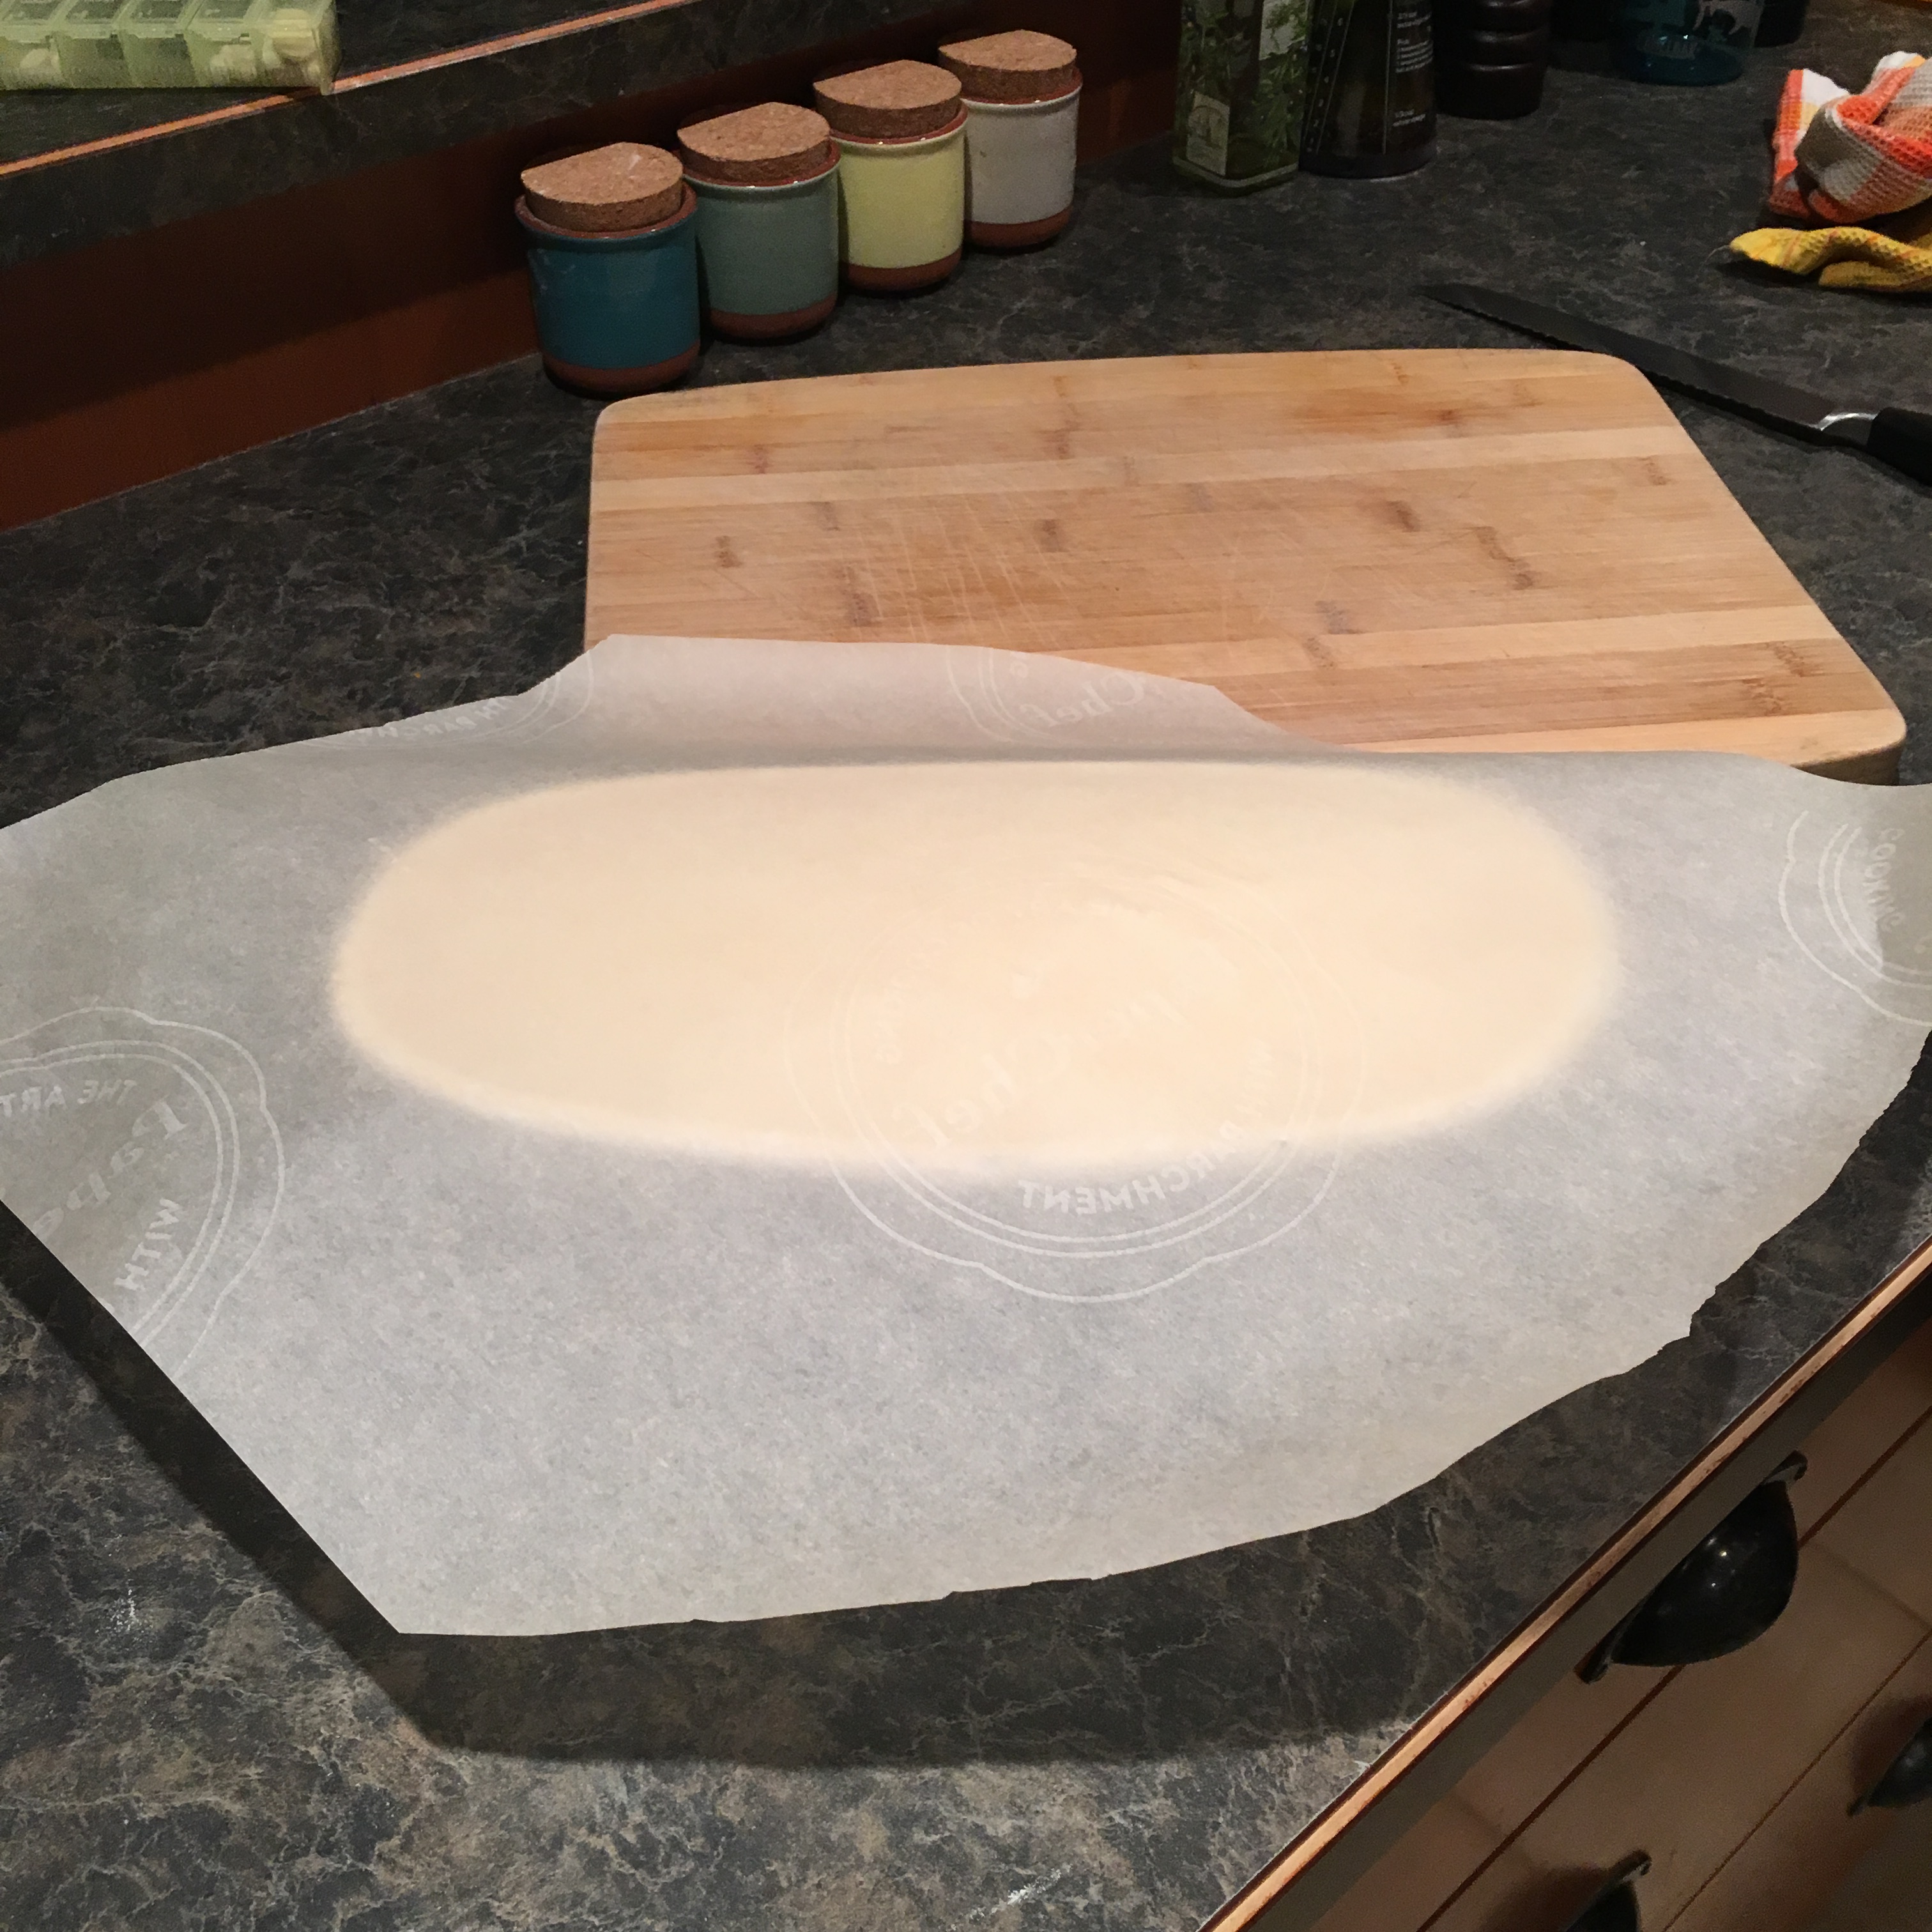
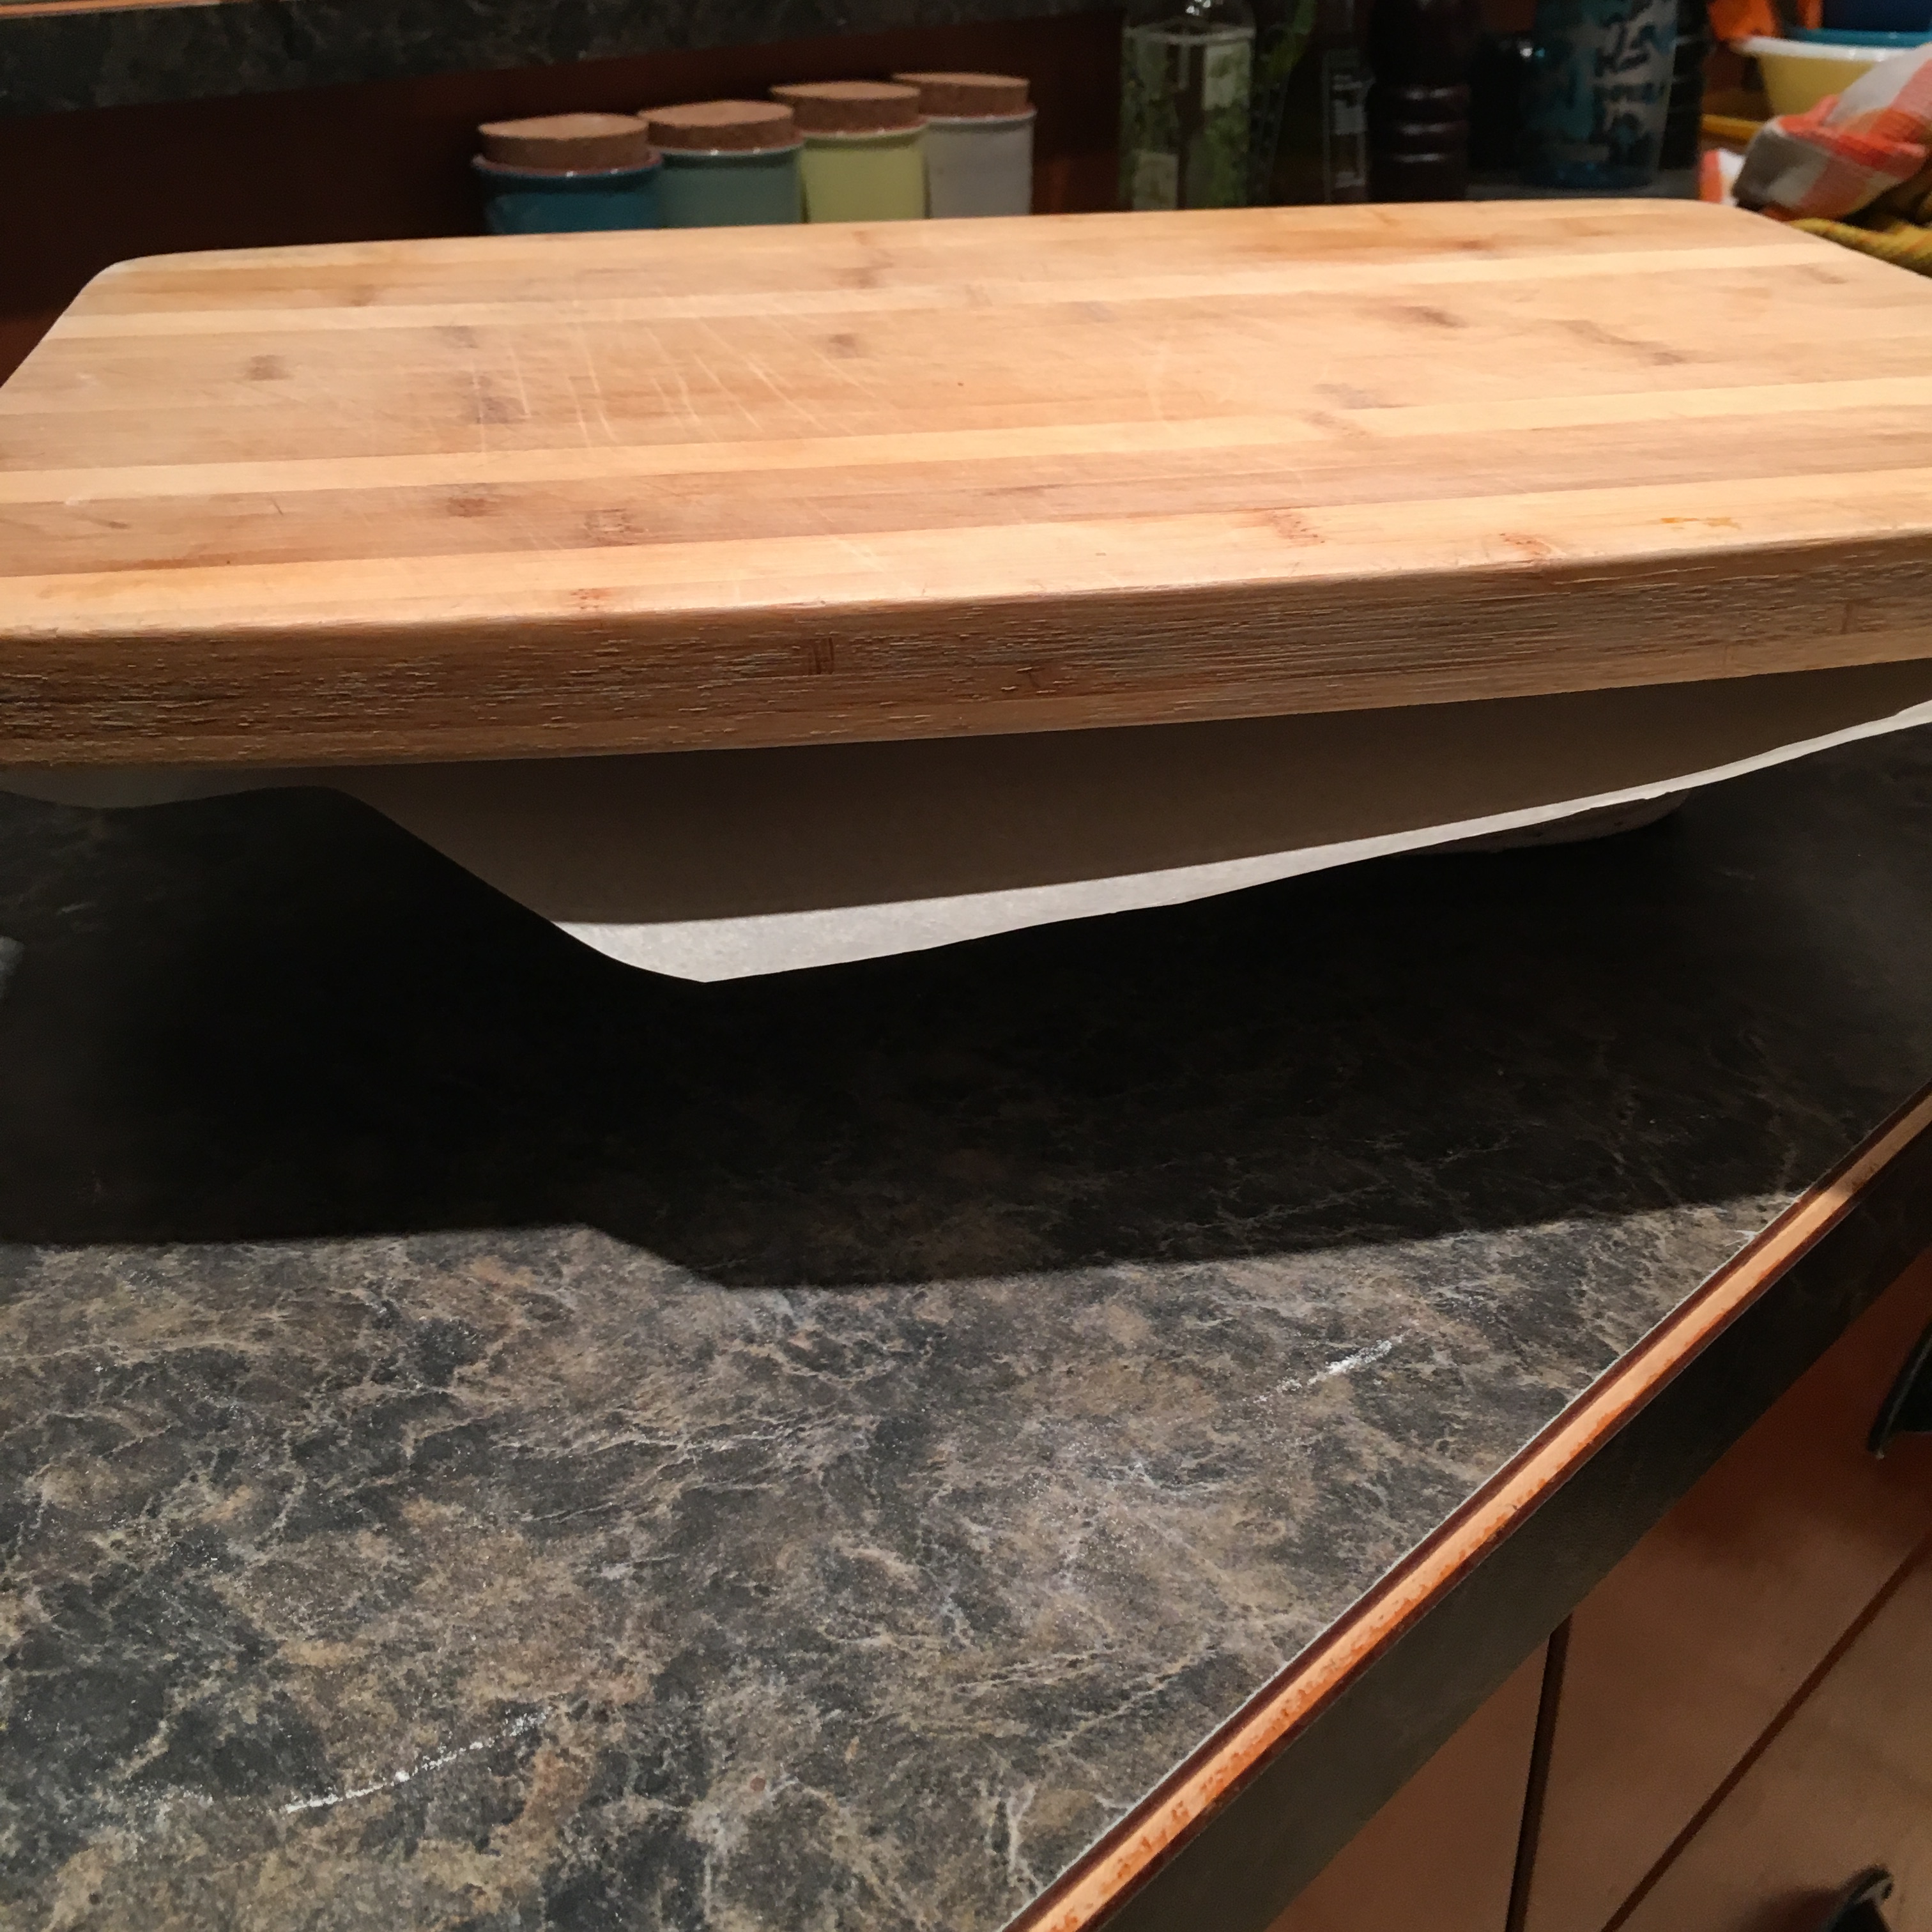
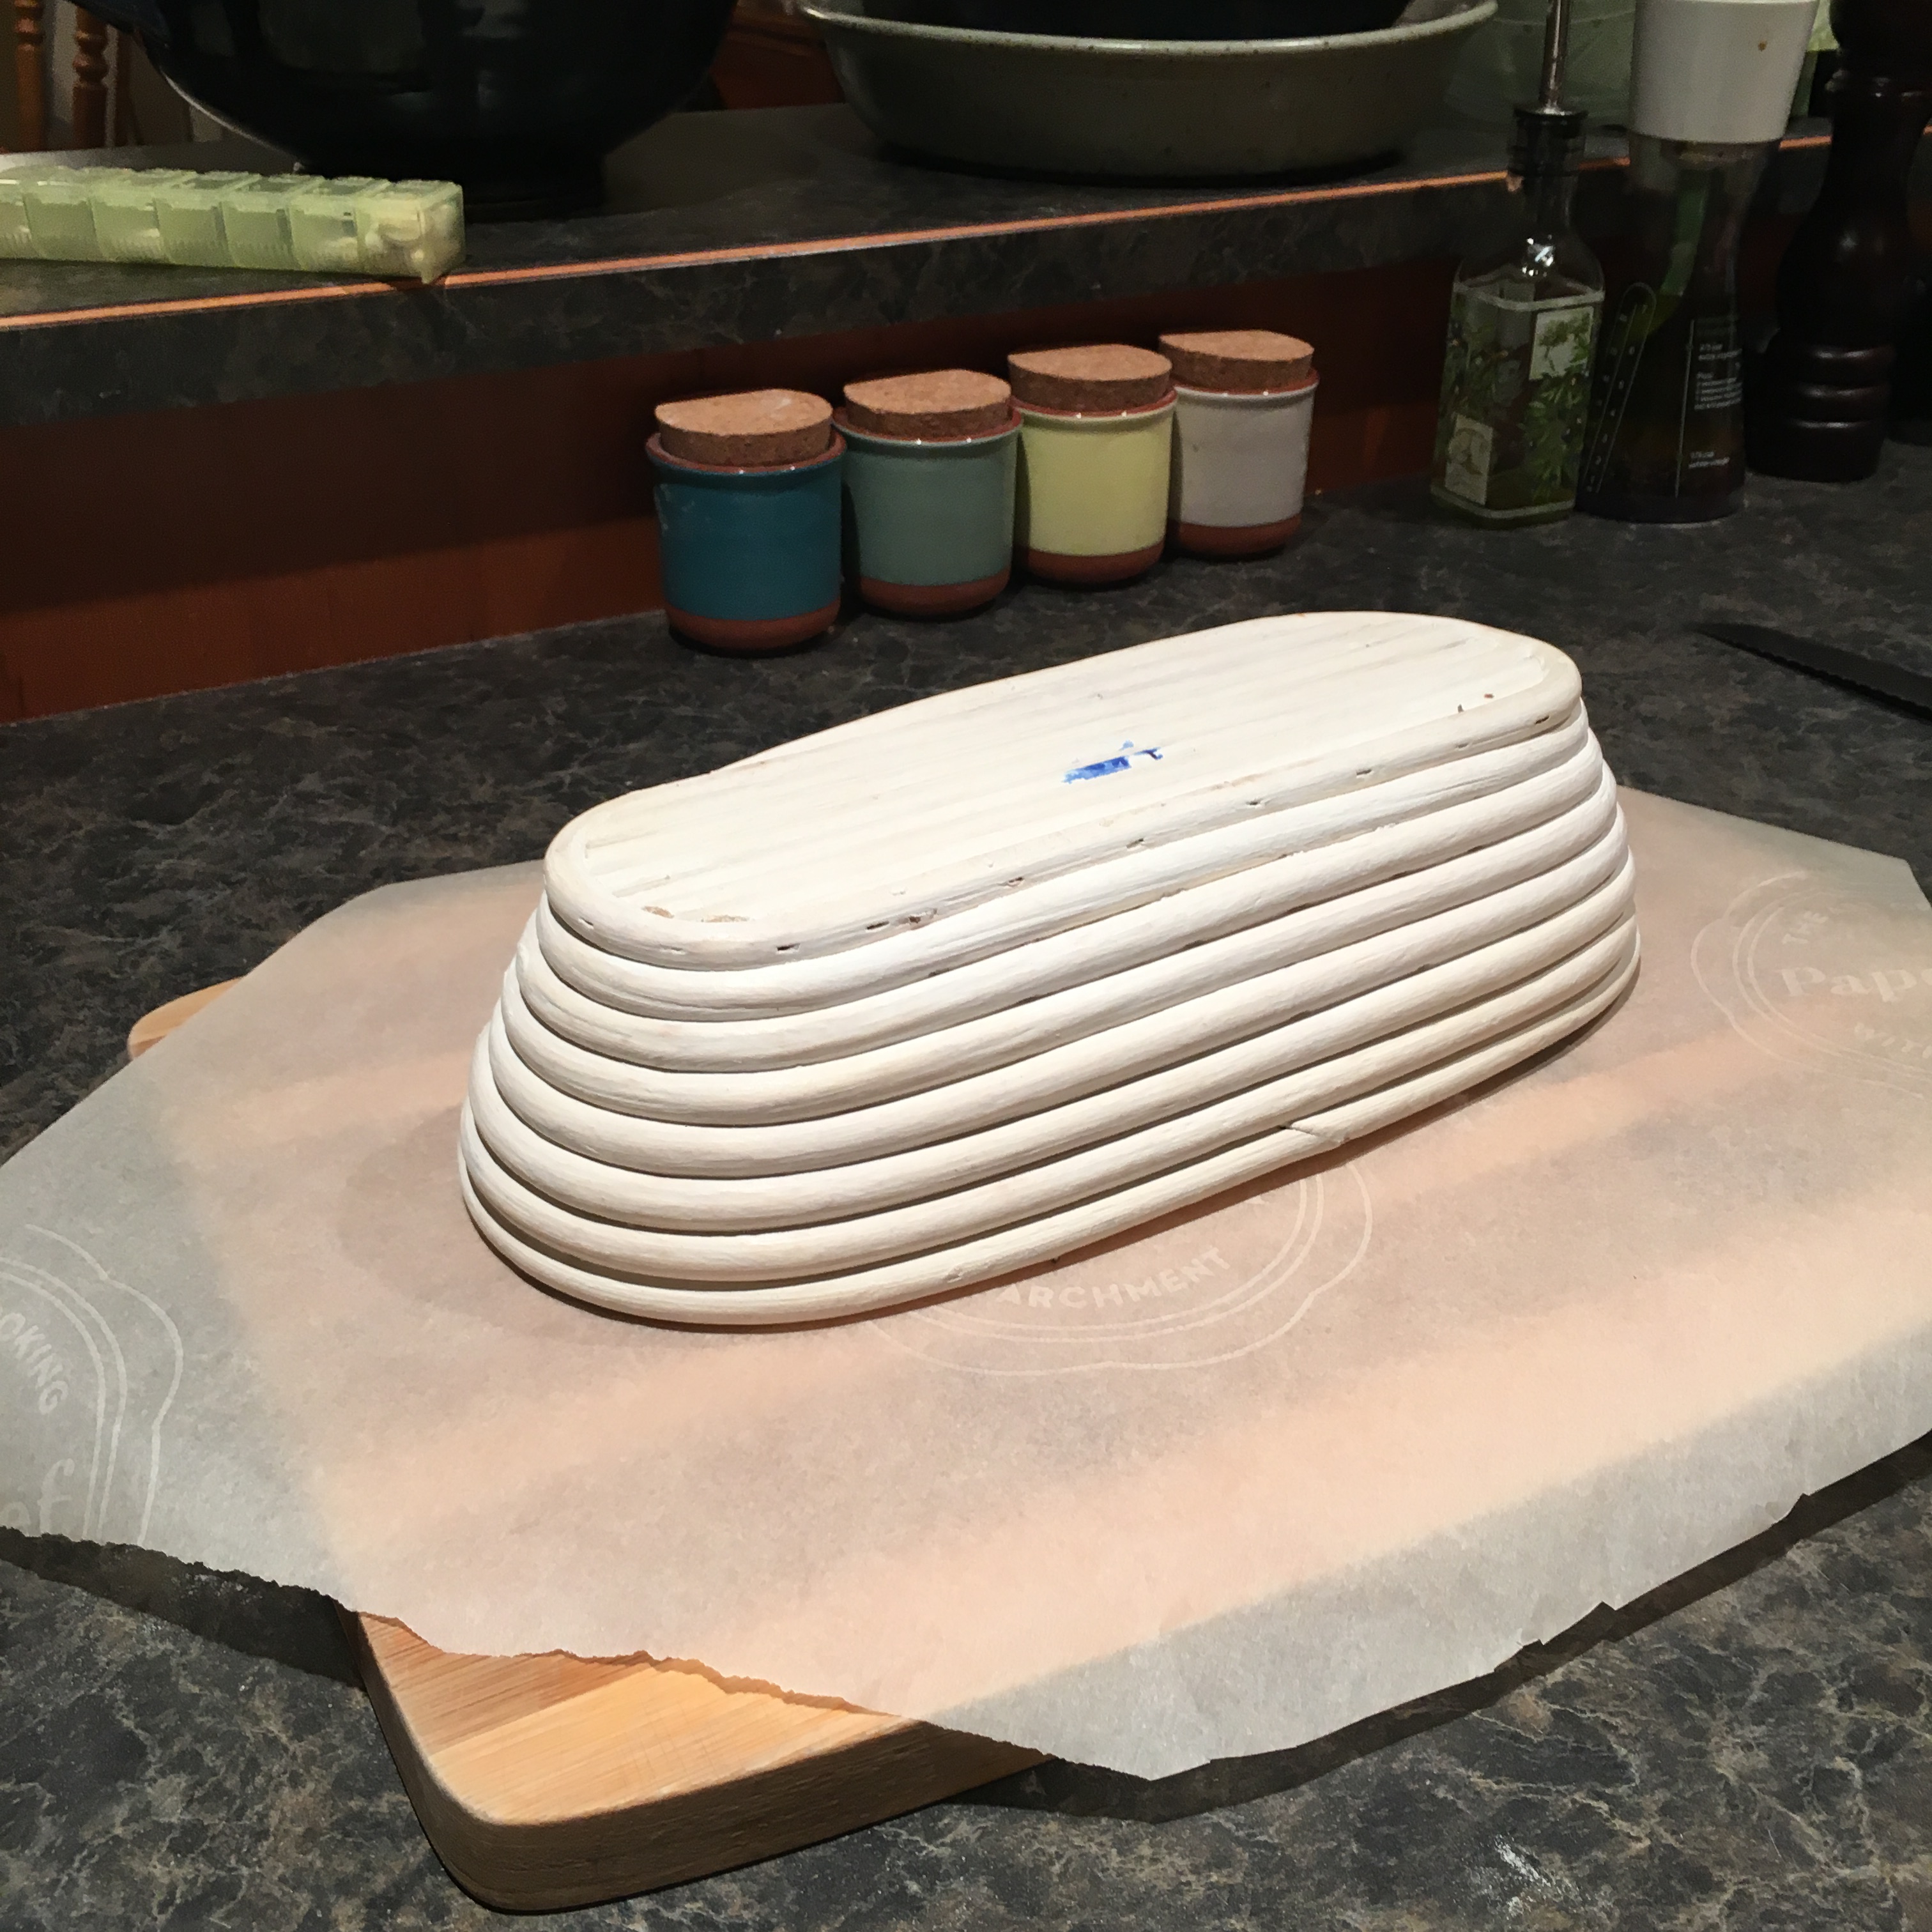
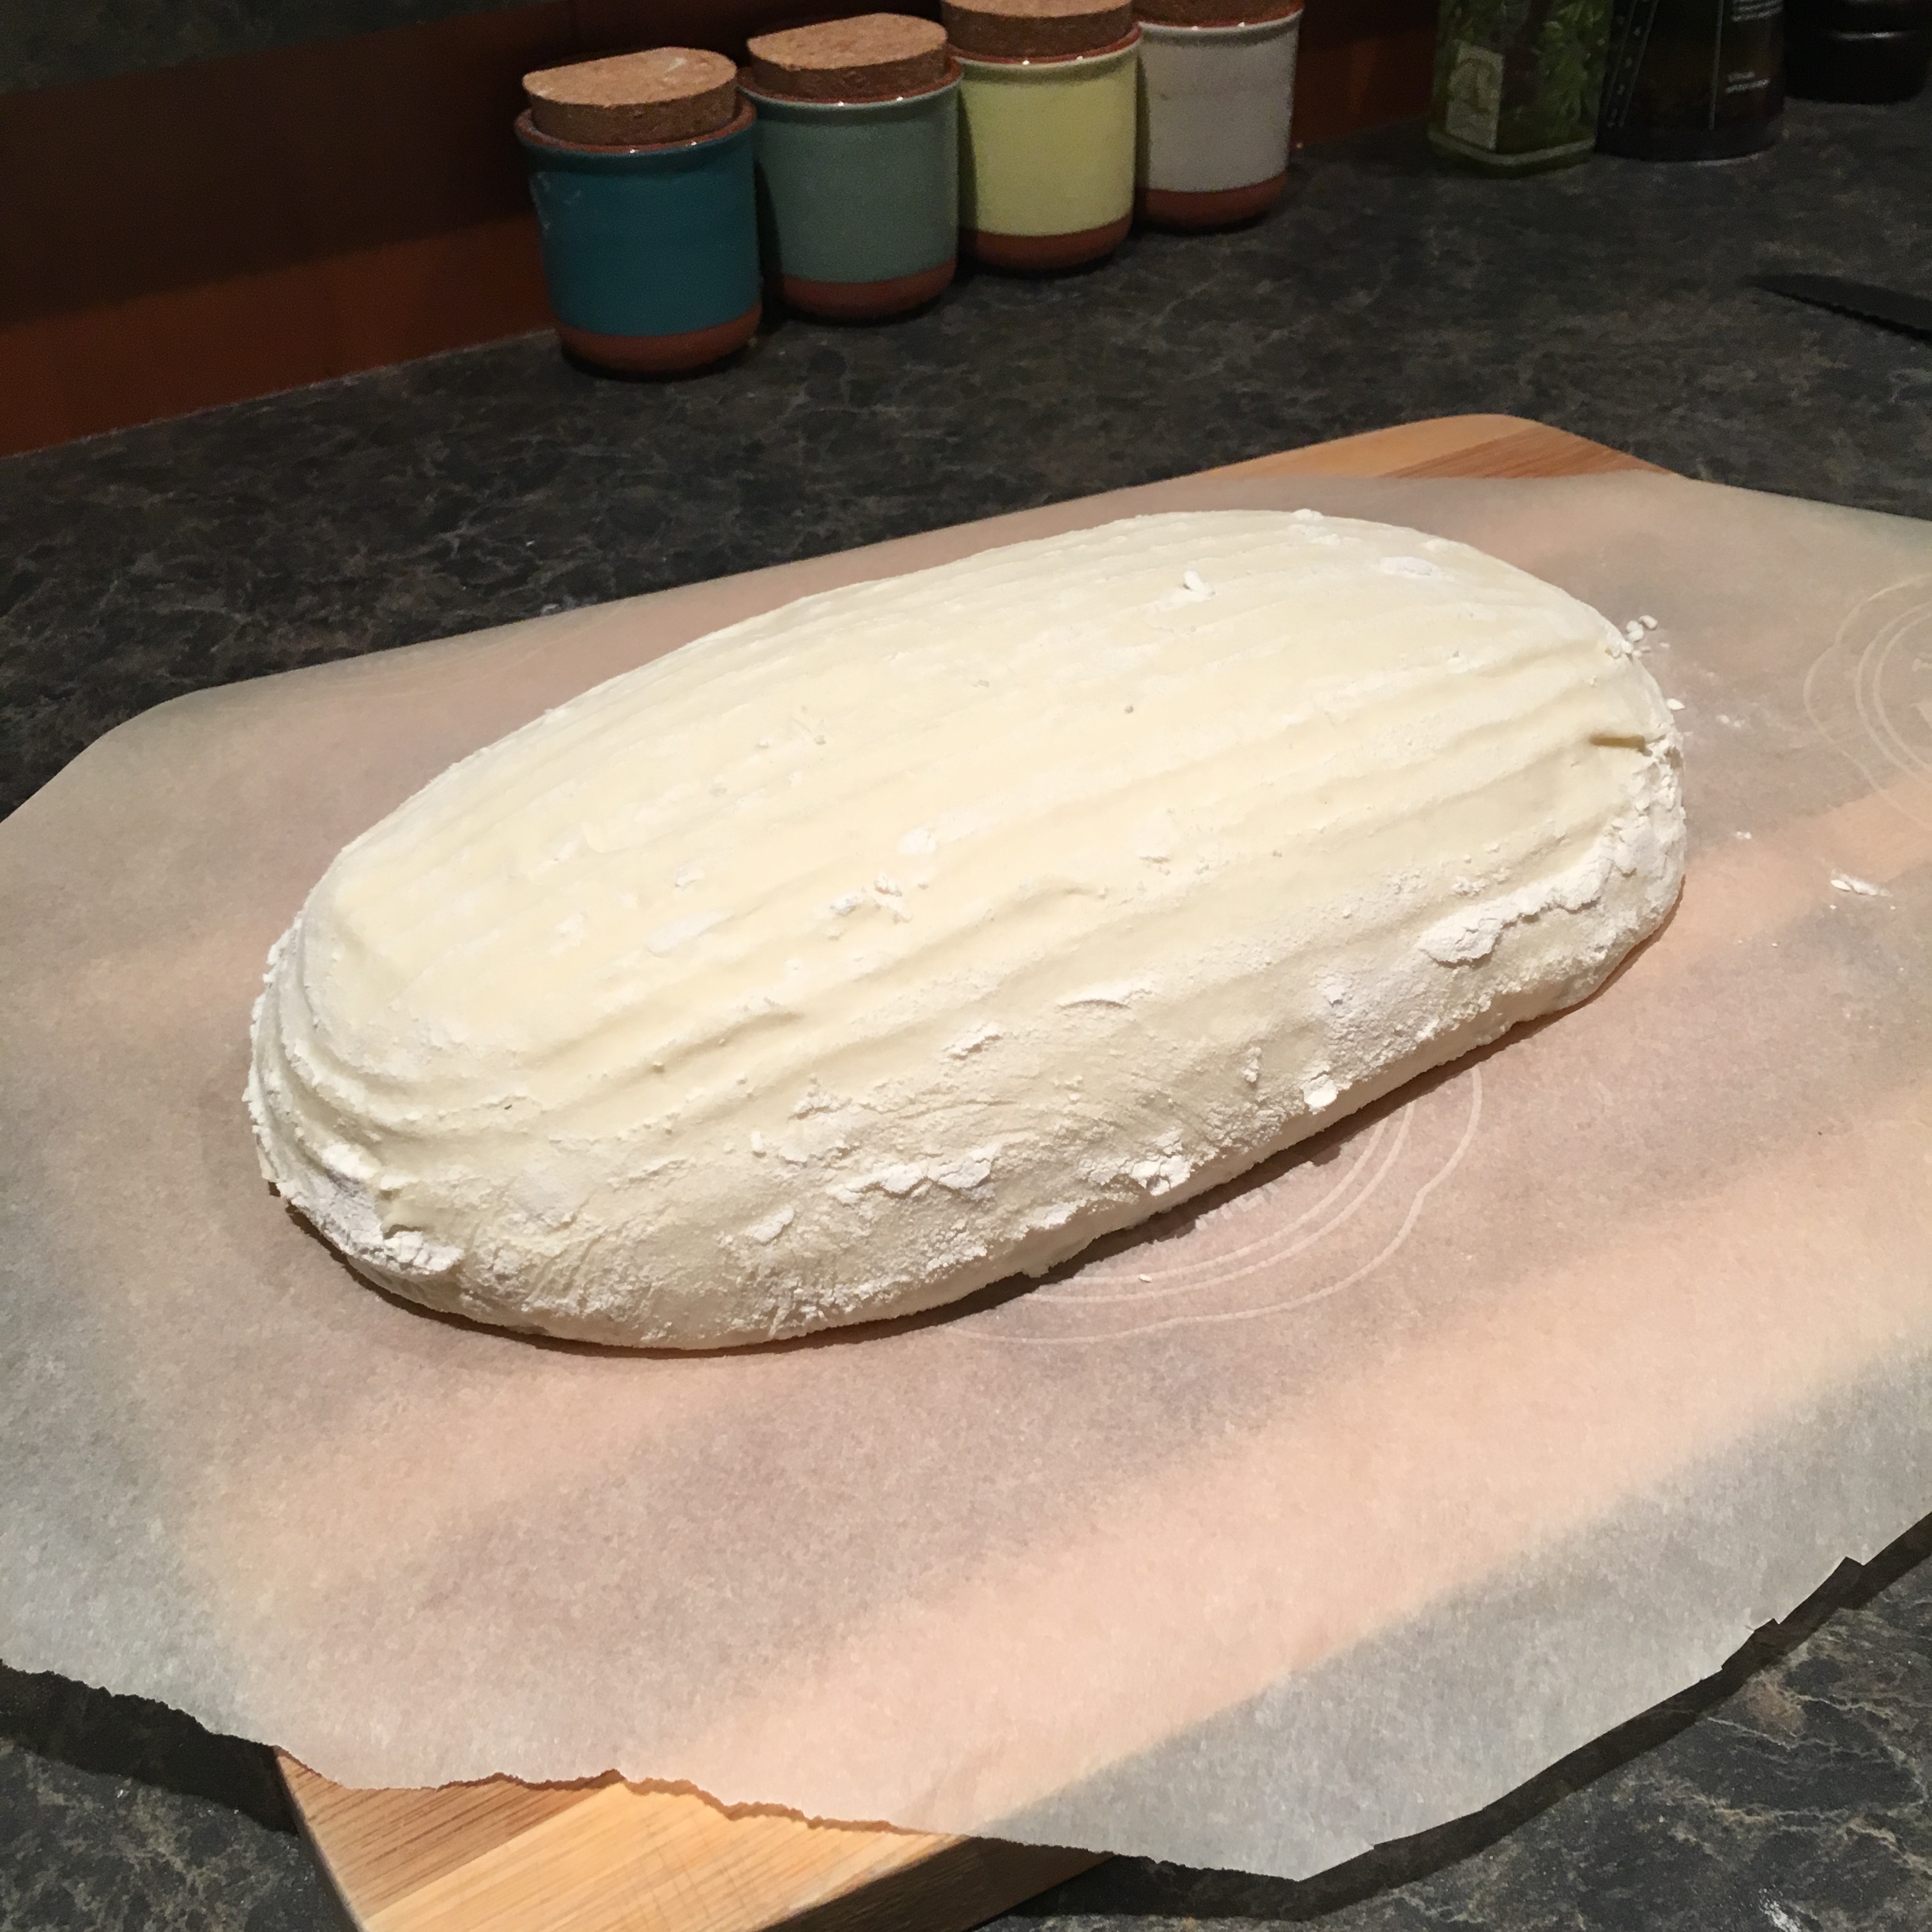
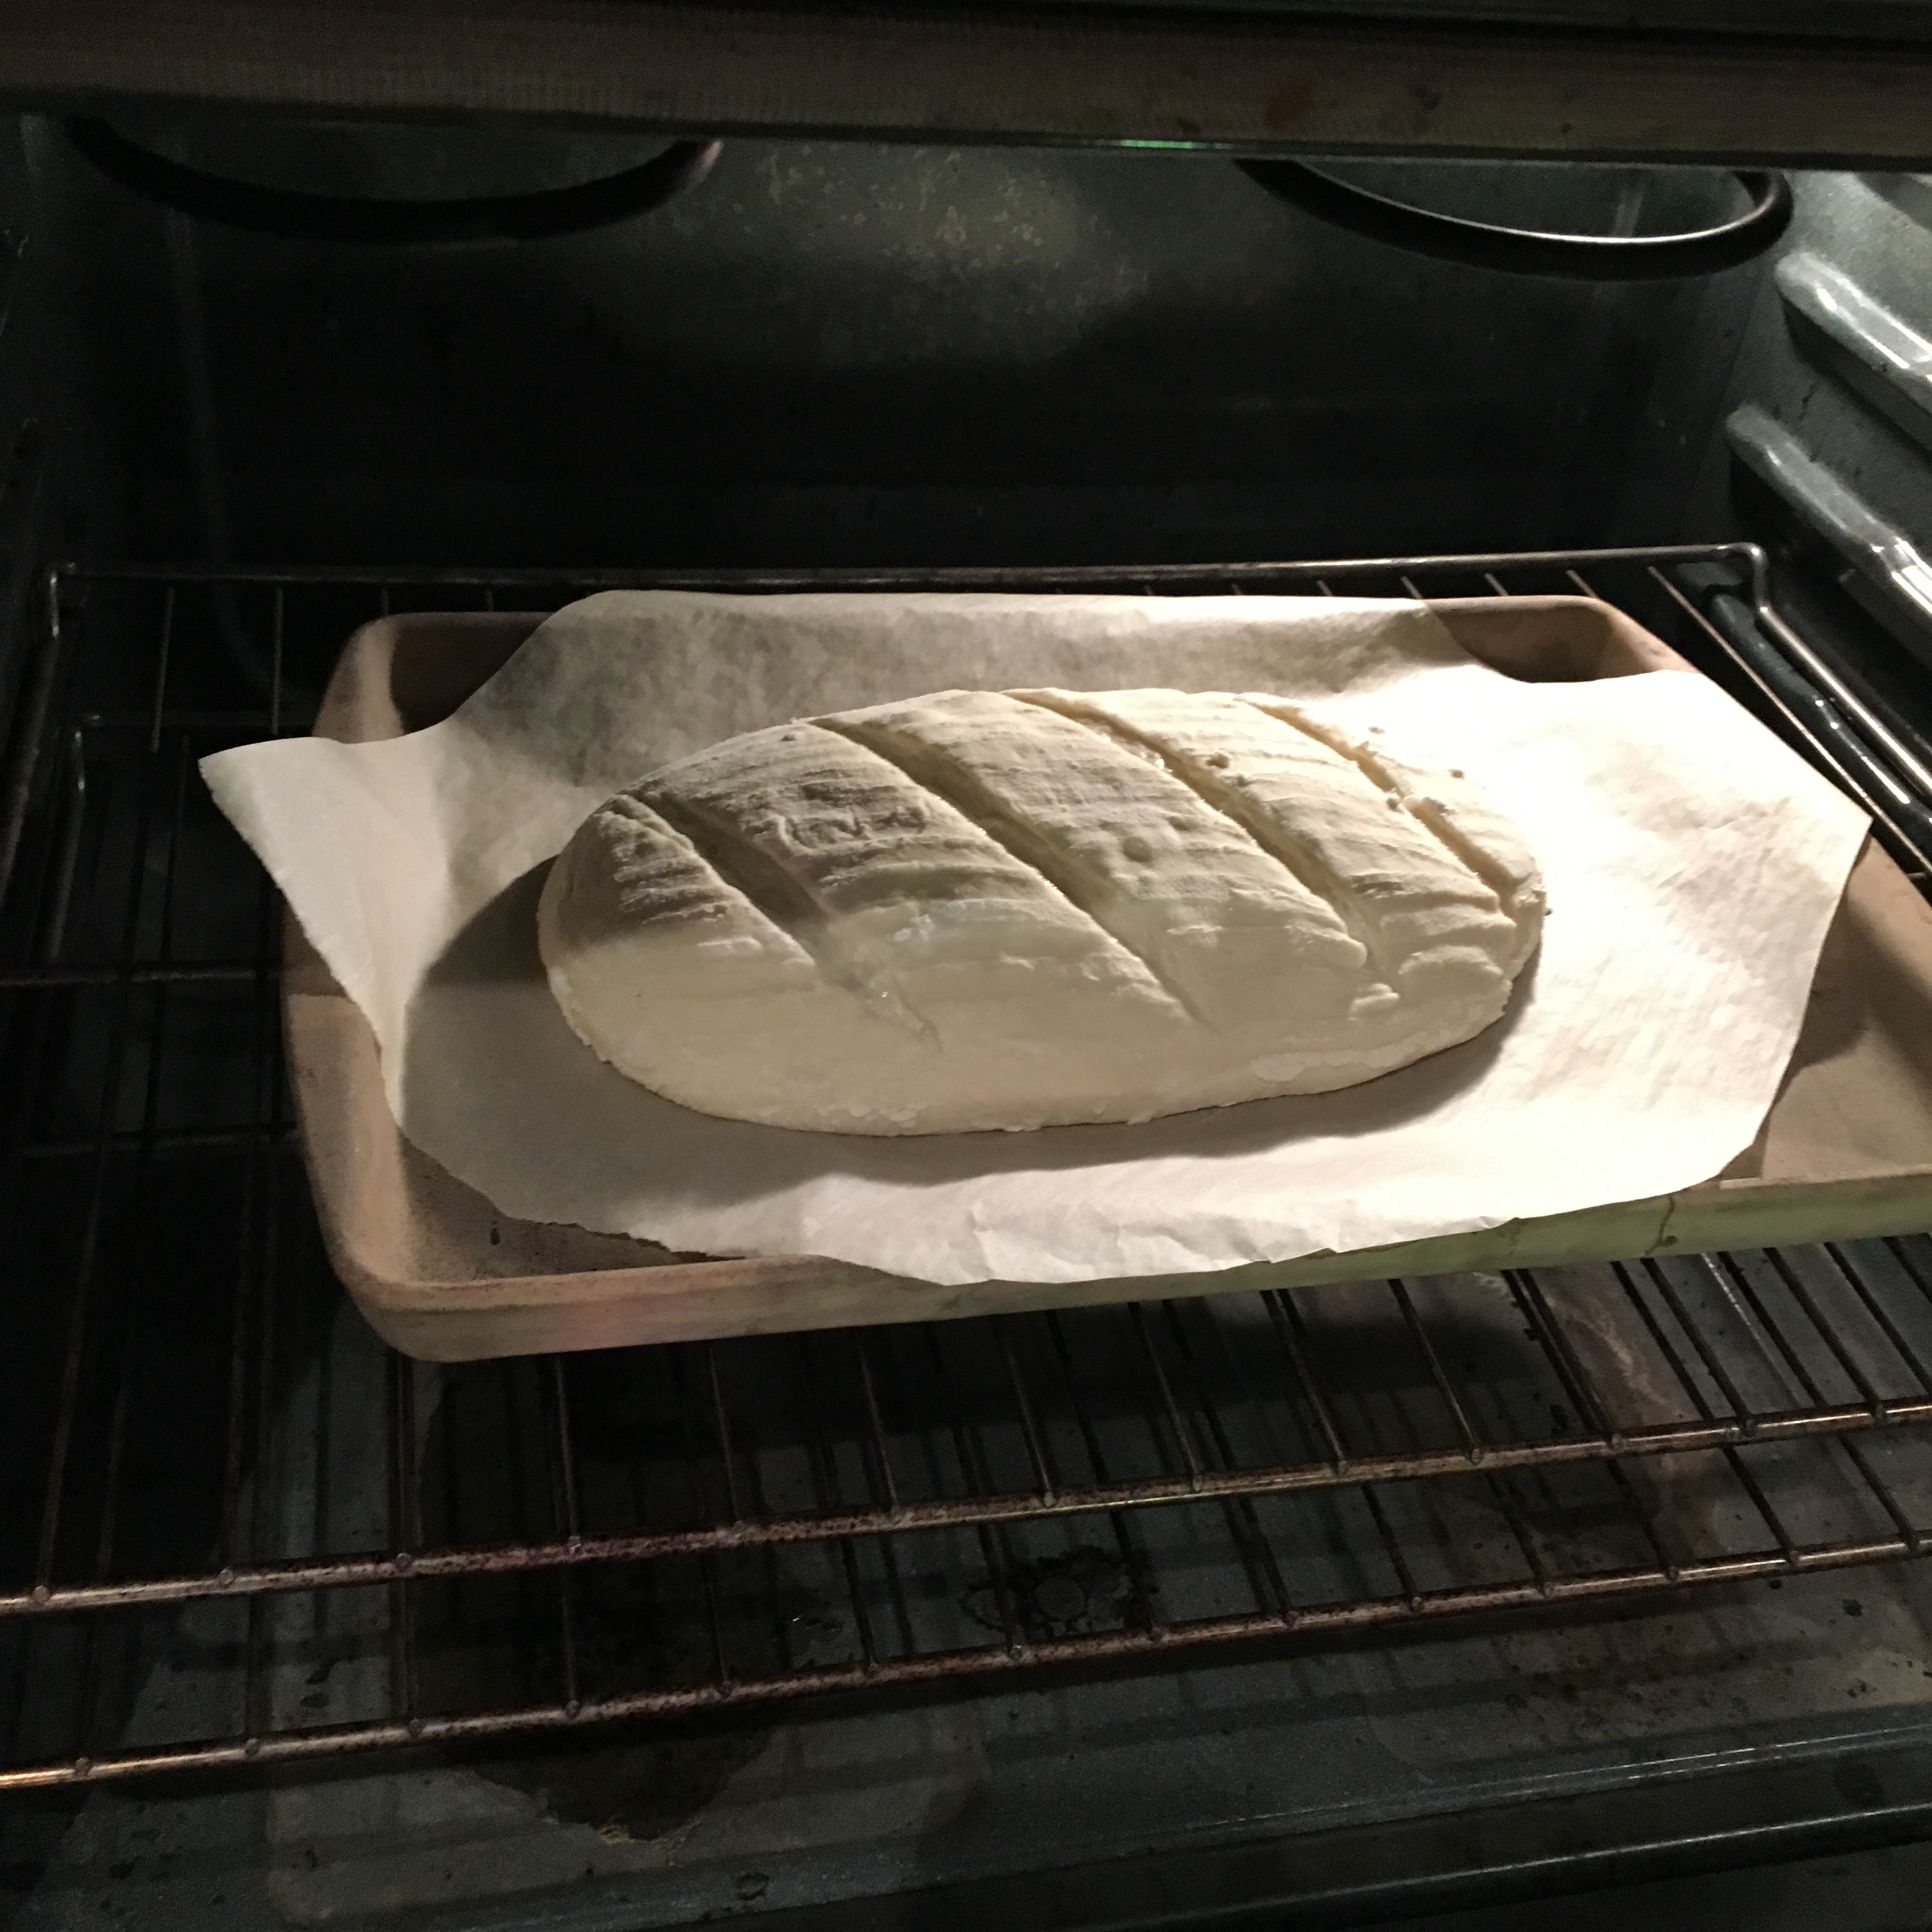
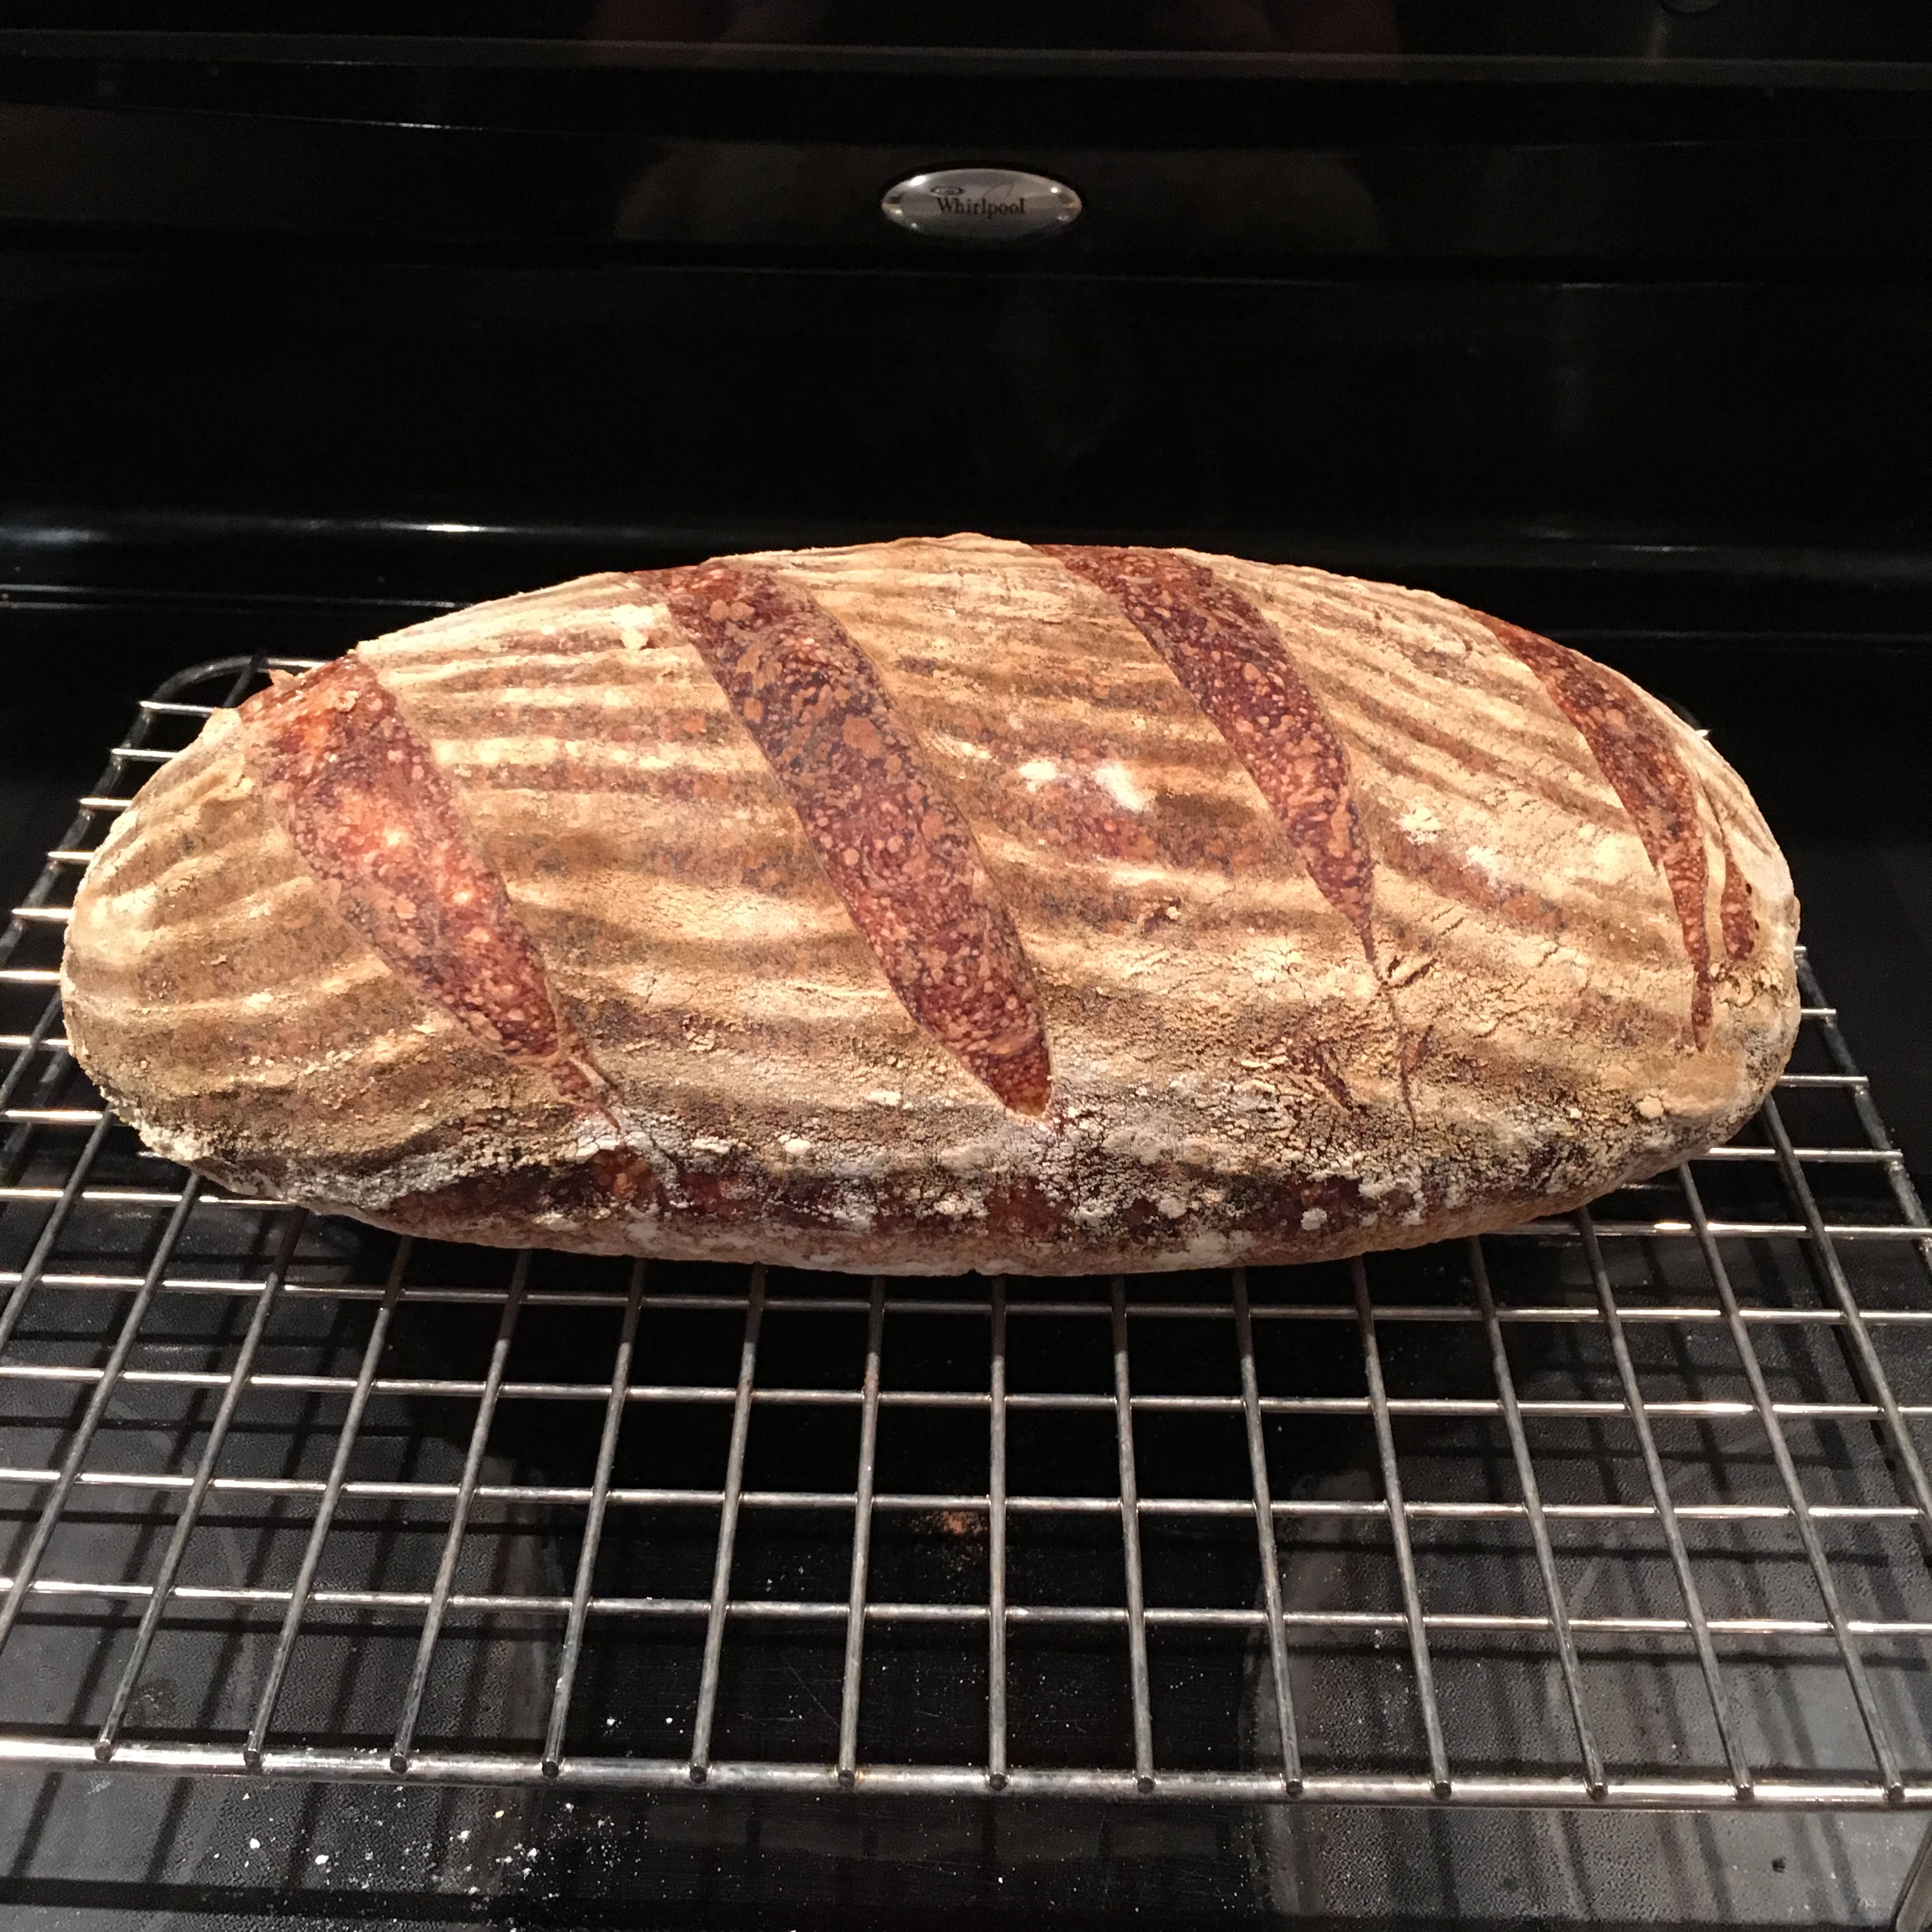
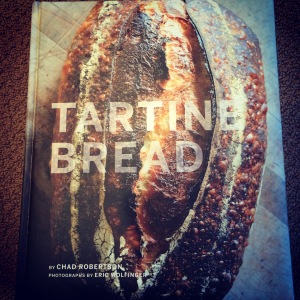
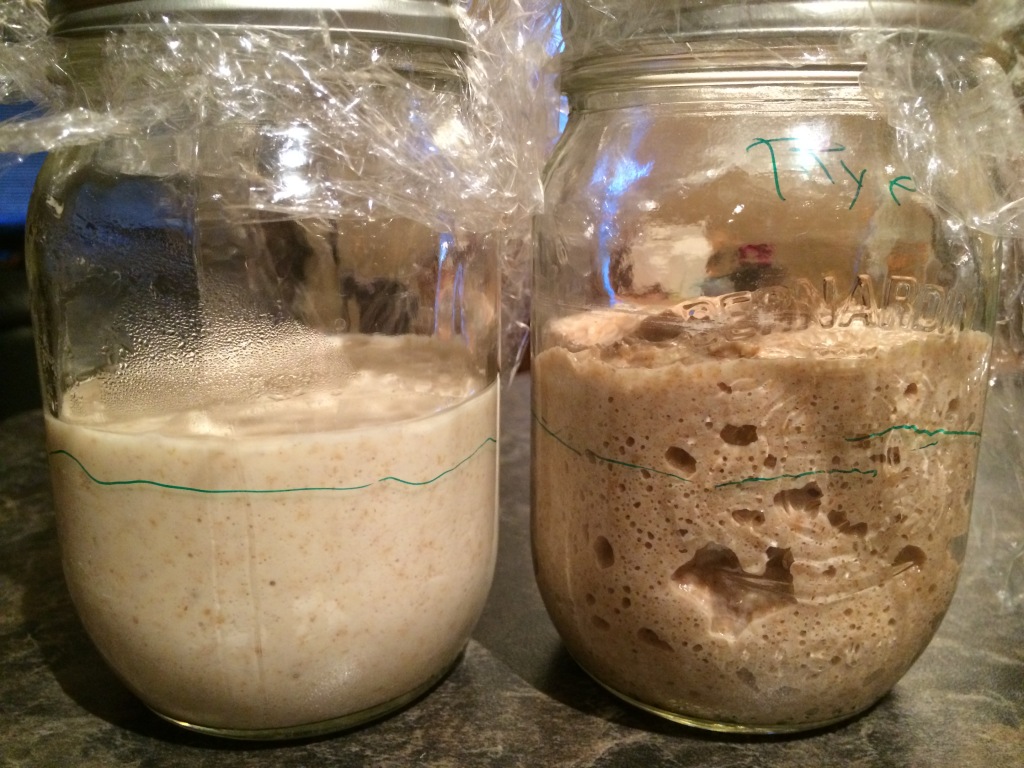
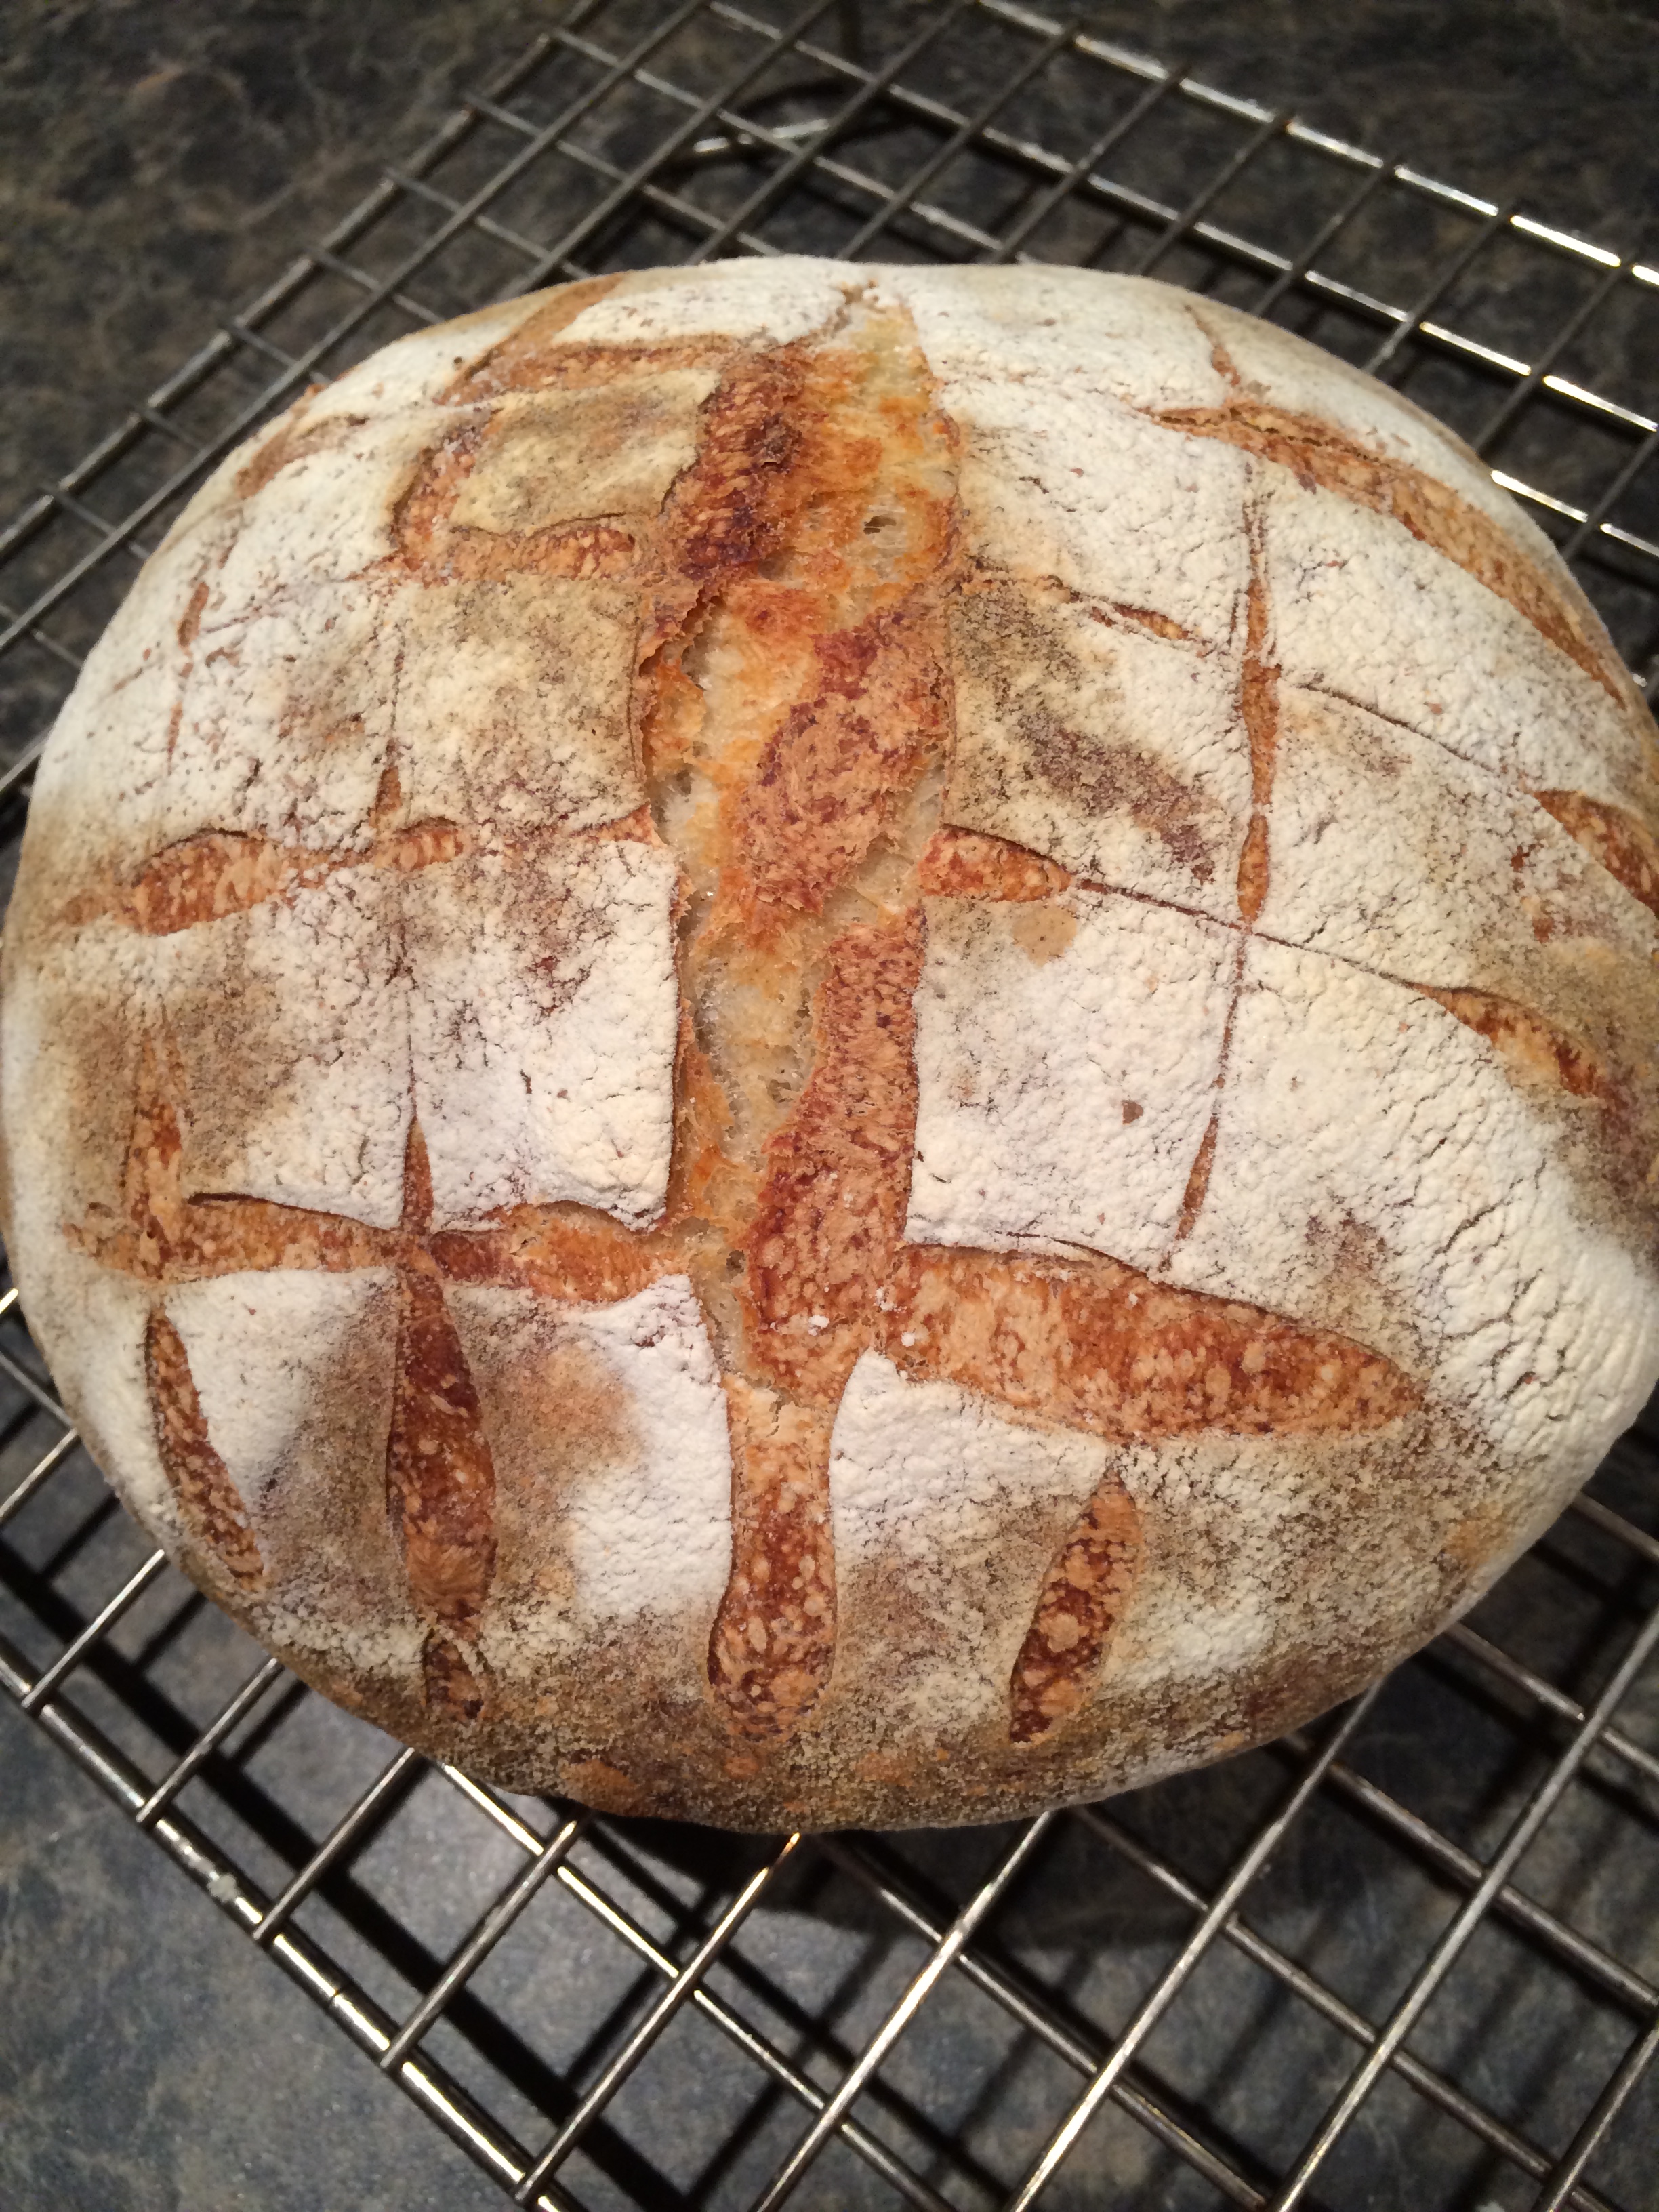
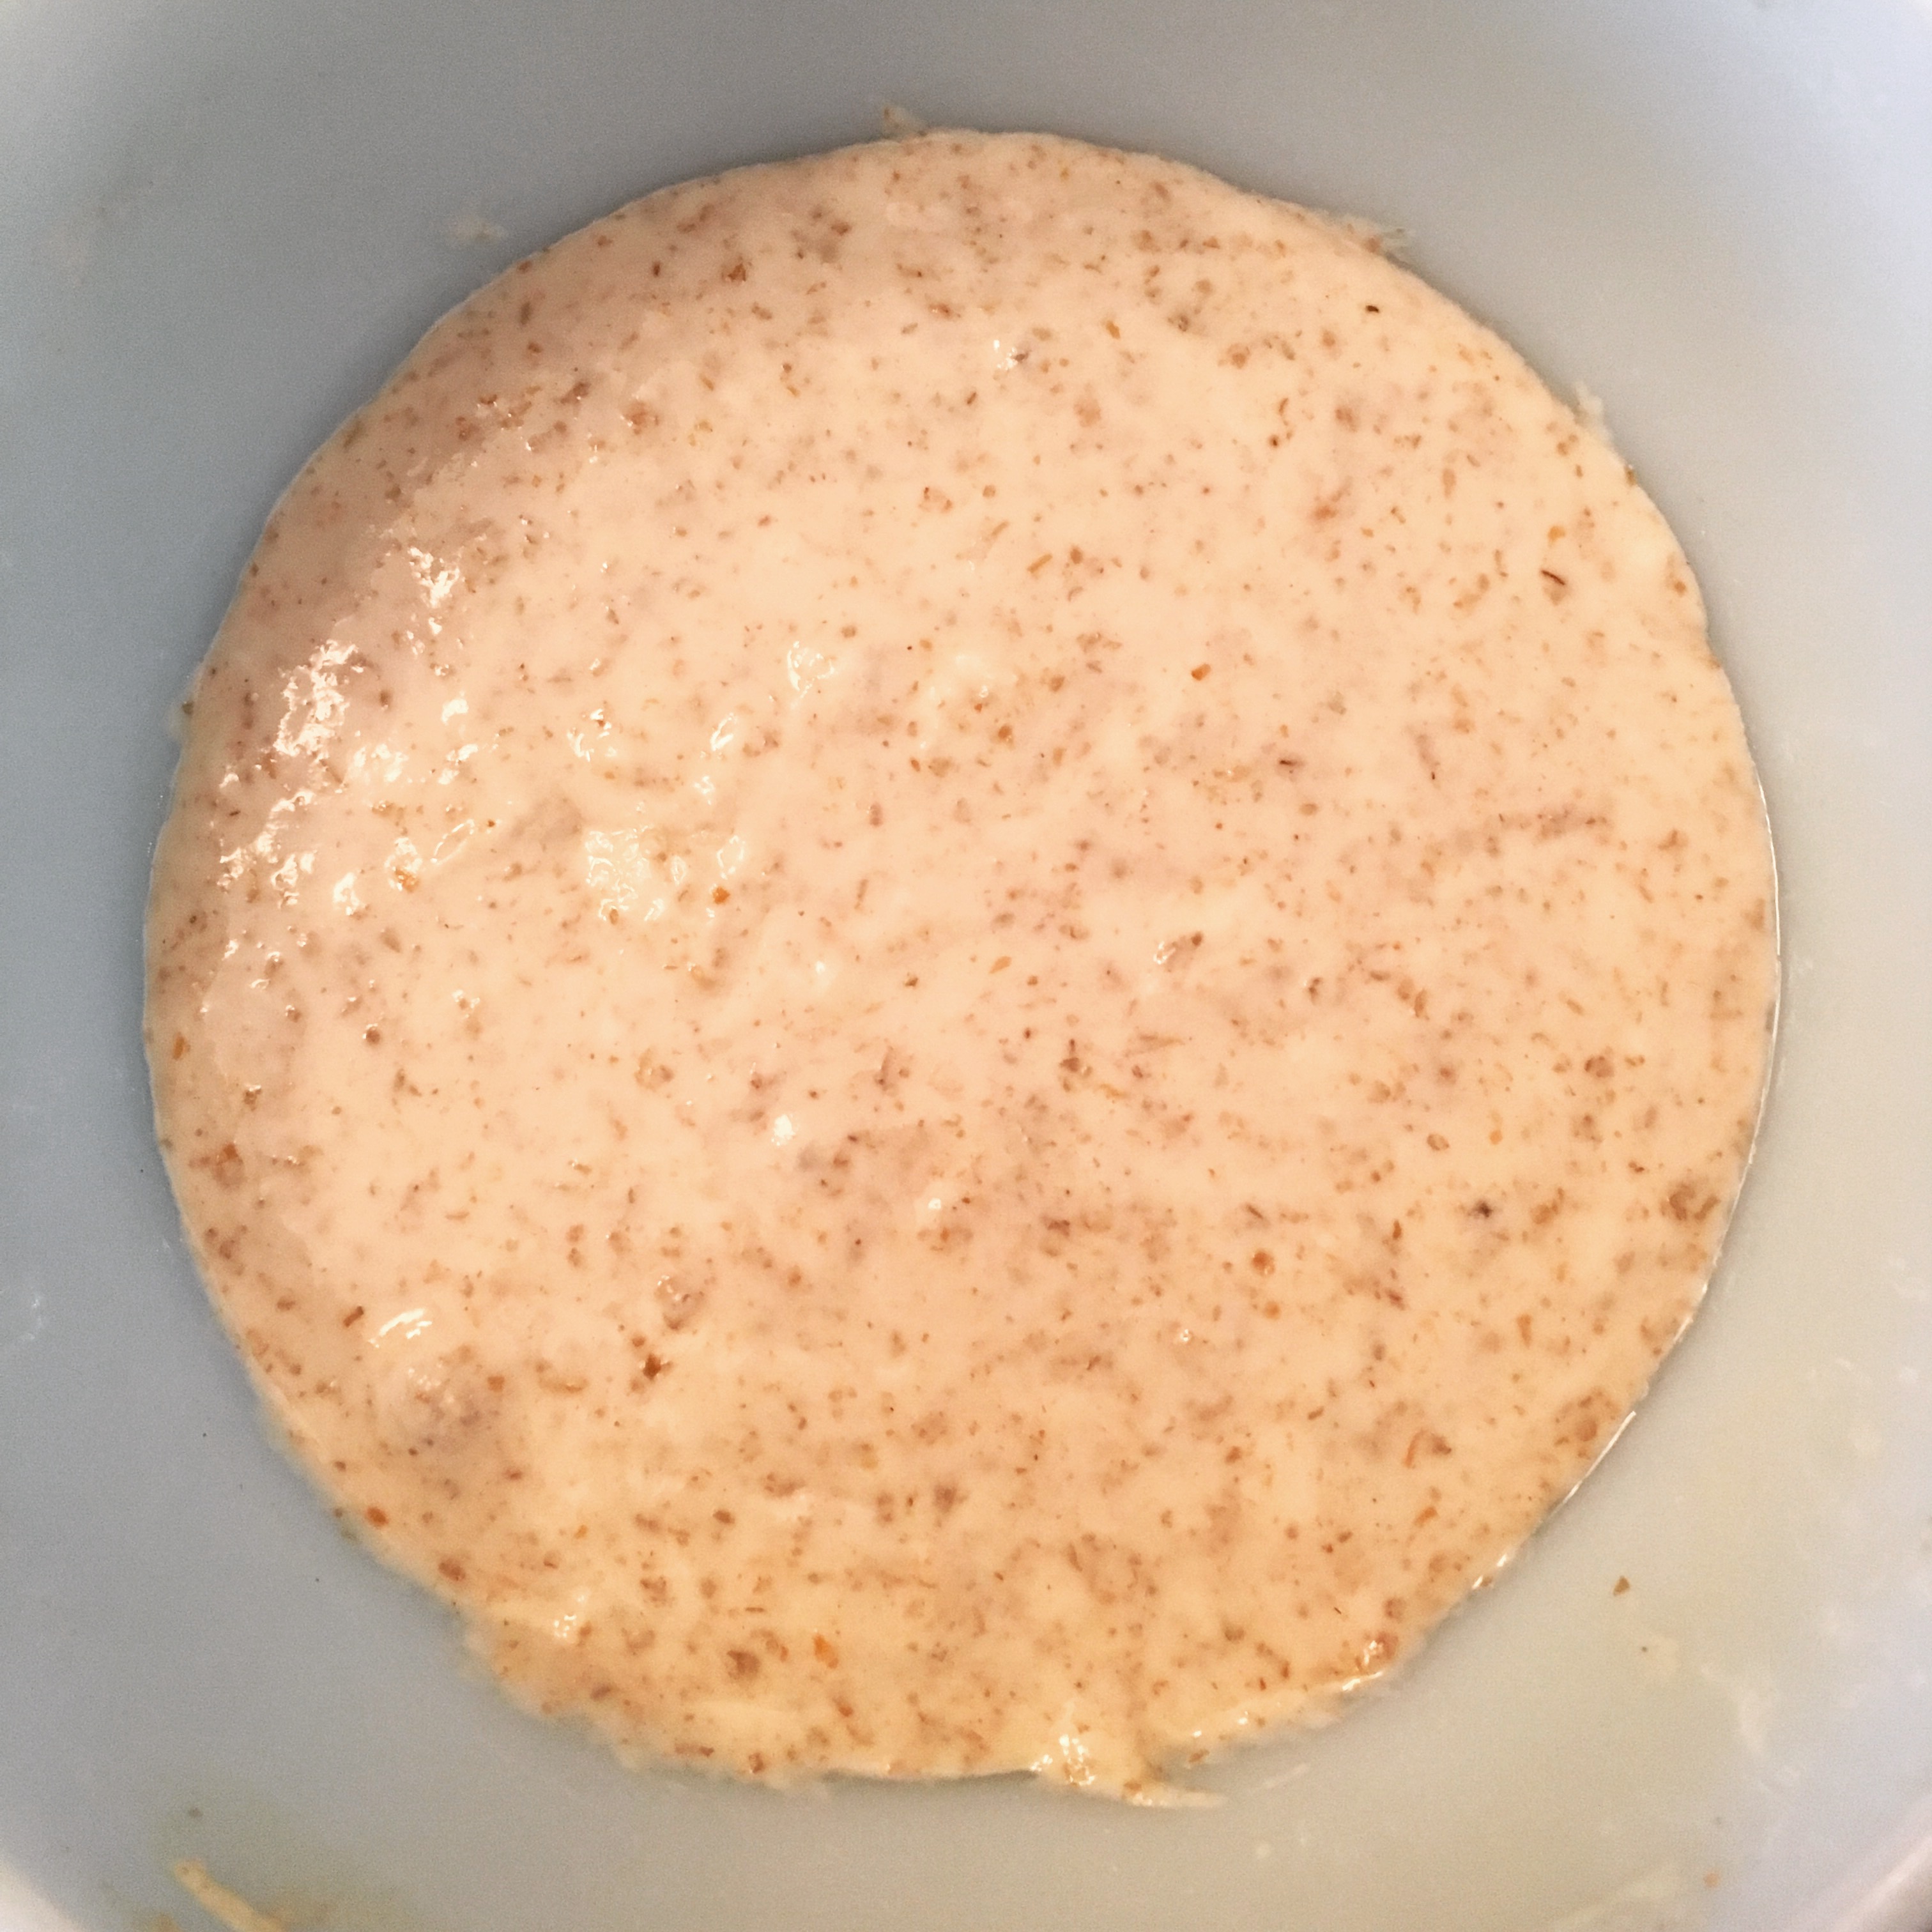

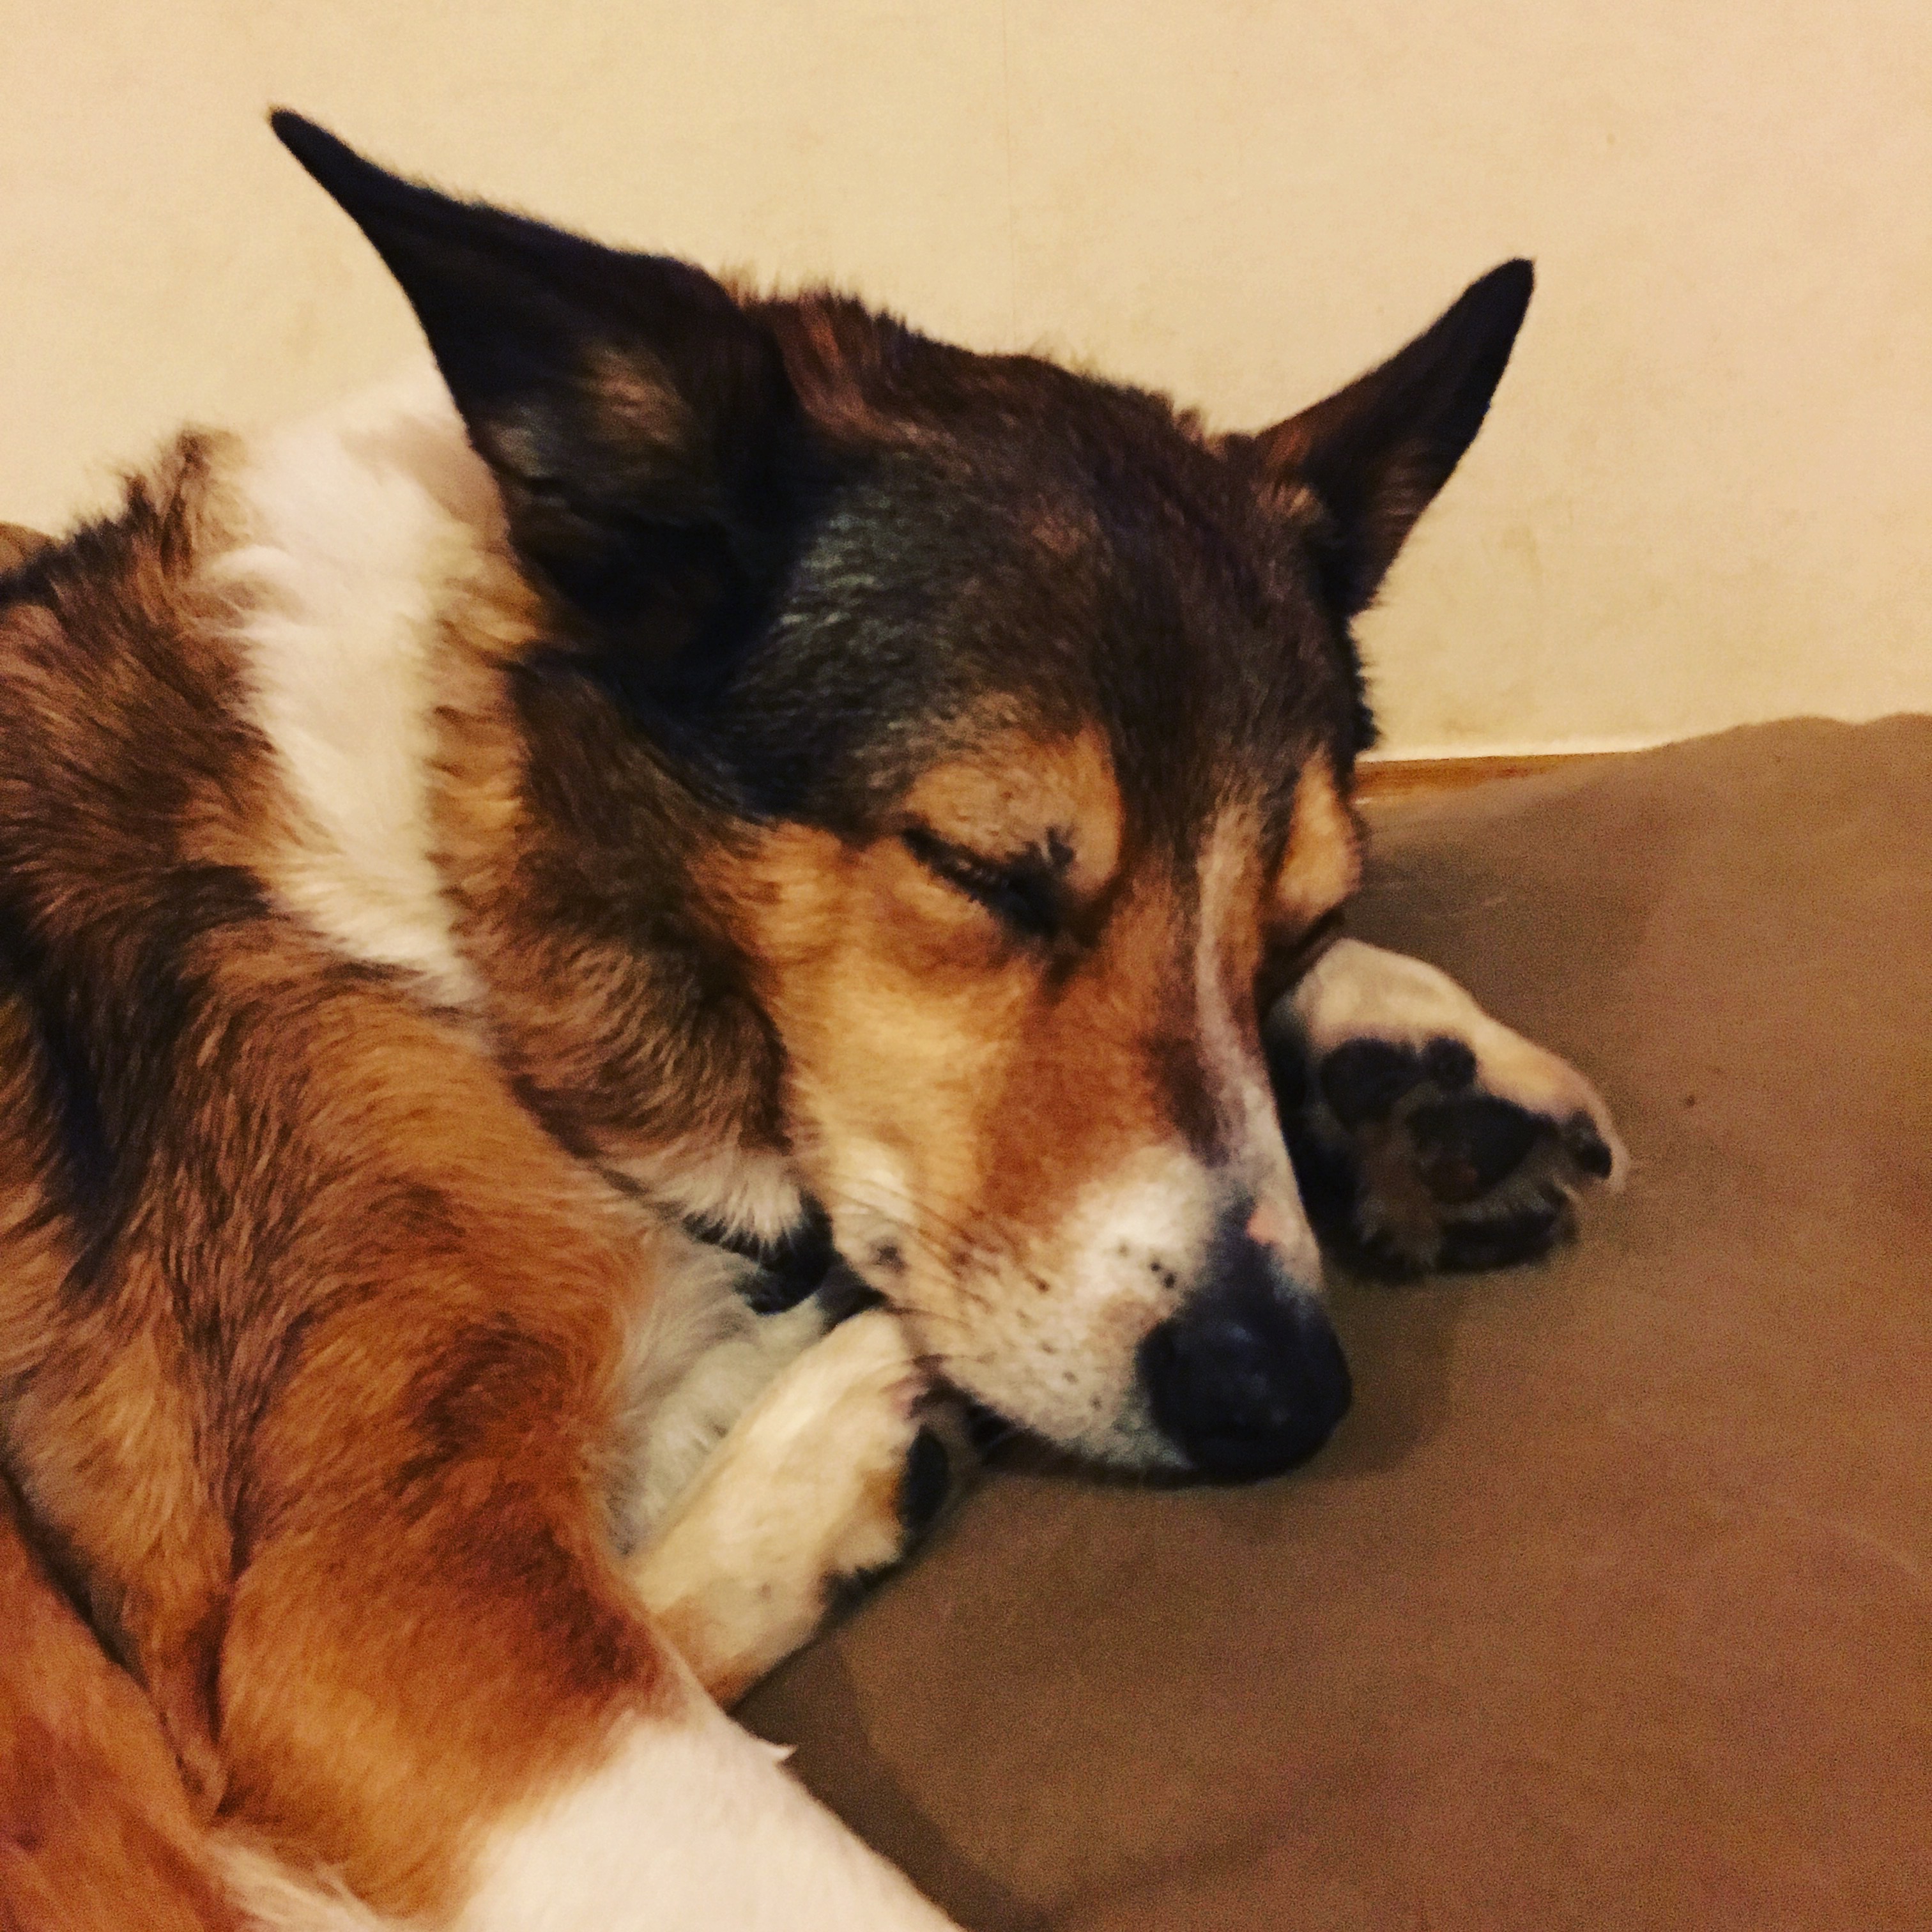
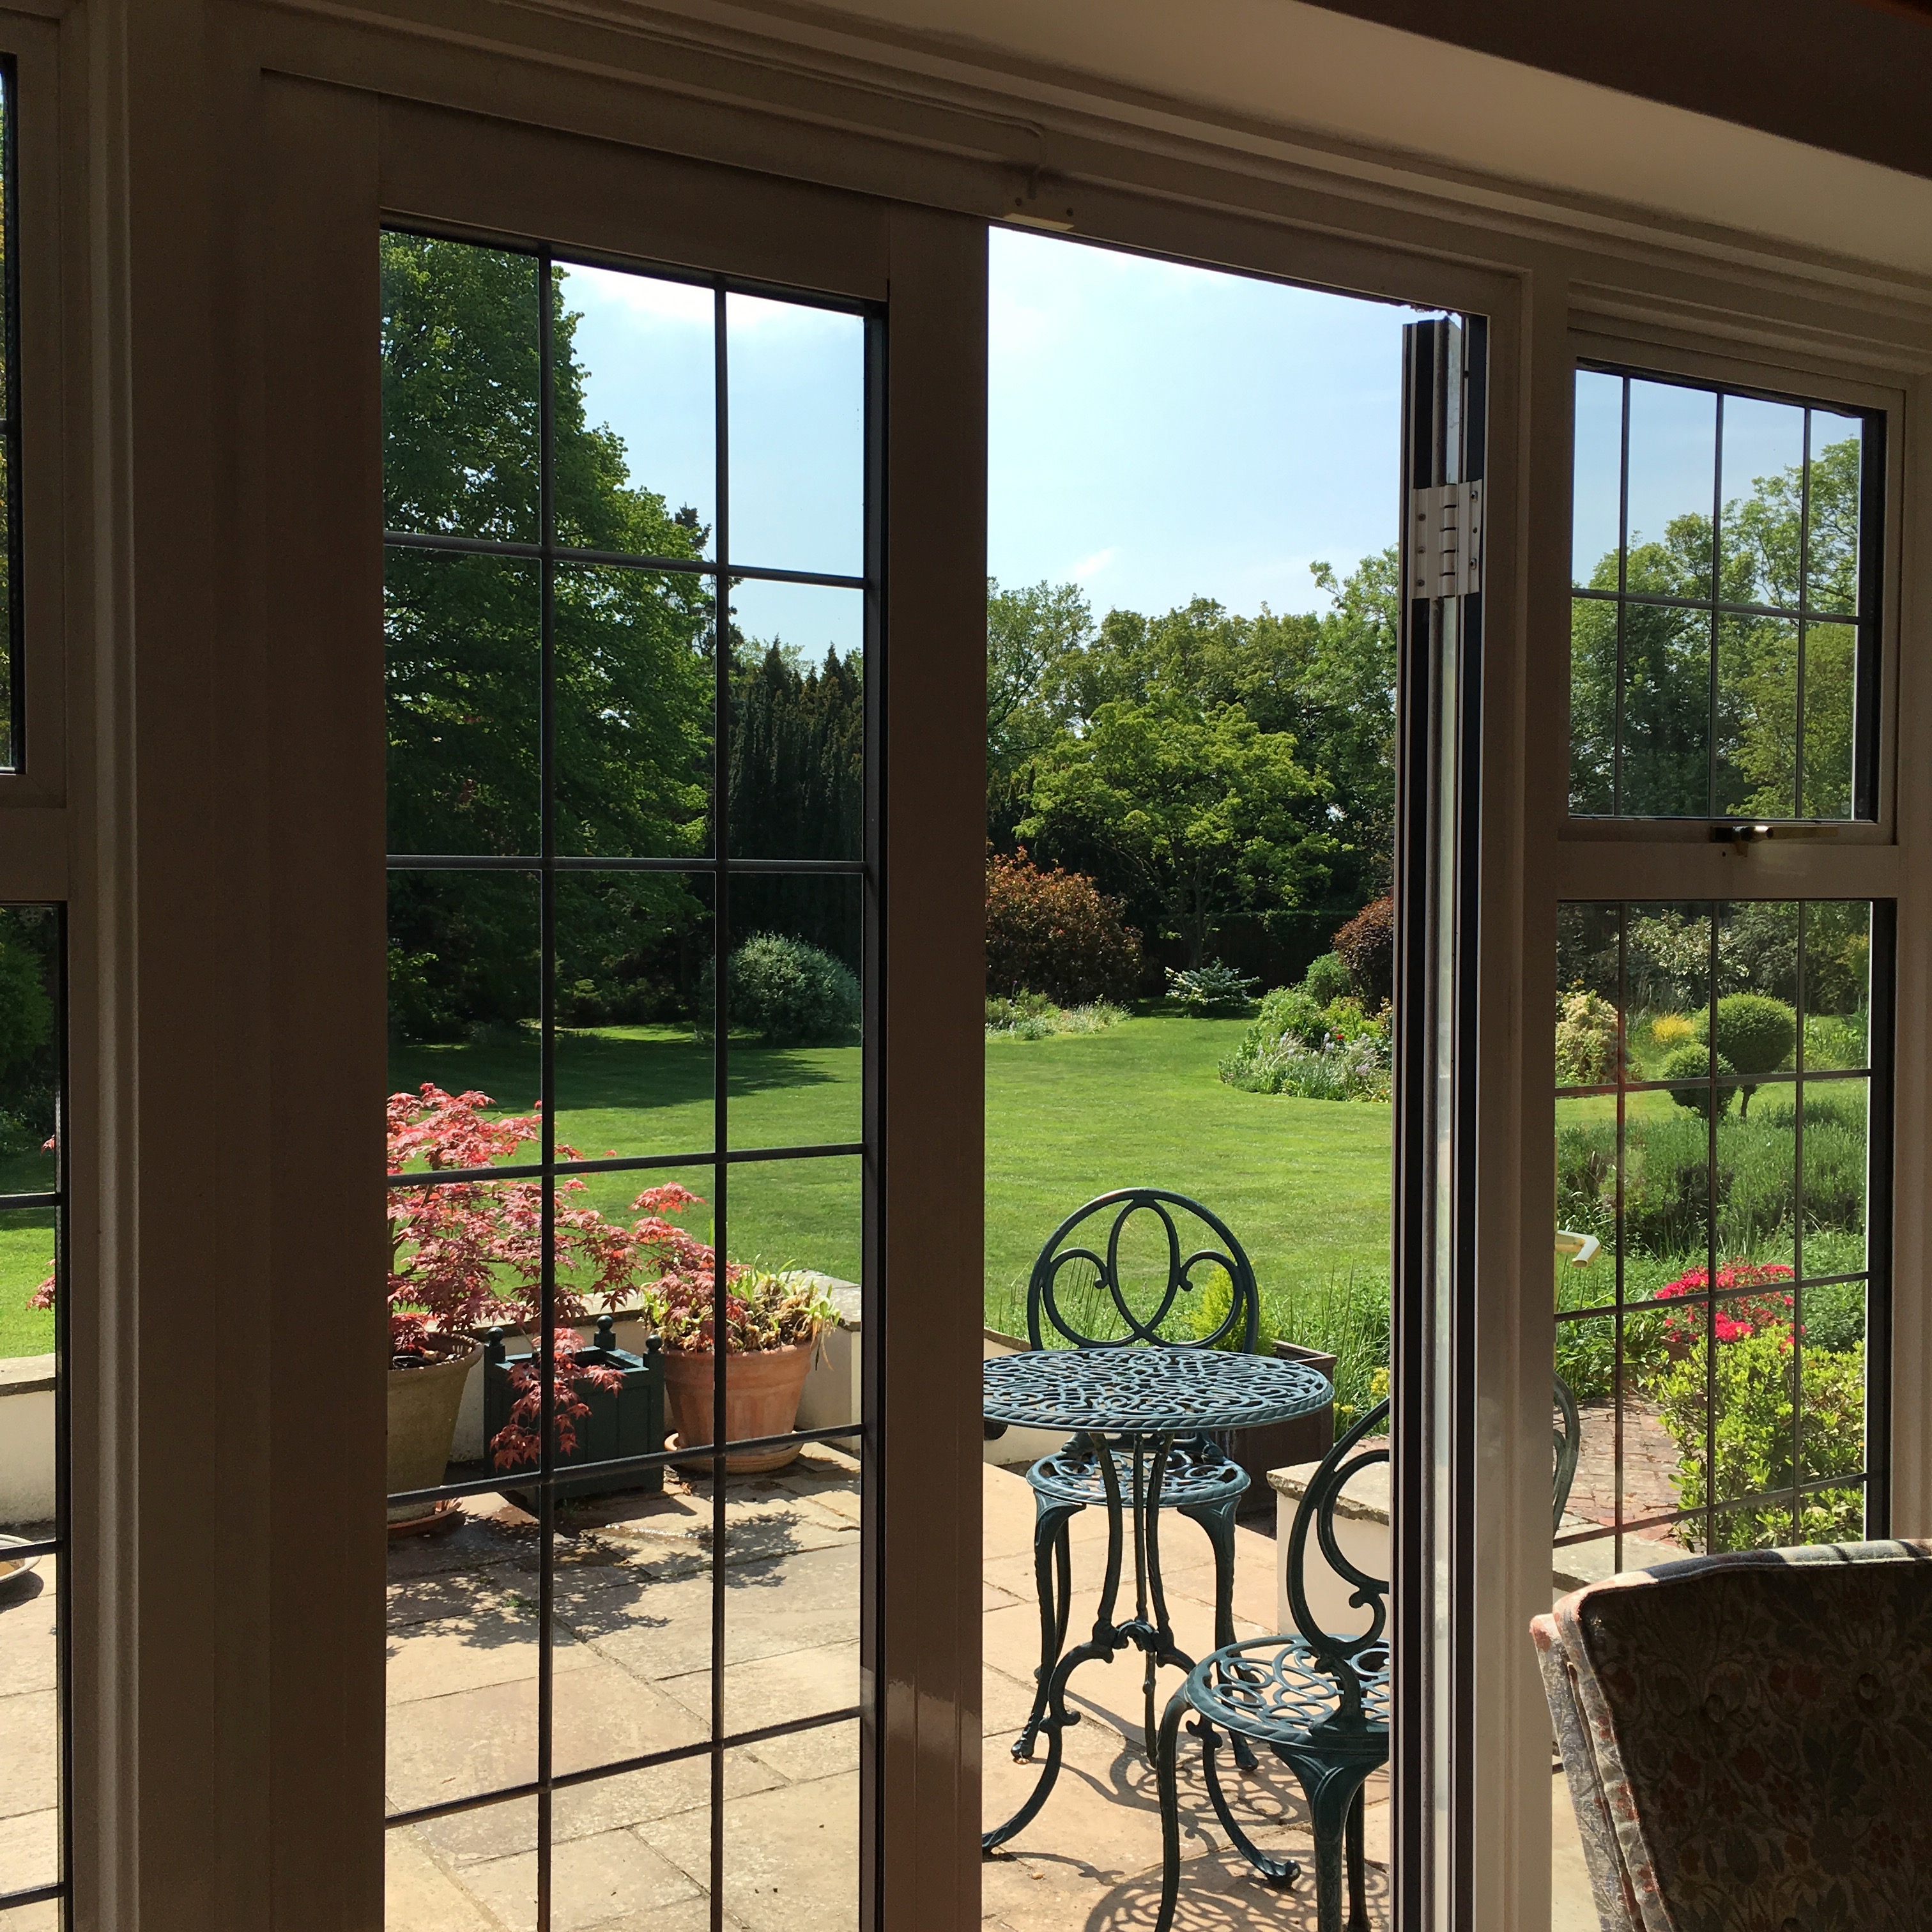
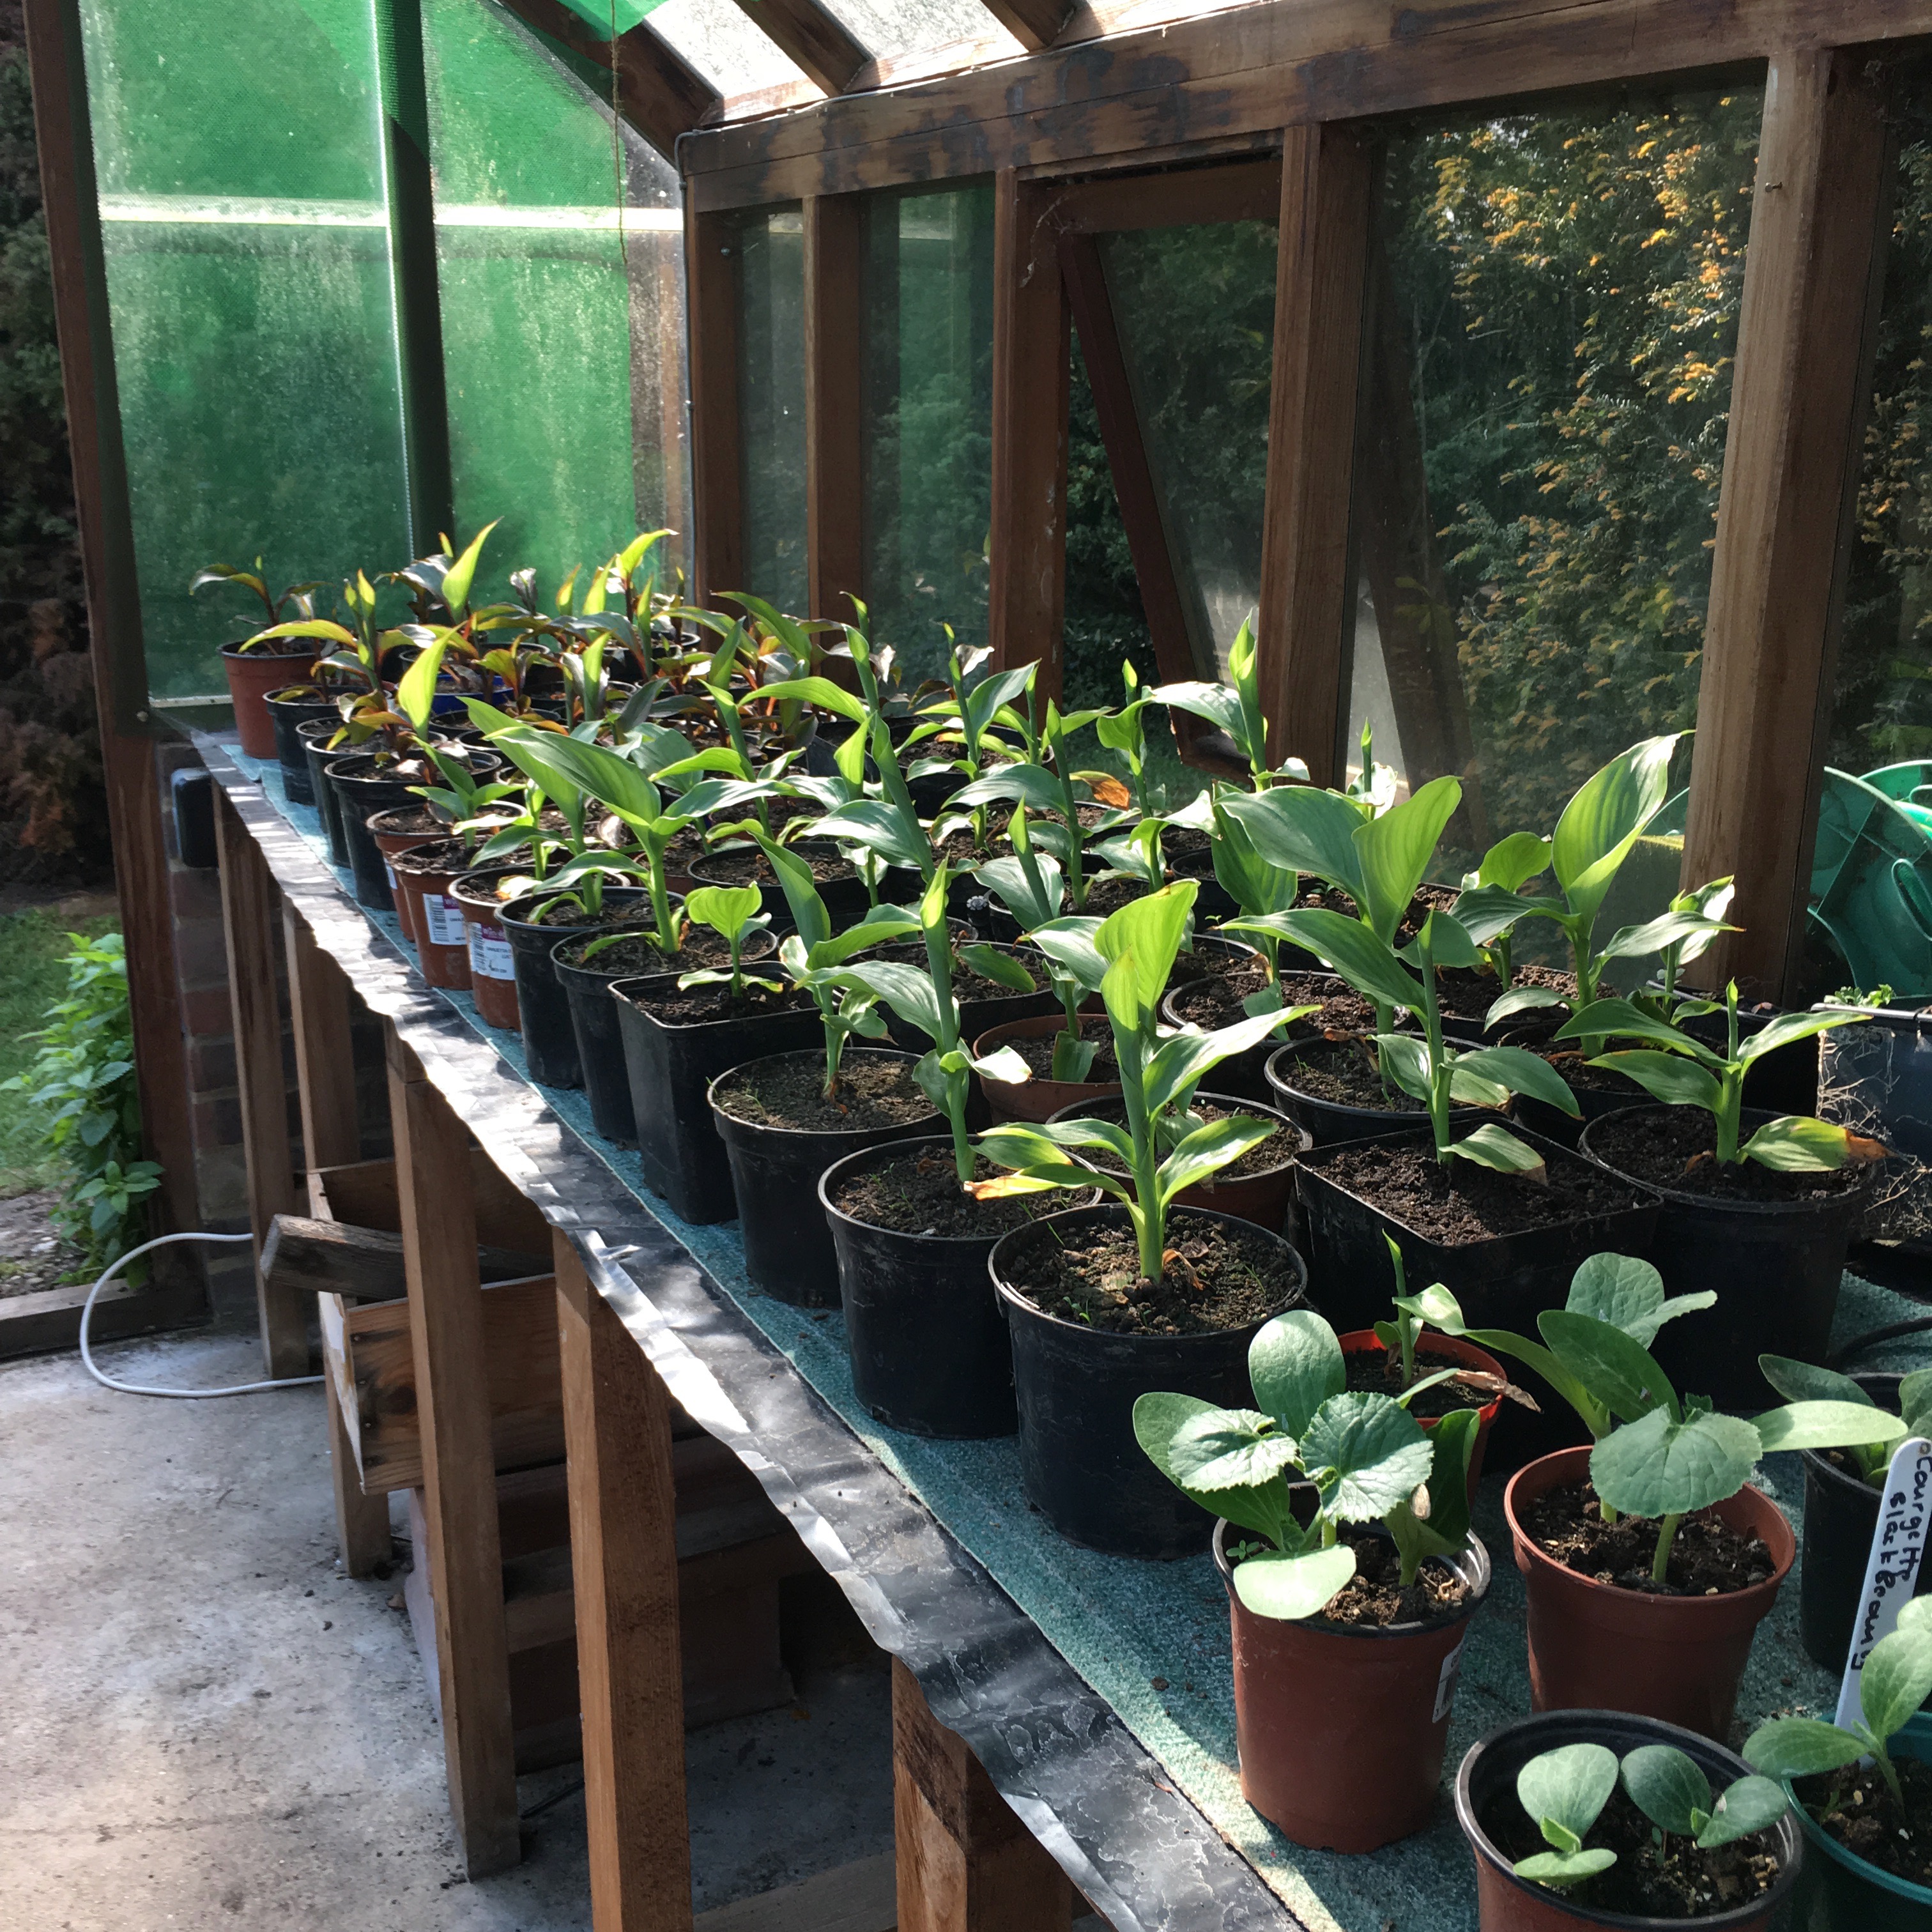

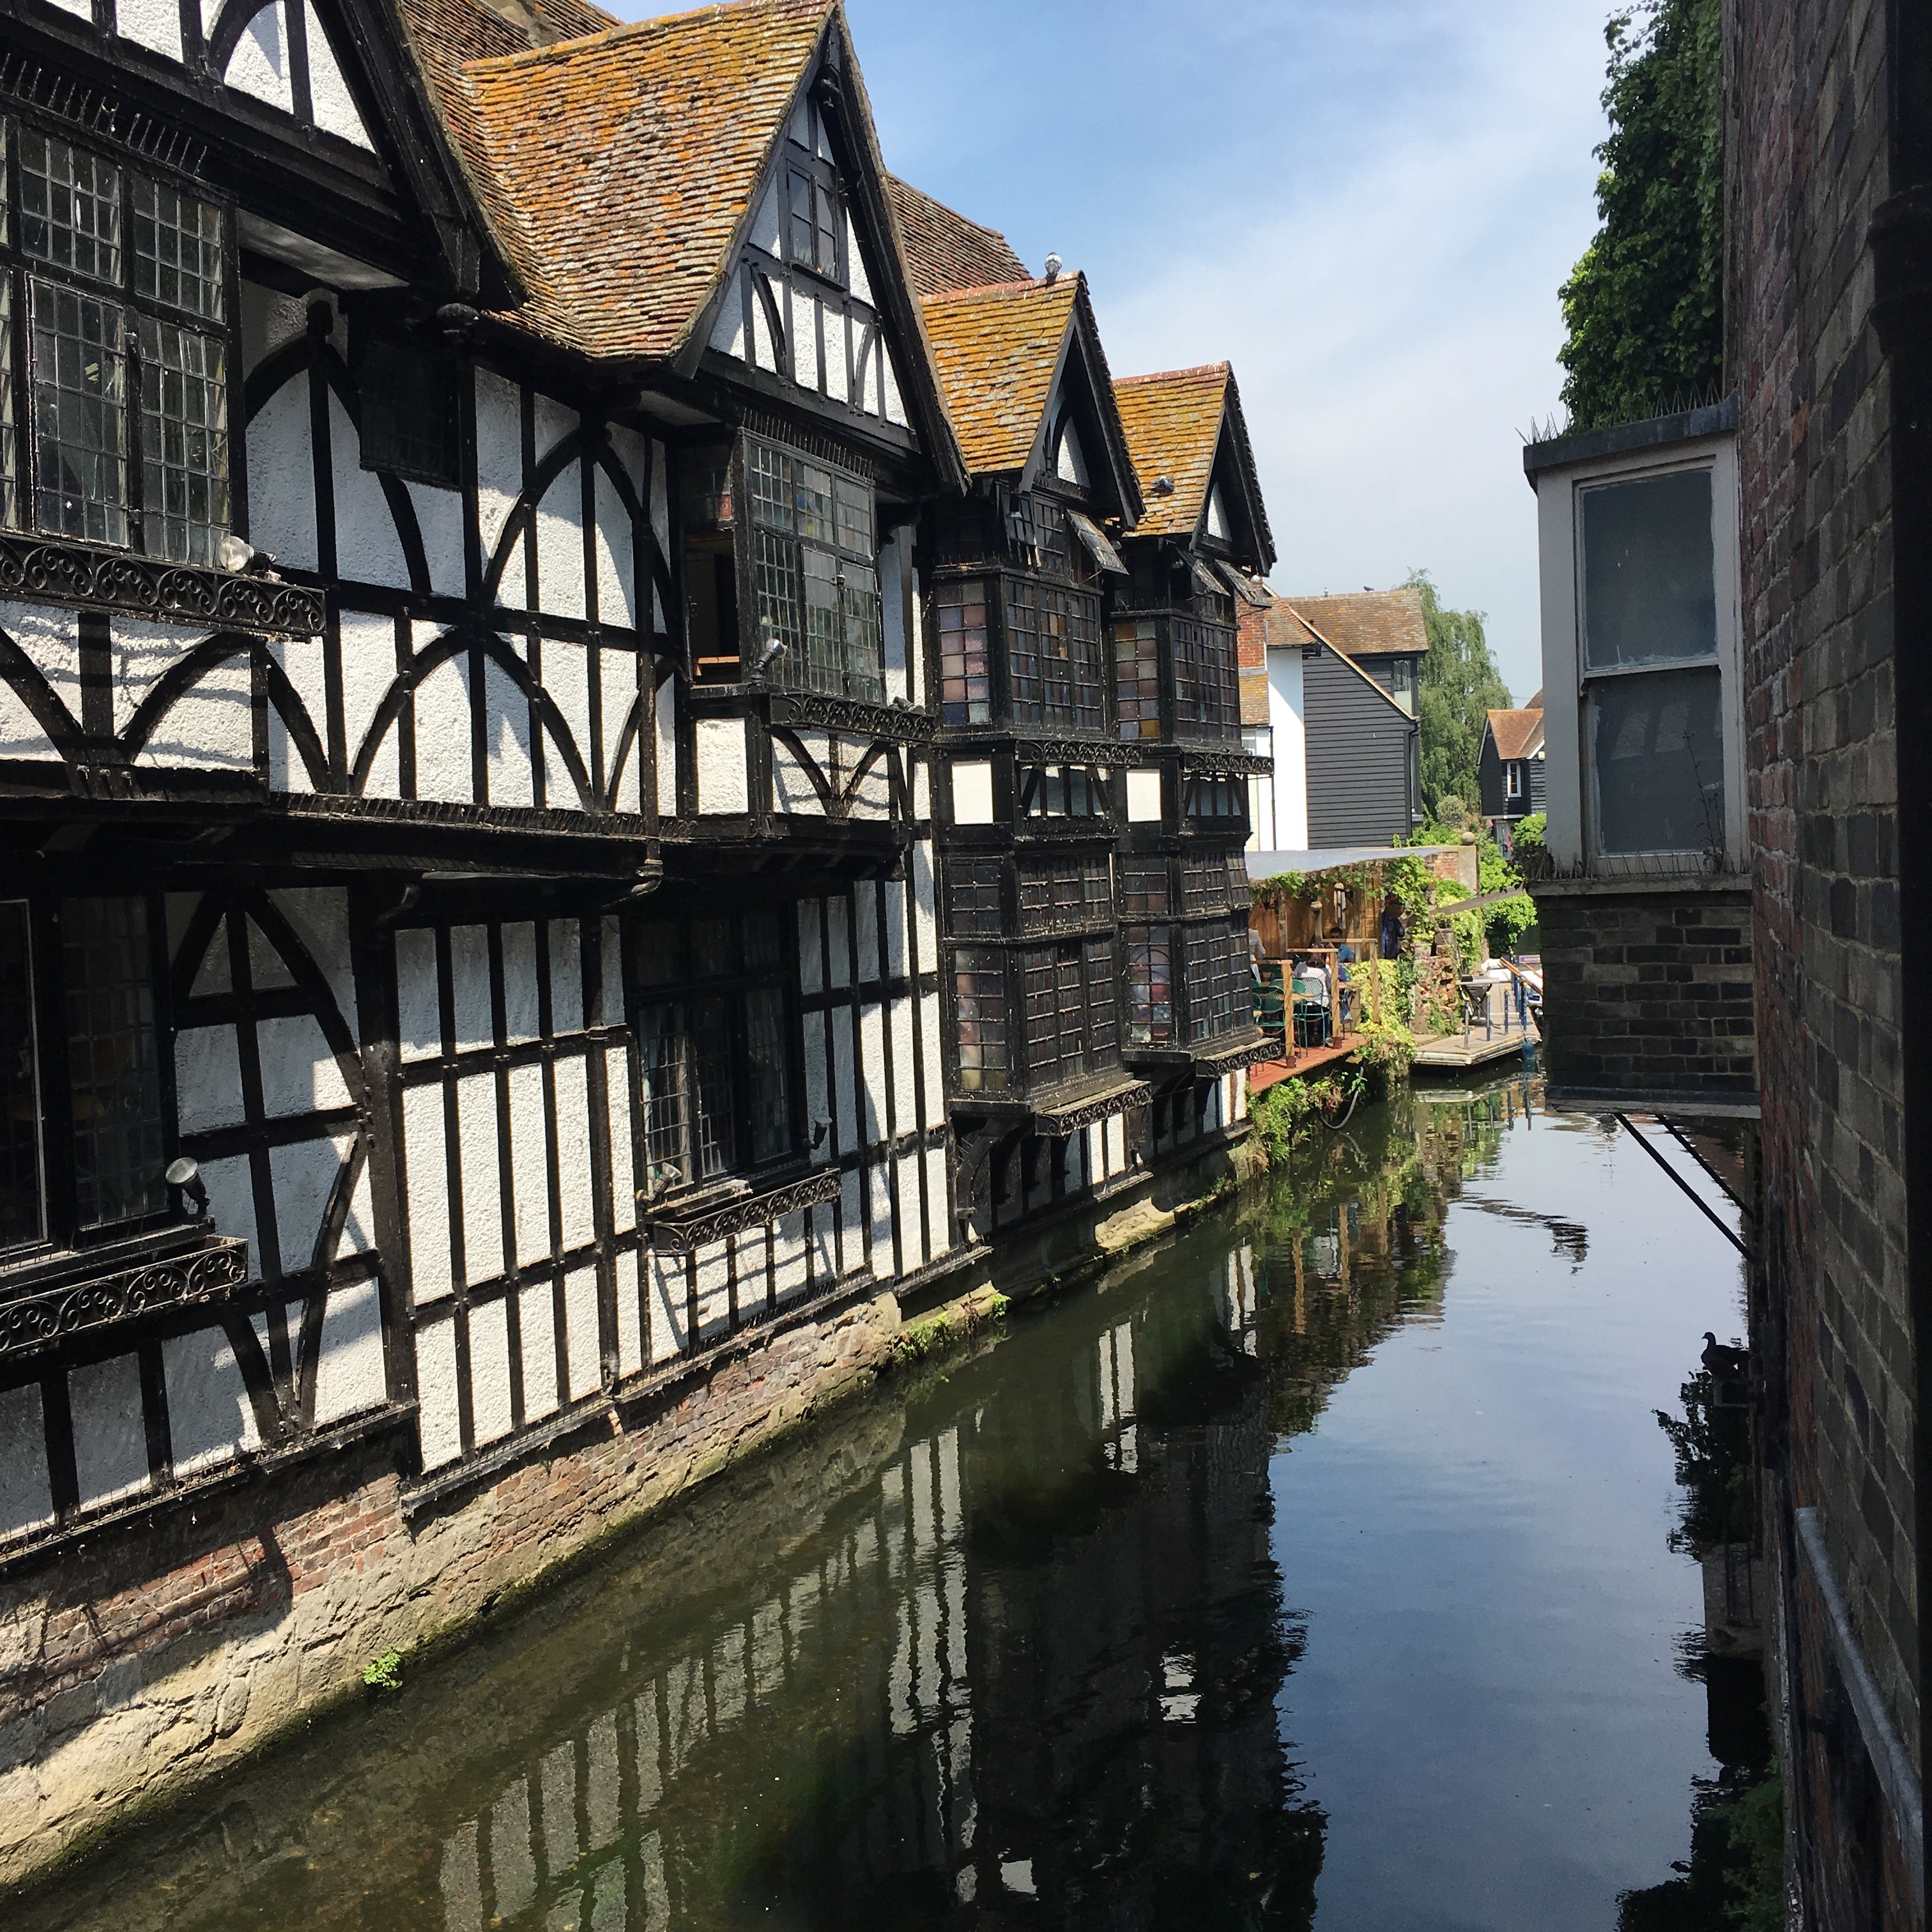

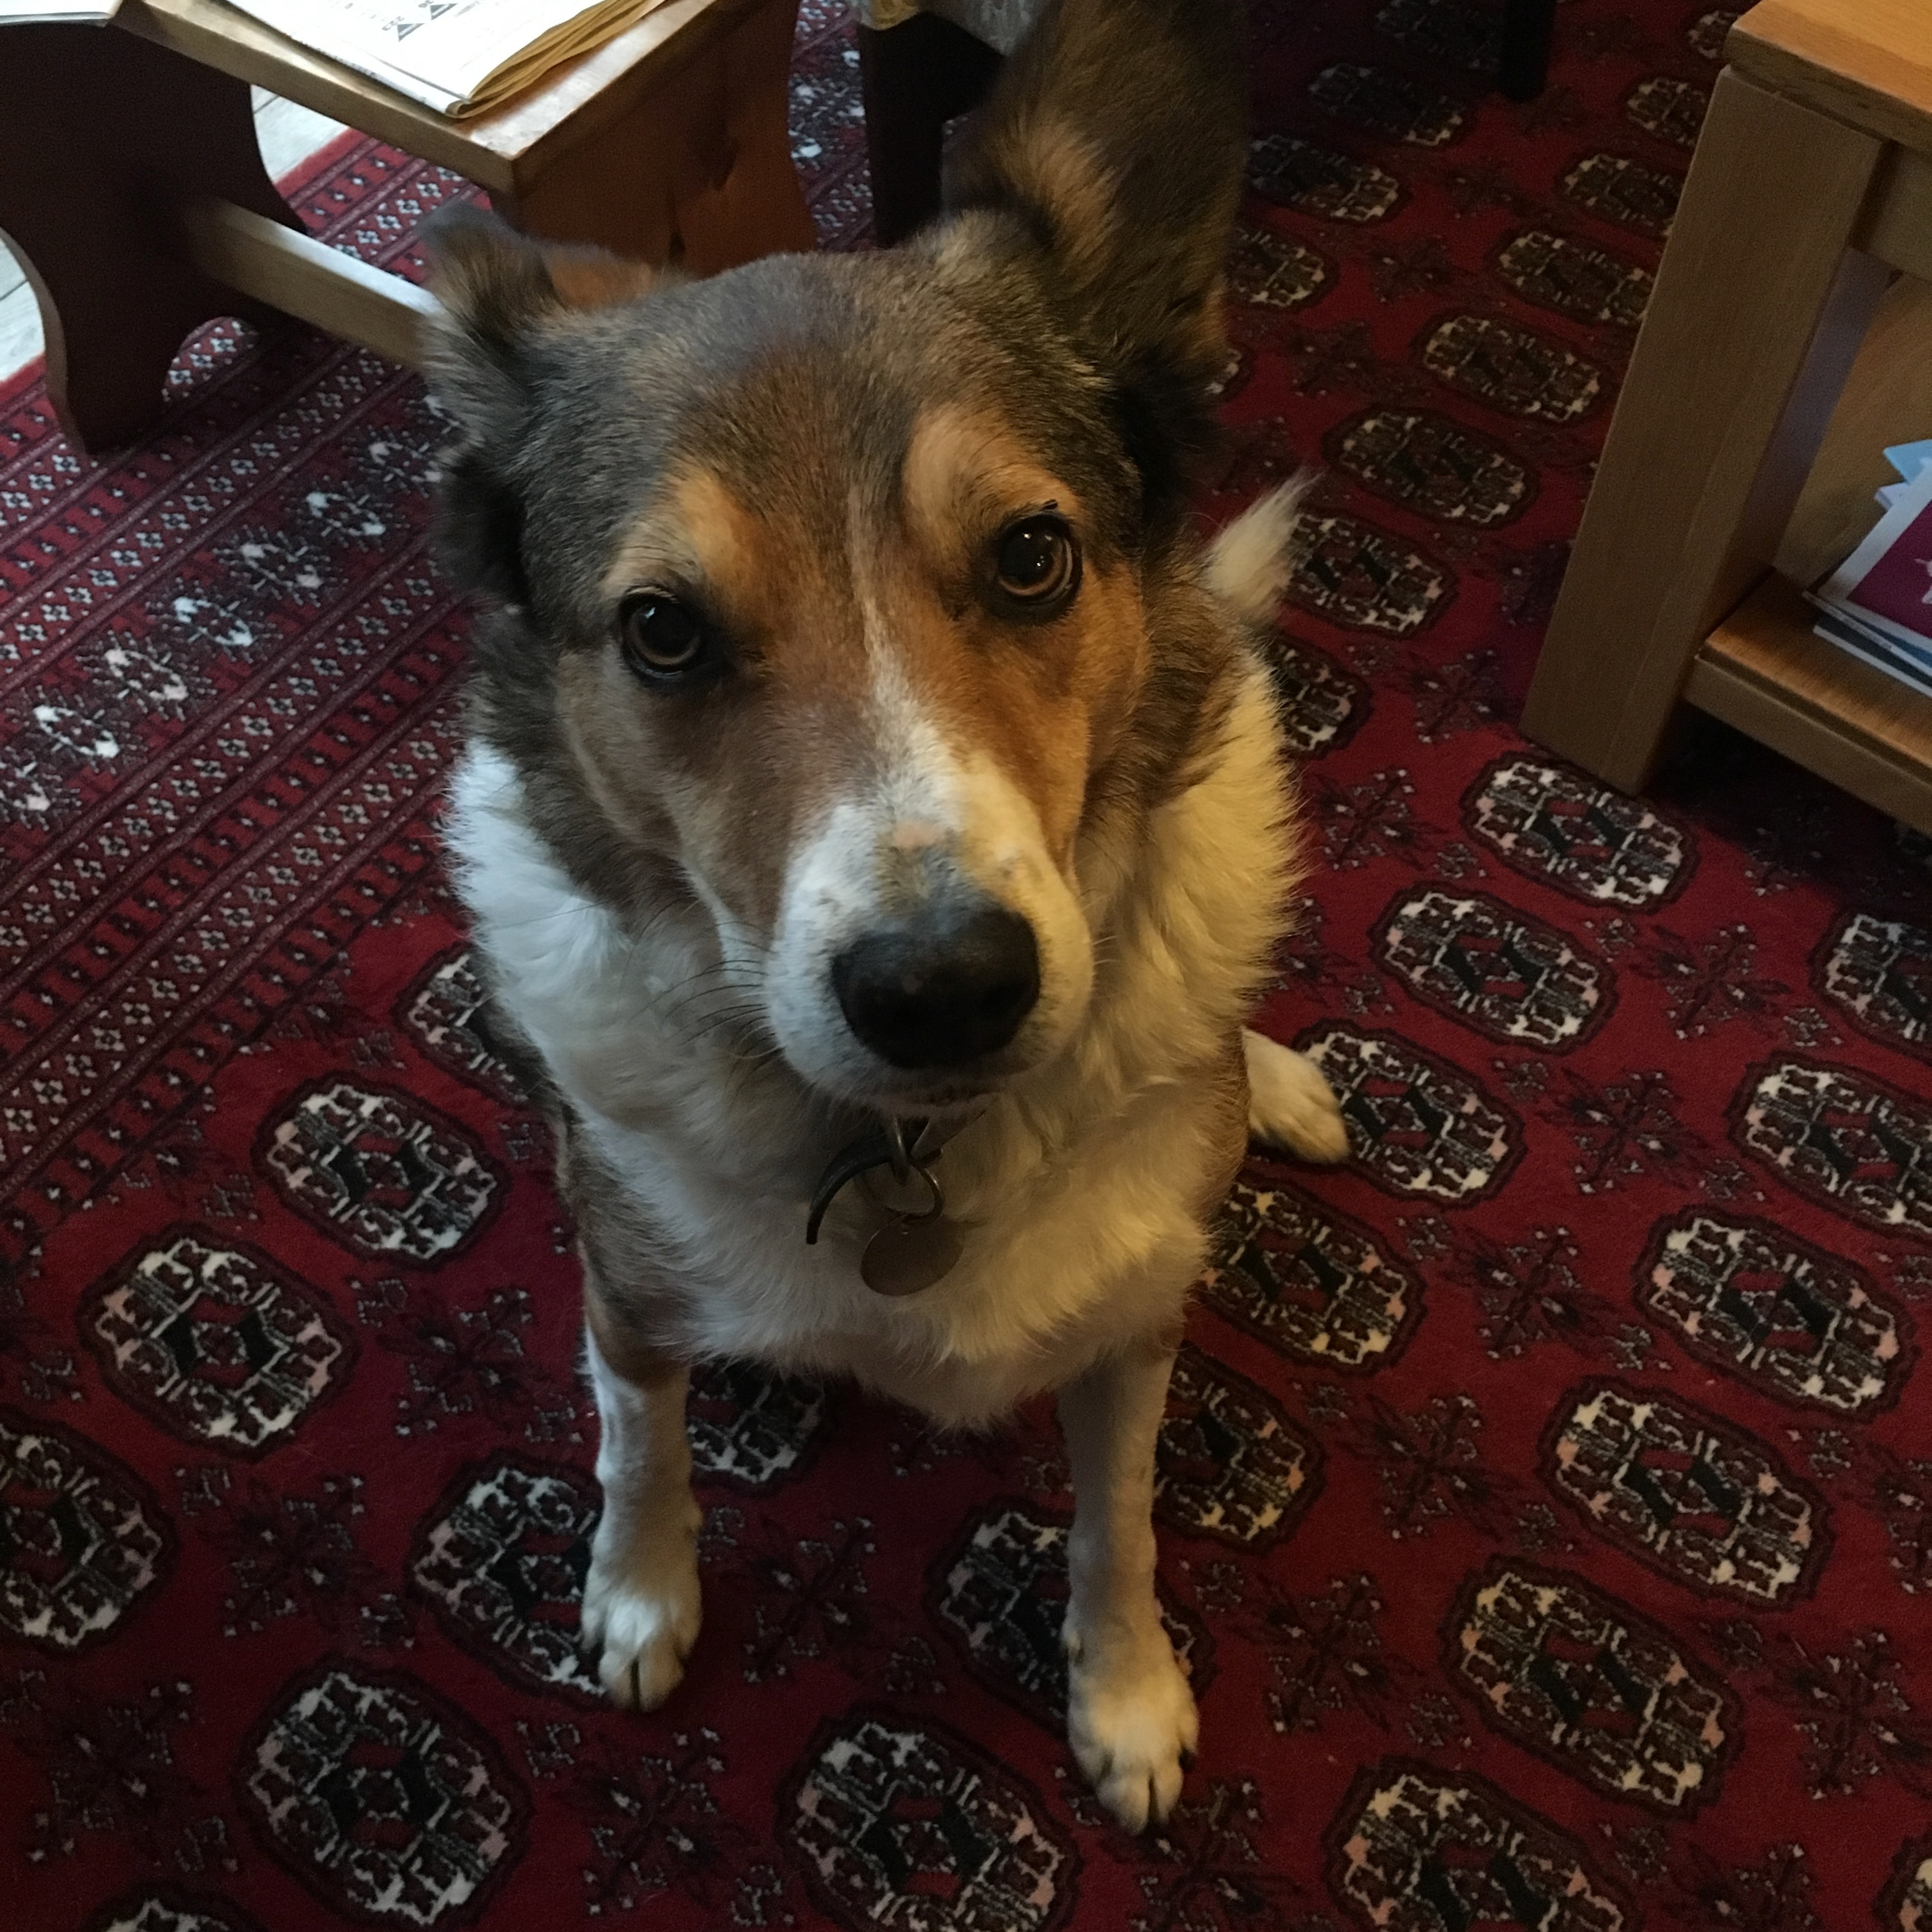
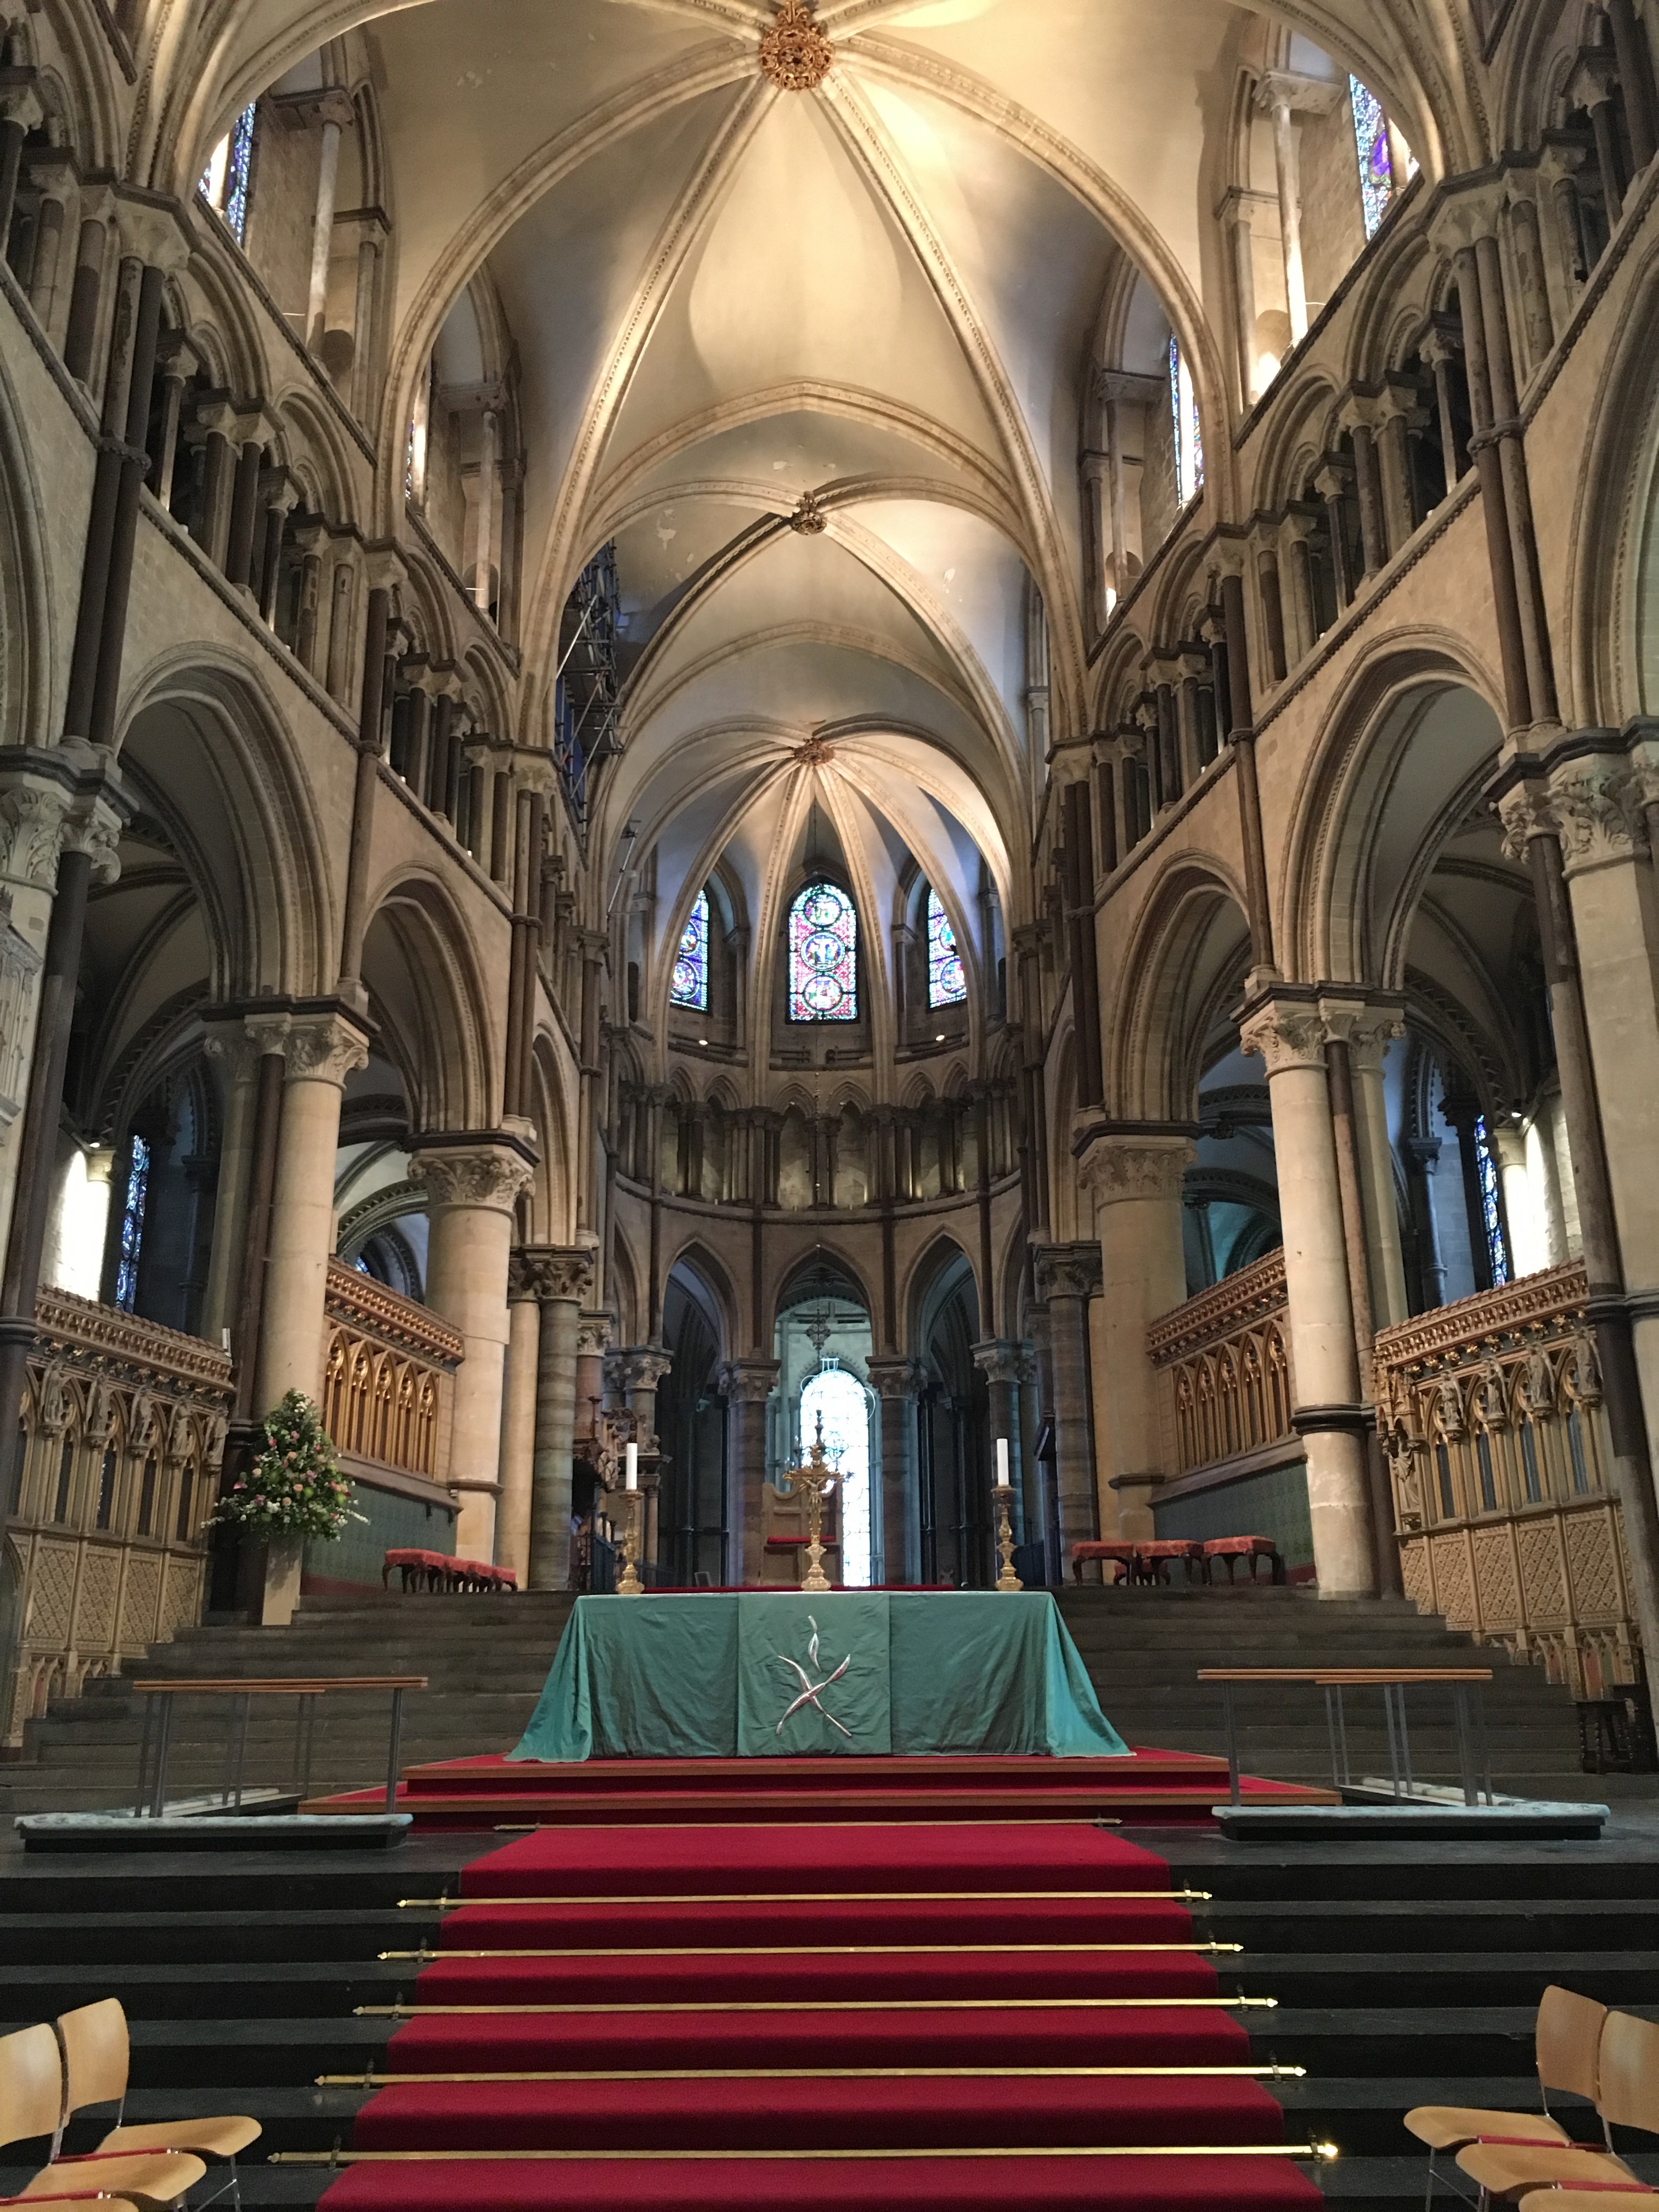


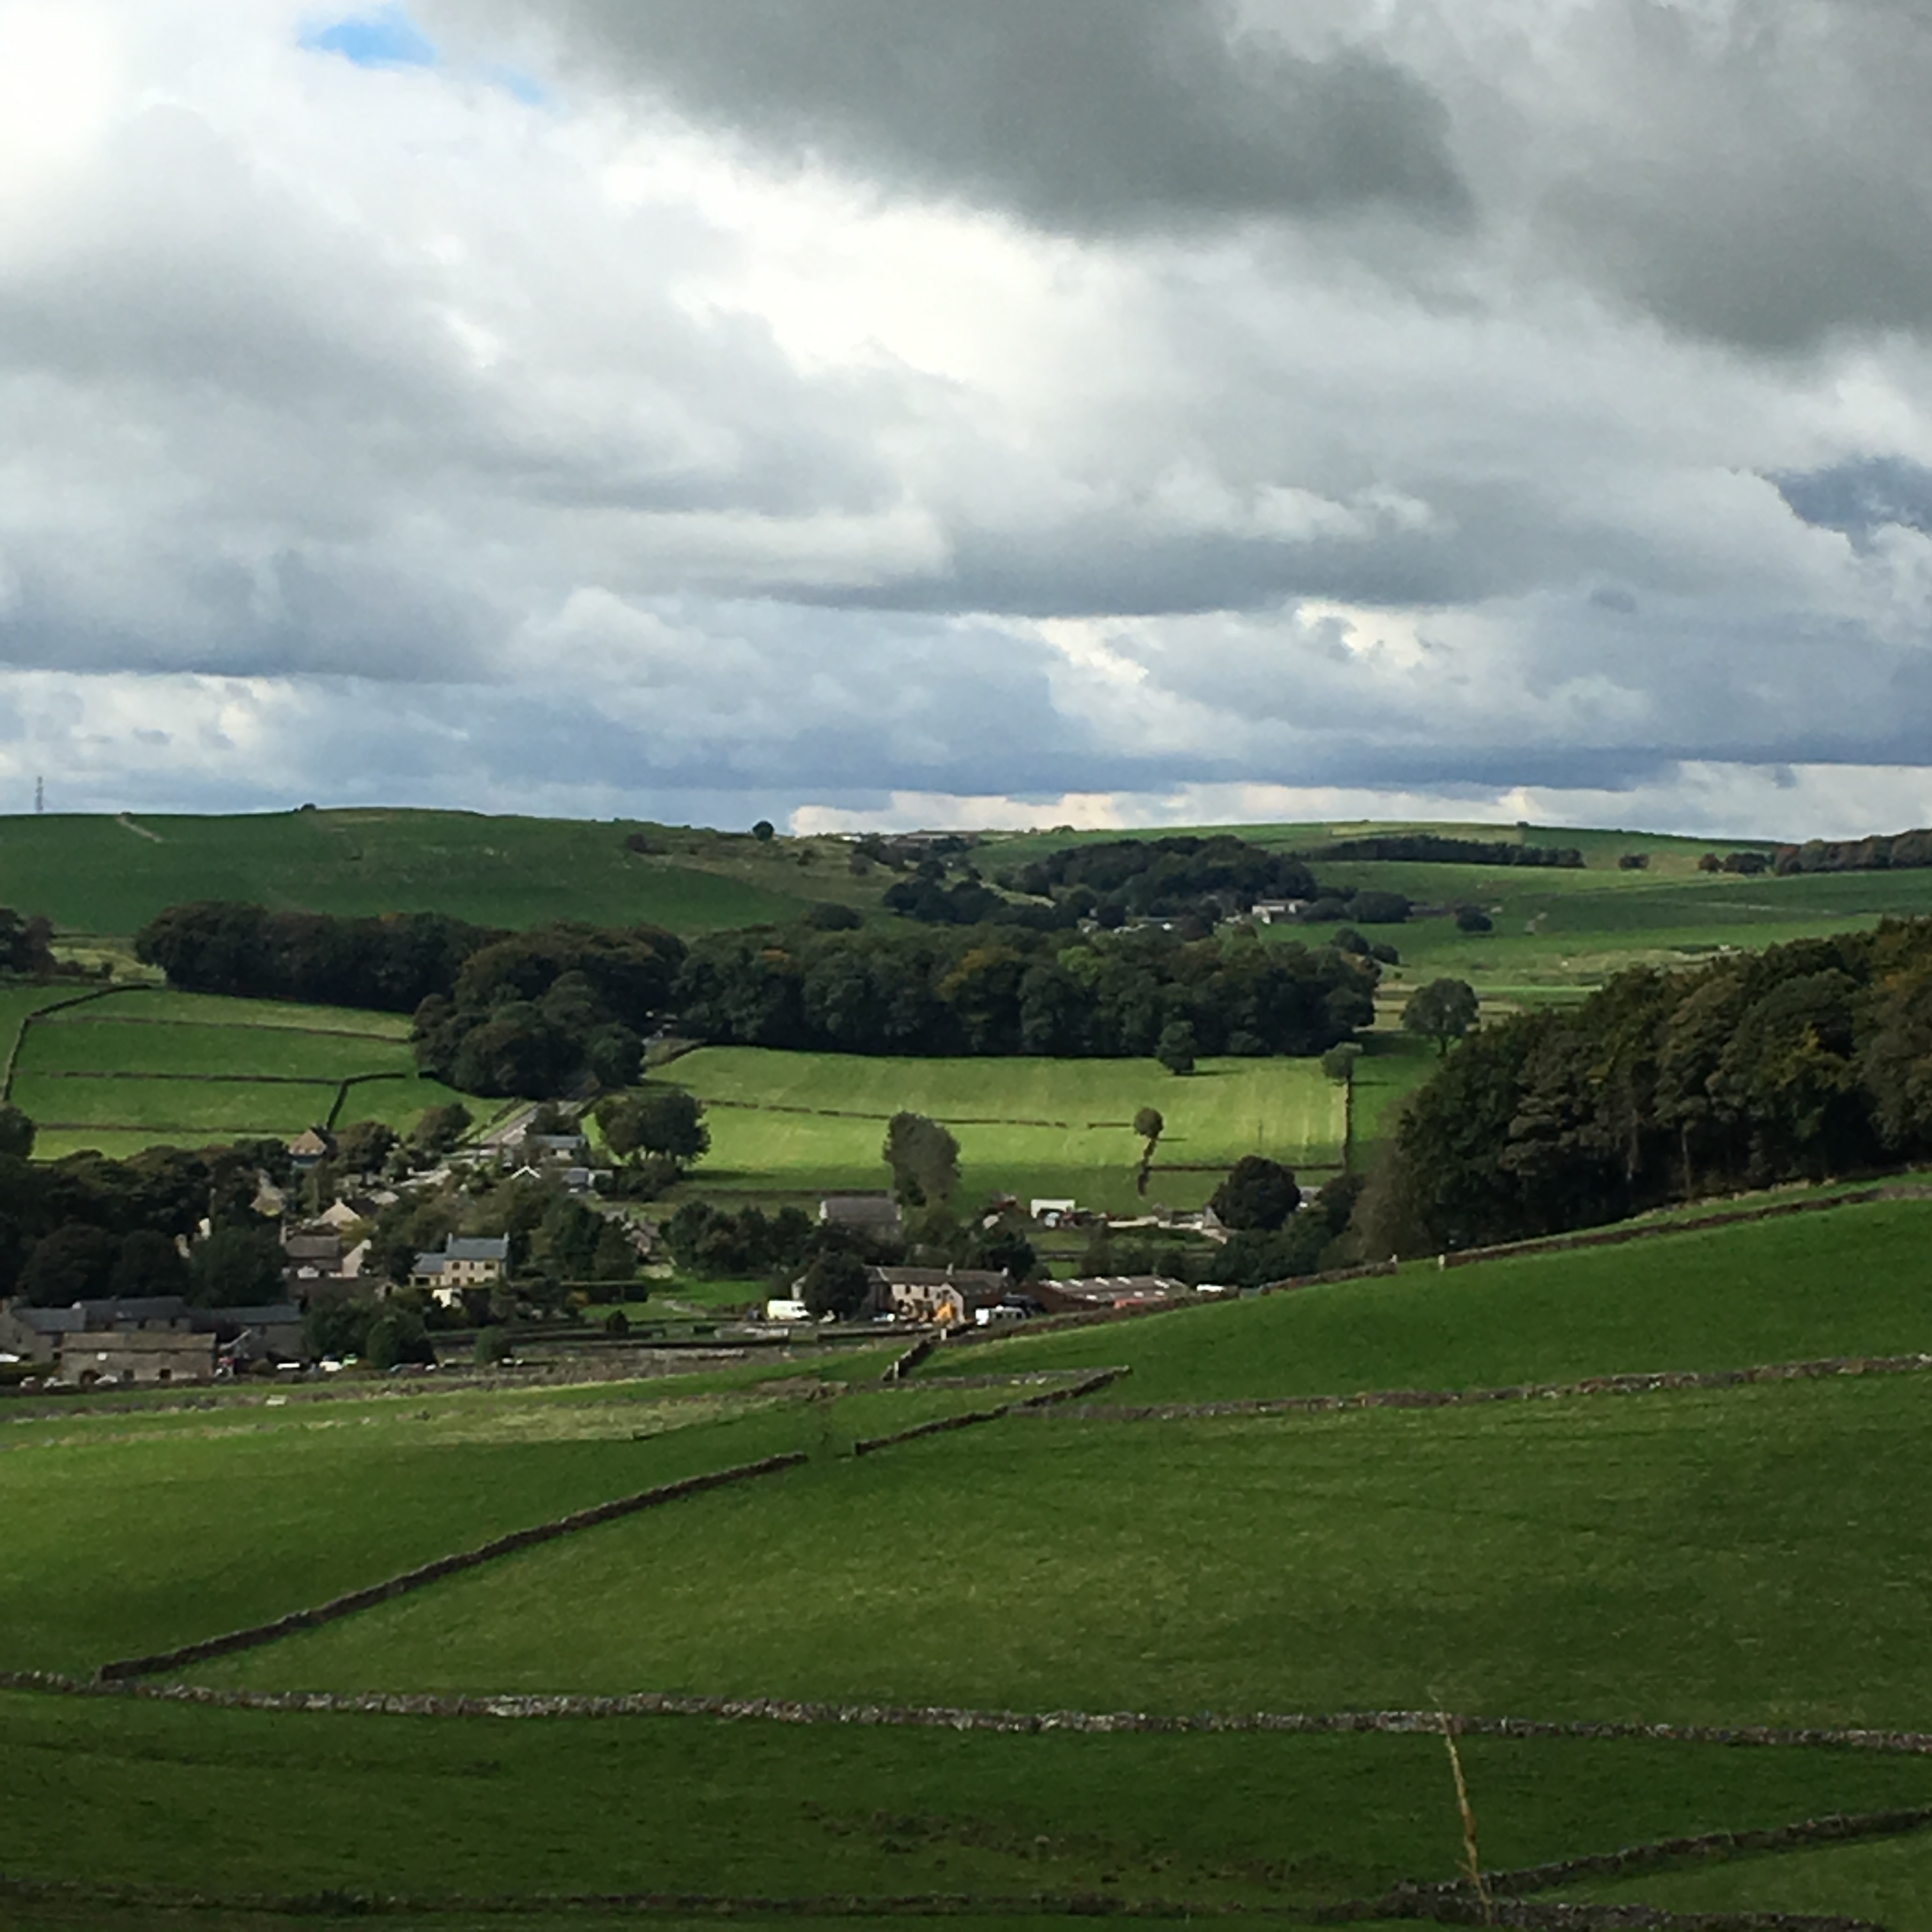
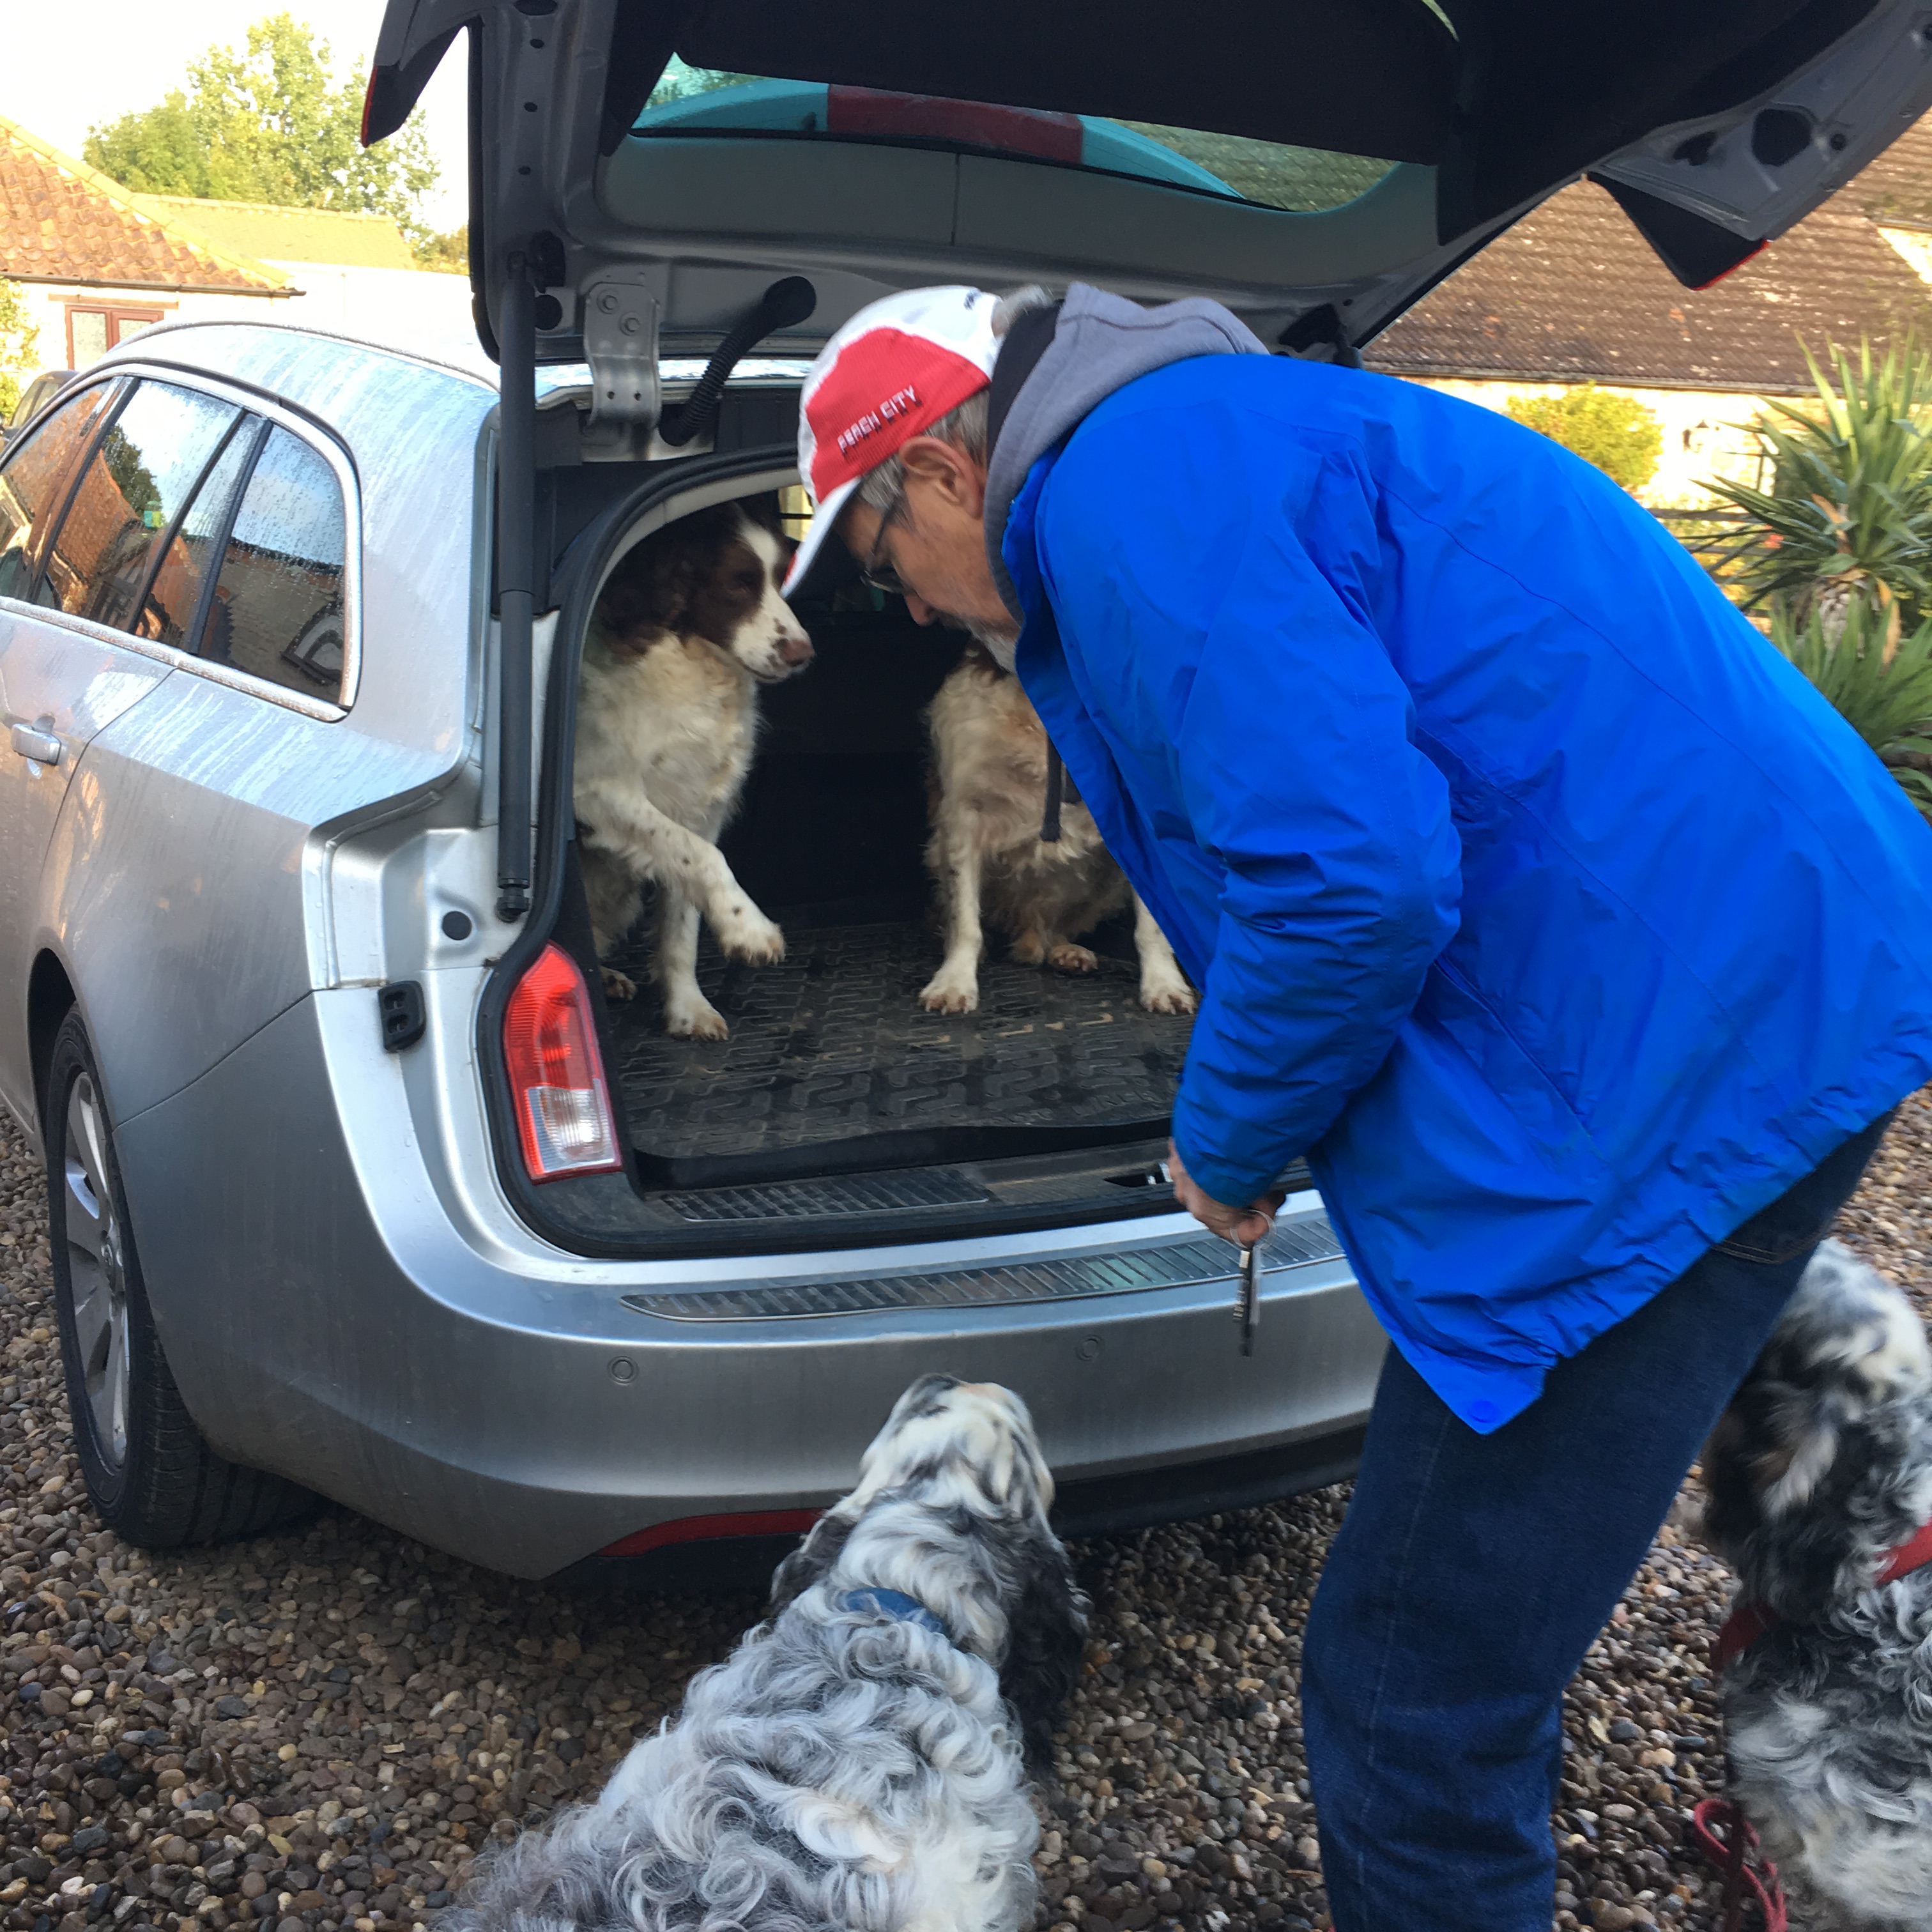
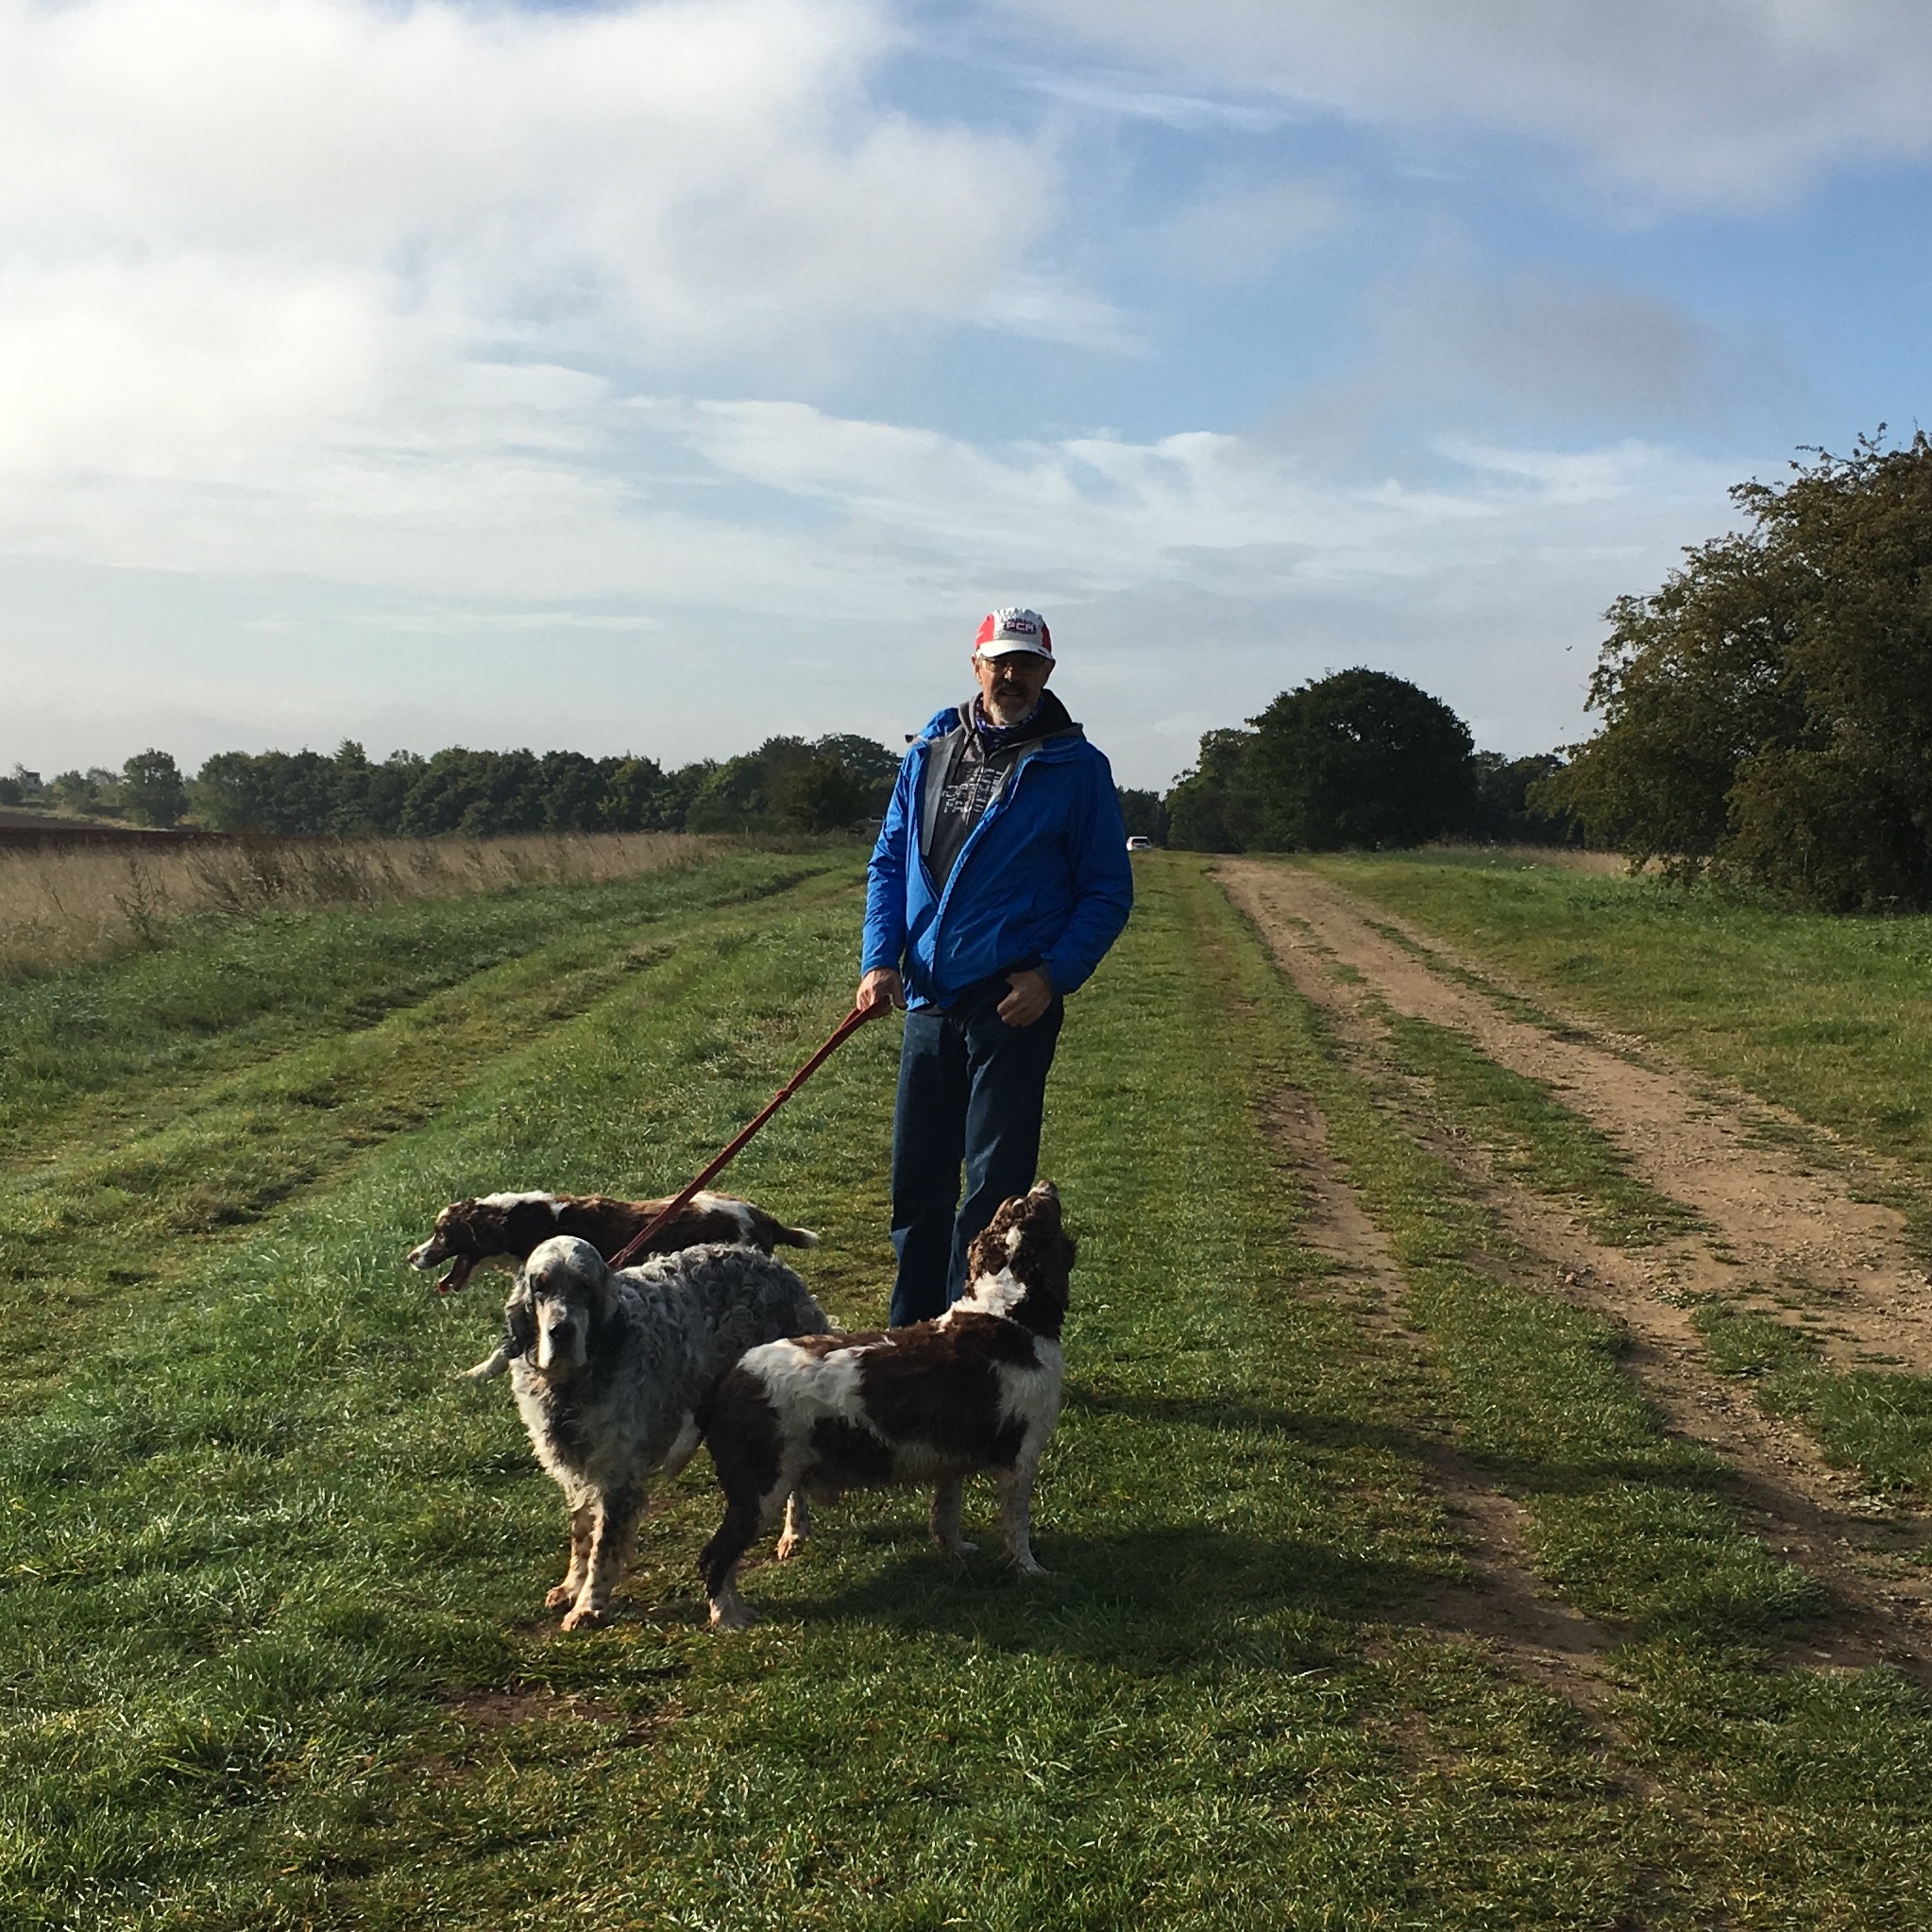
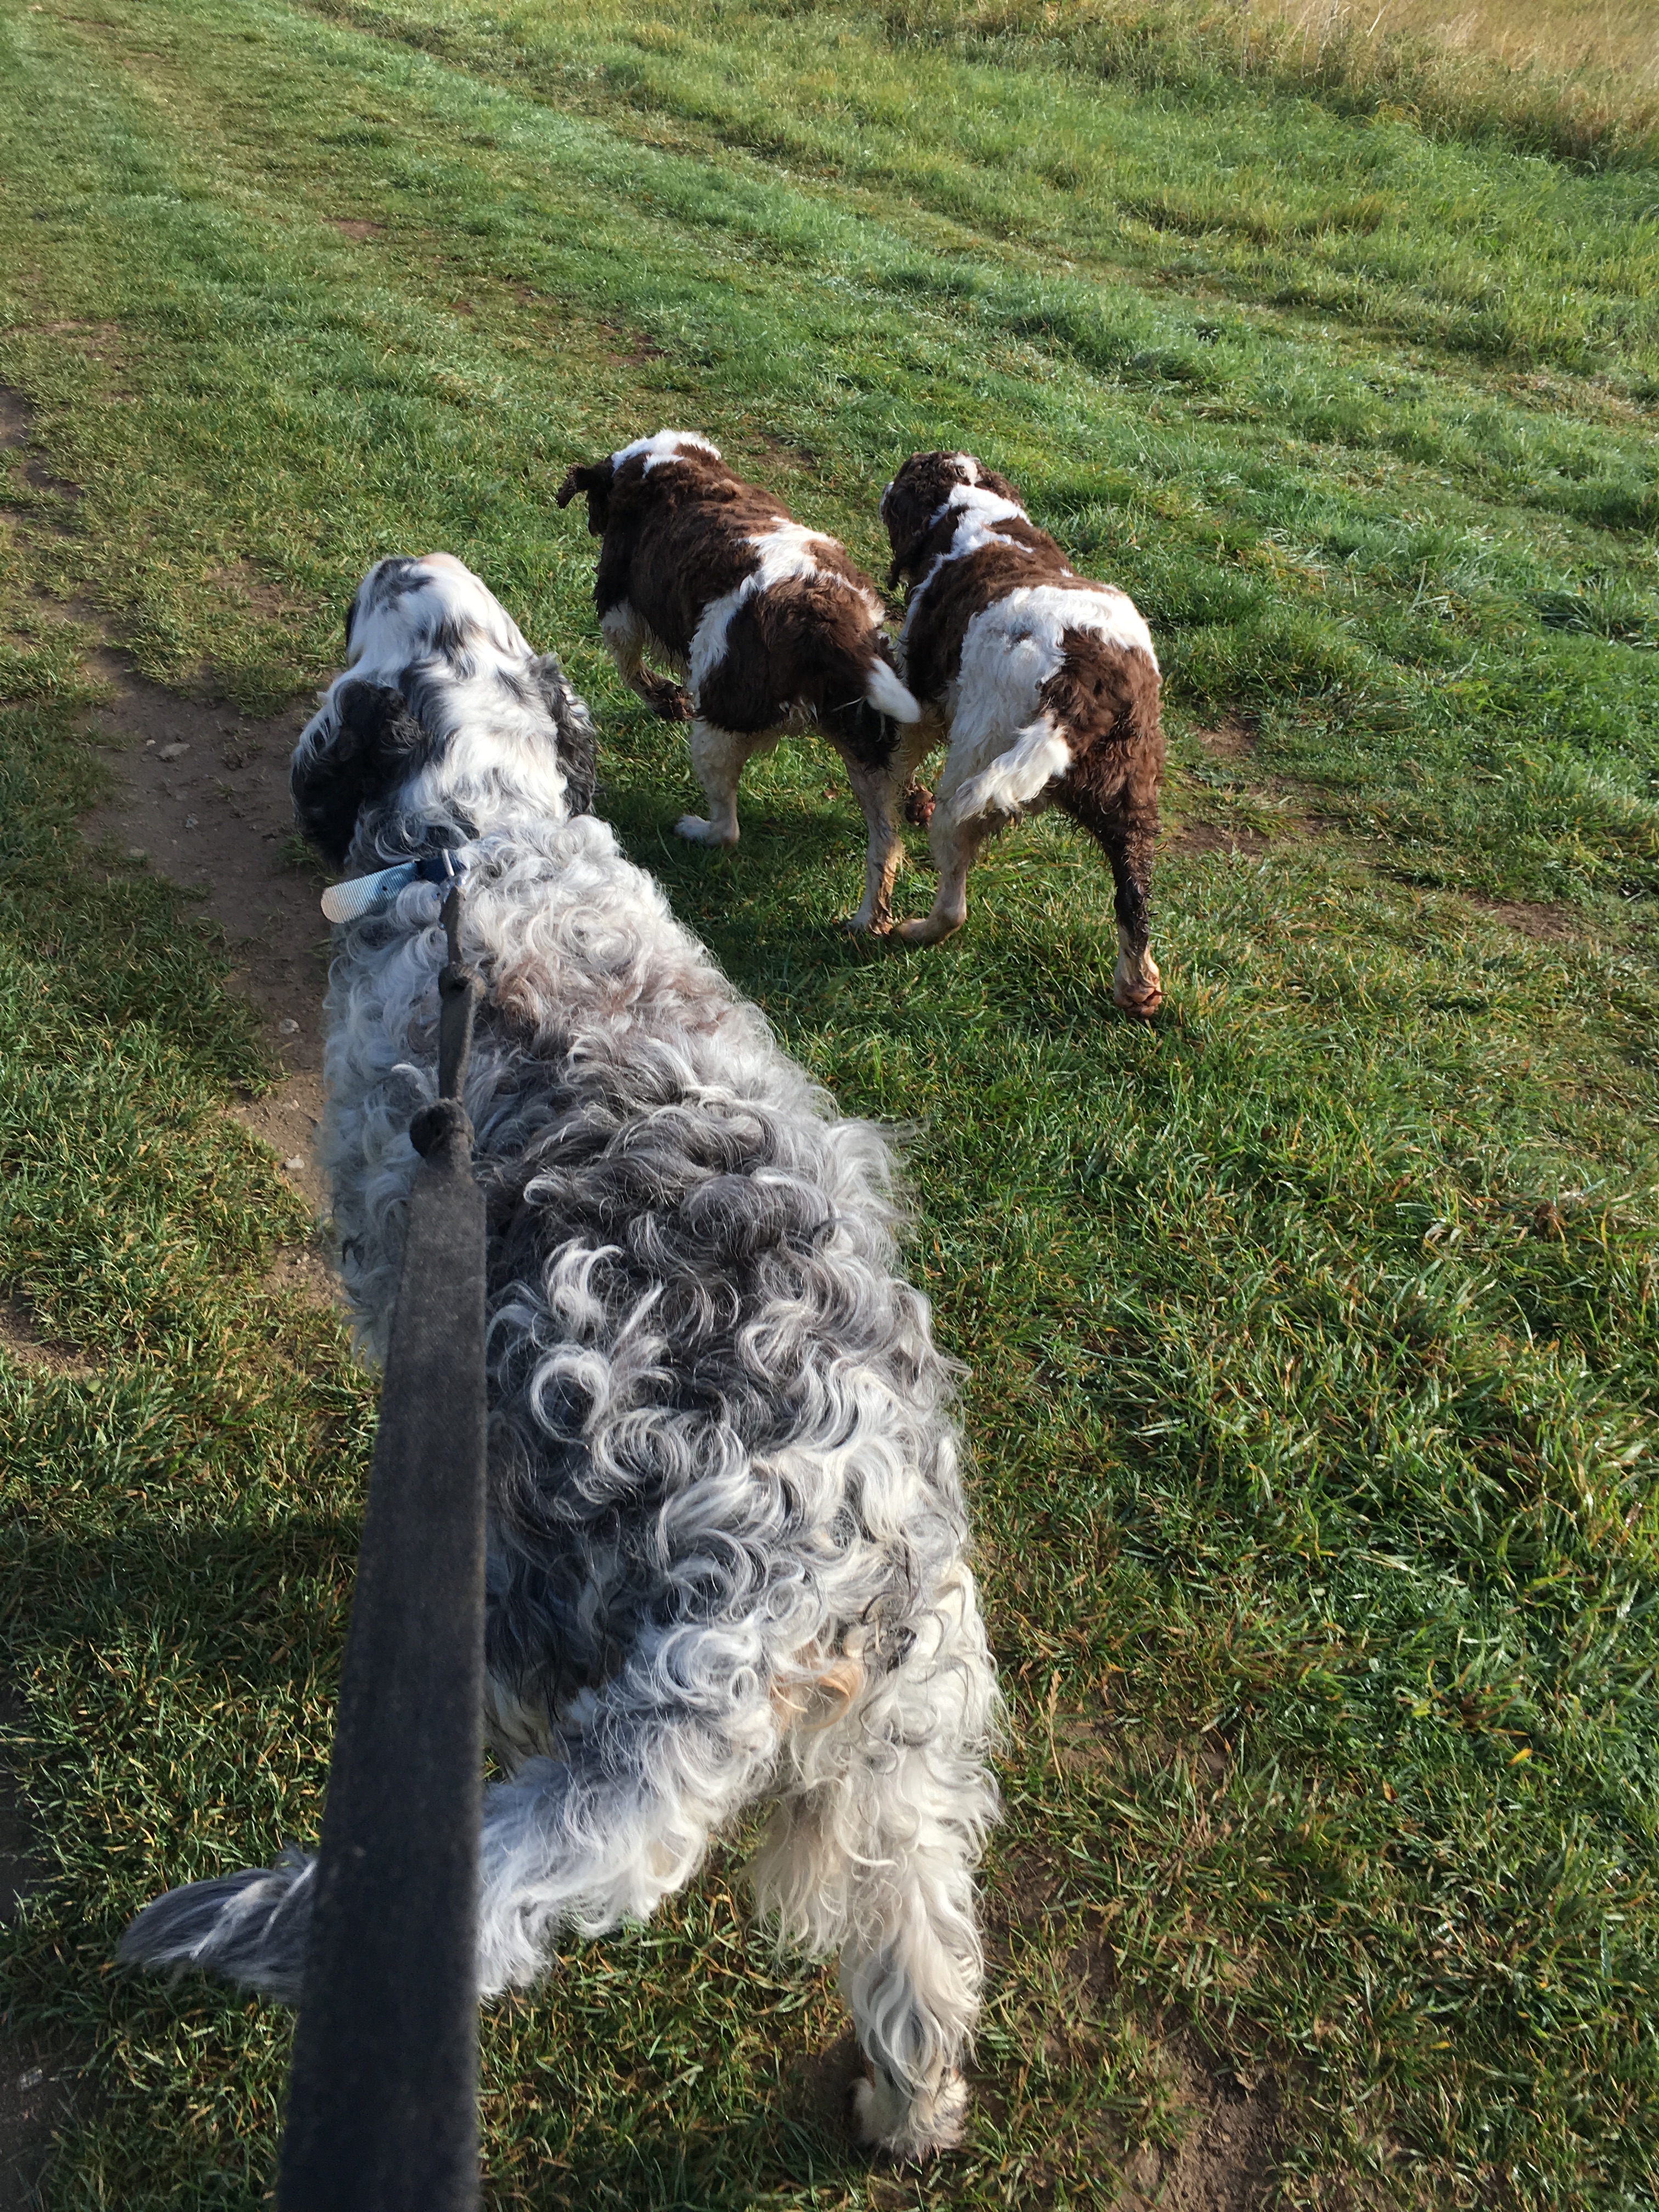
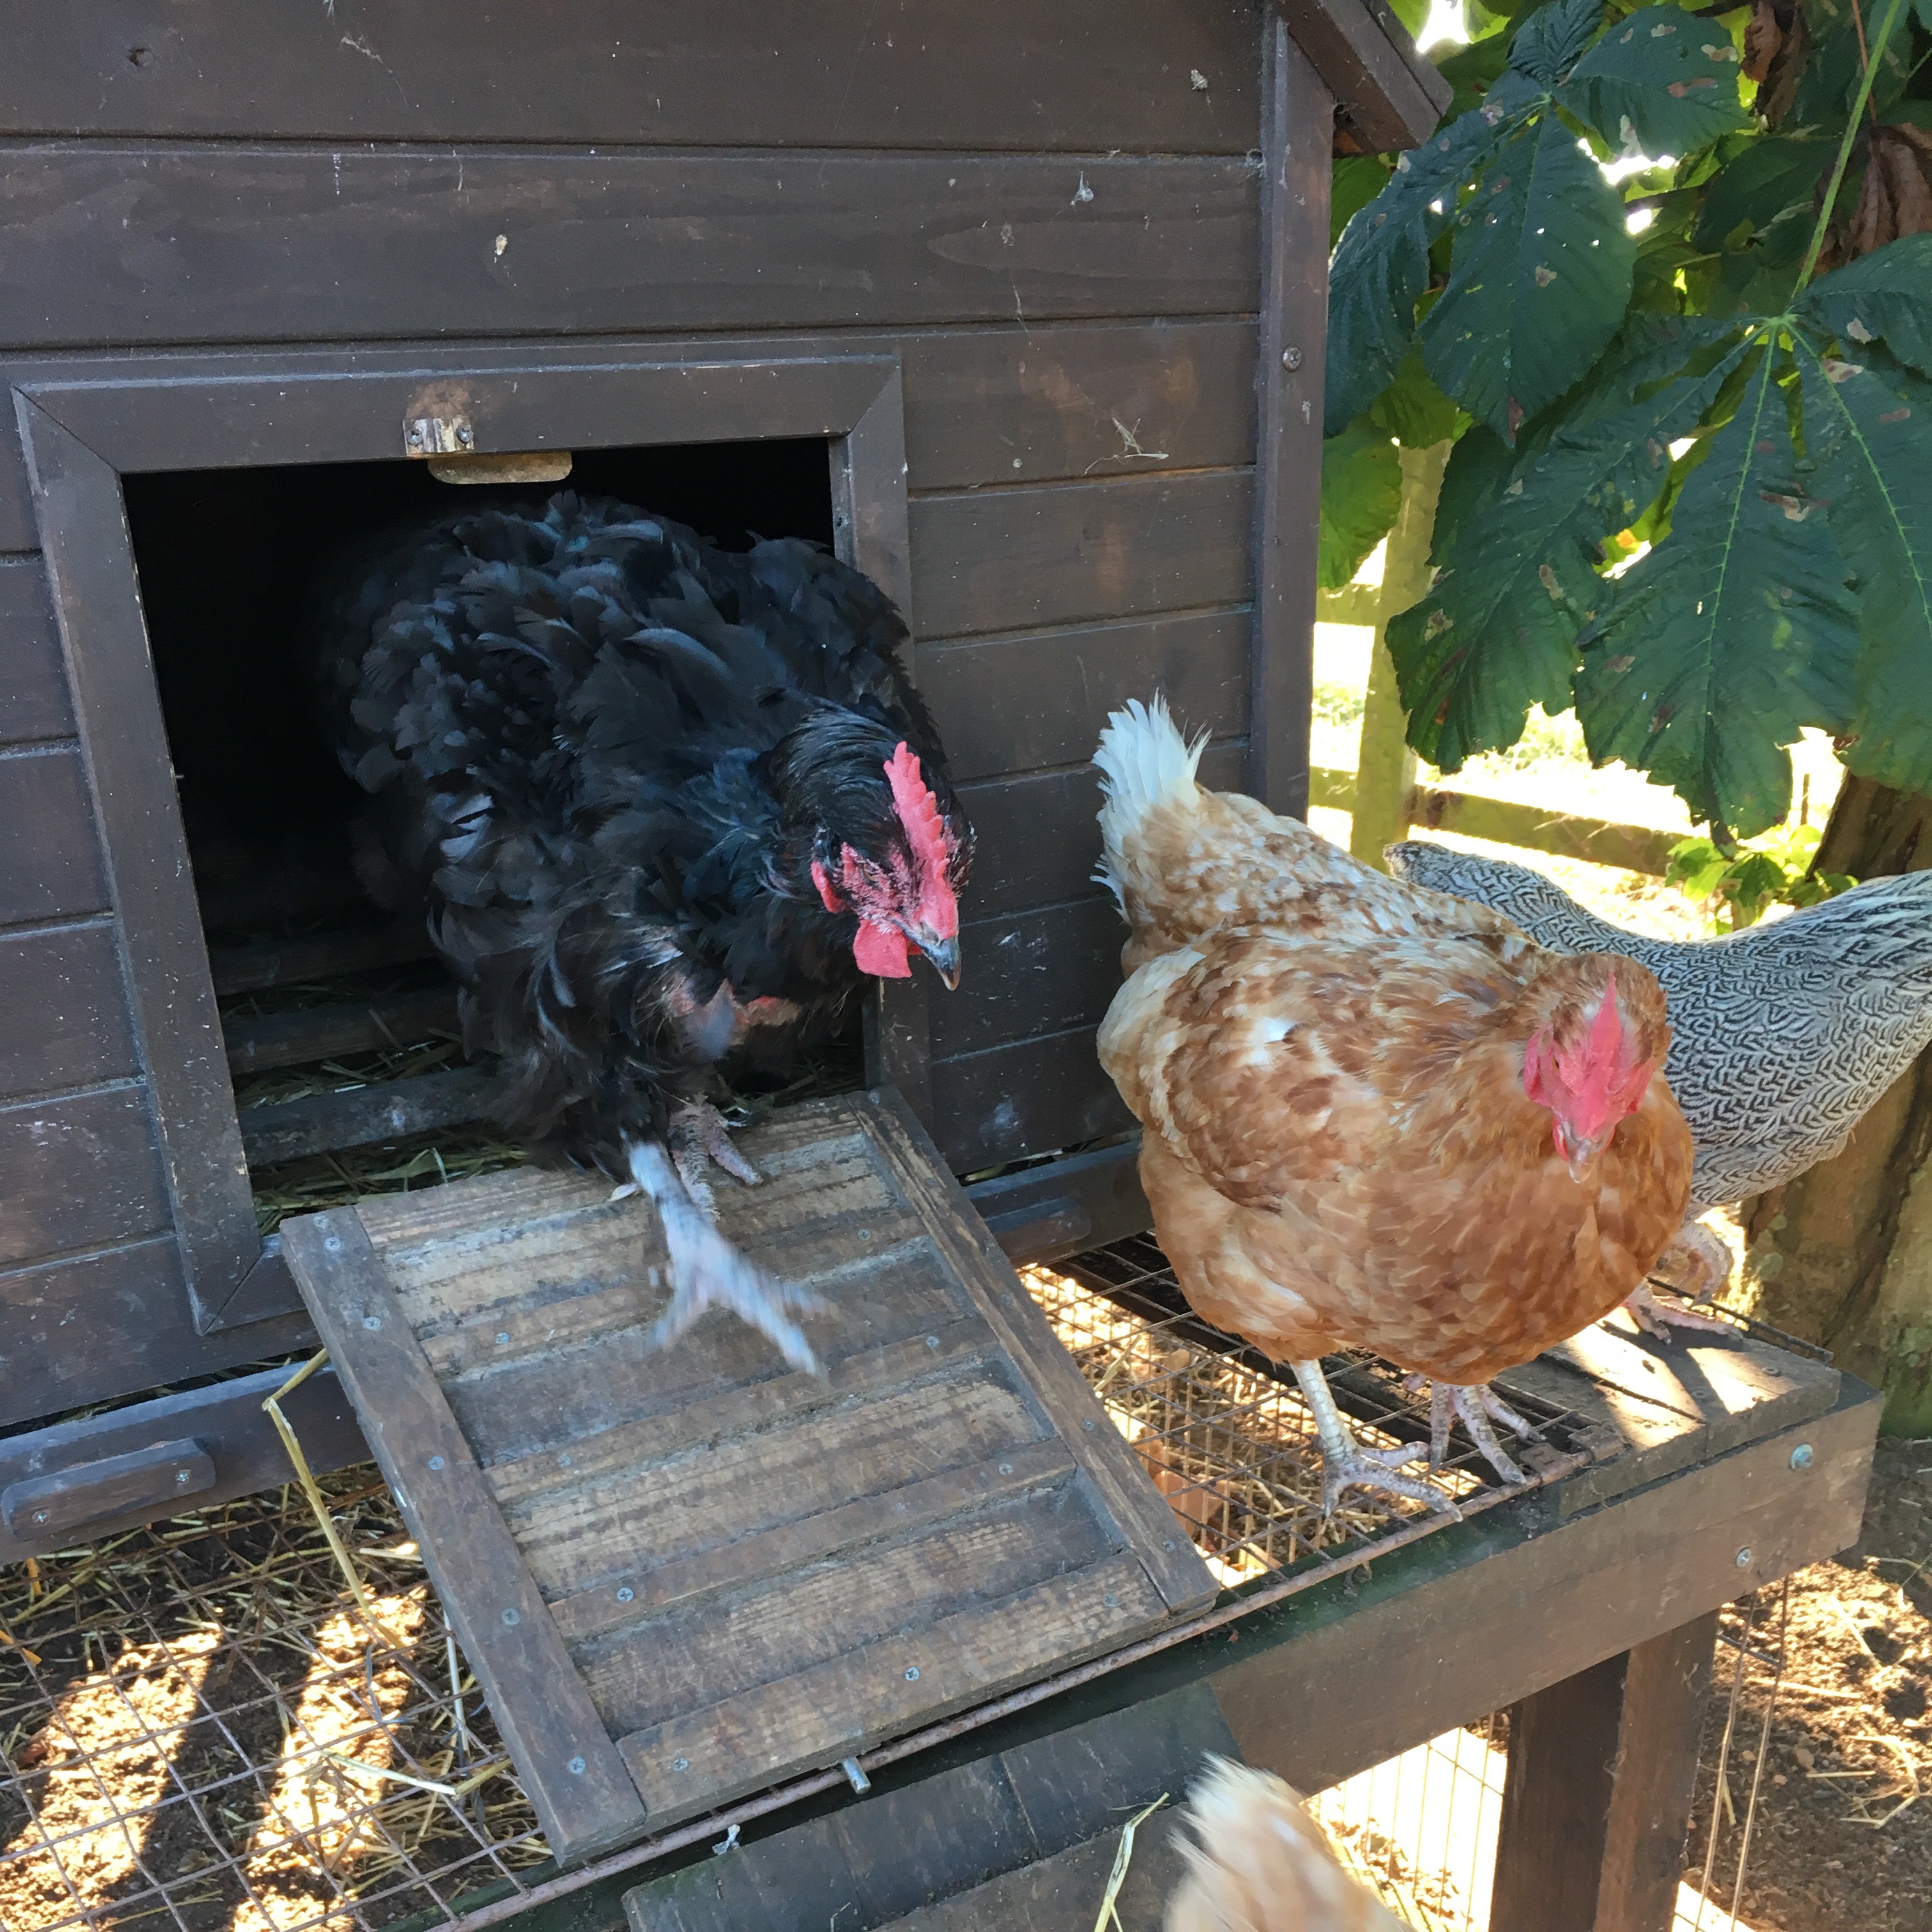
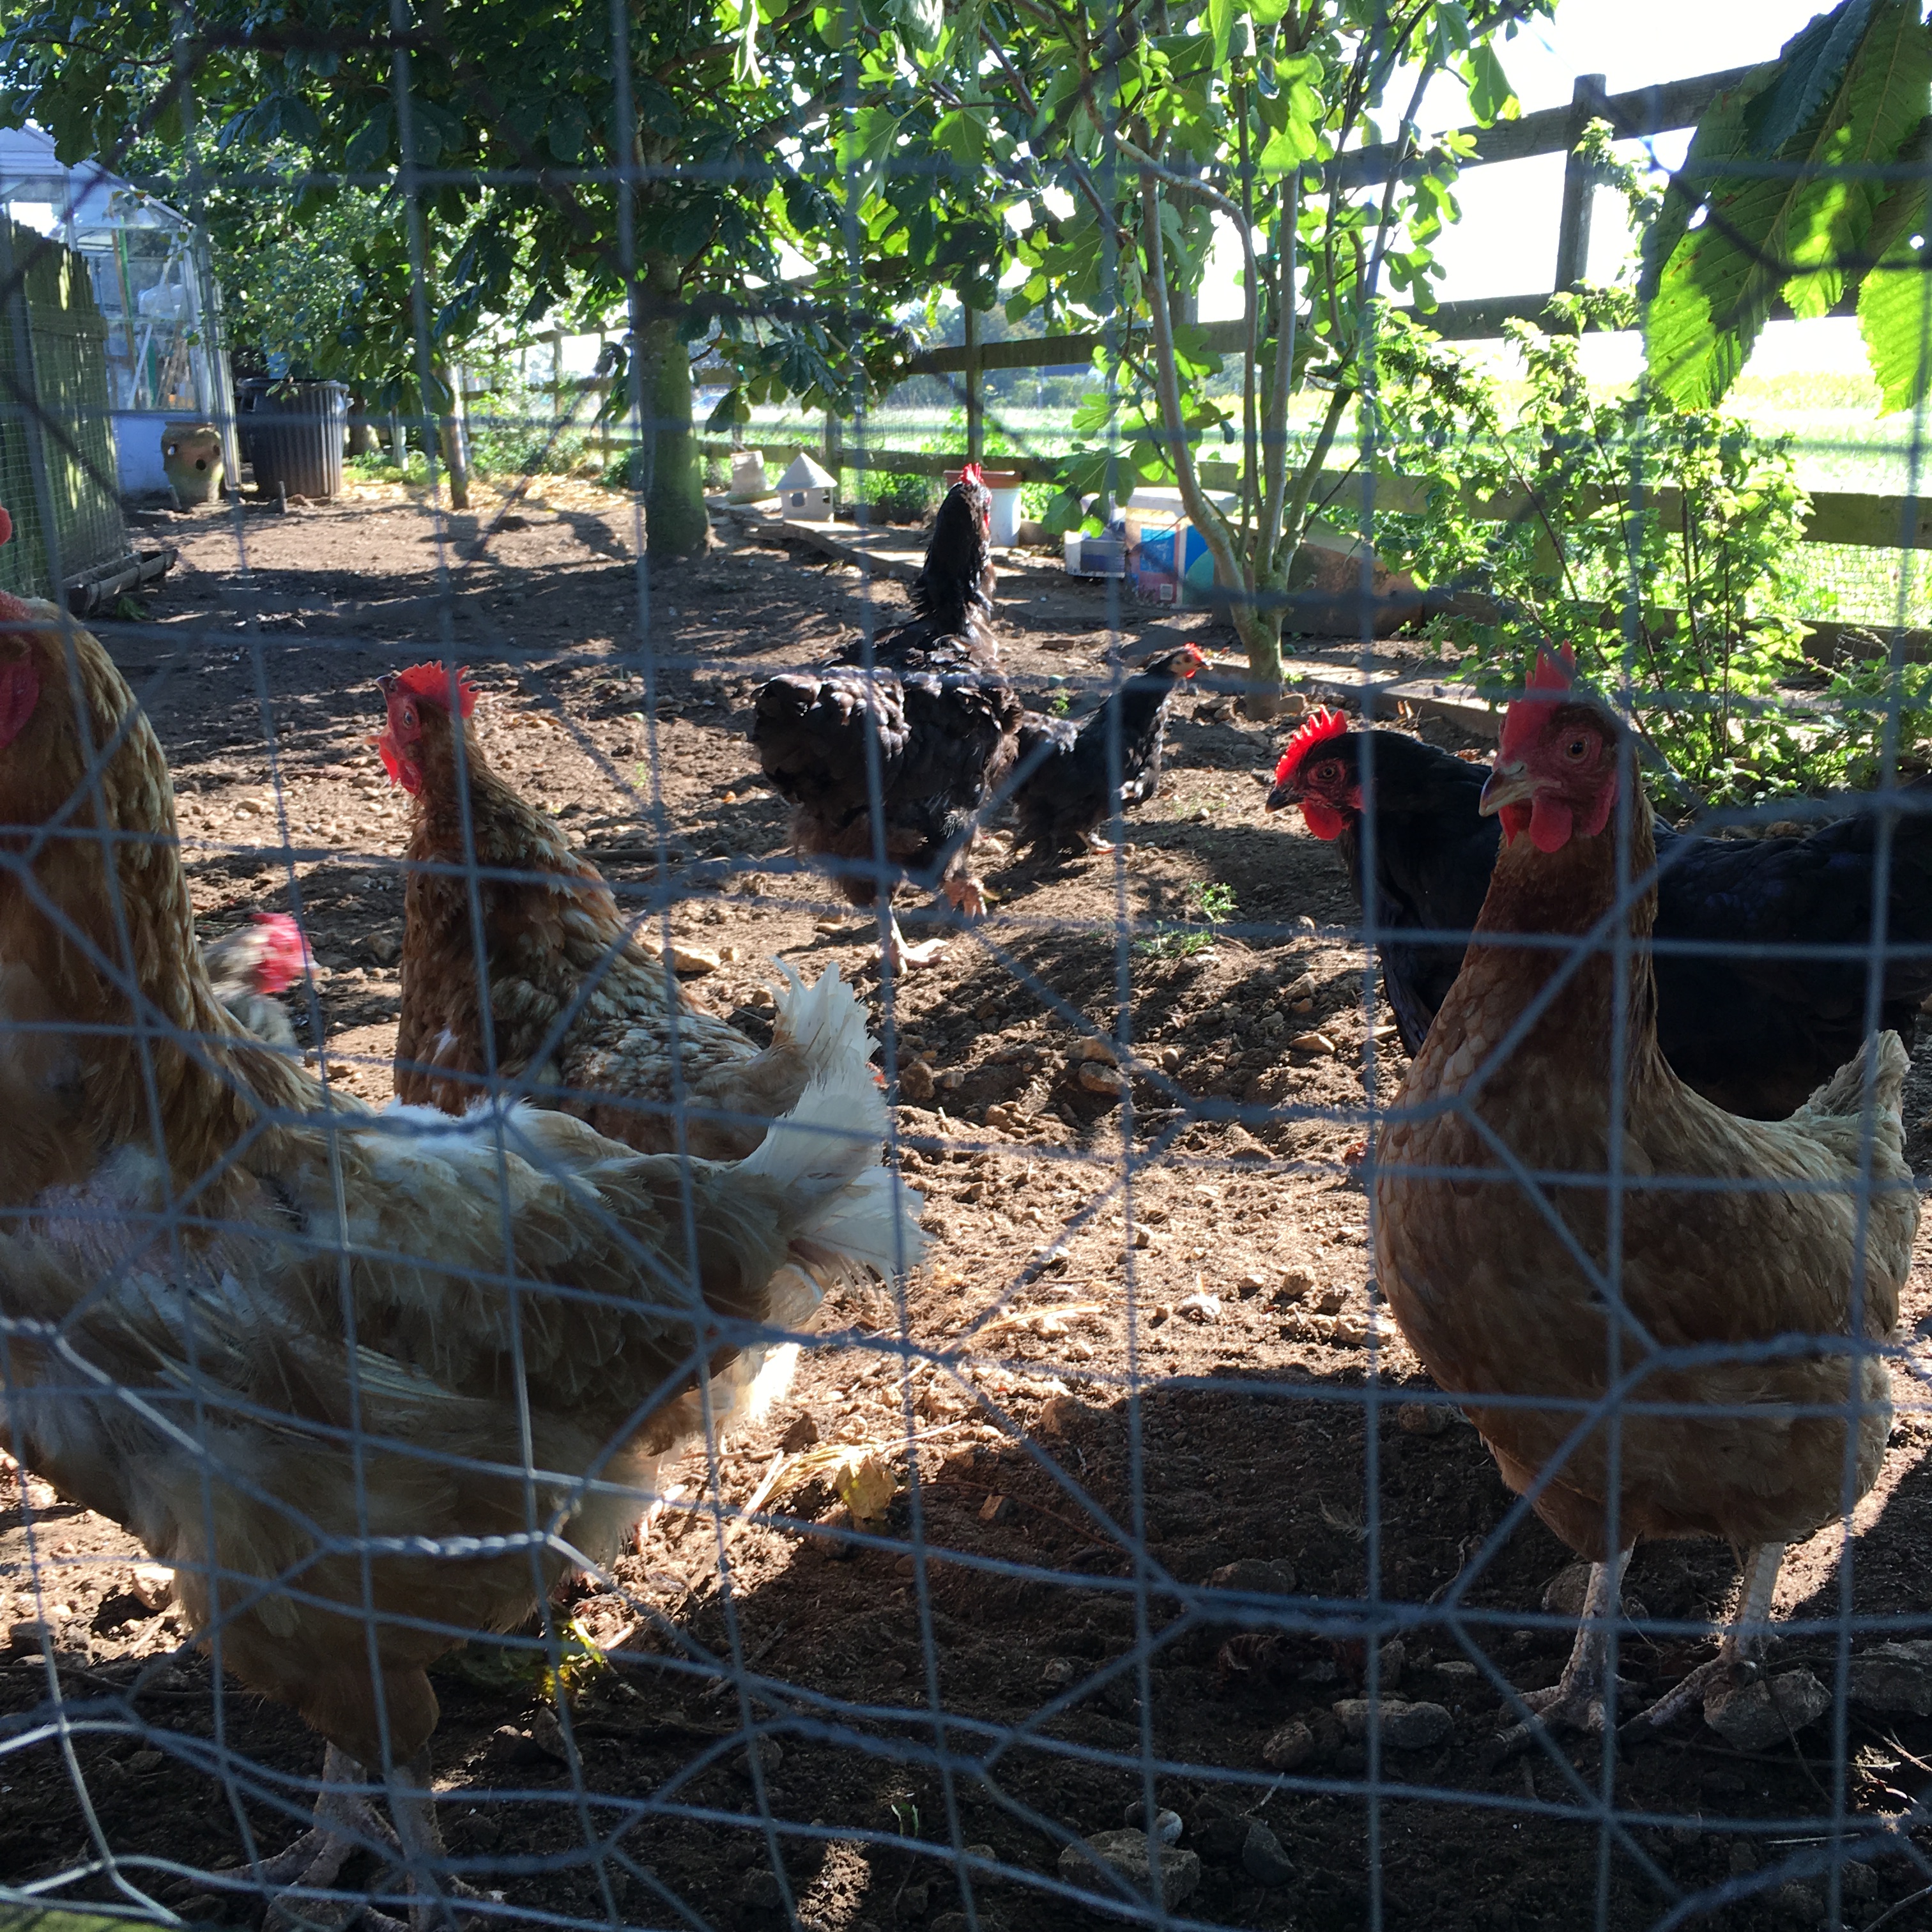
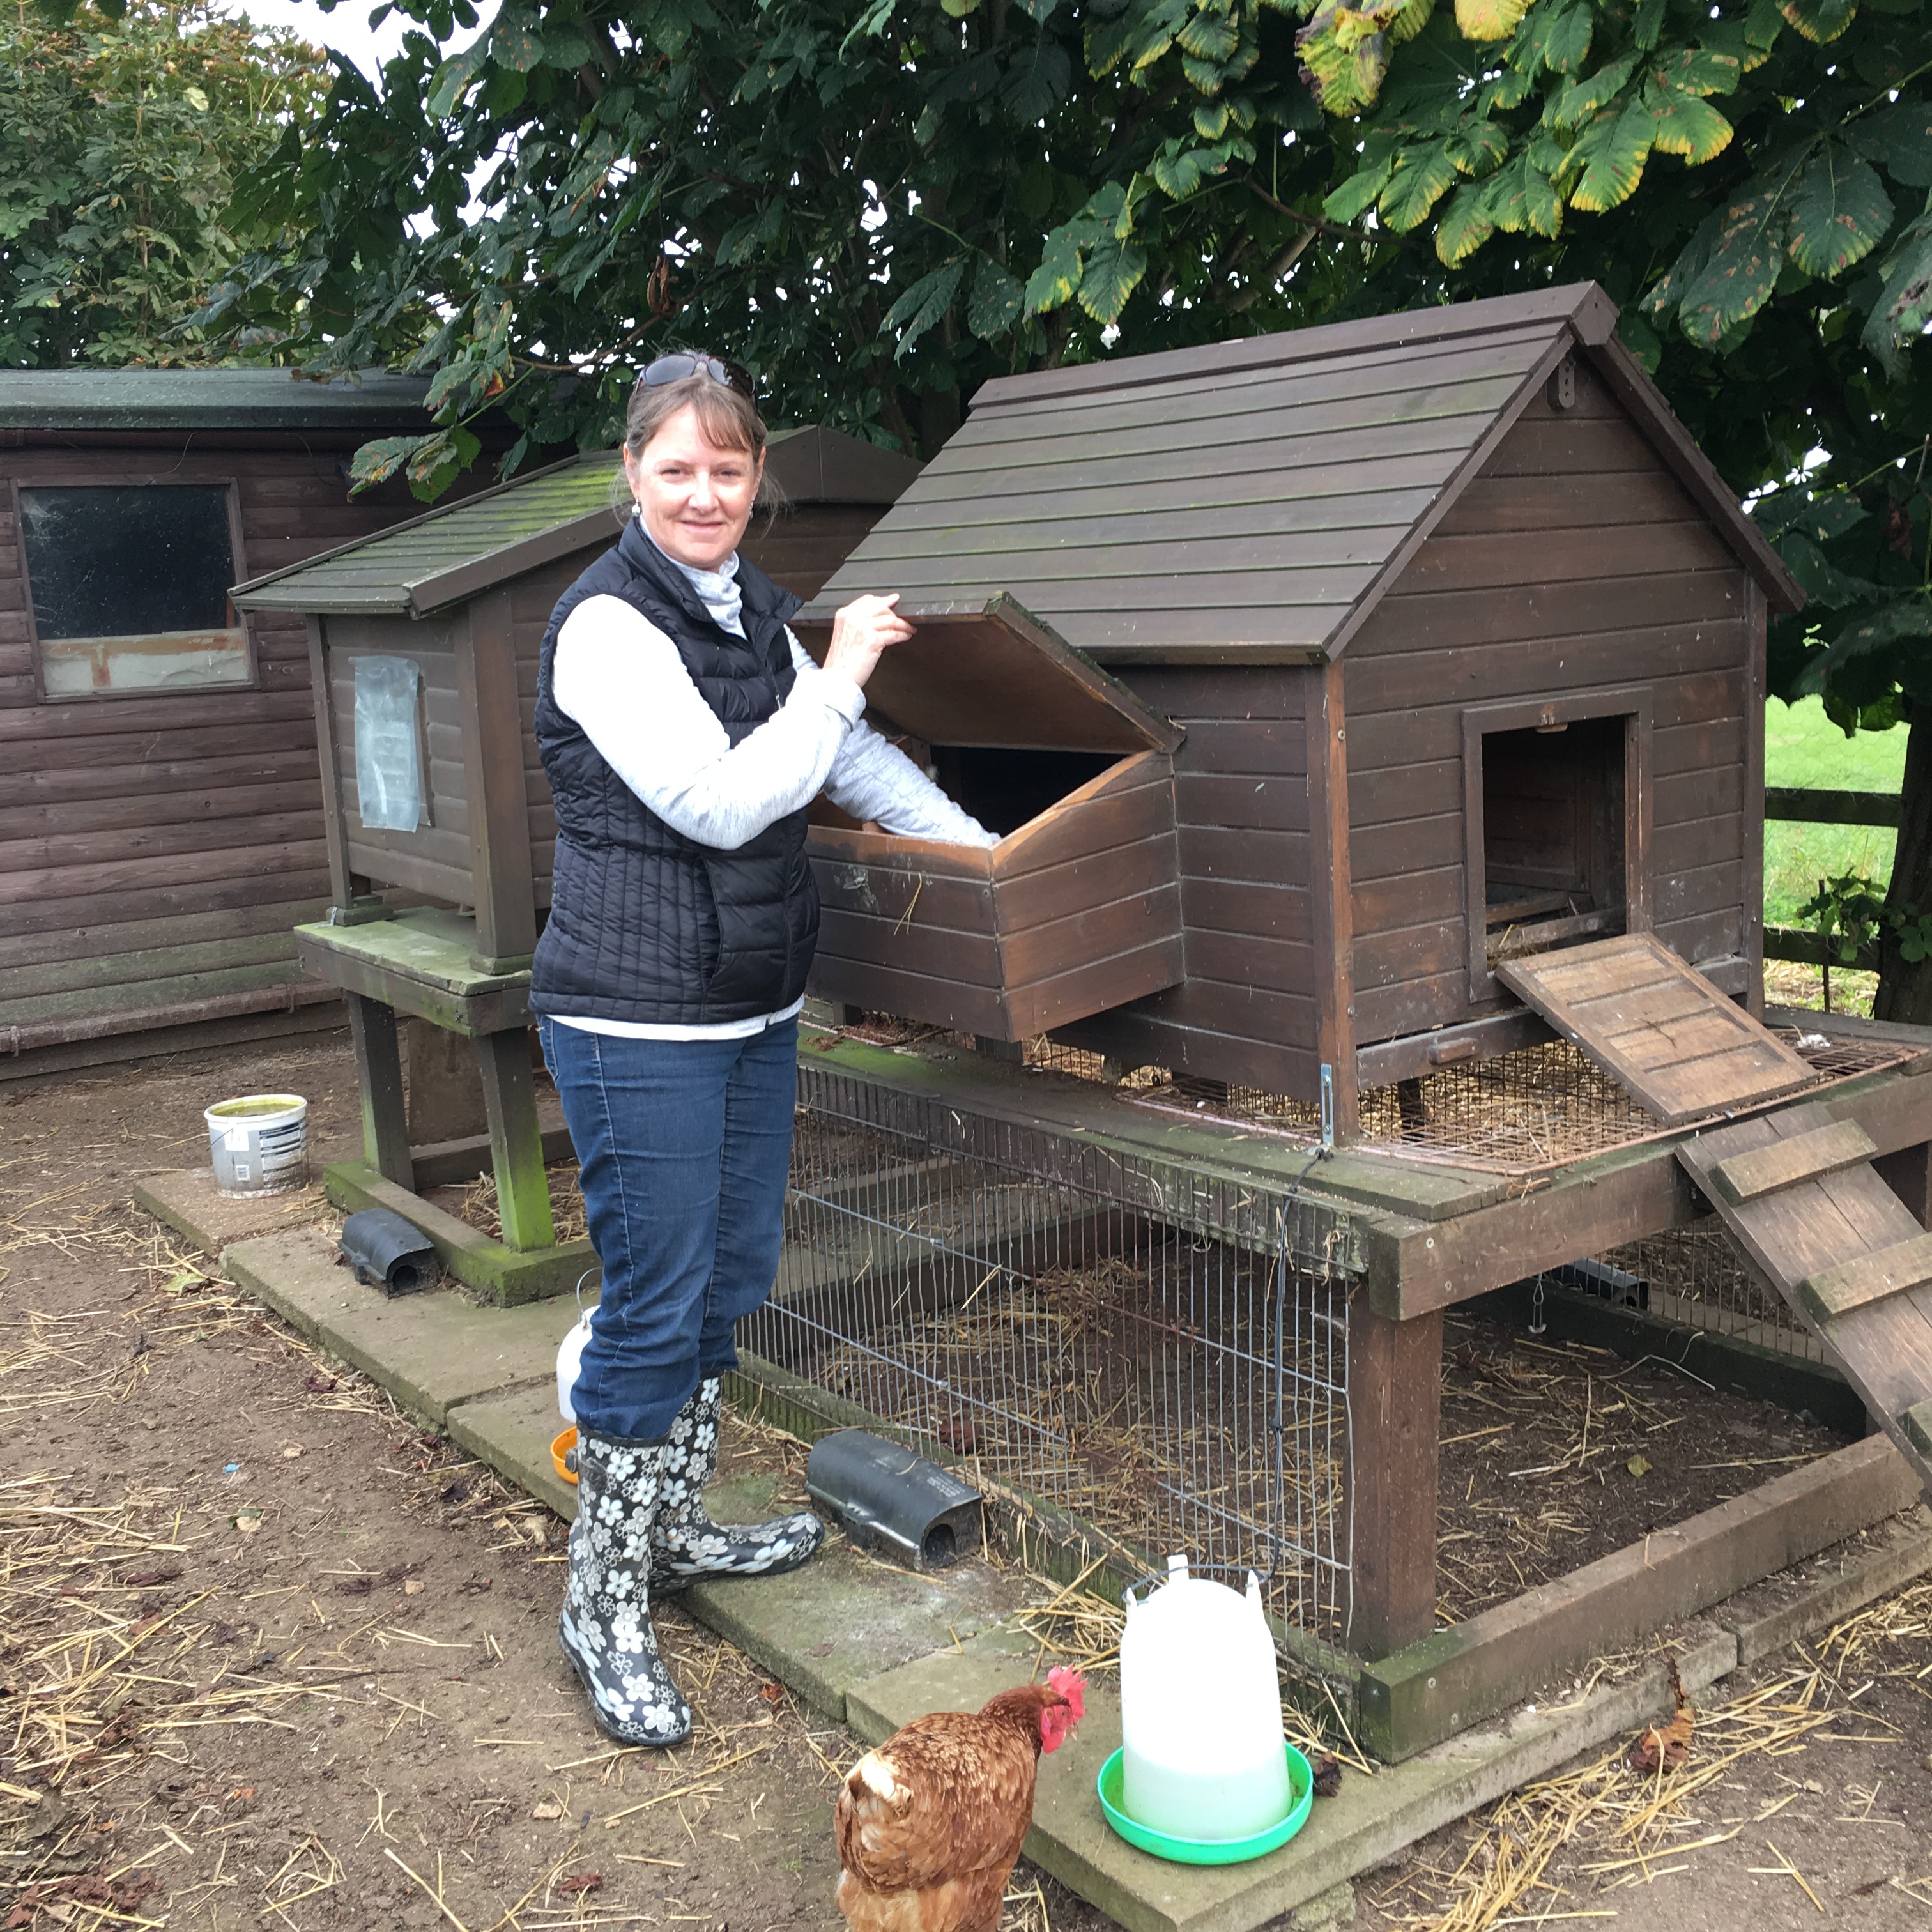


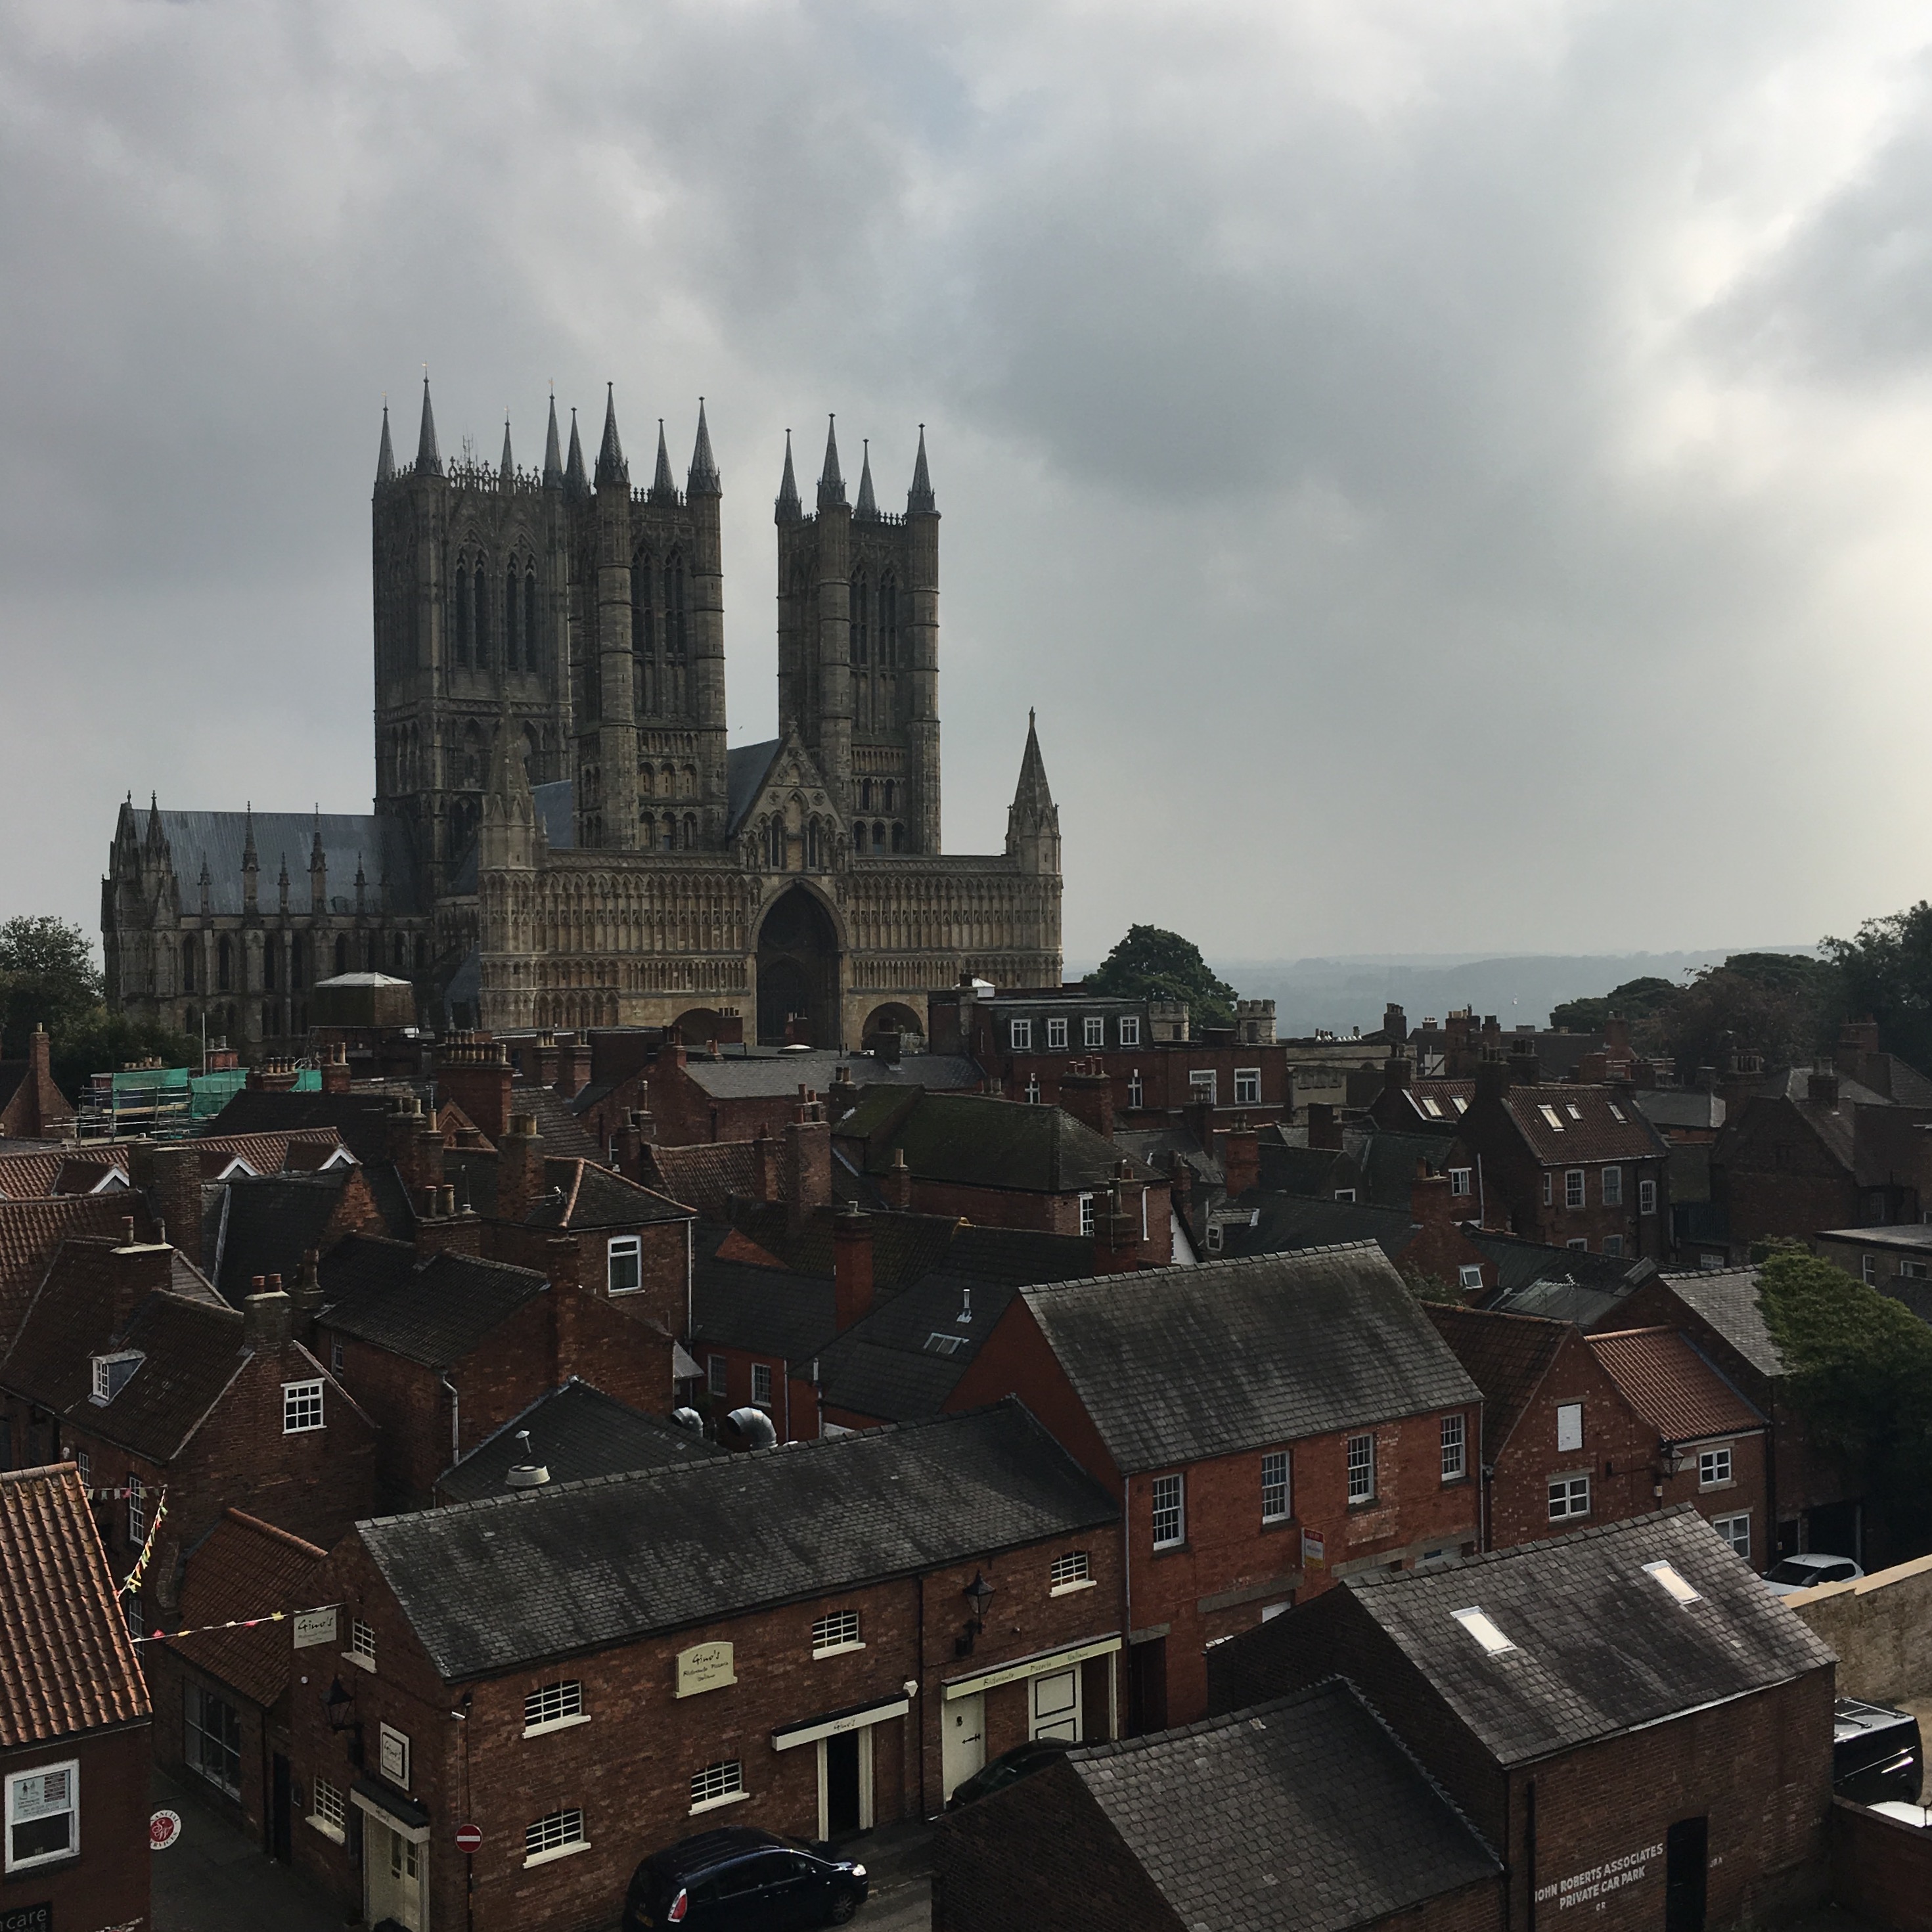
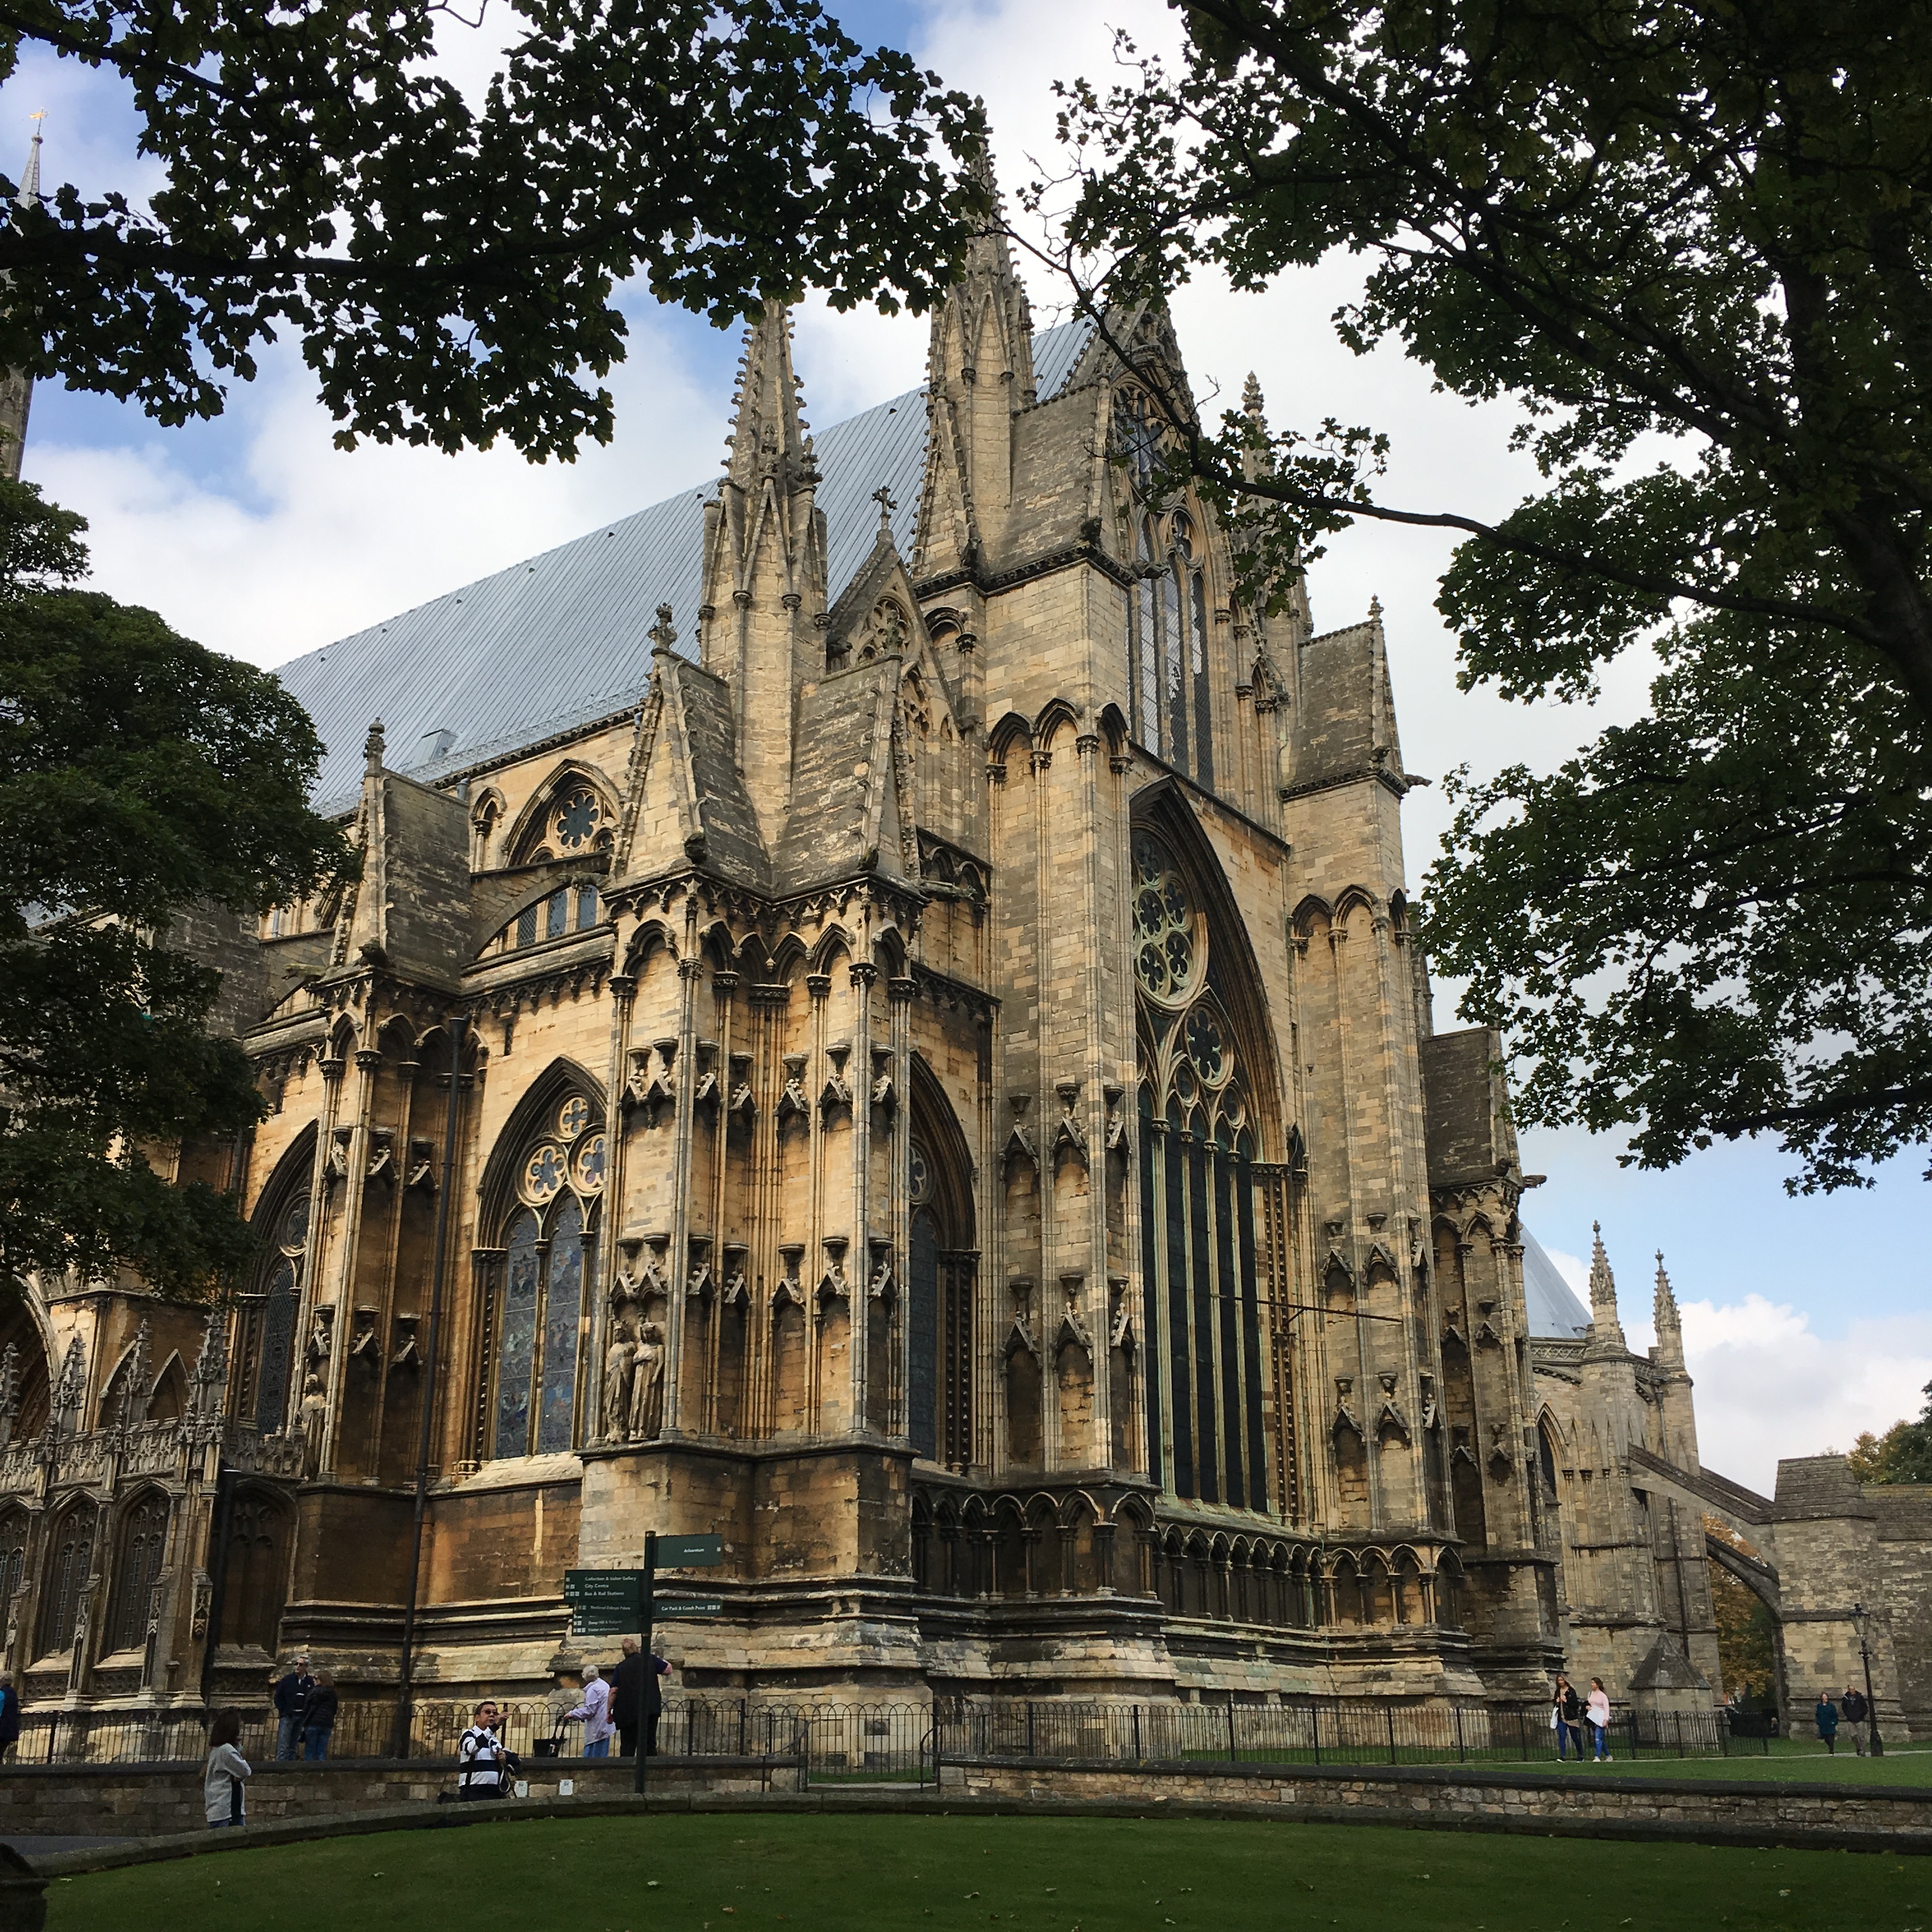
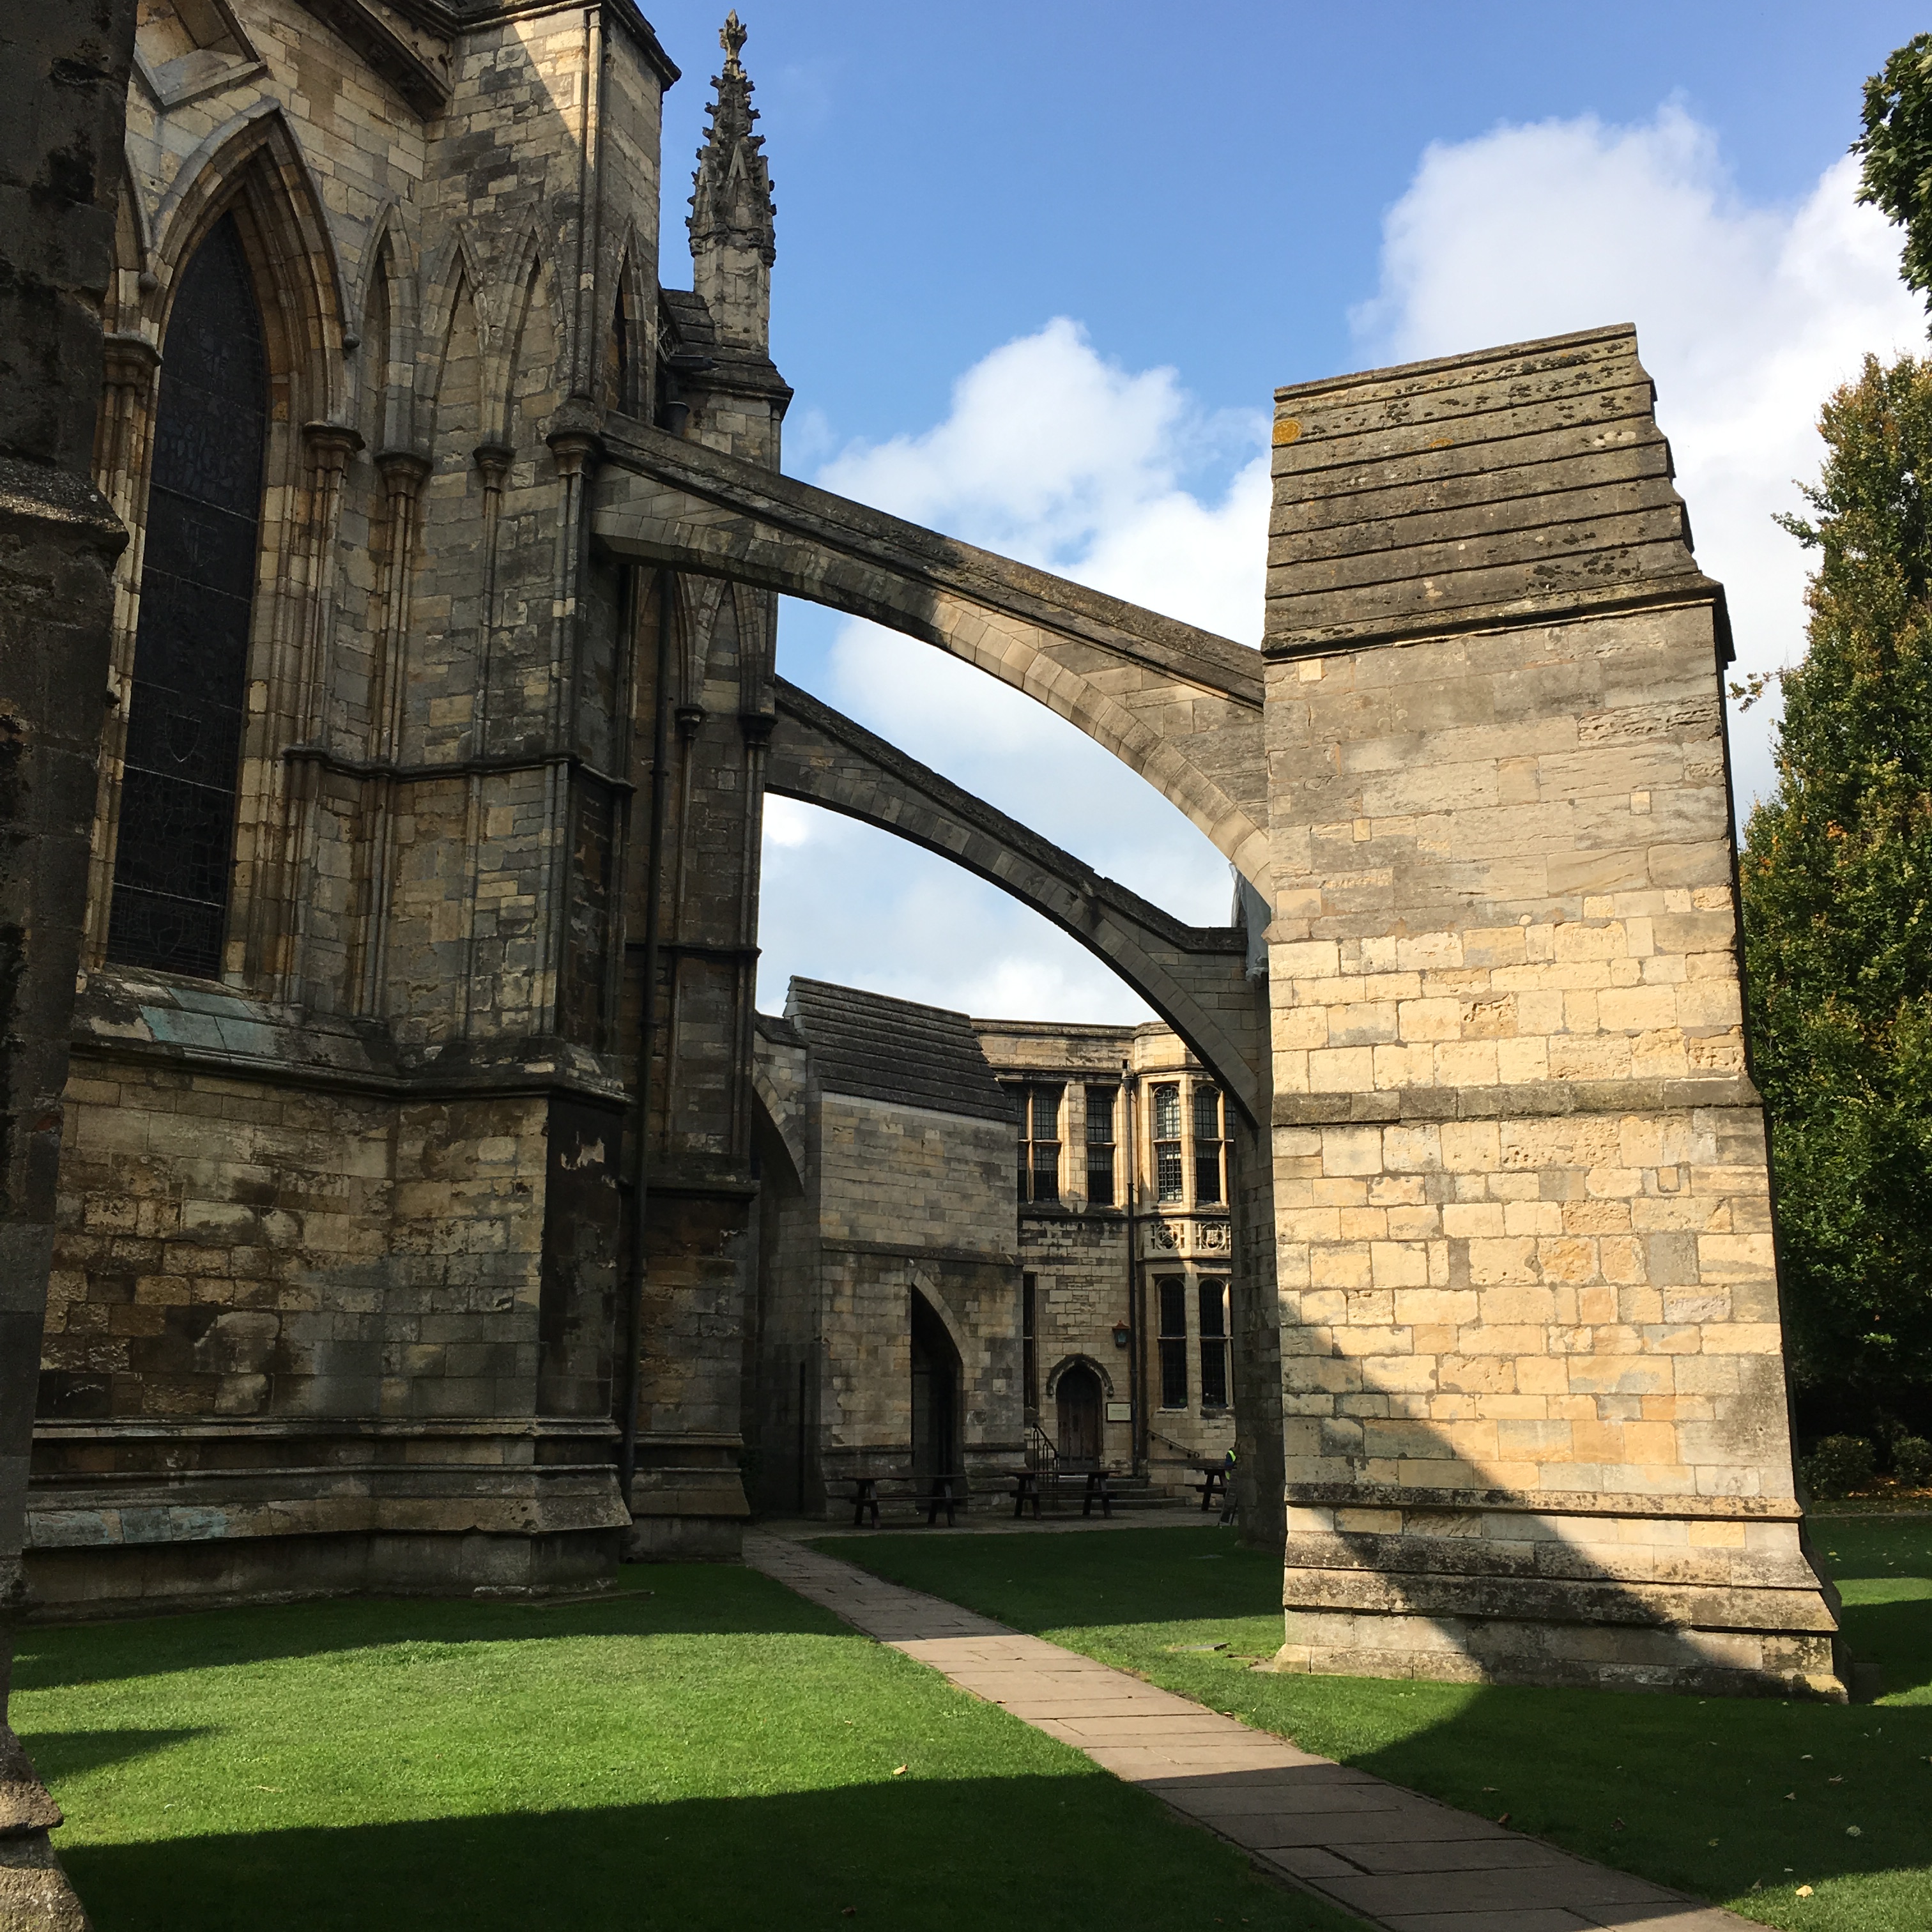
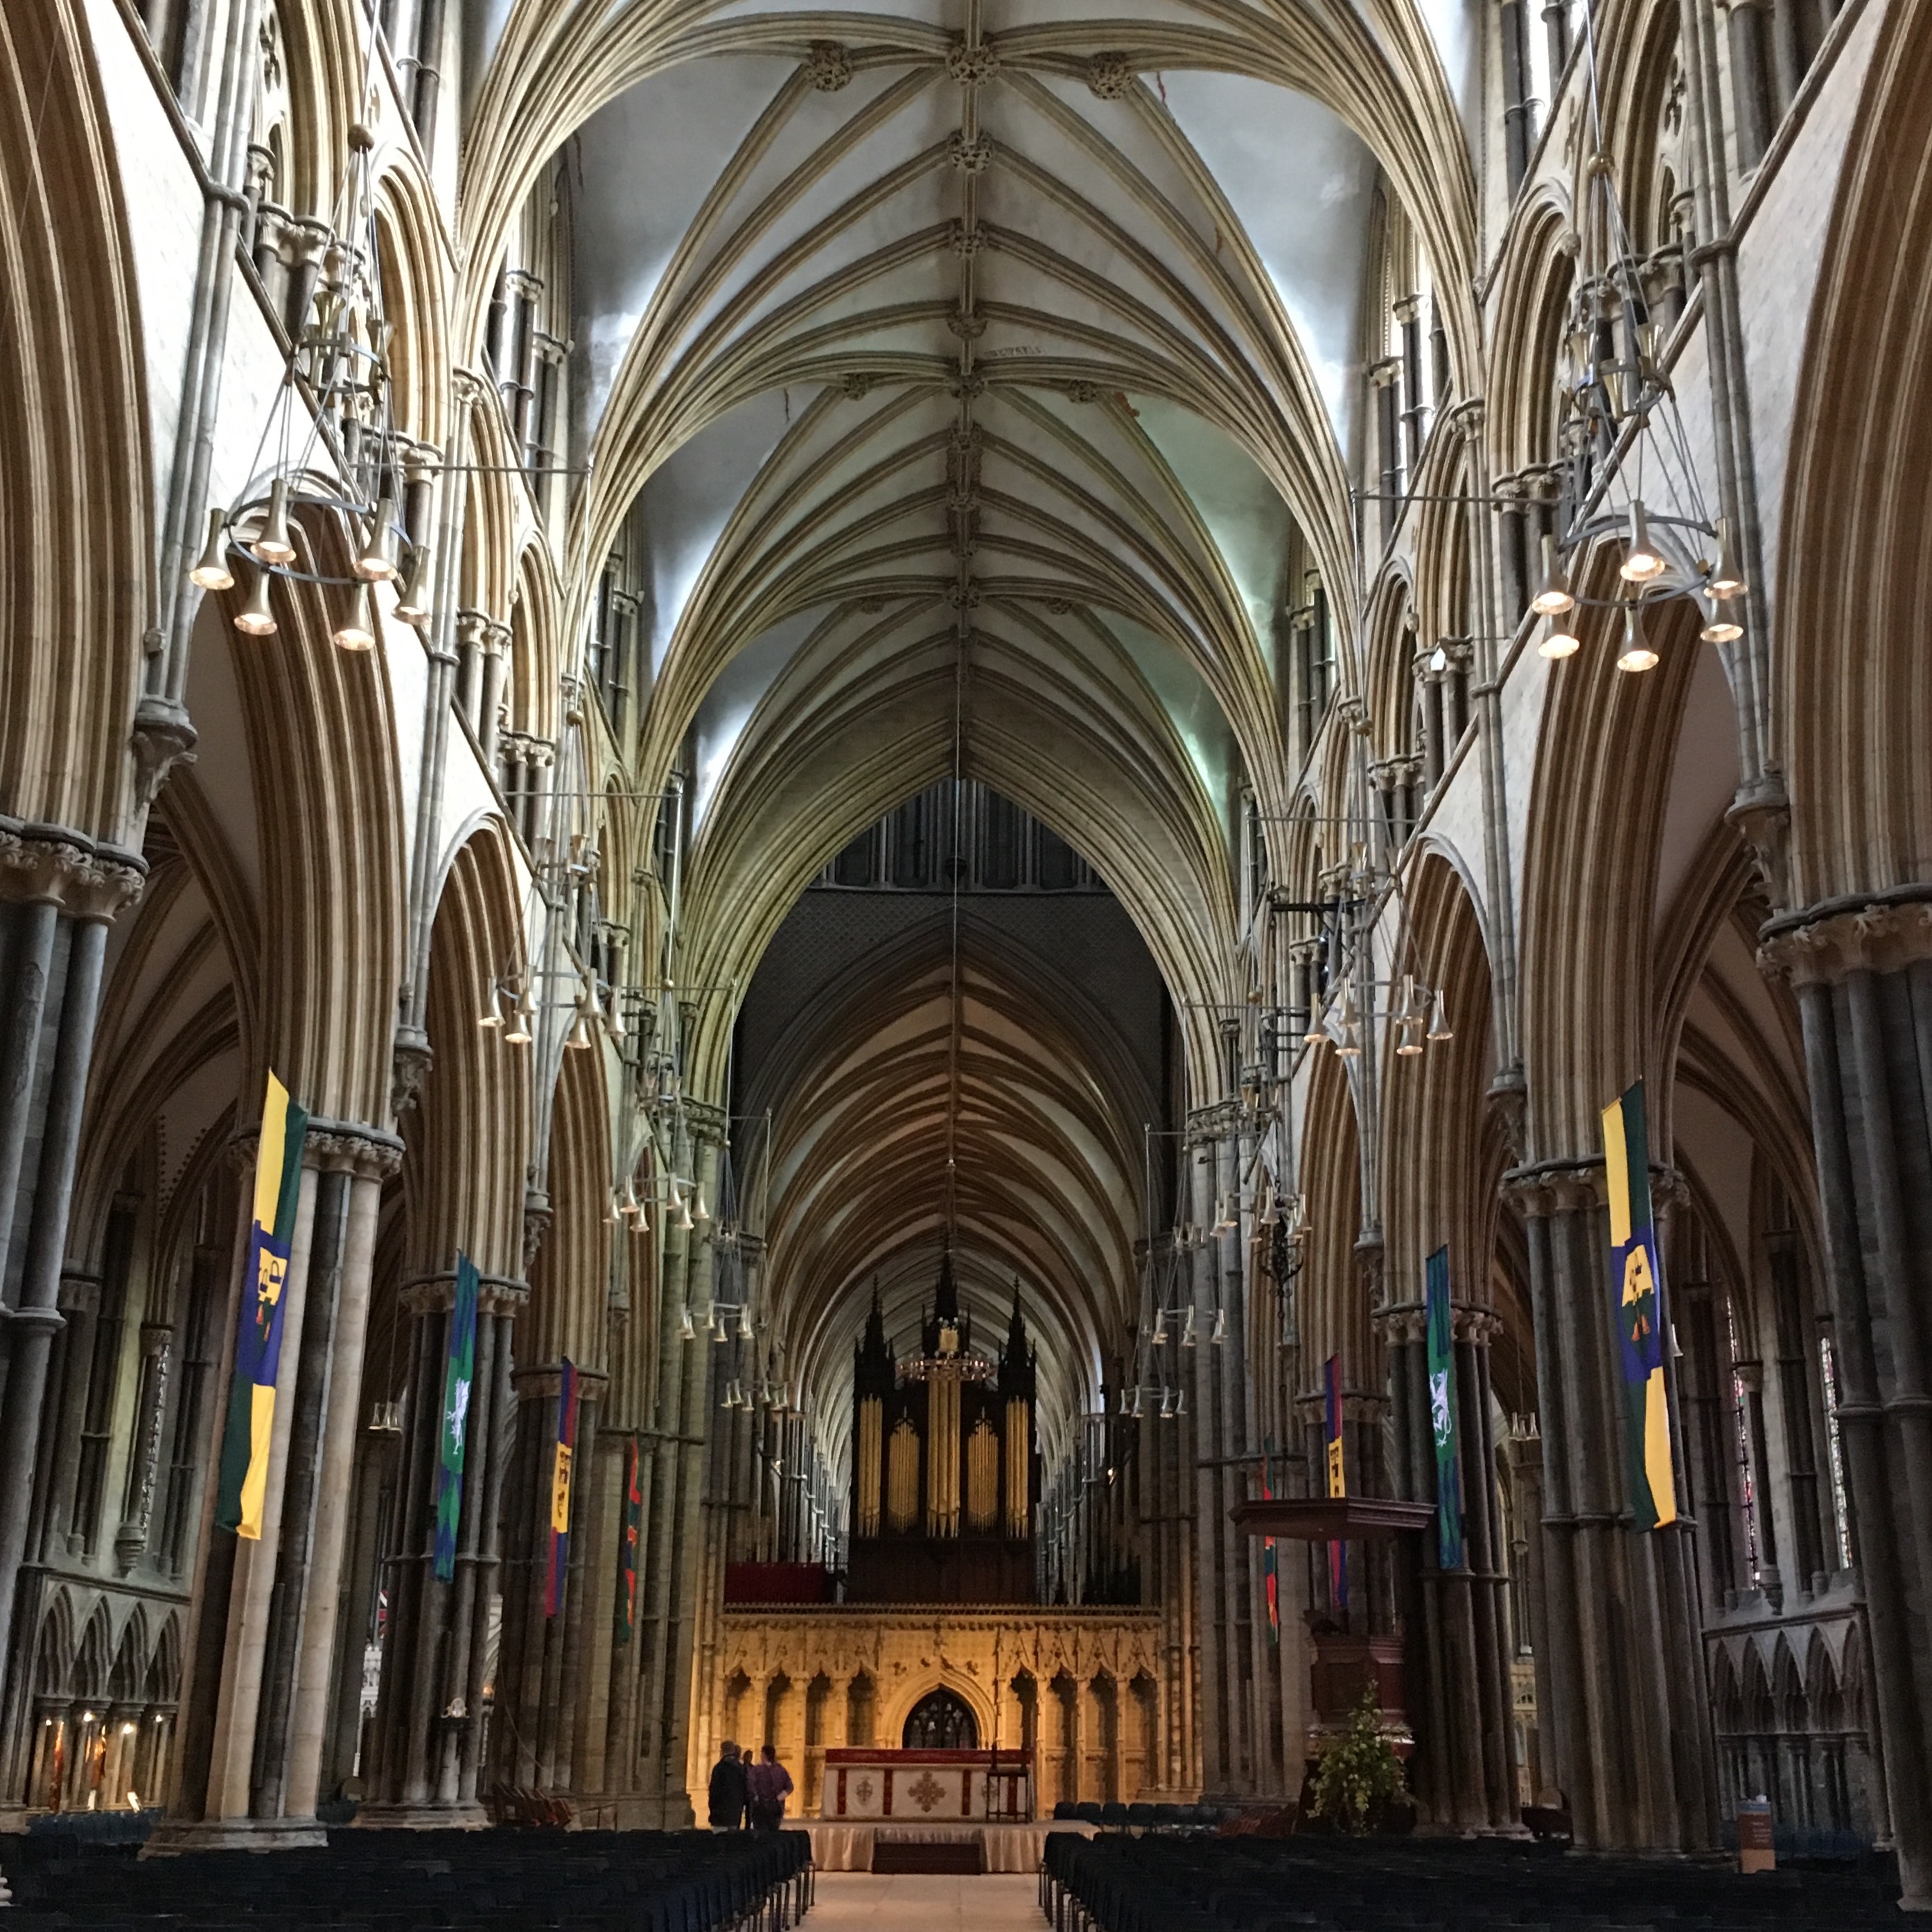
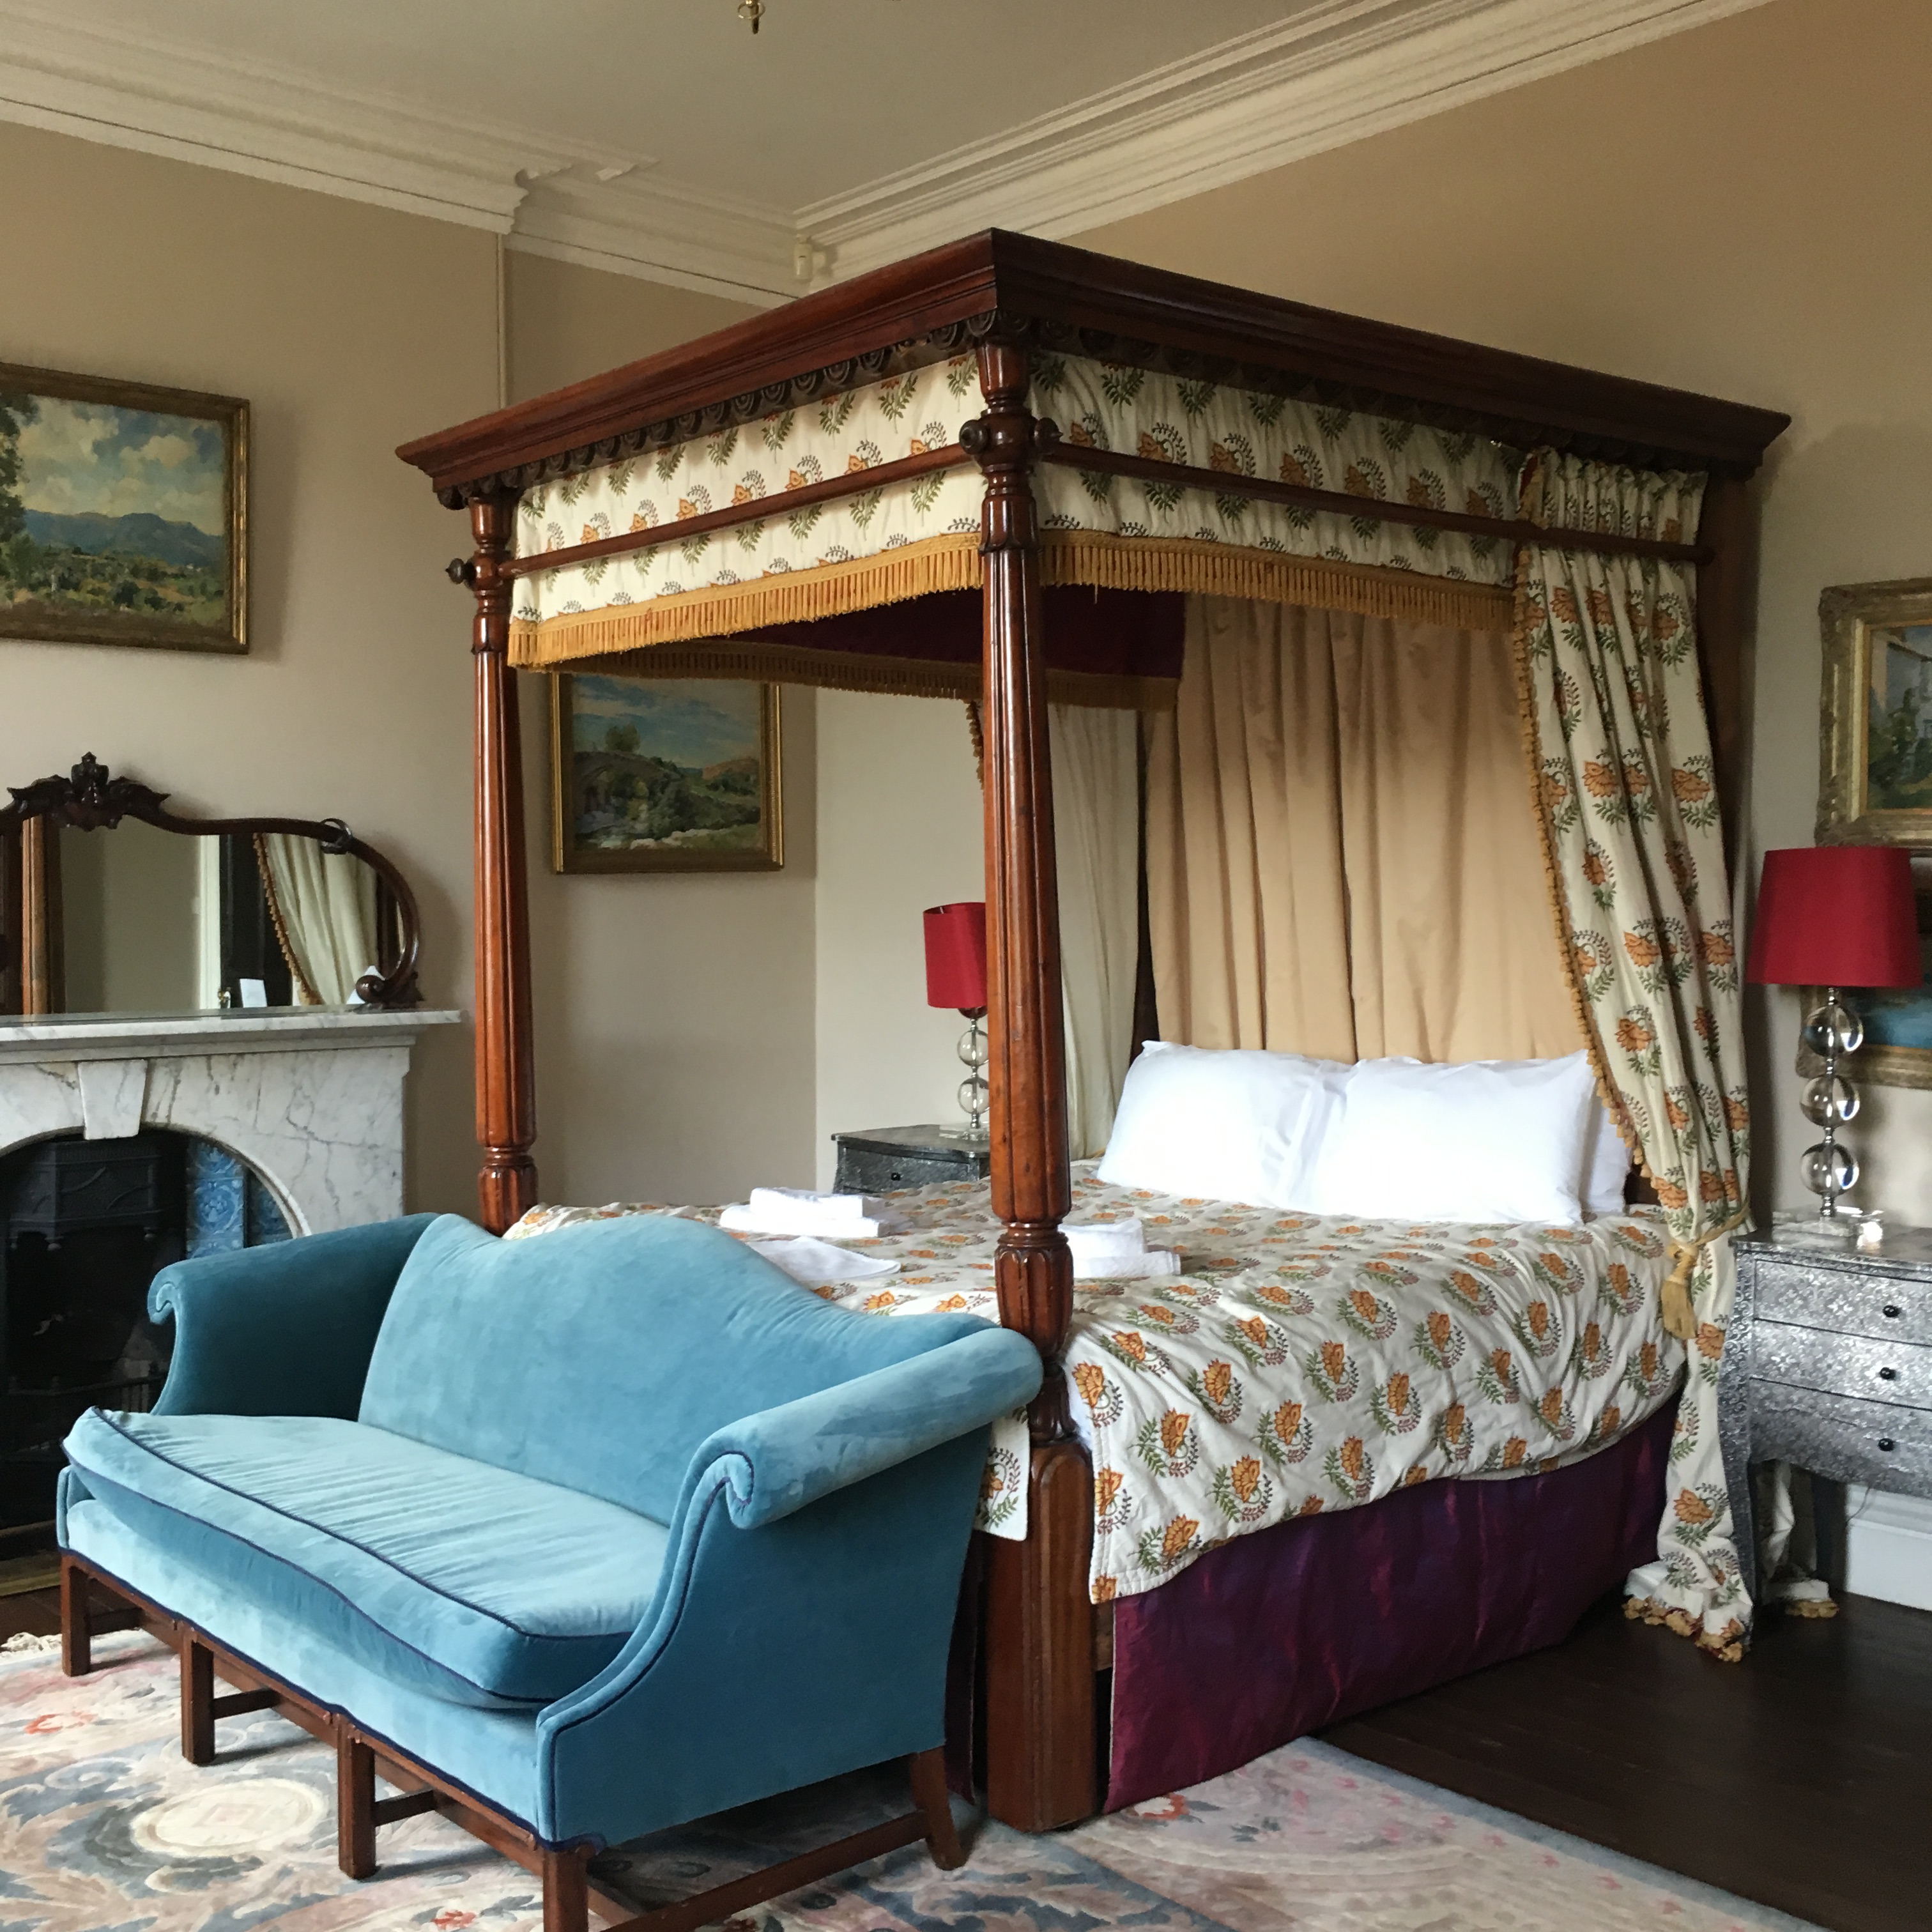
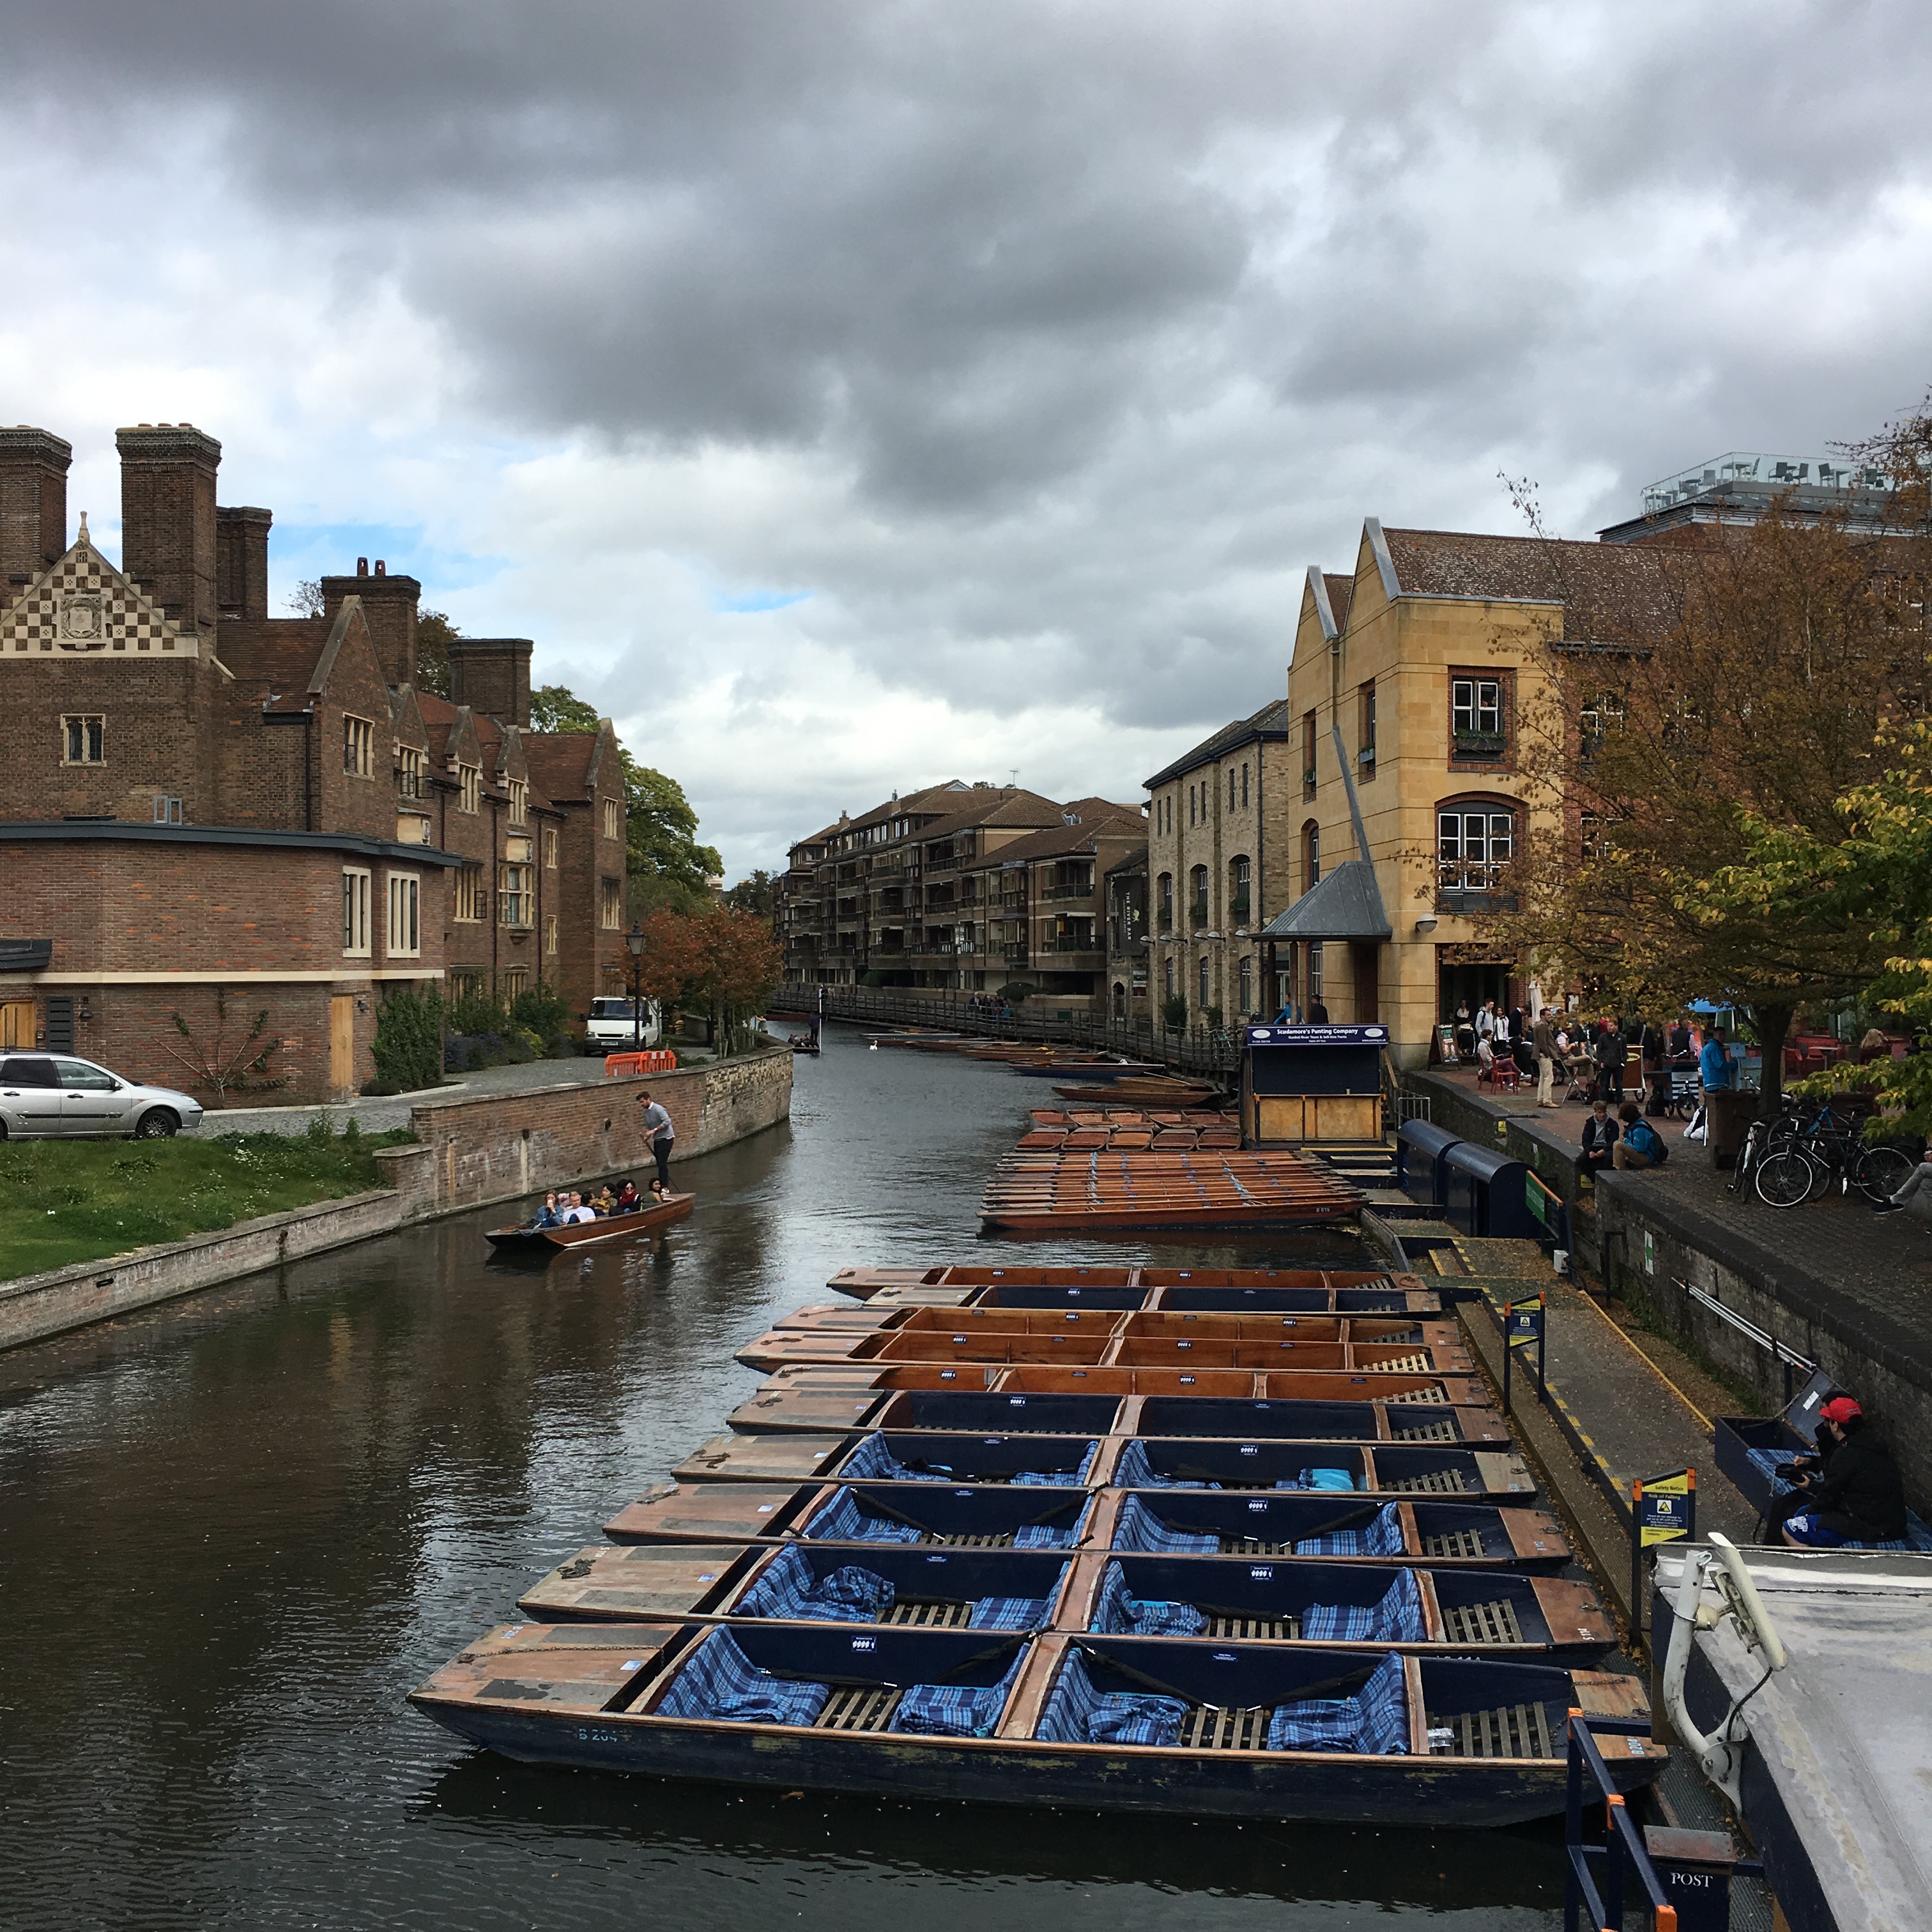
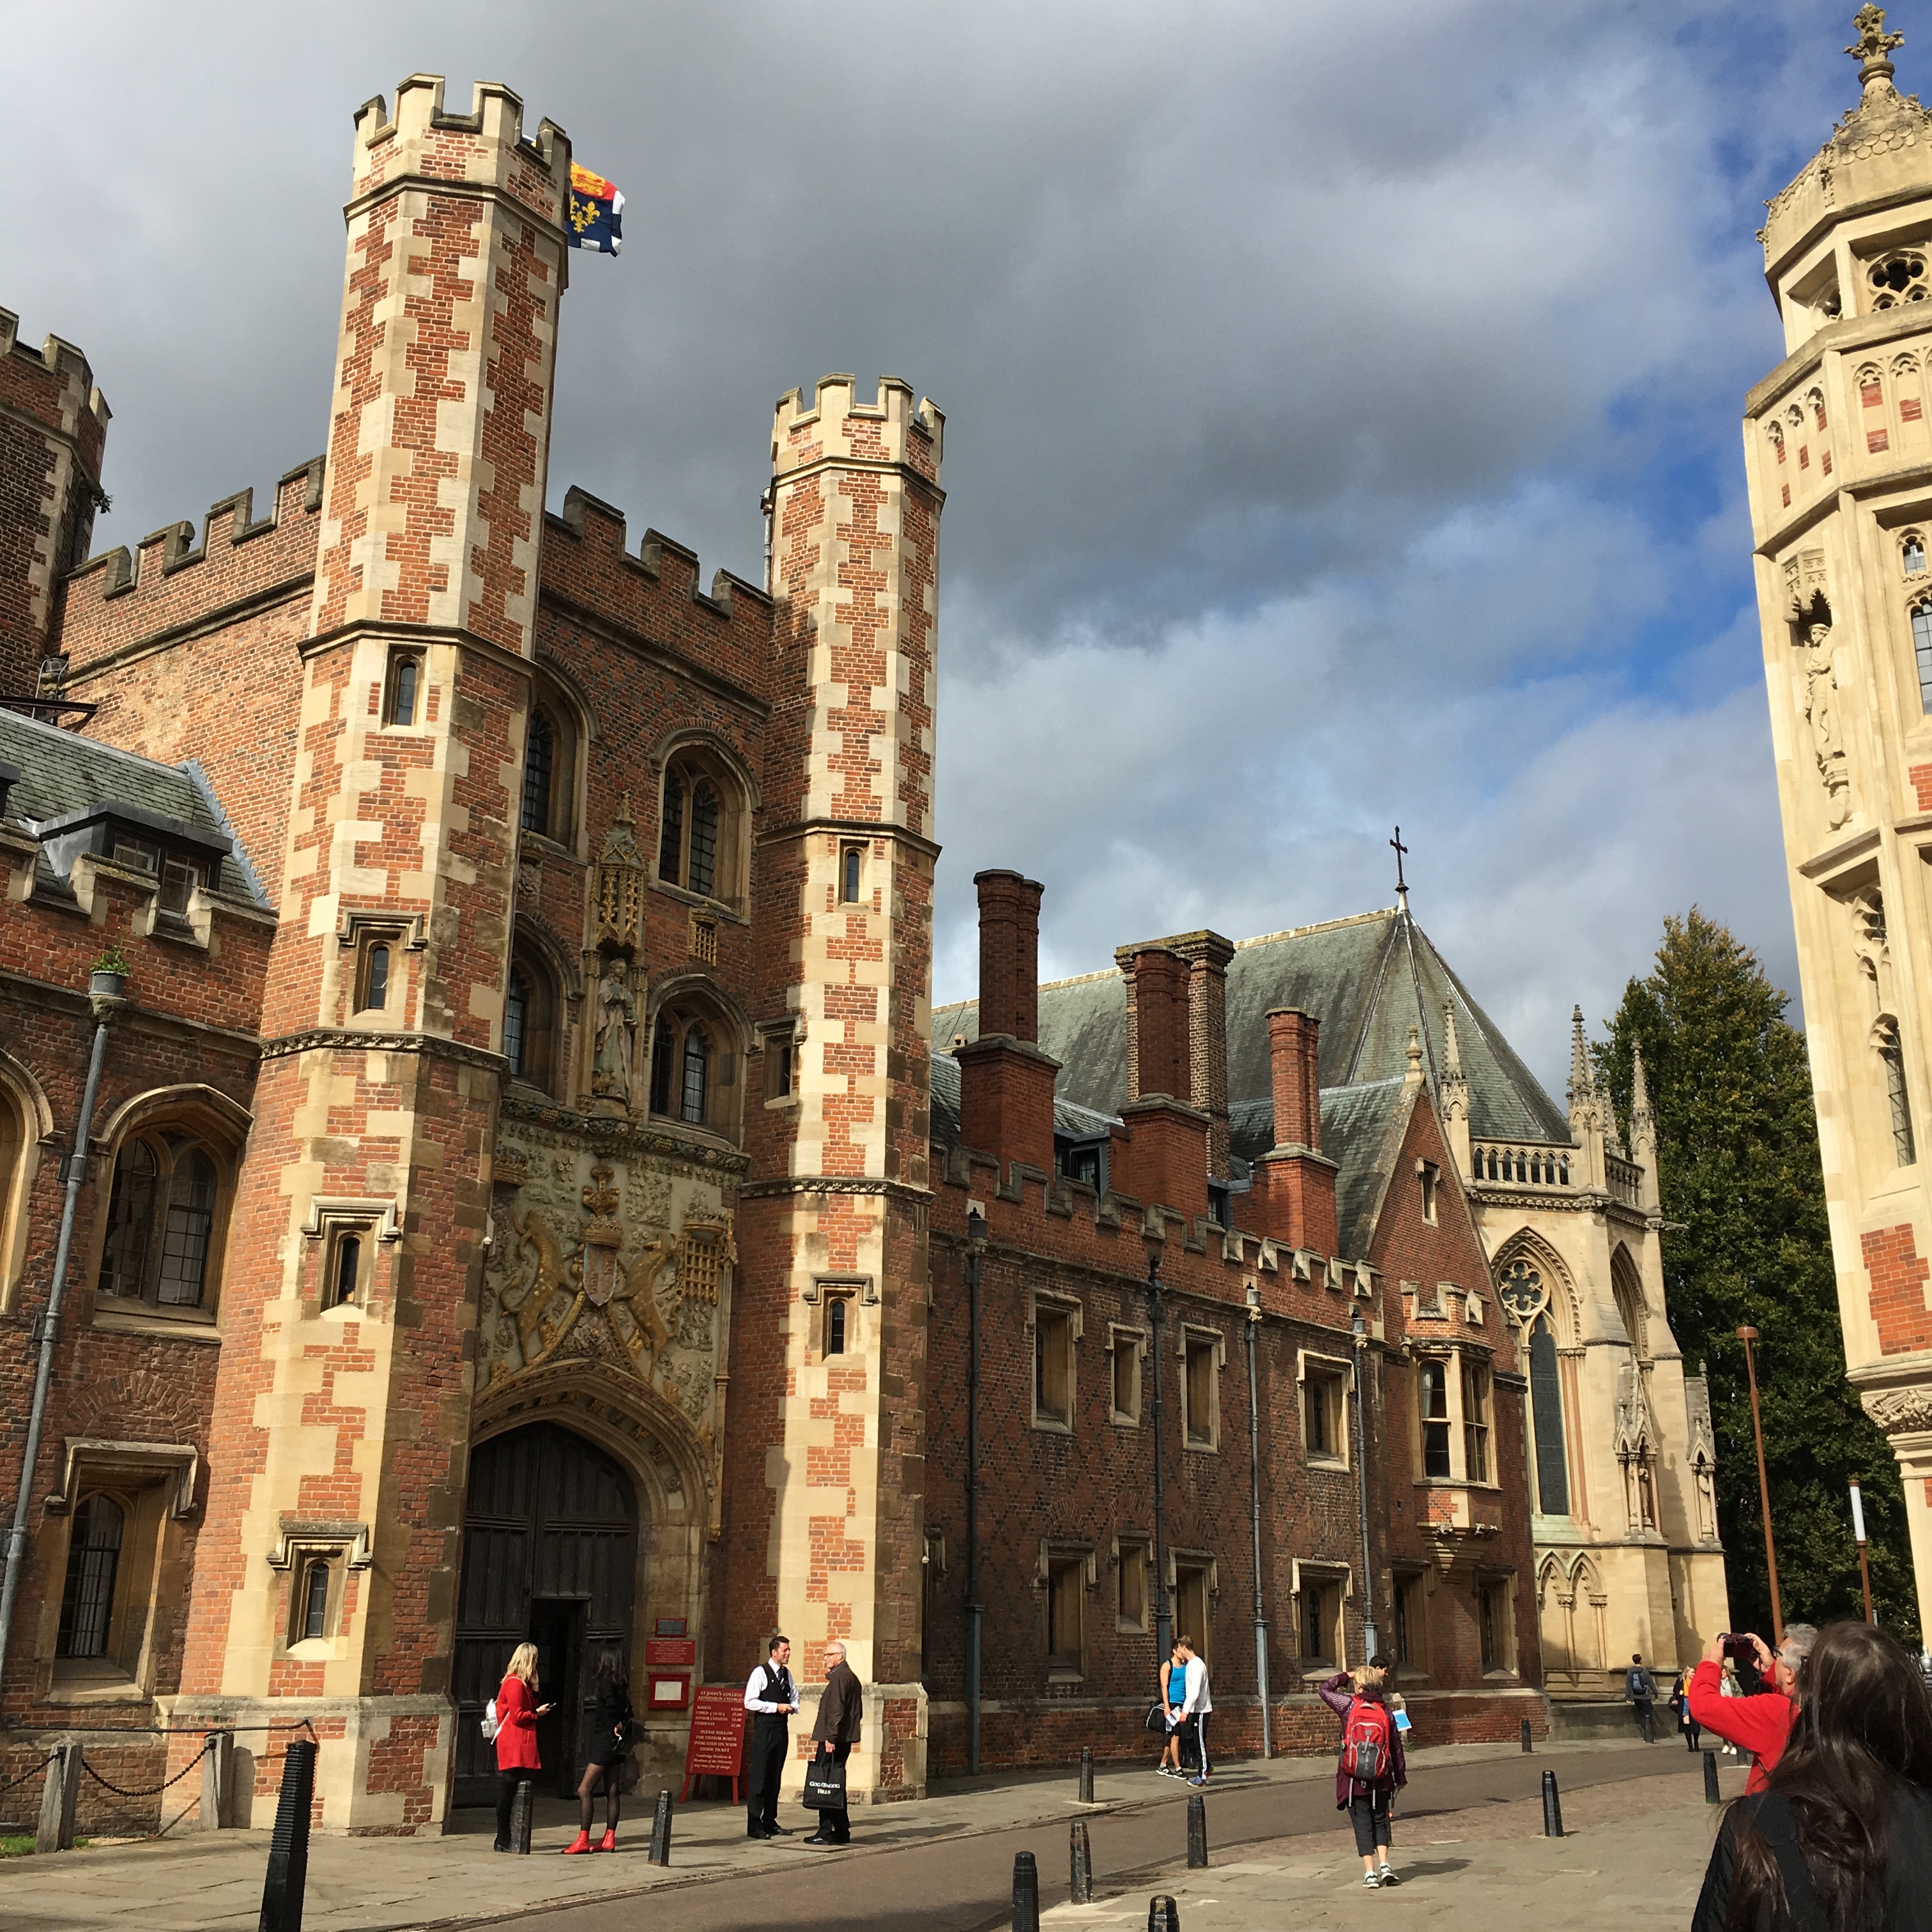
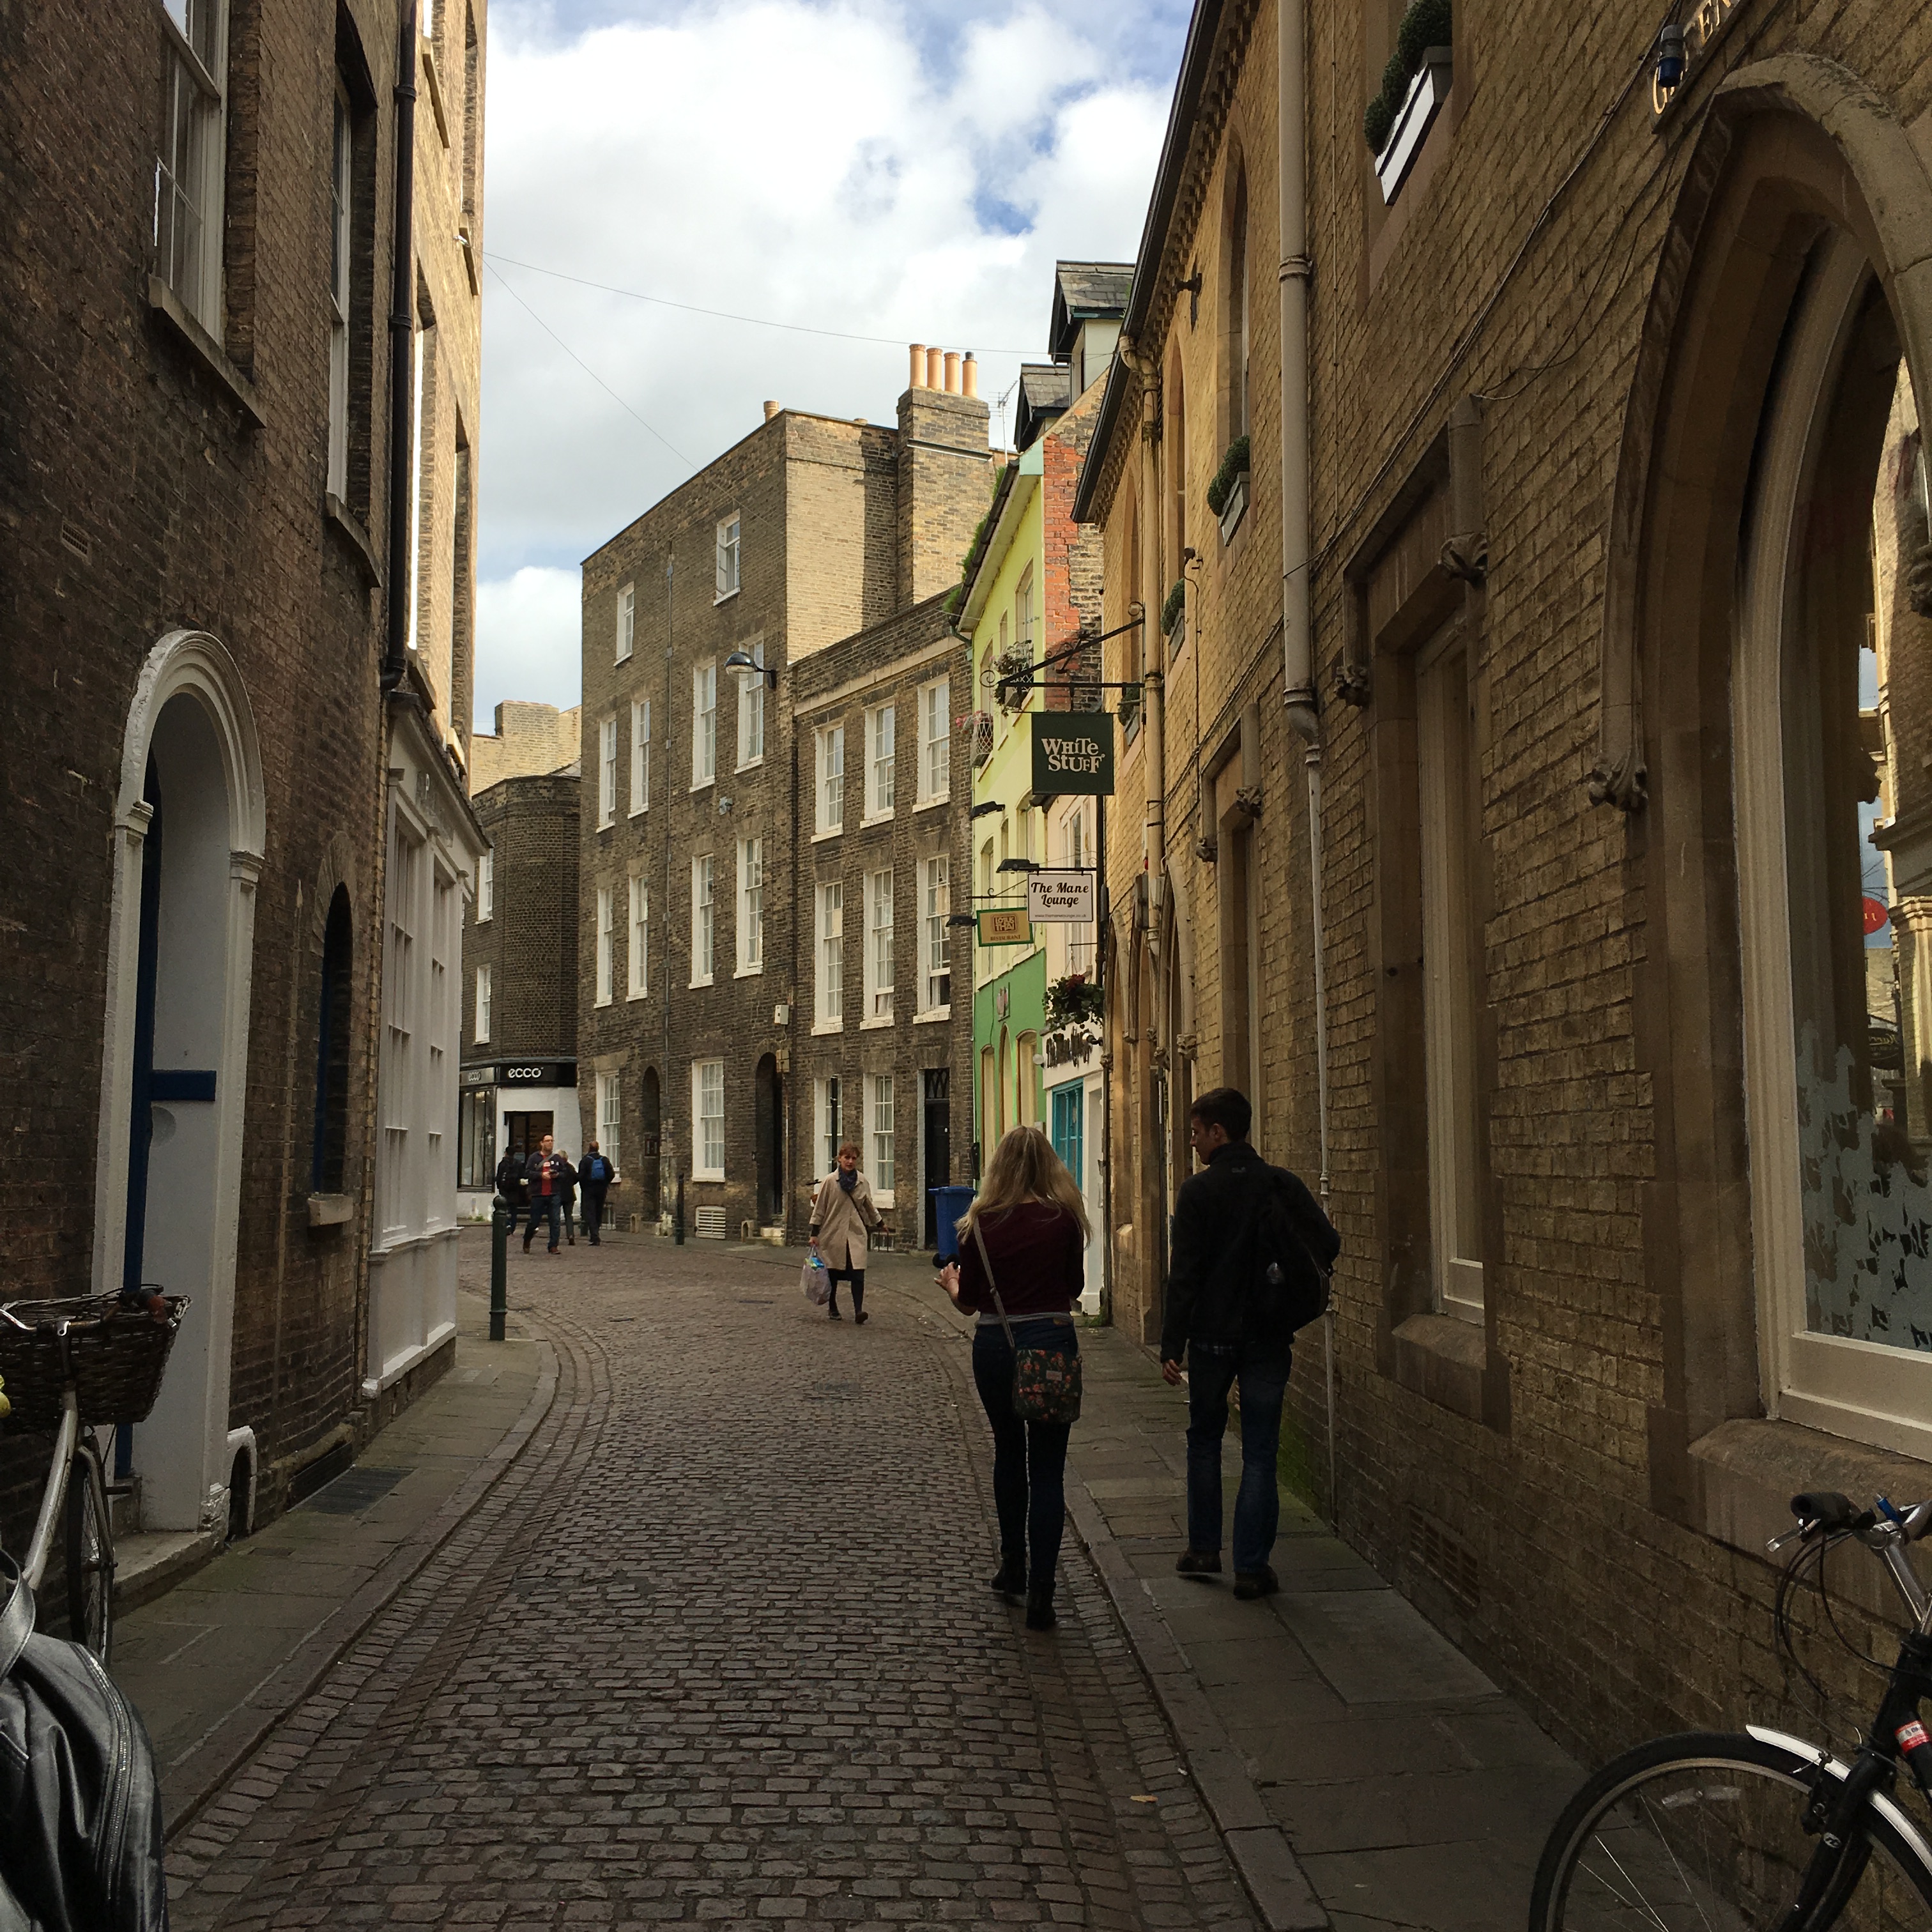
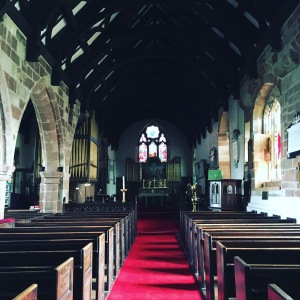


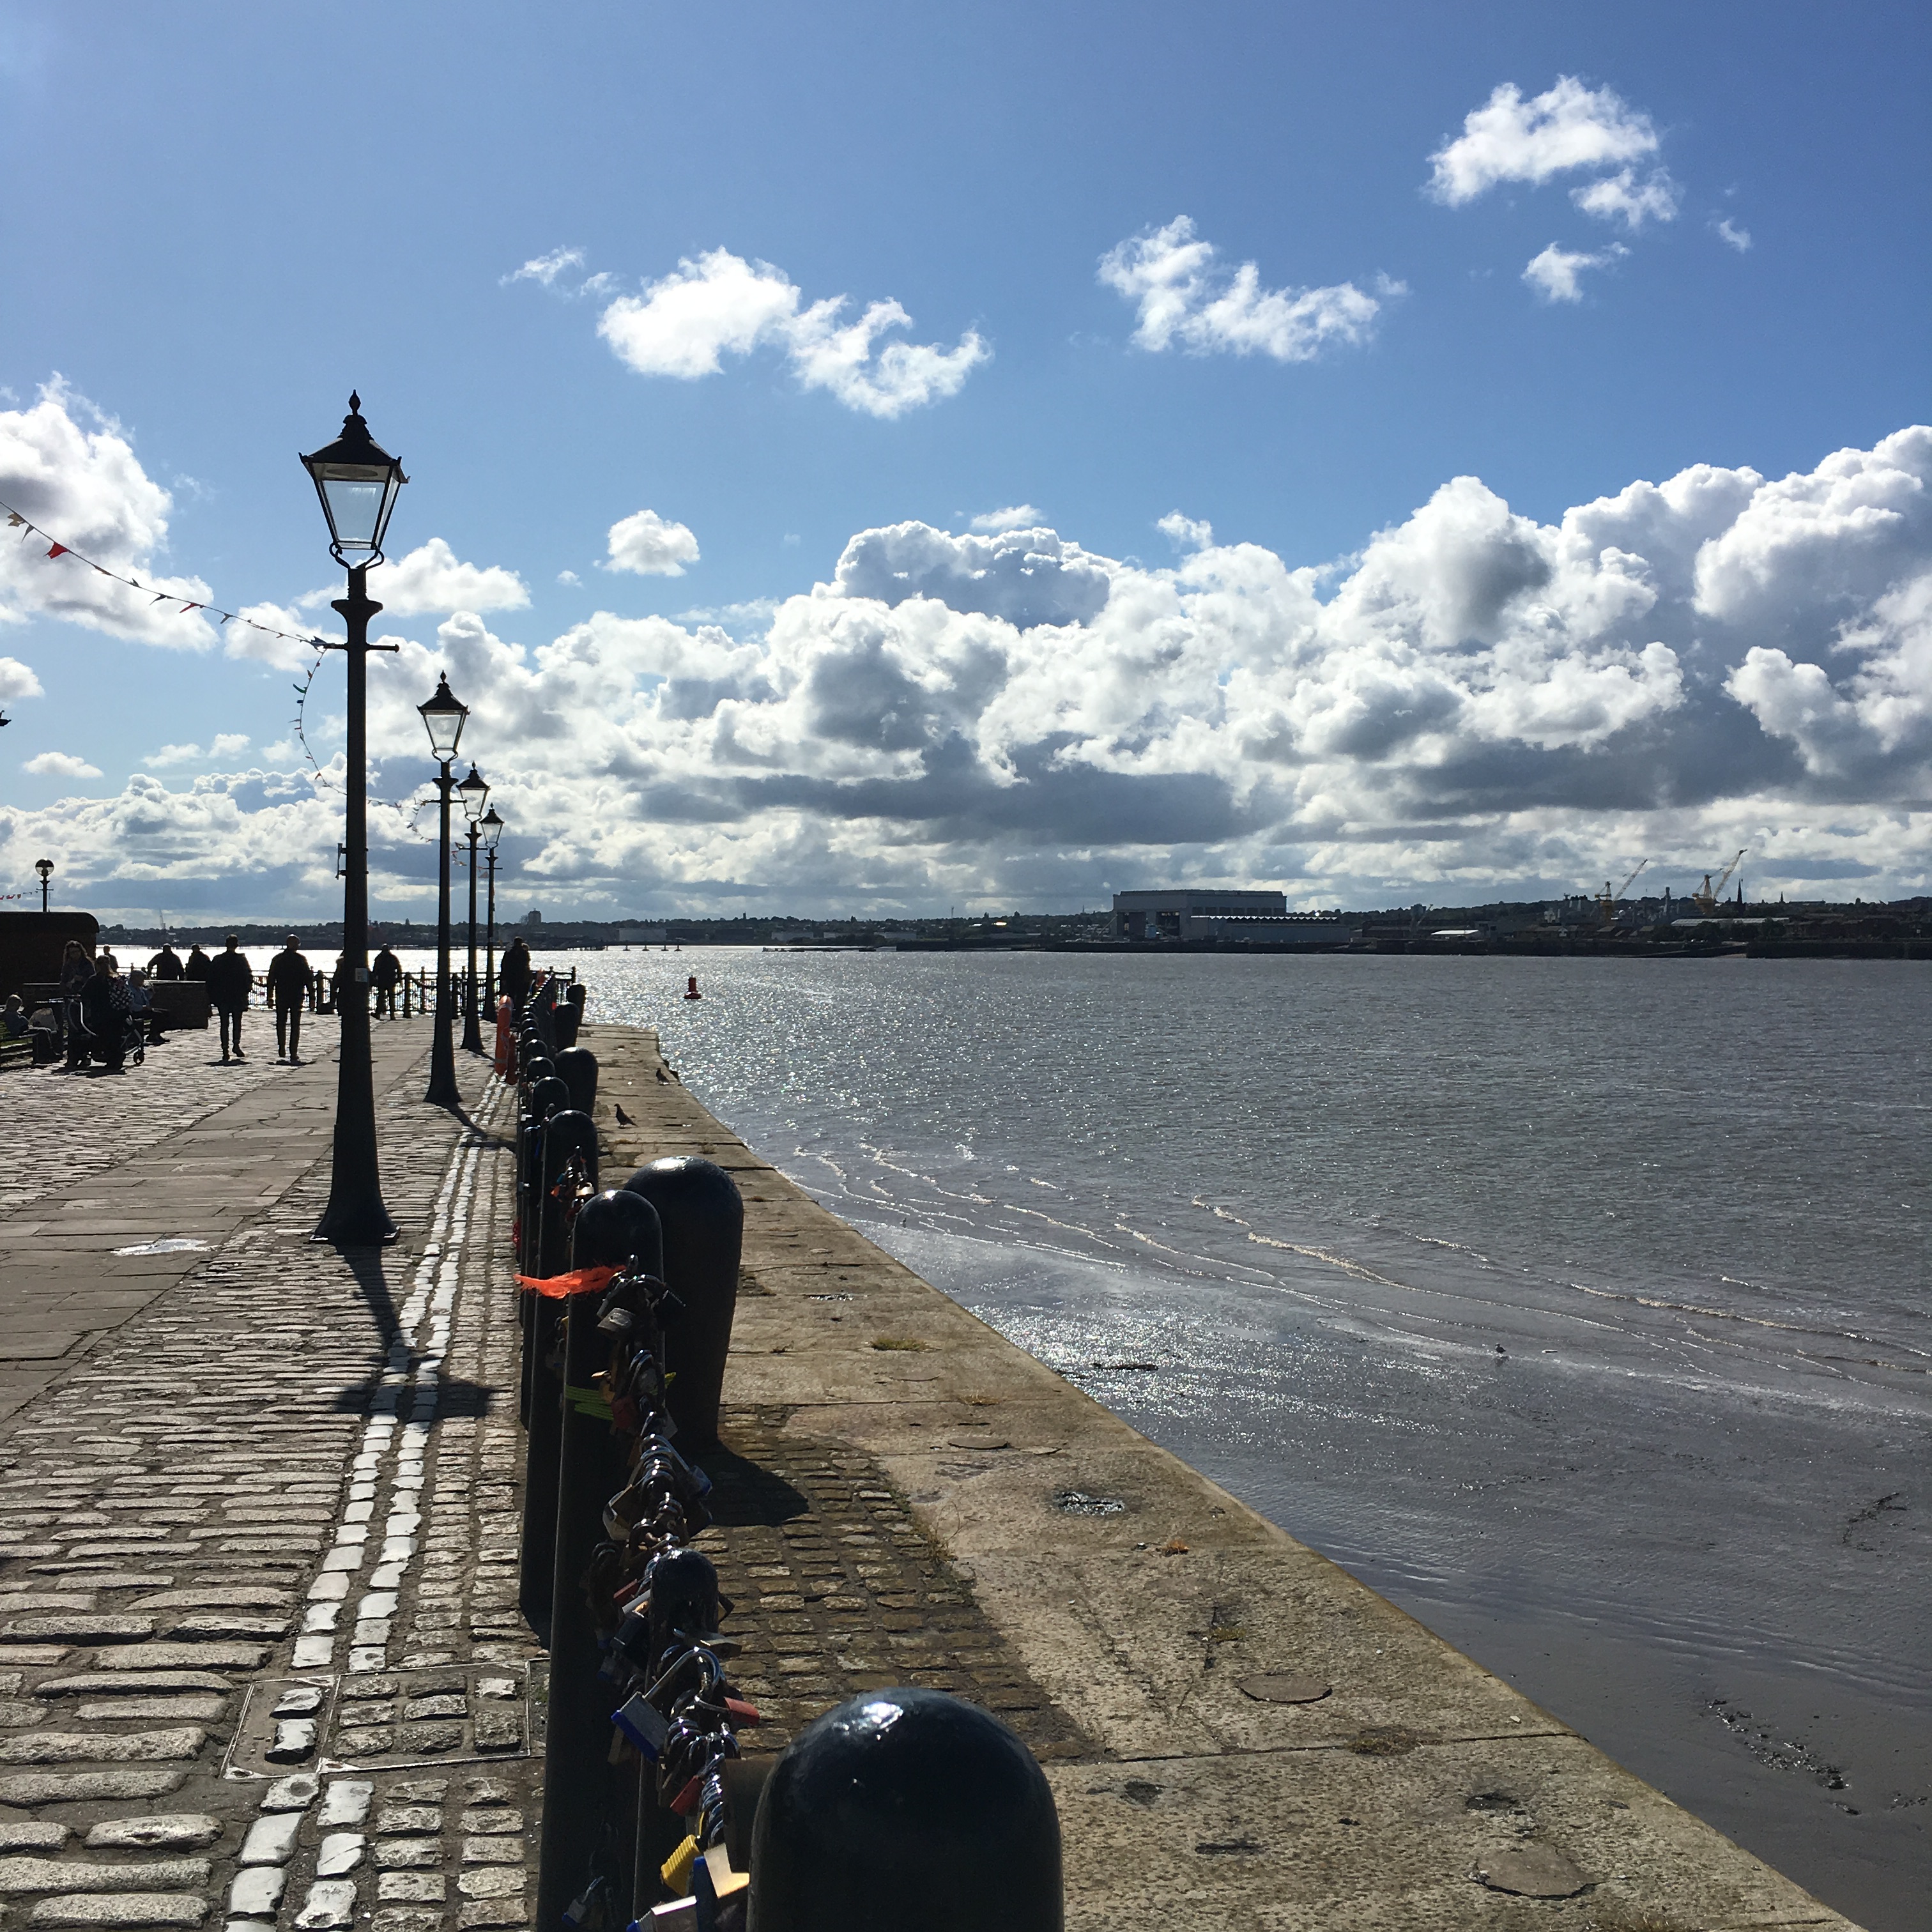
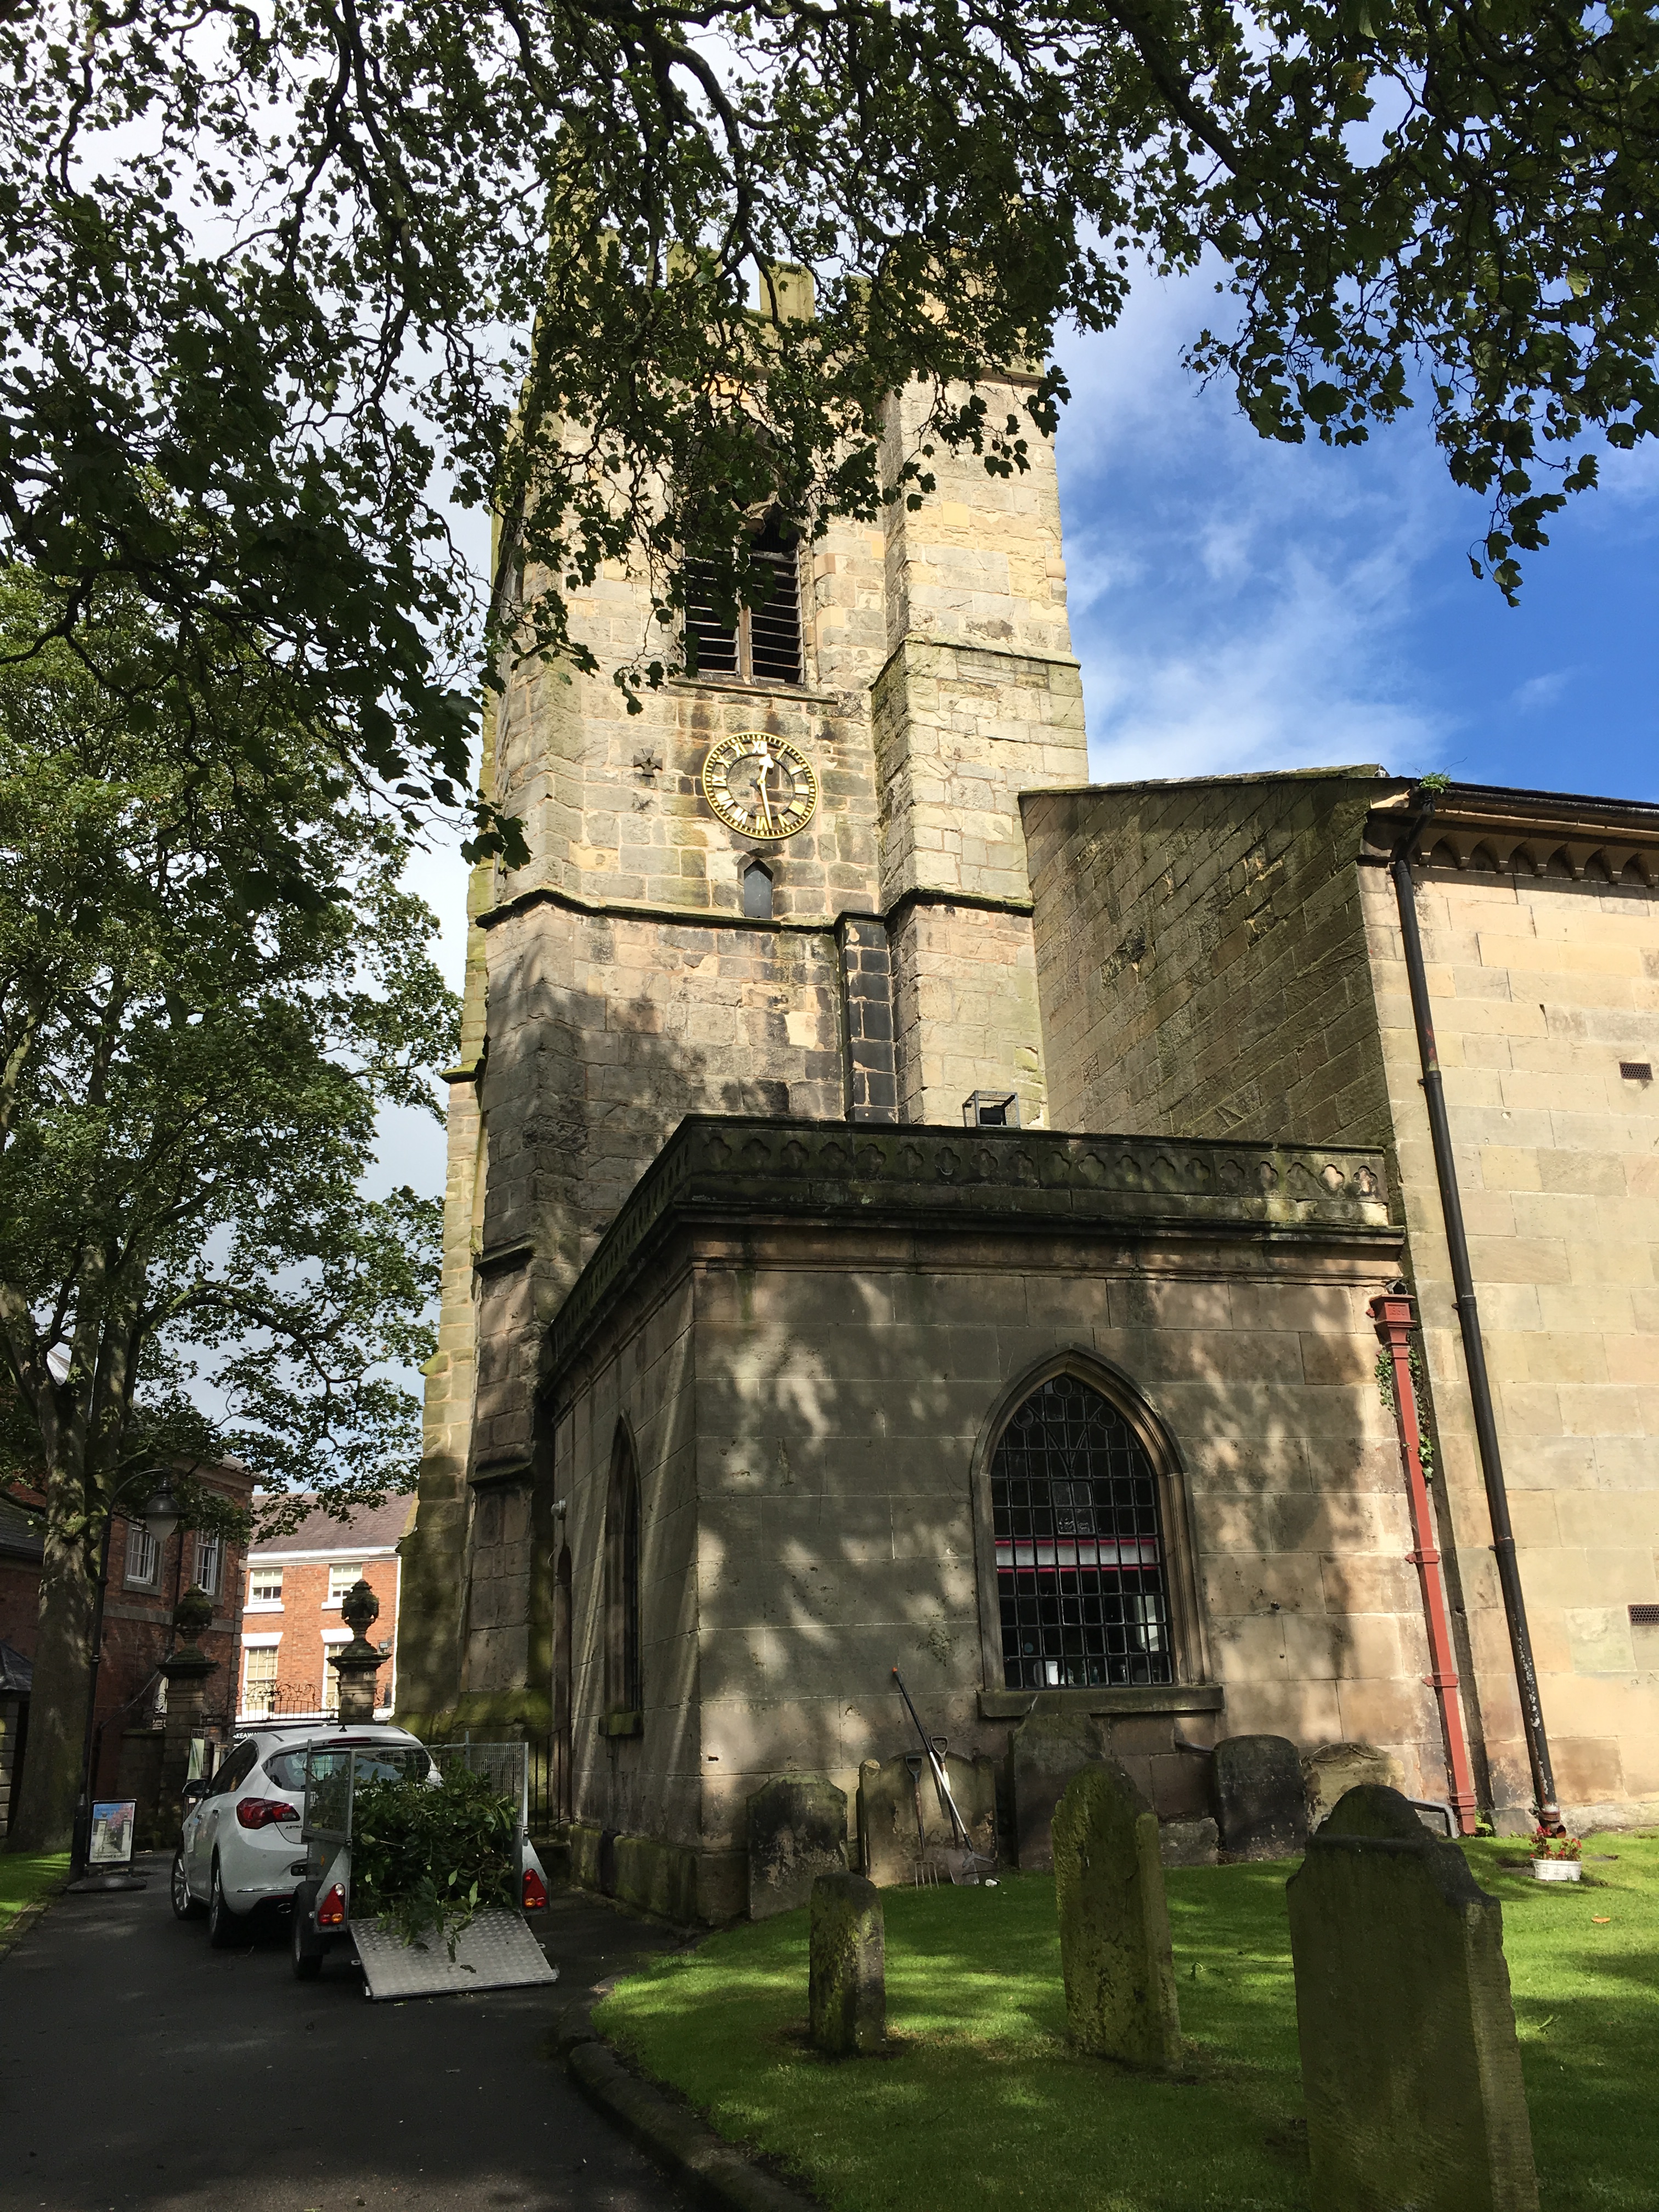
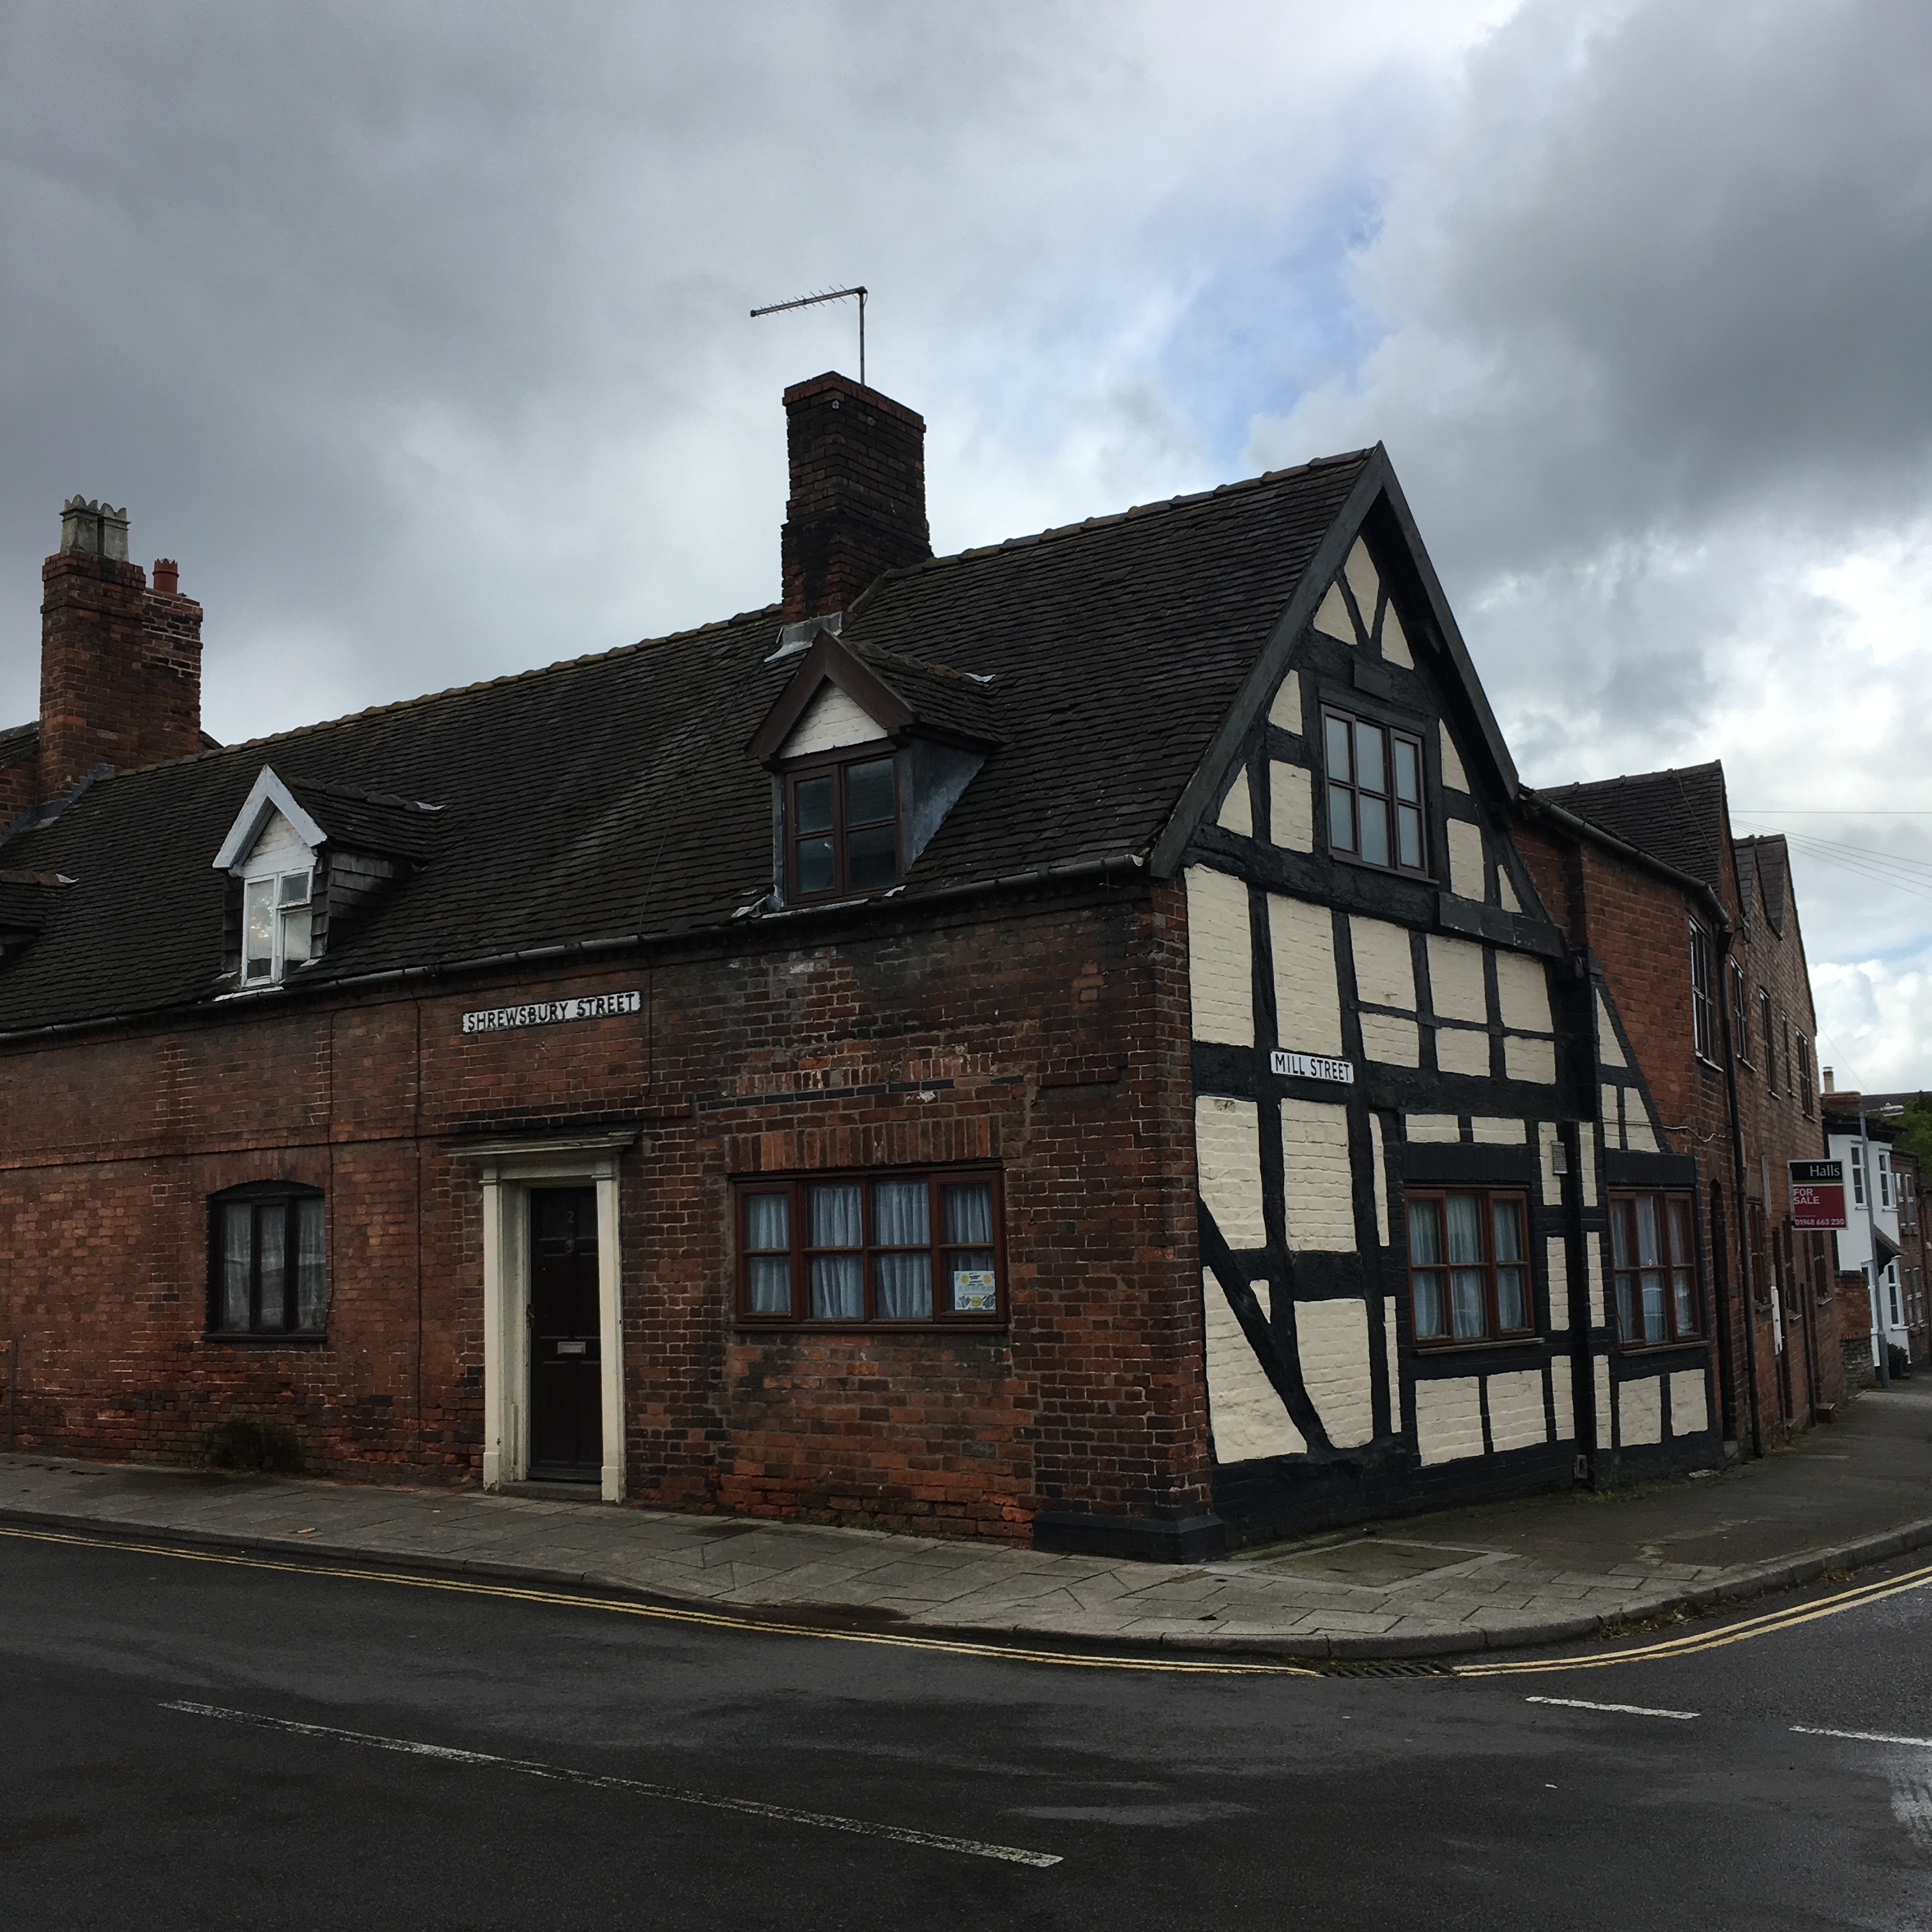

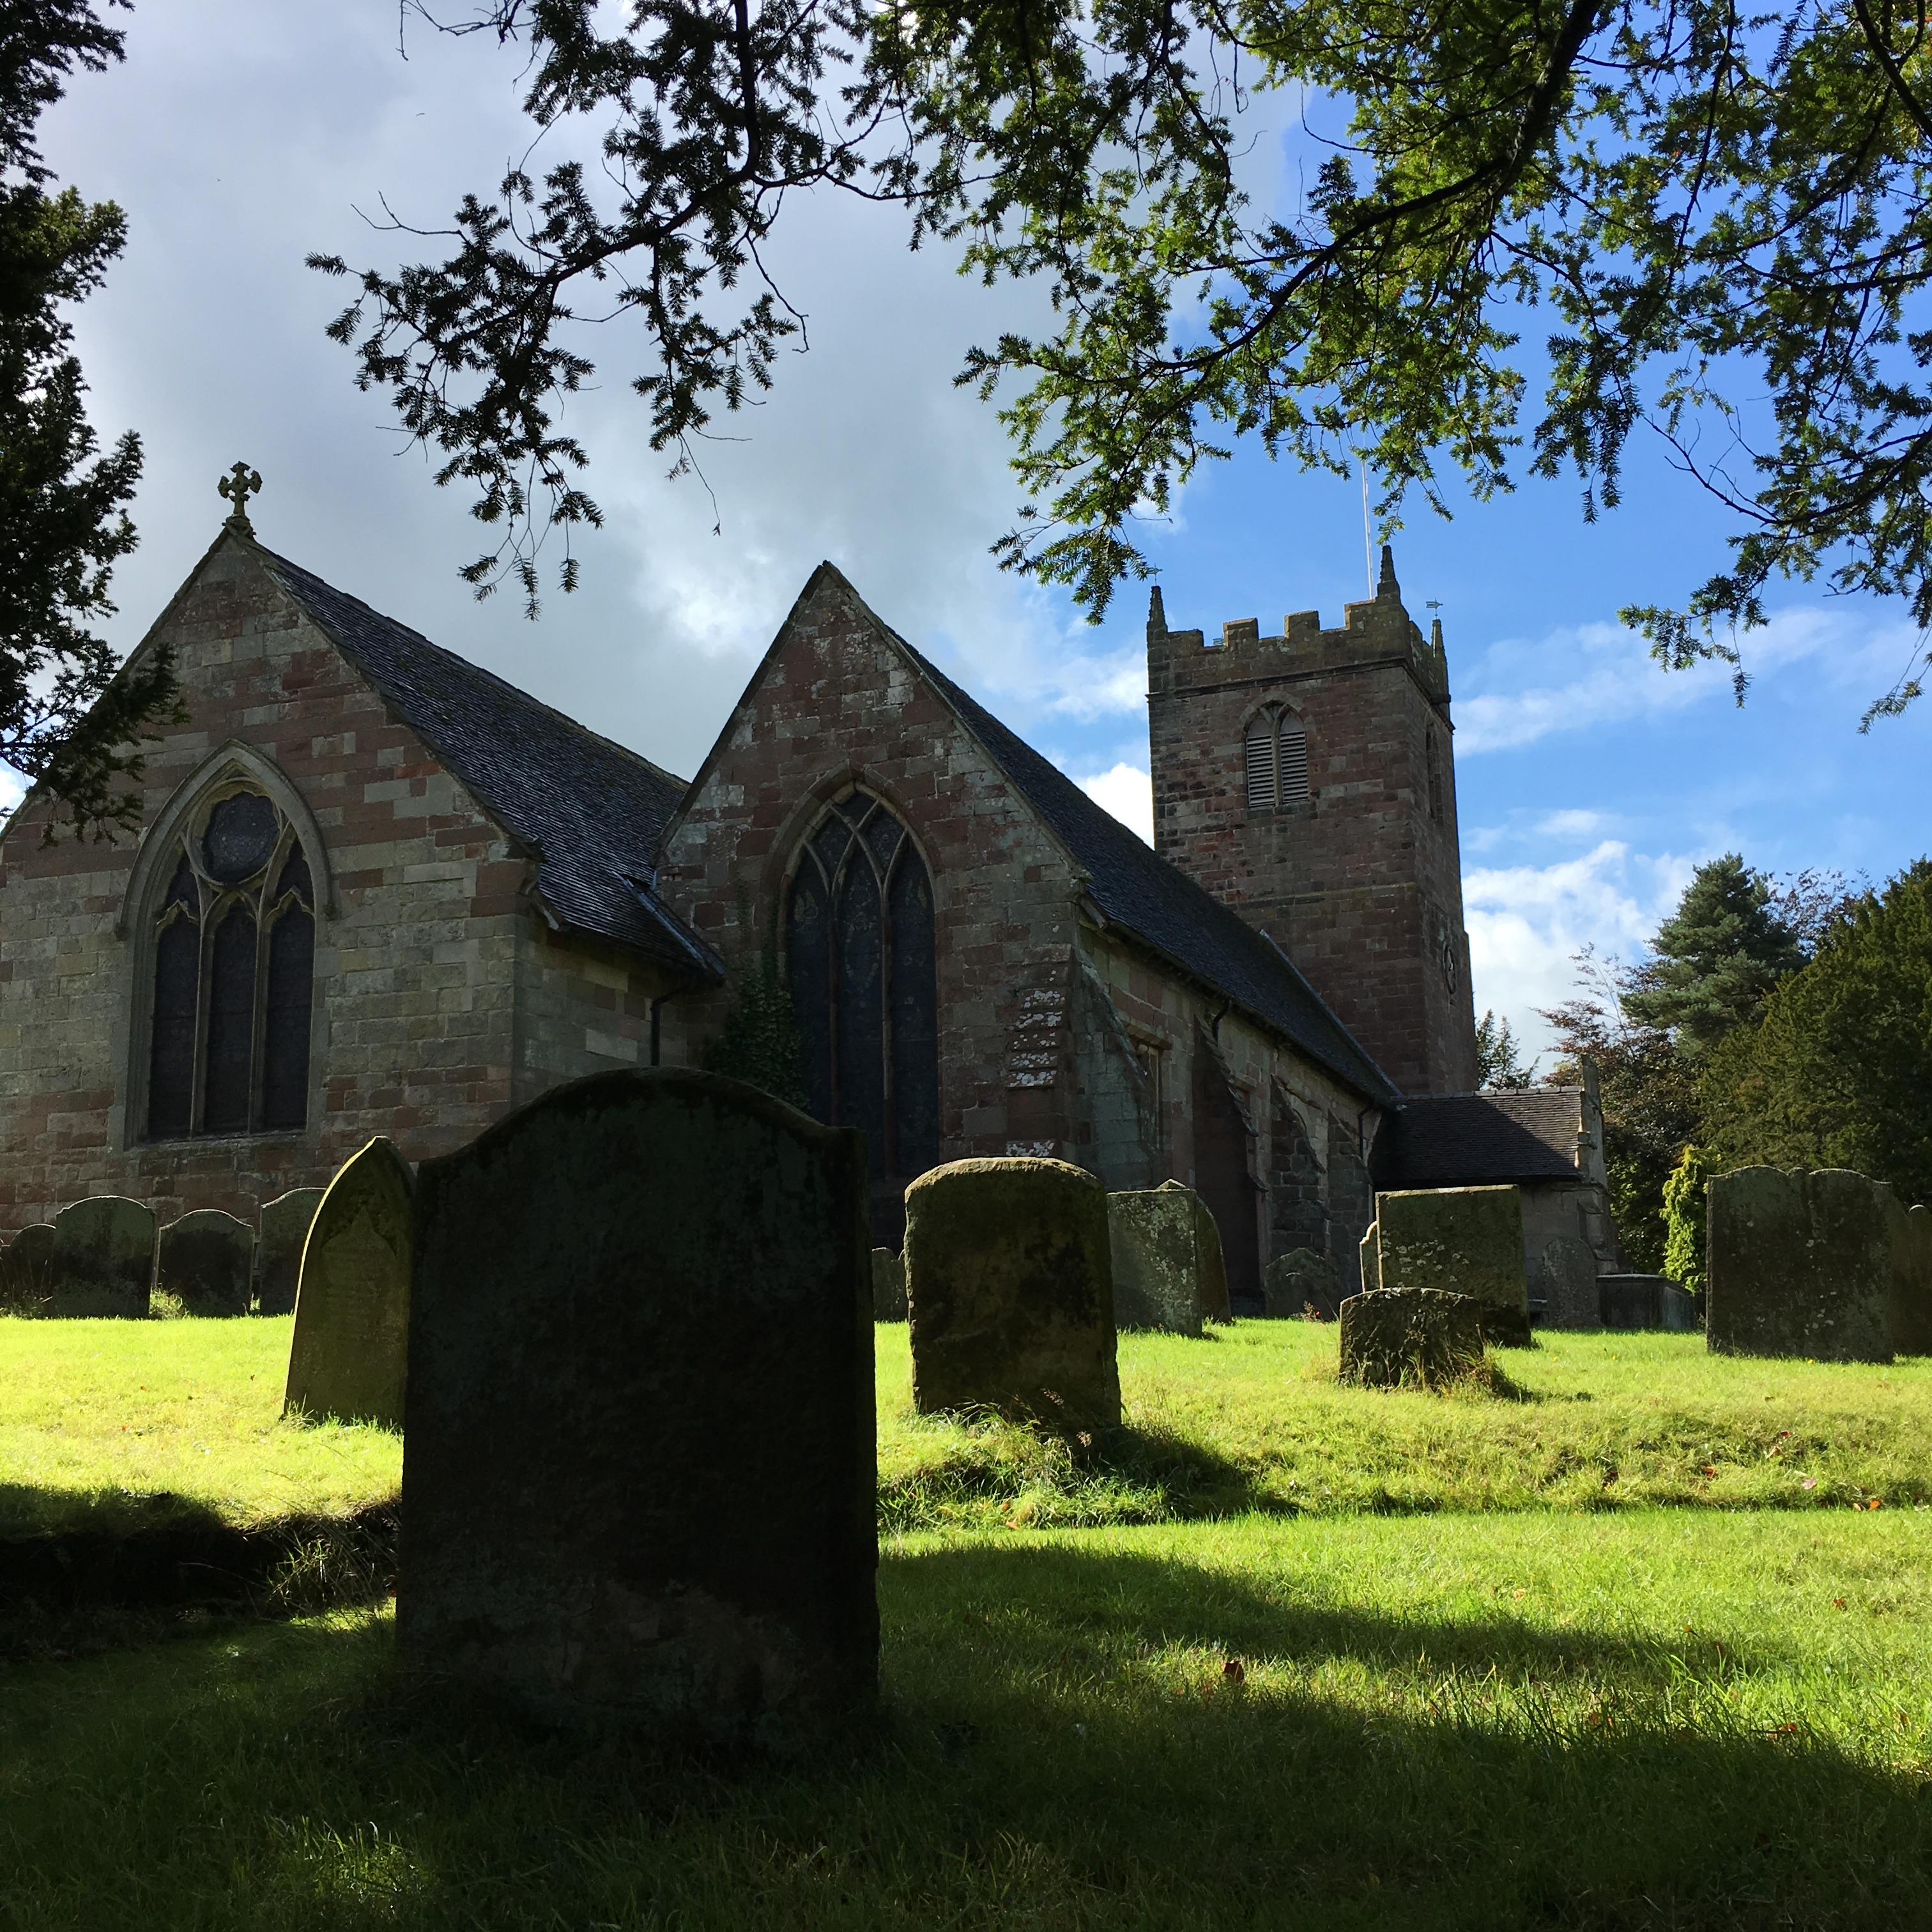
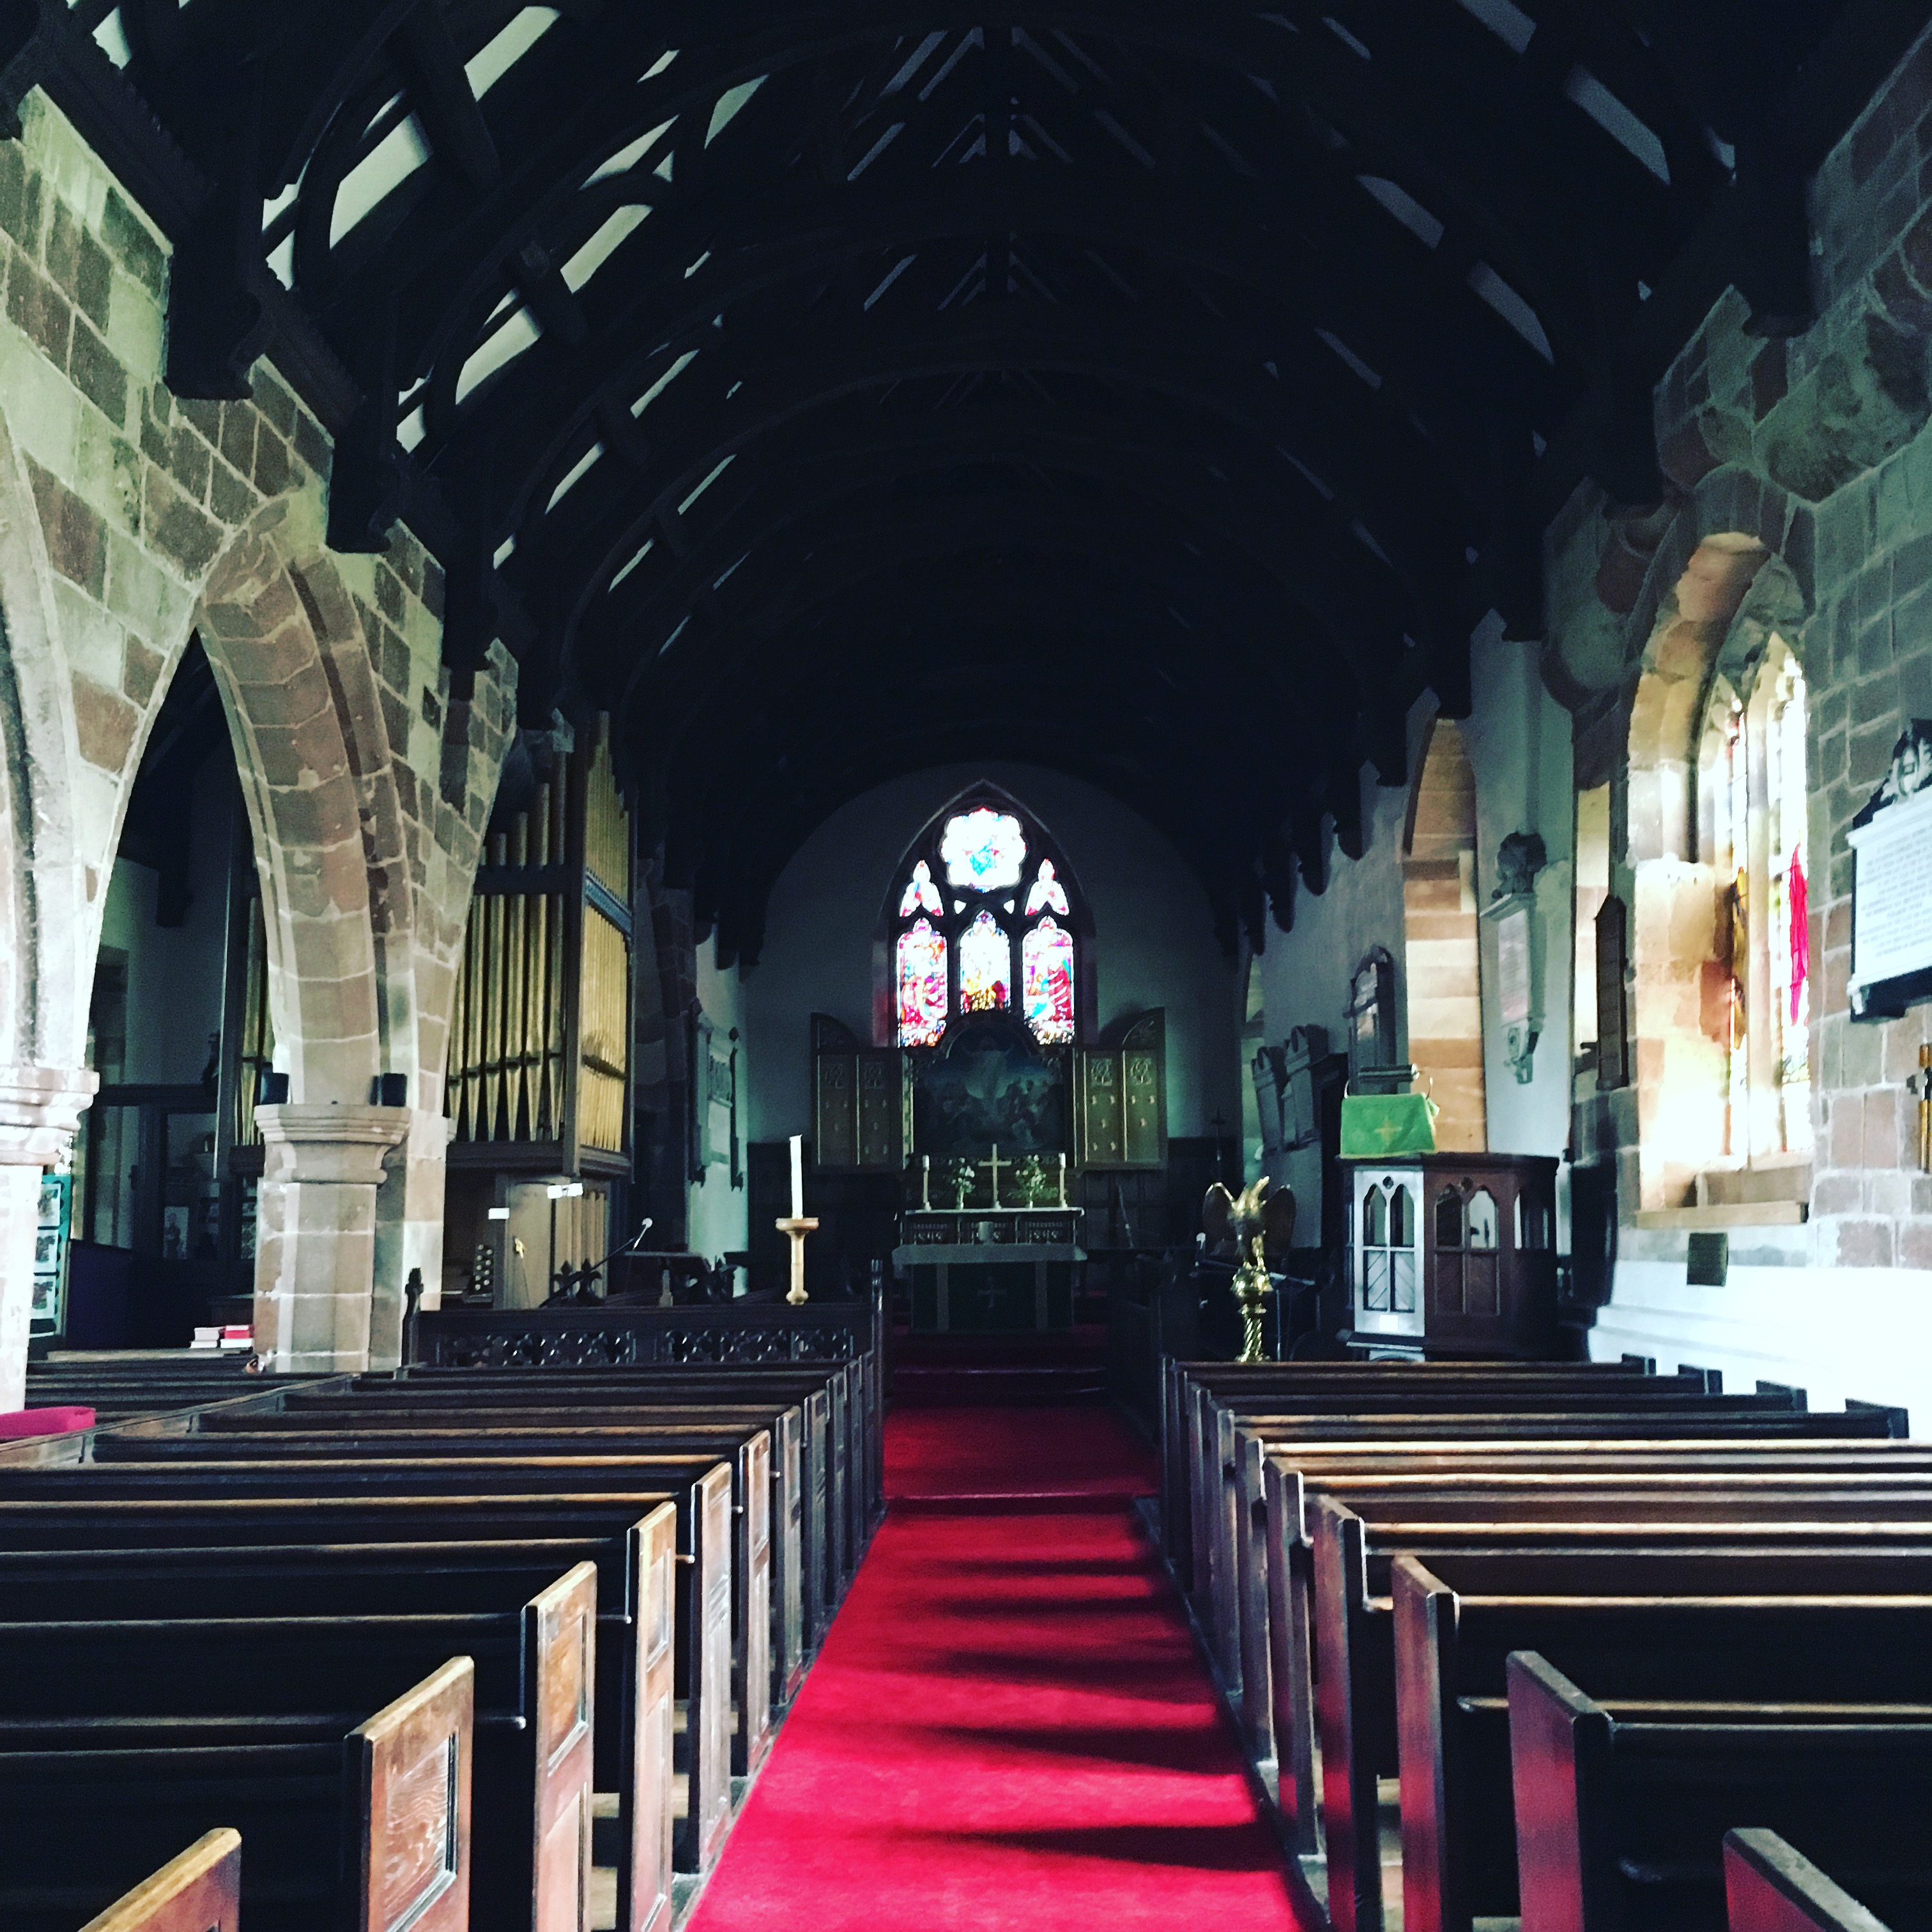
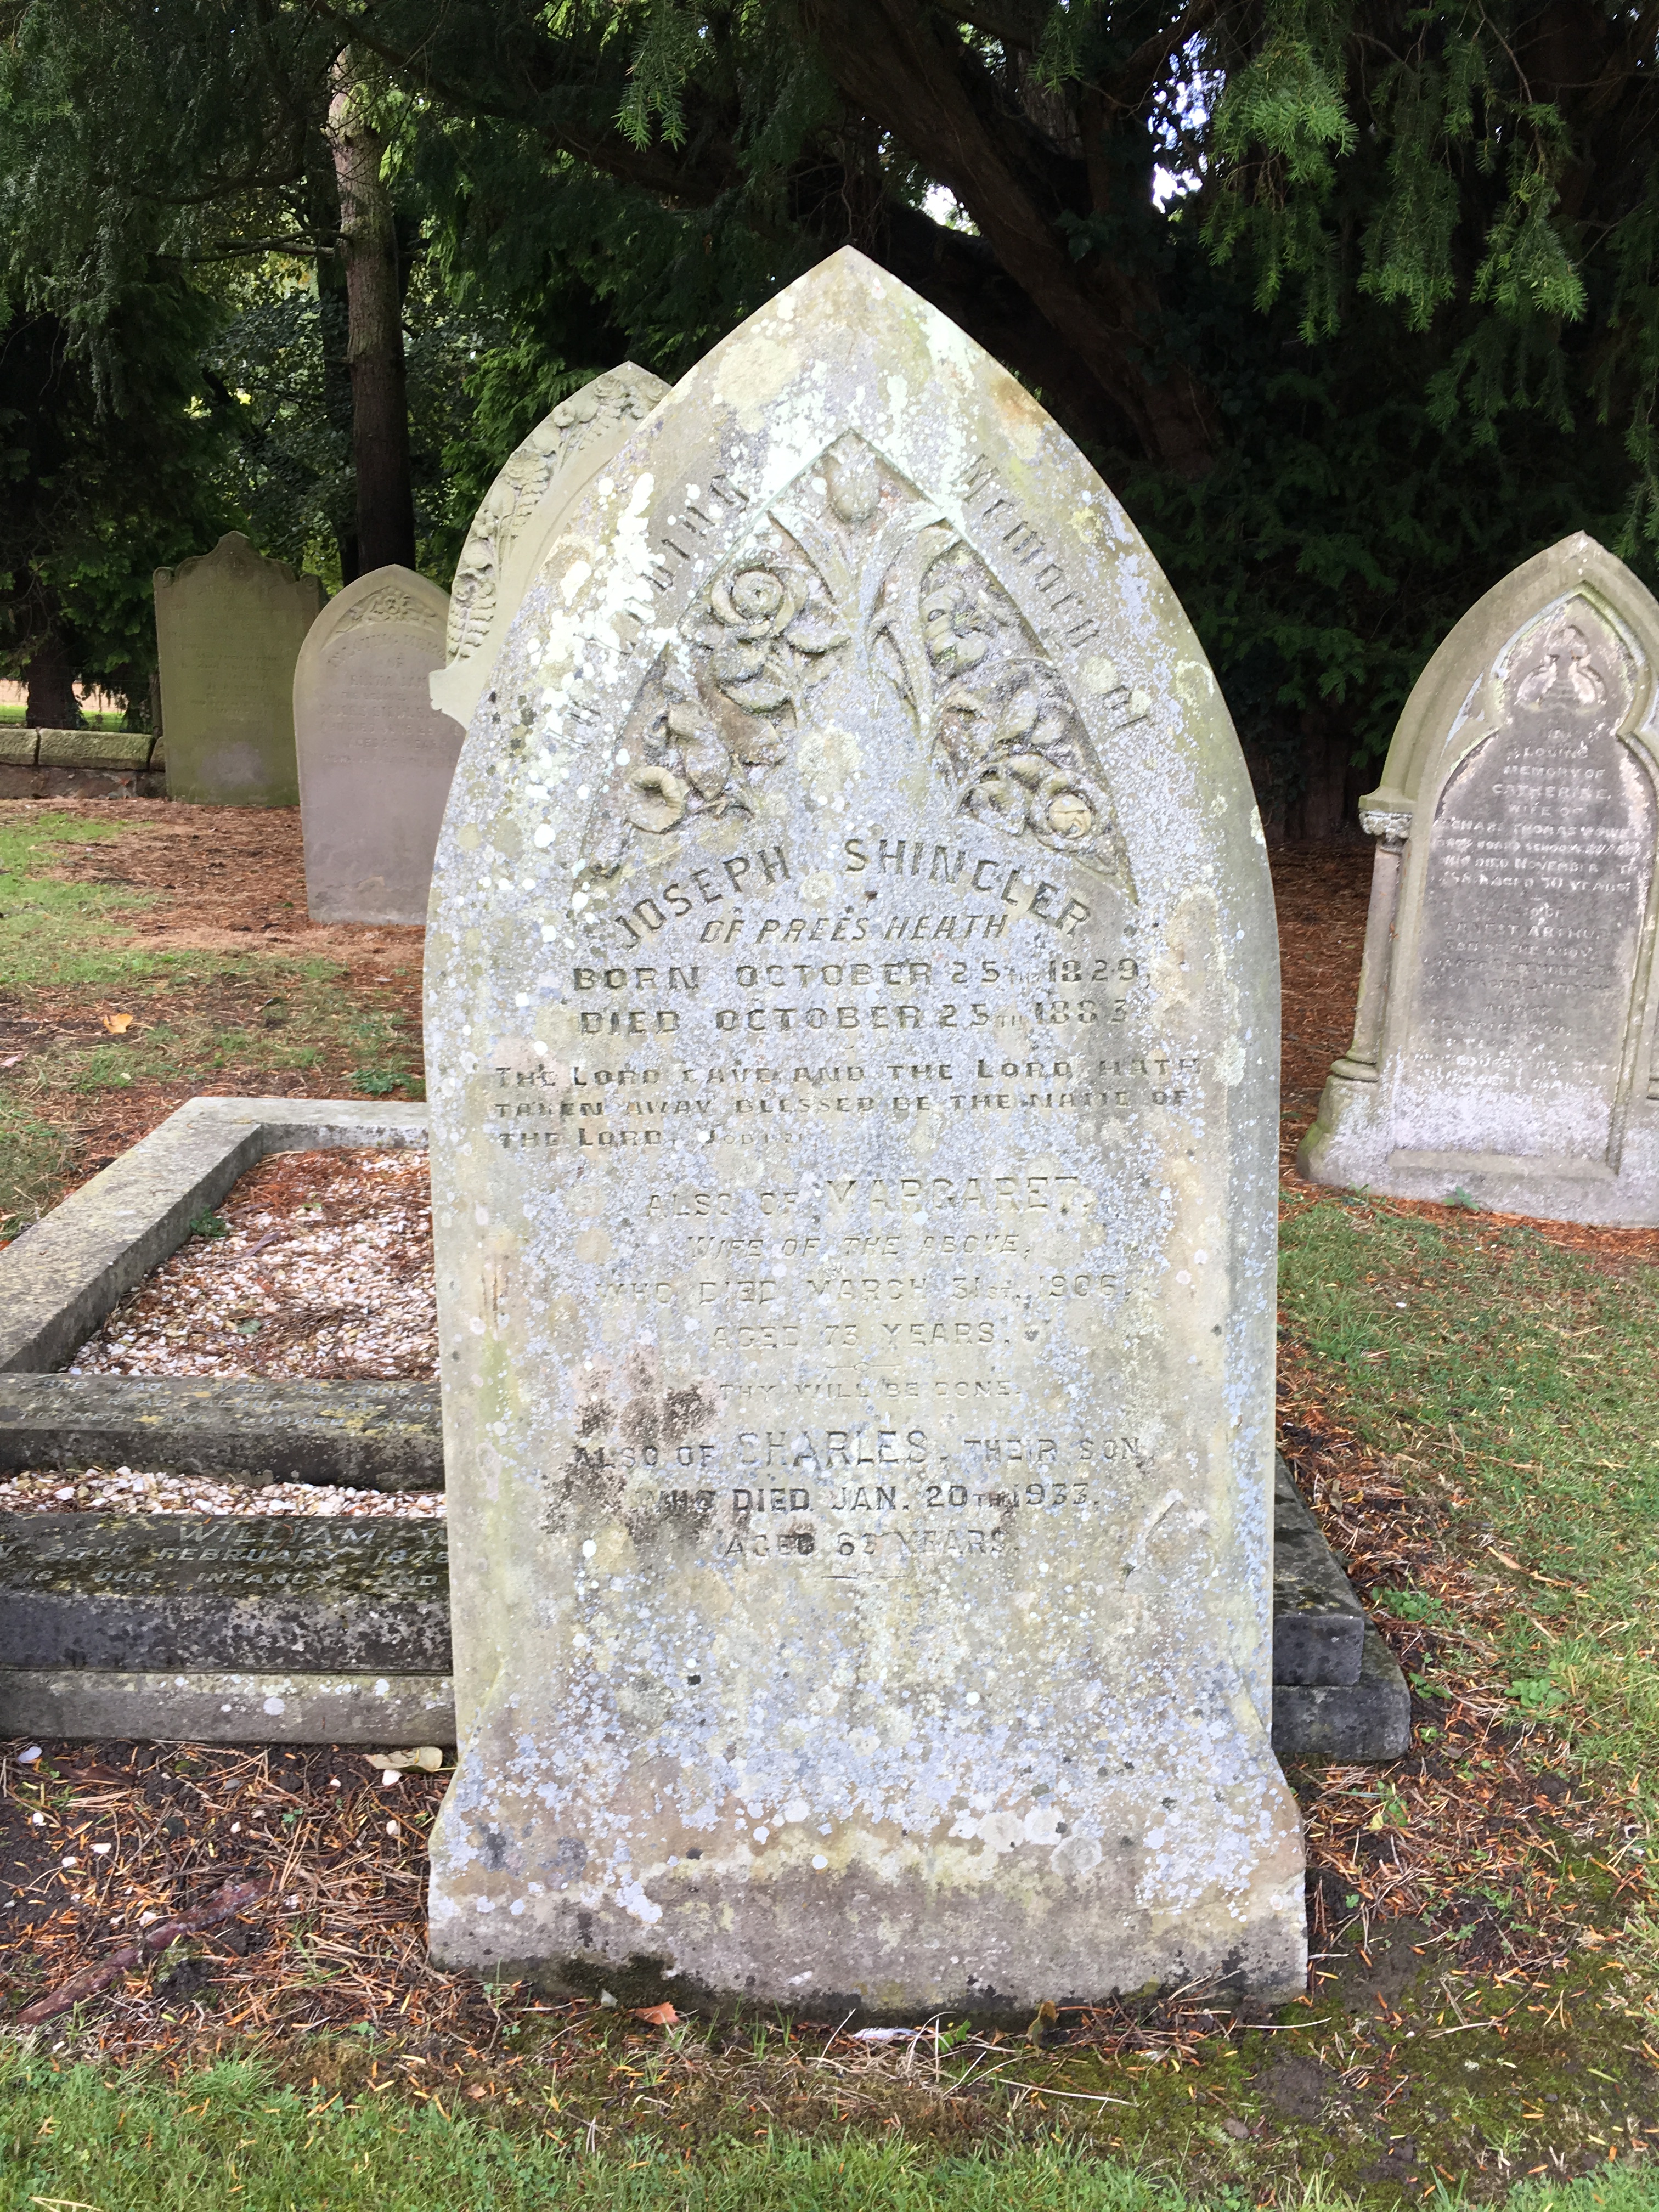
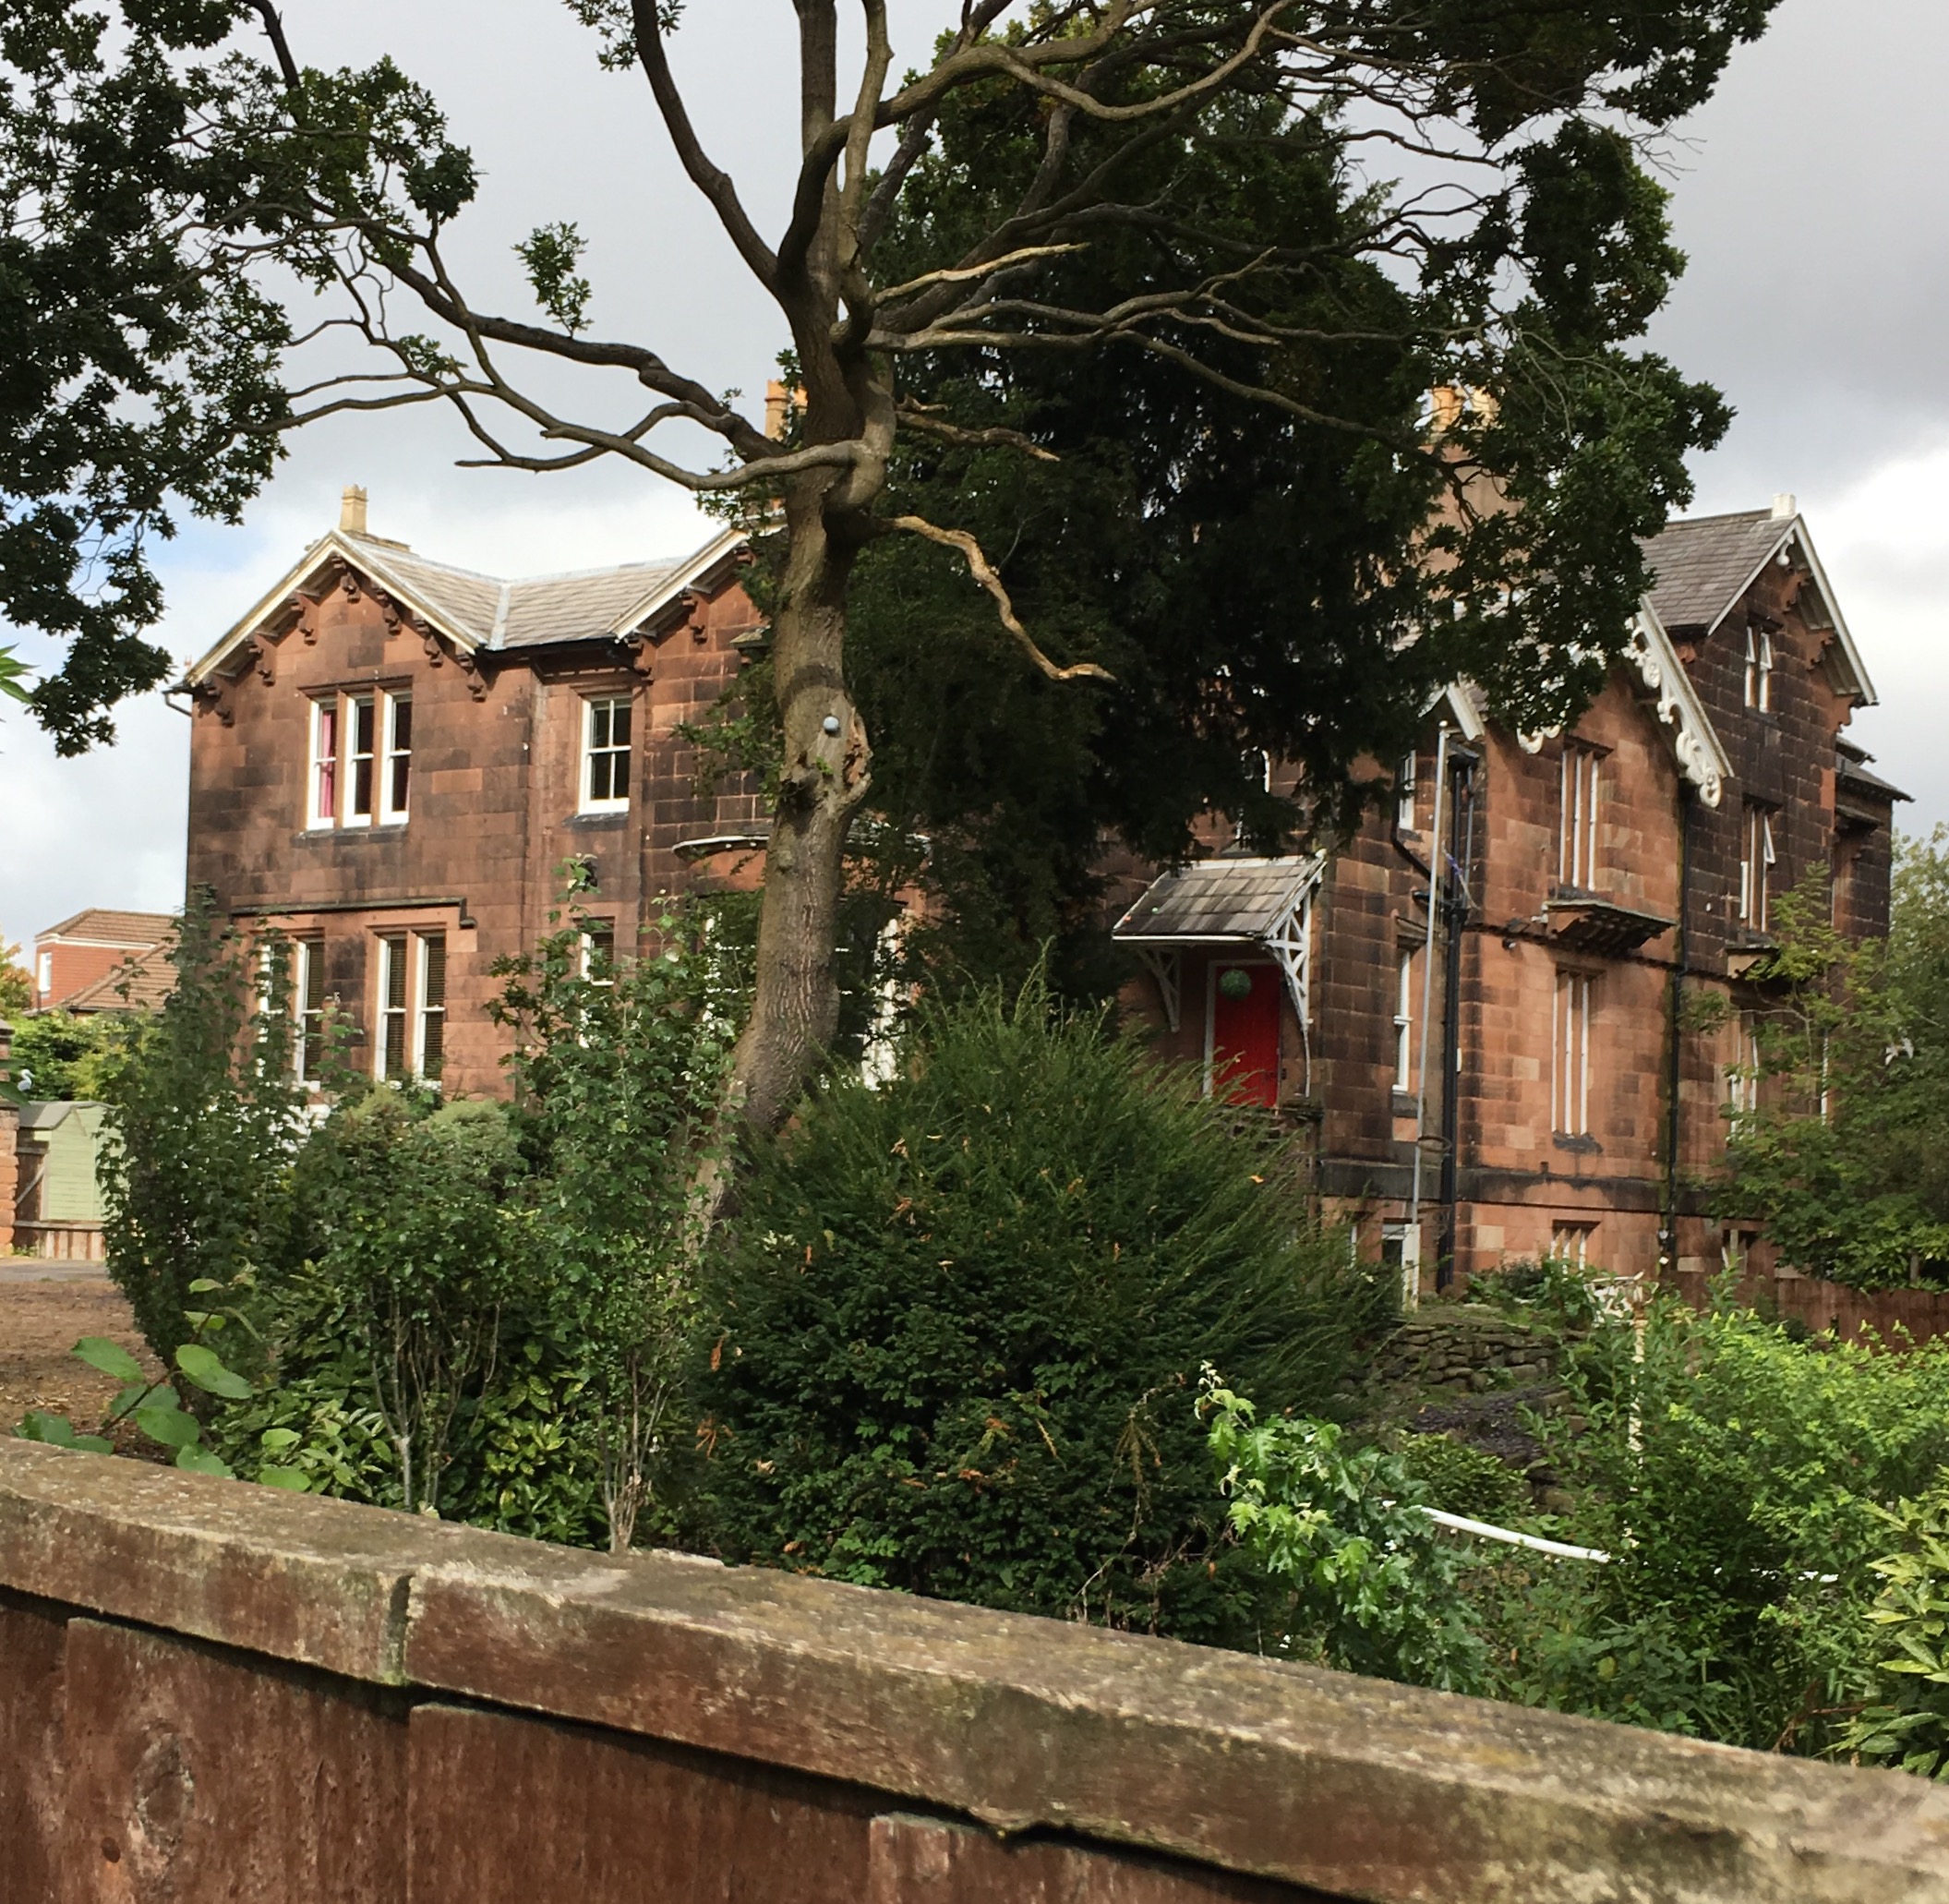
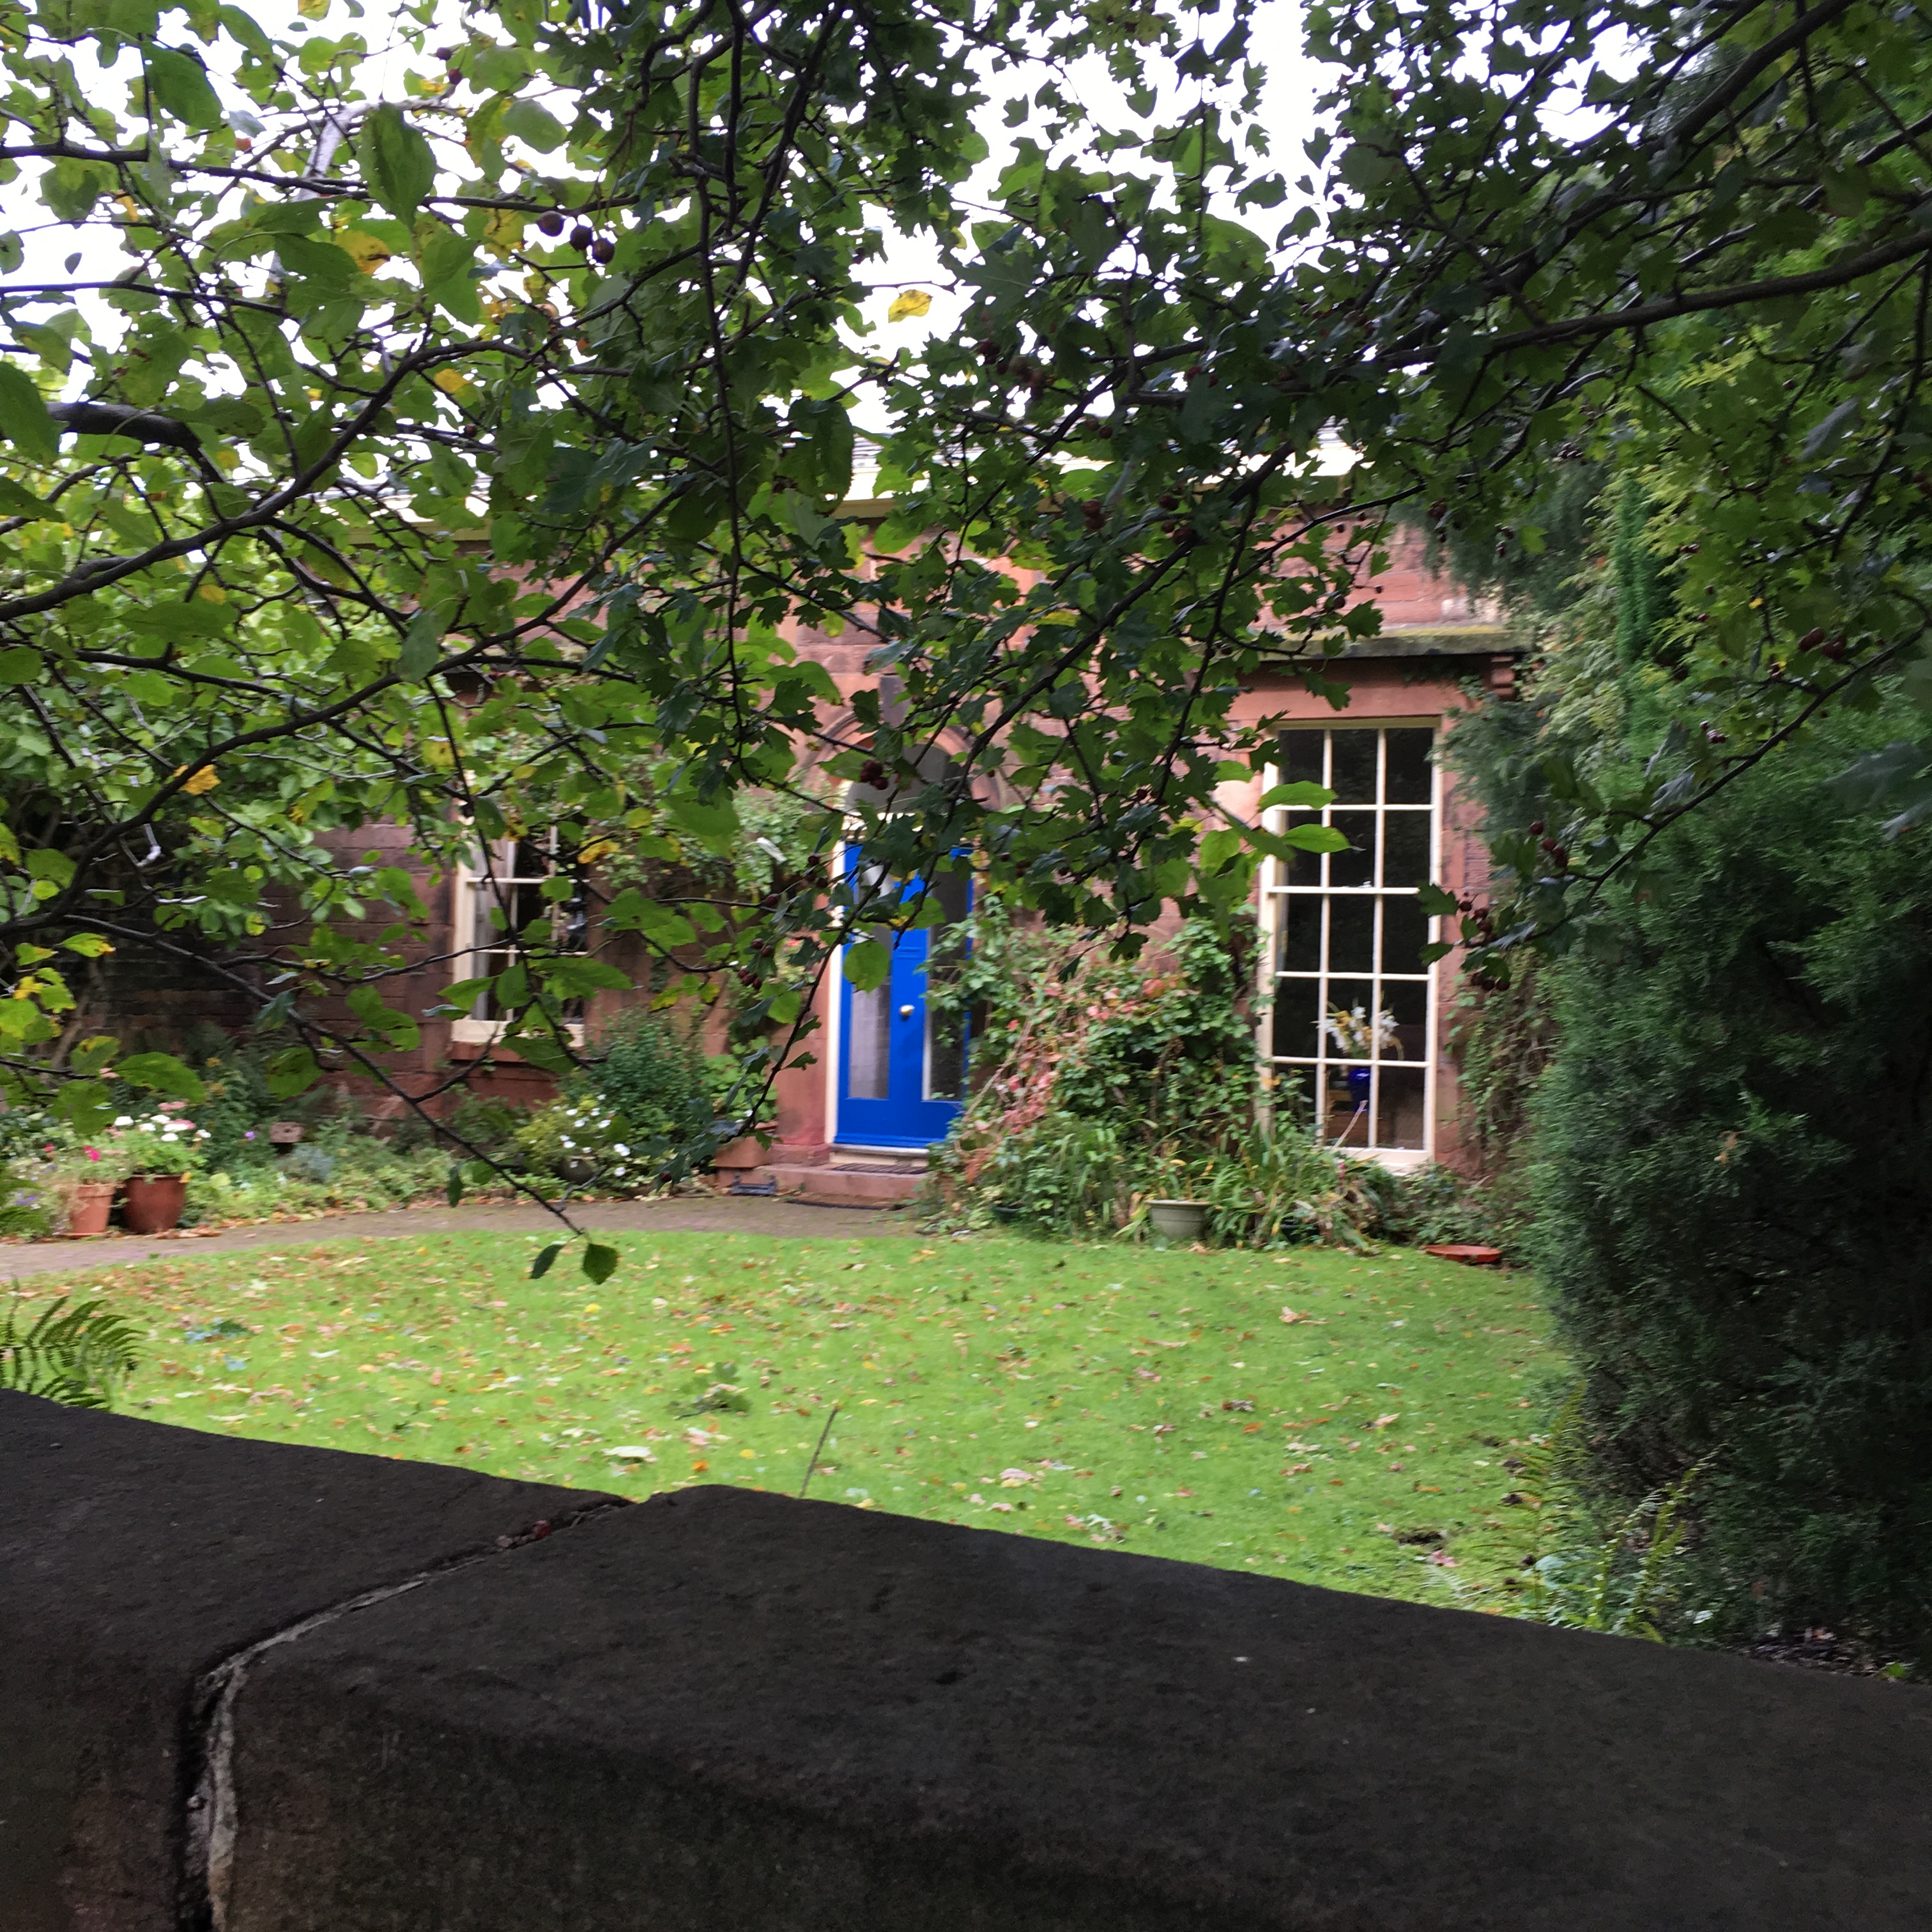

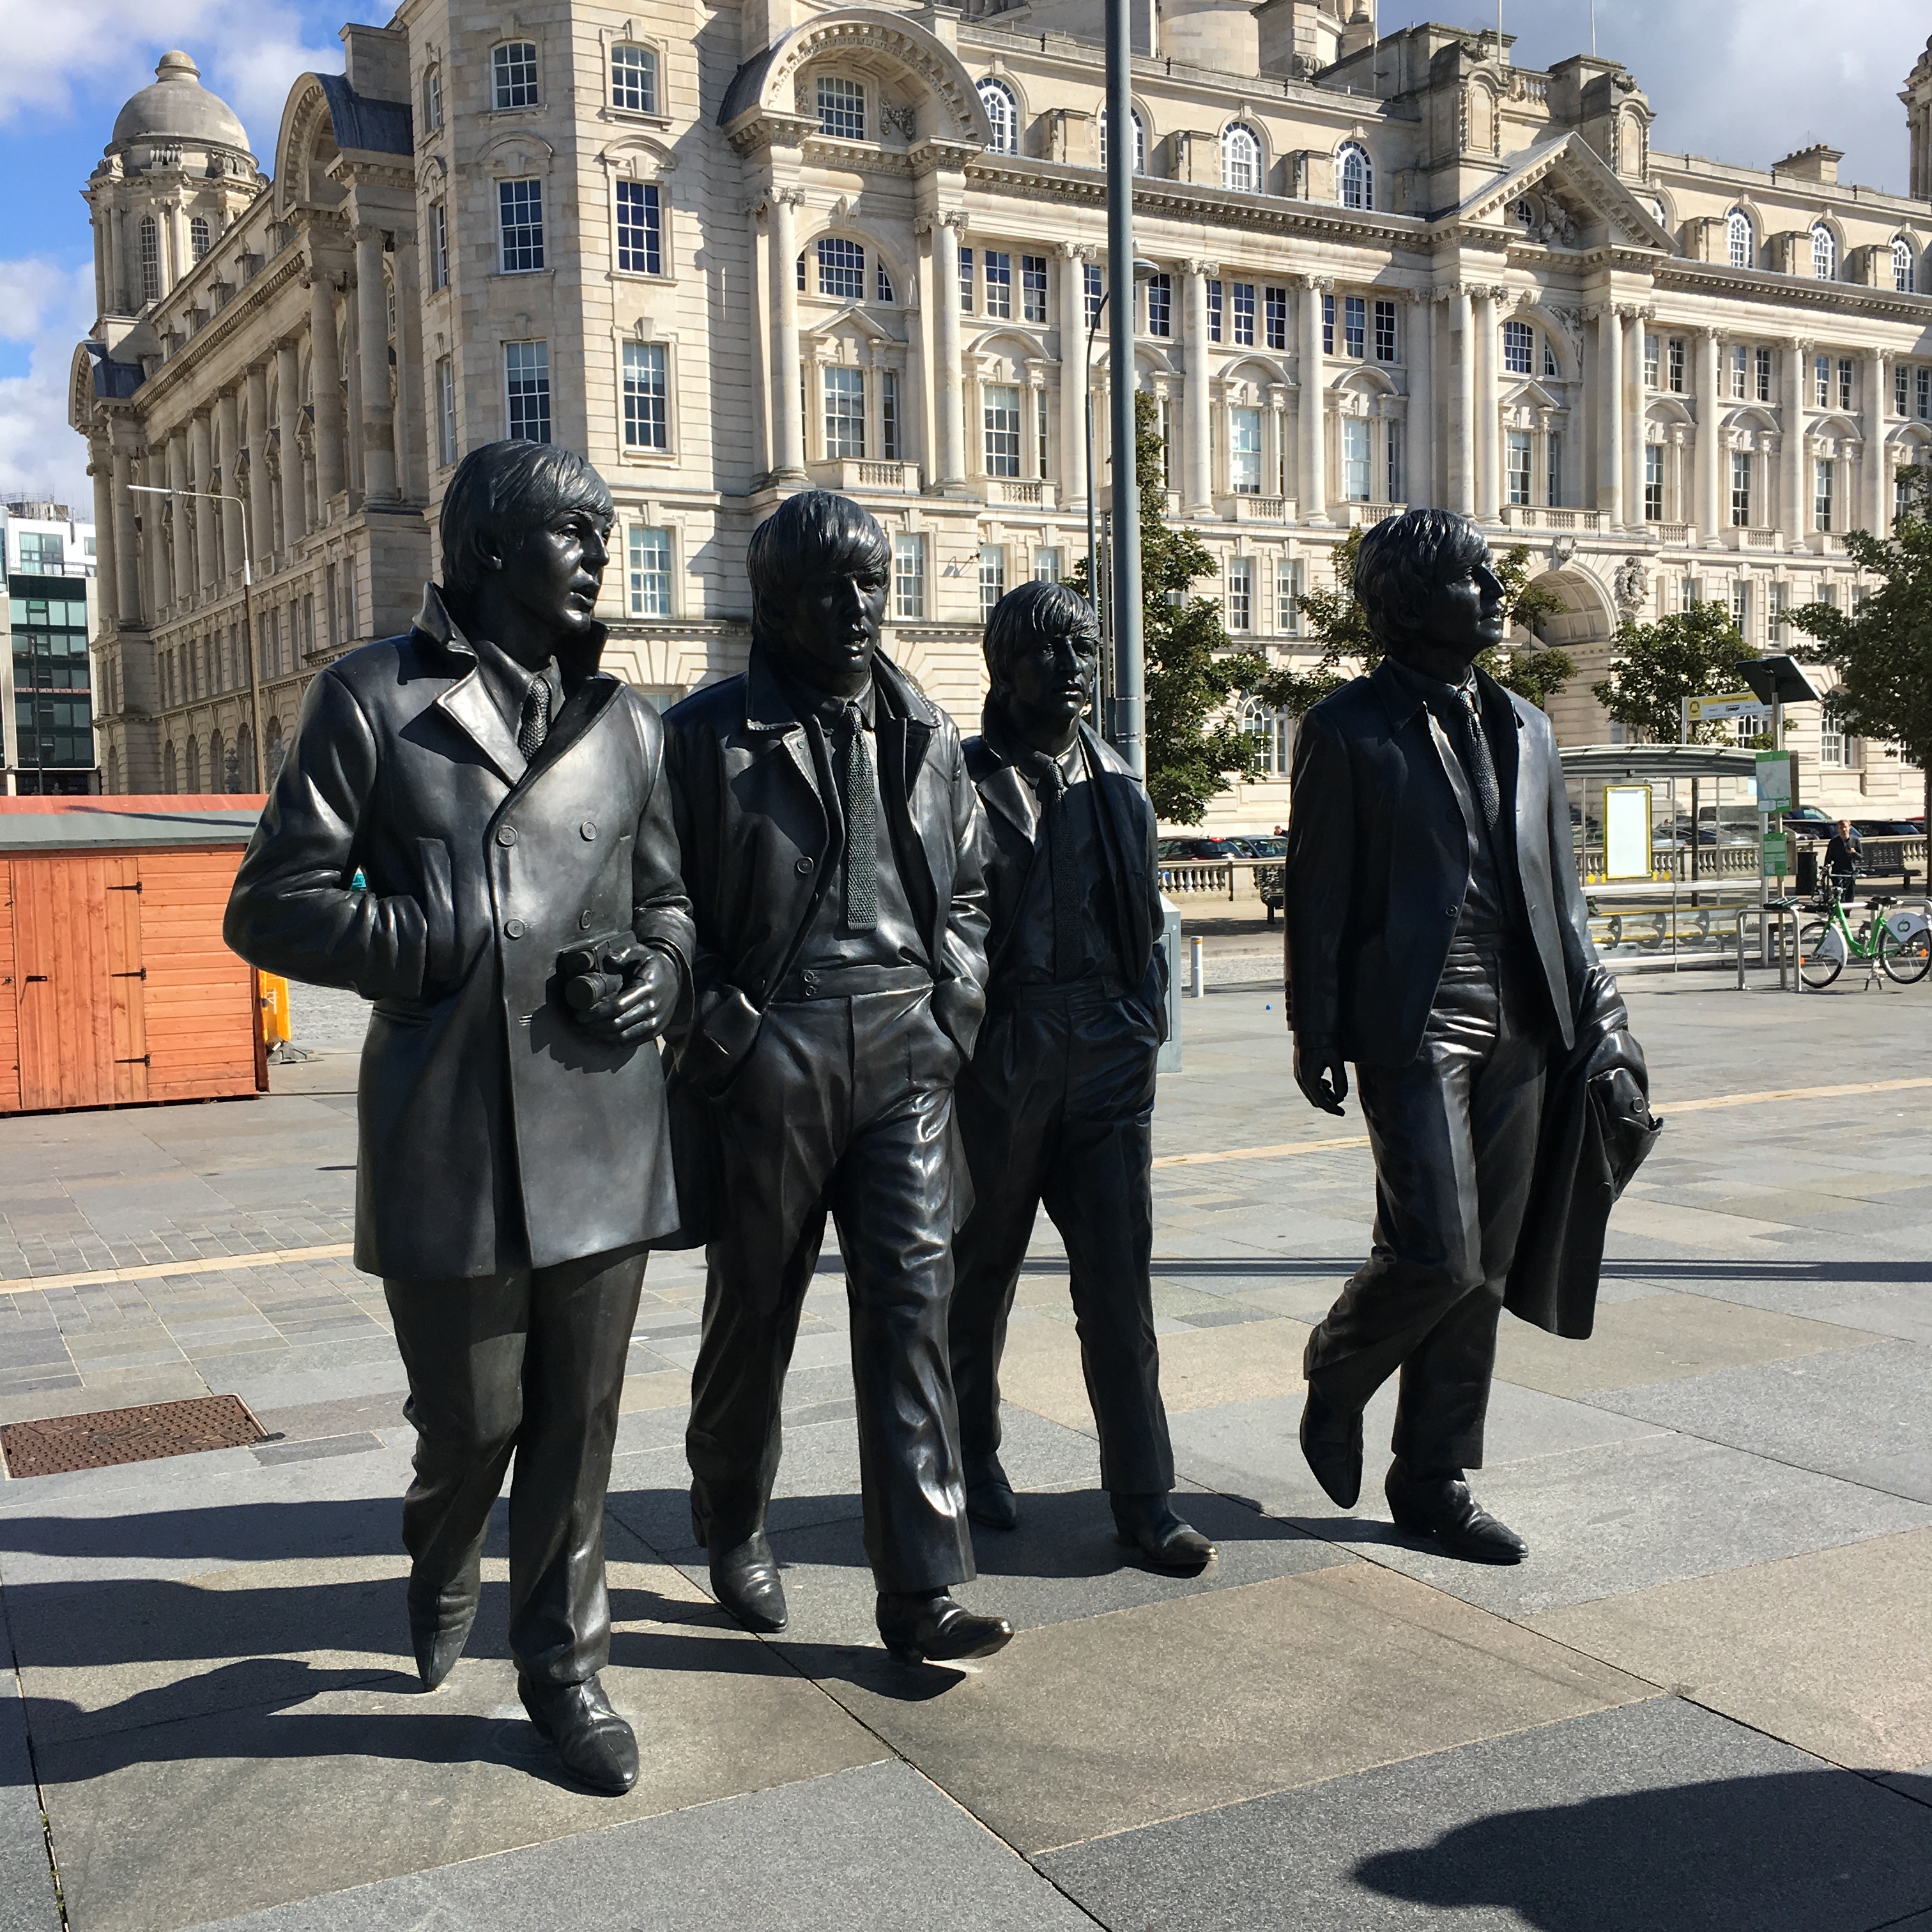
 Sept 4-13, 2017
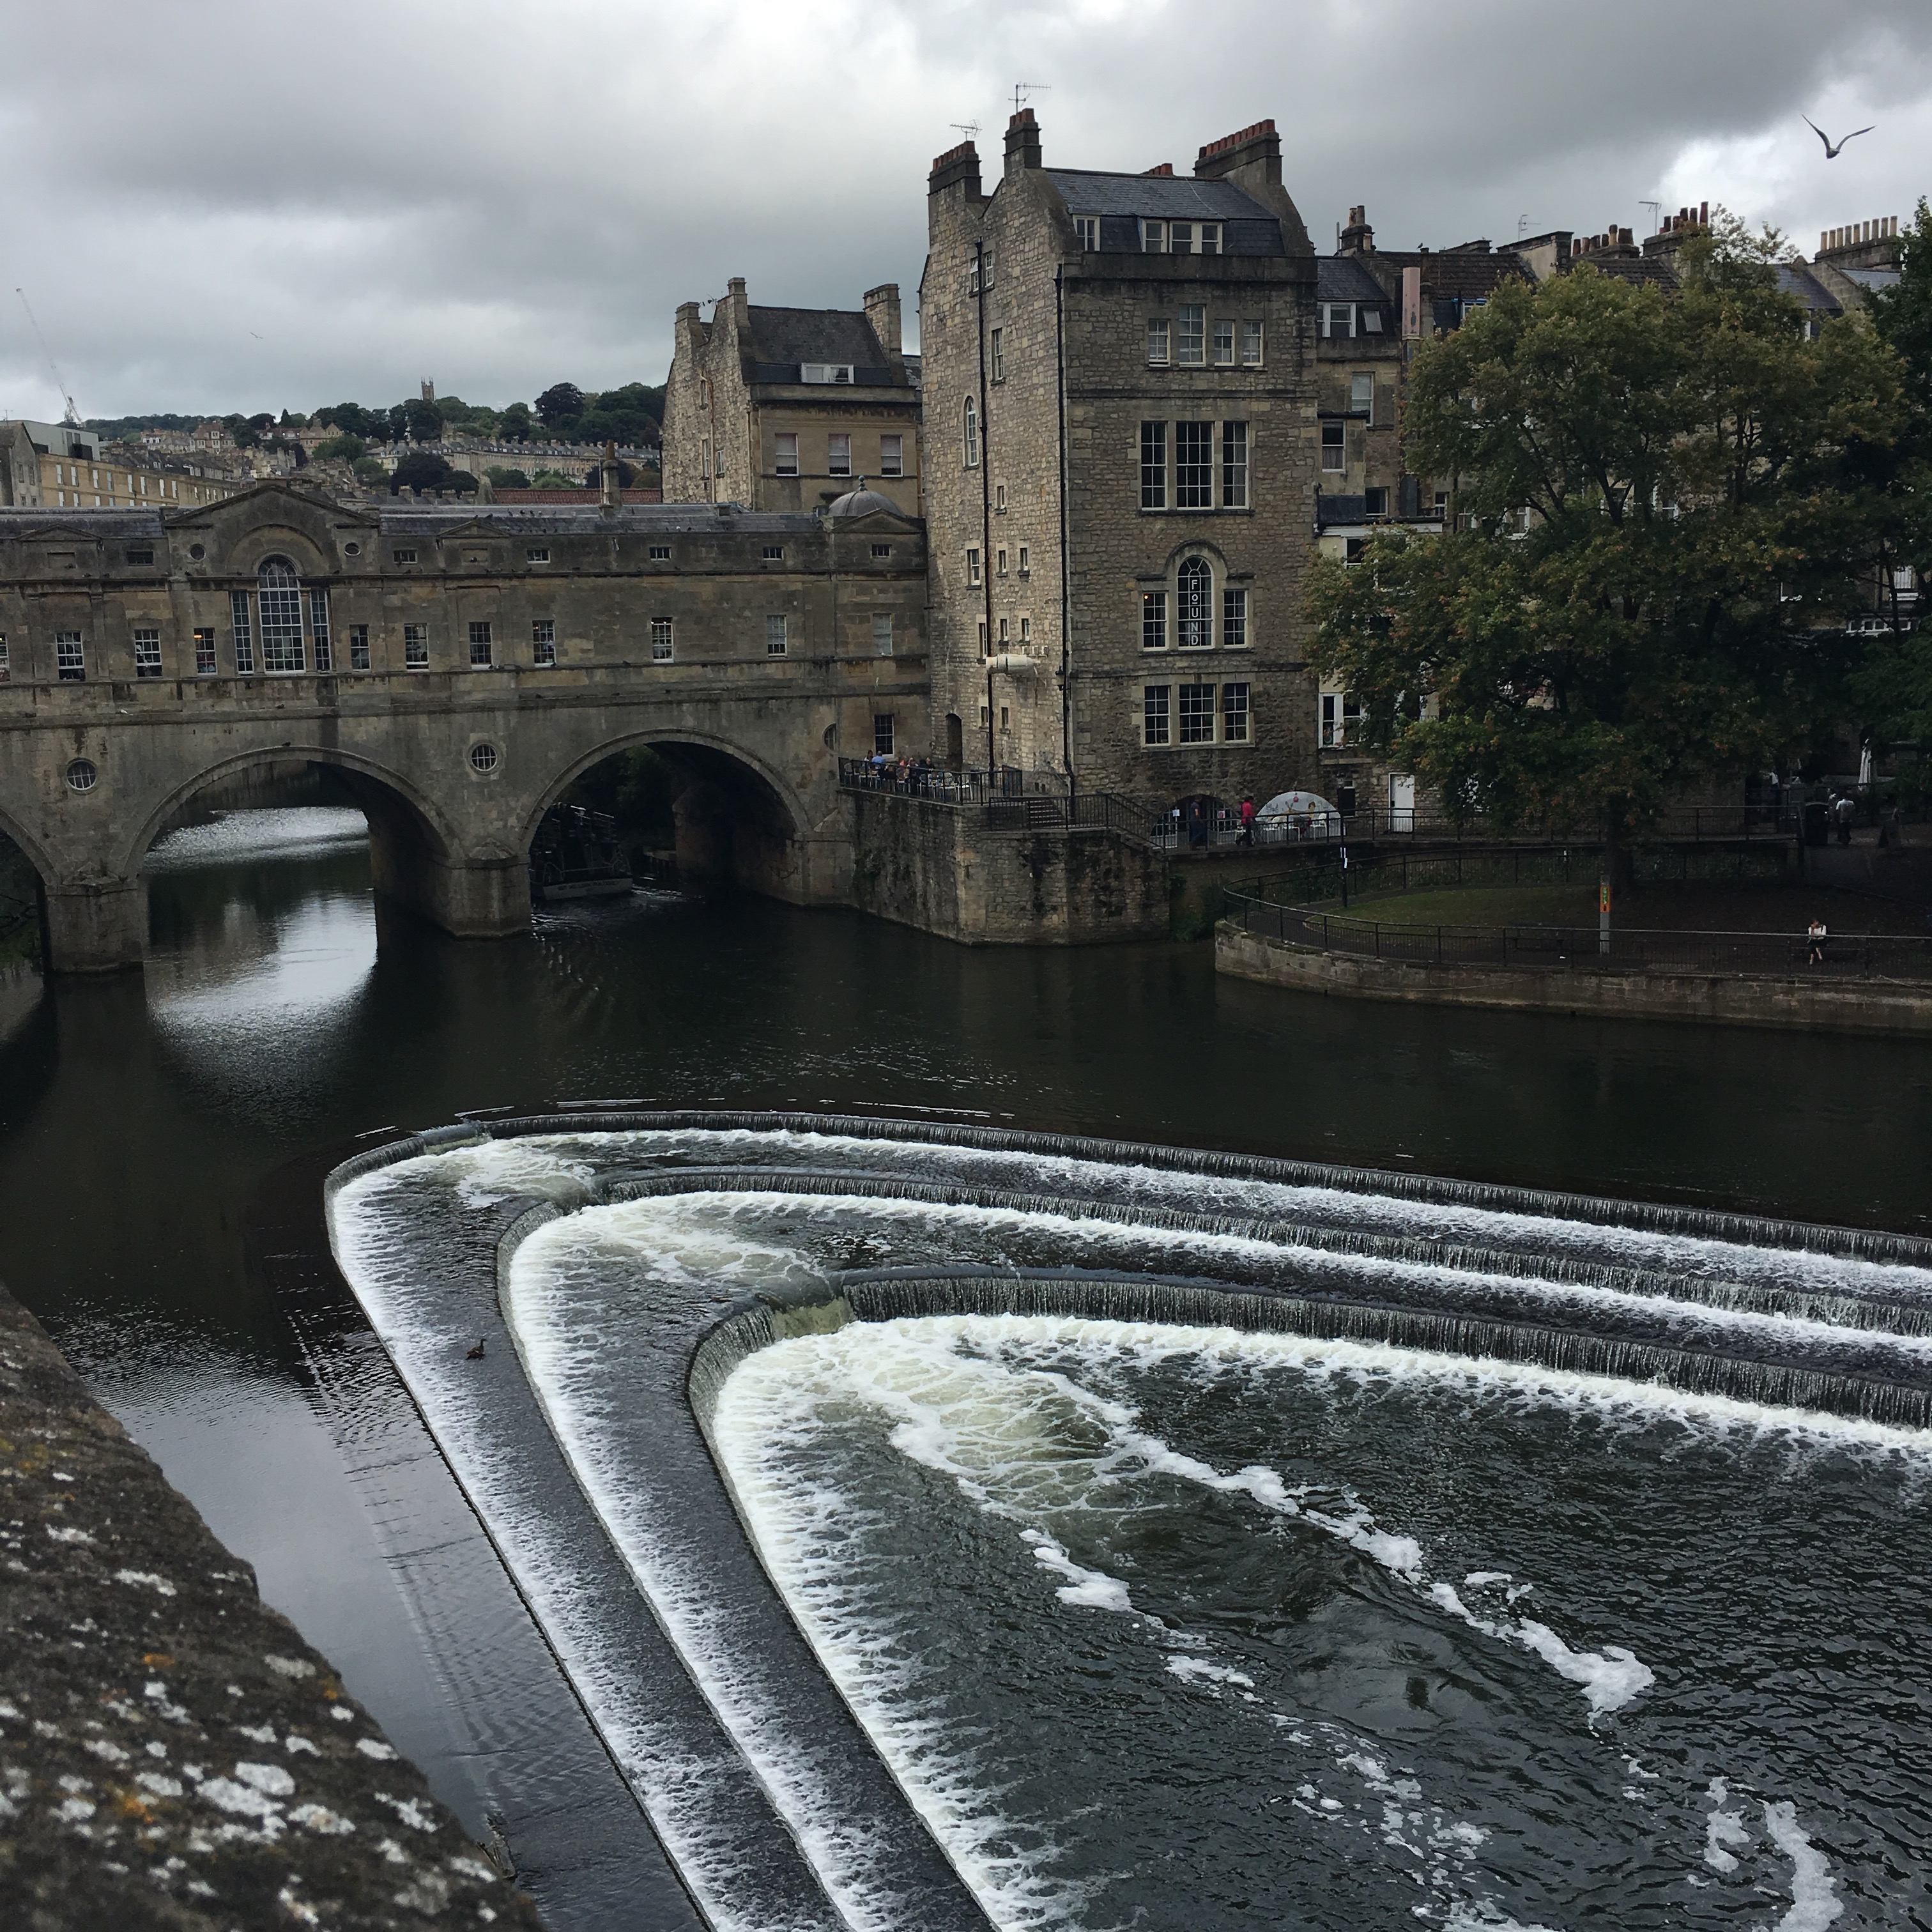


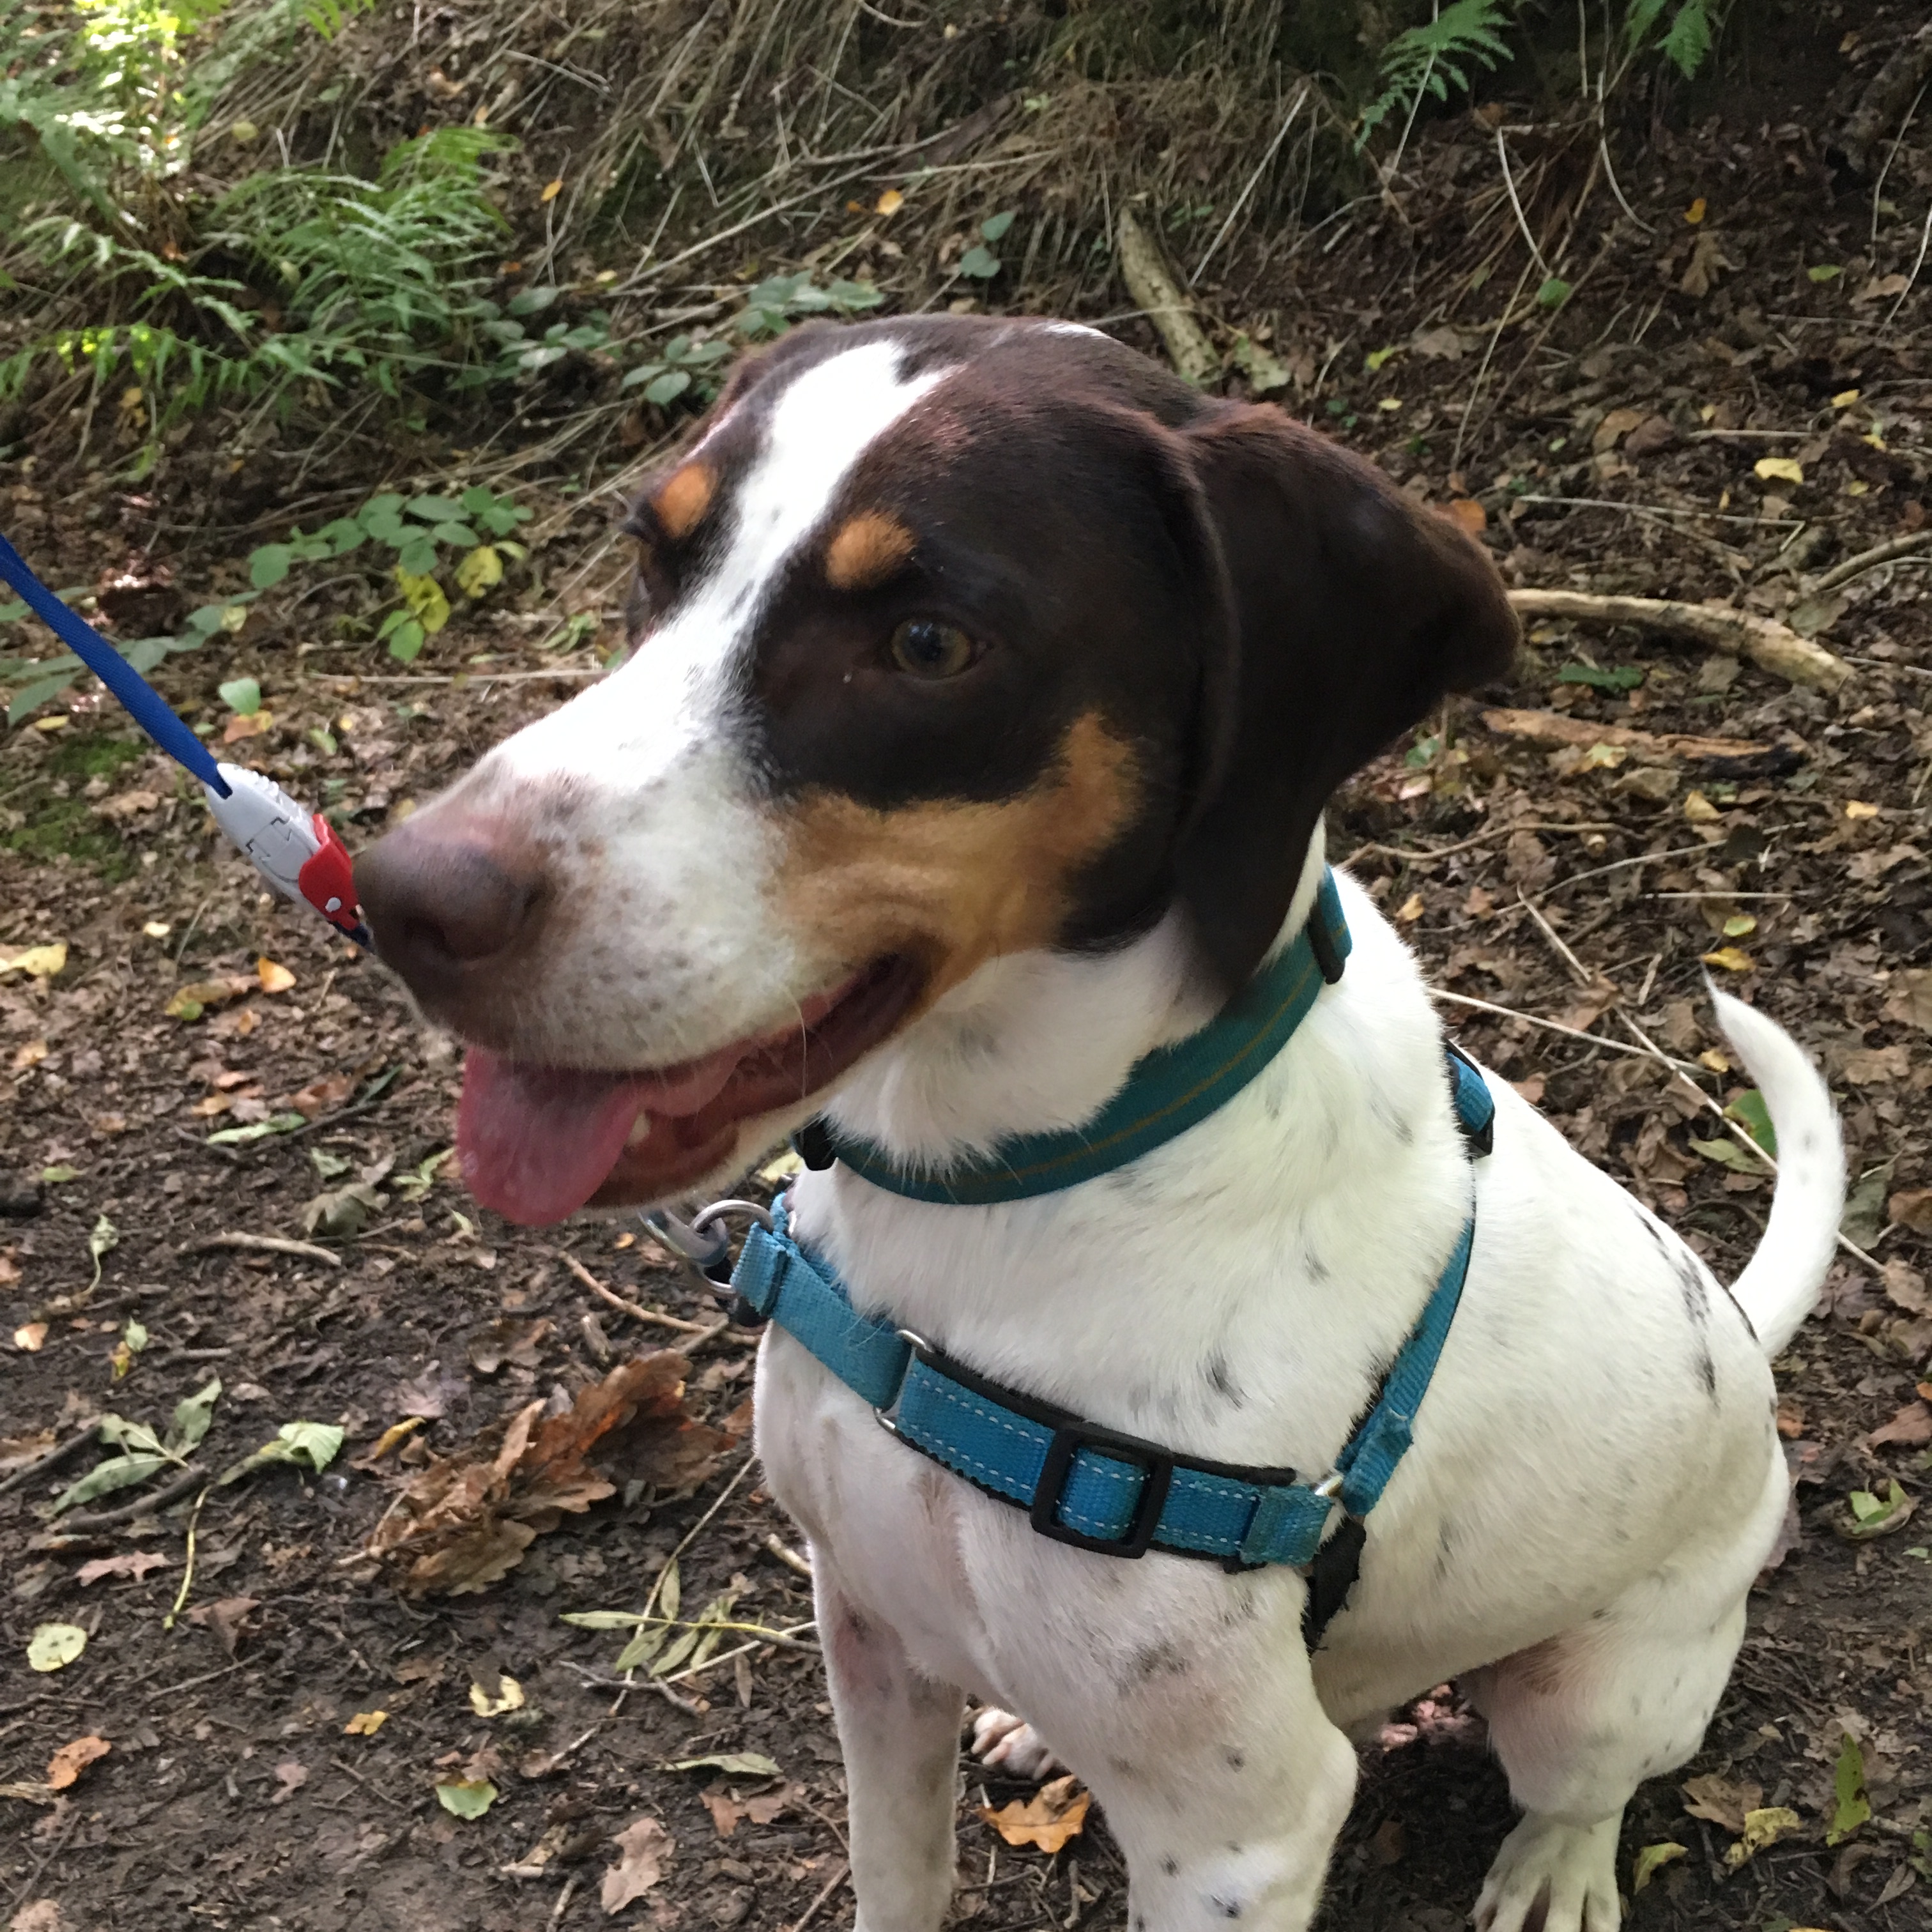

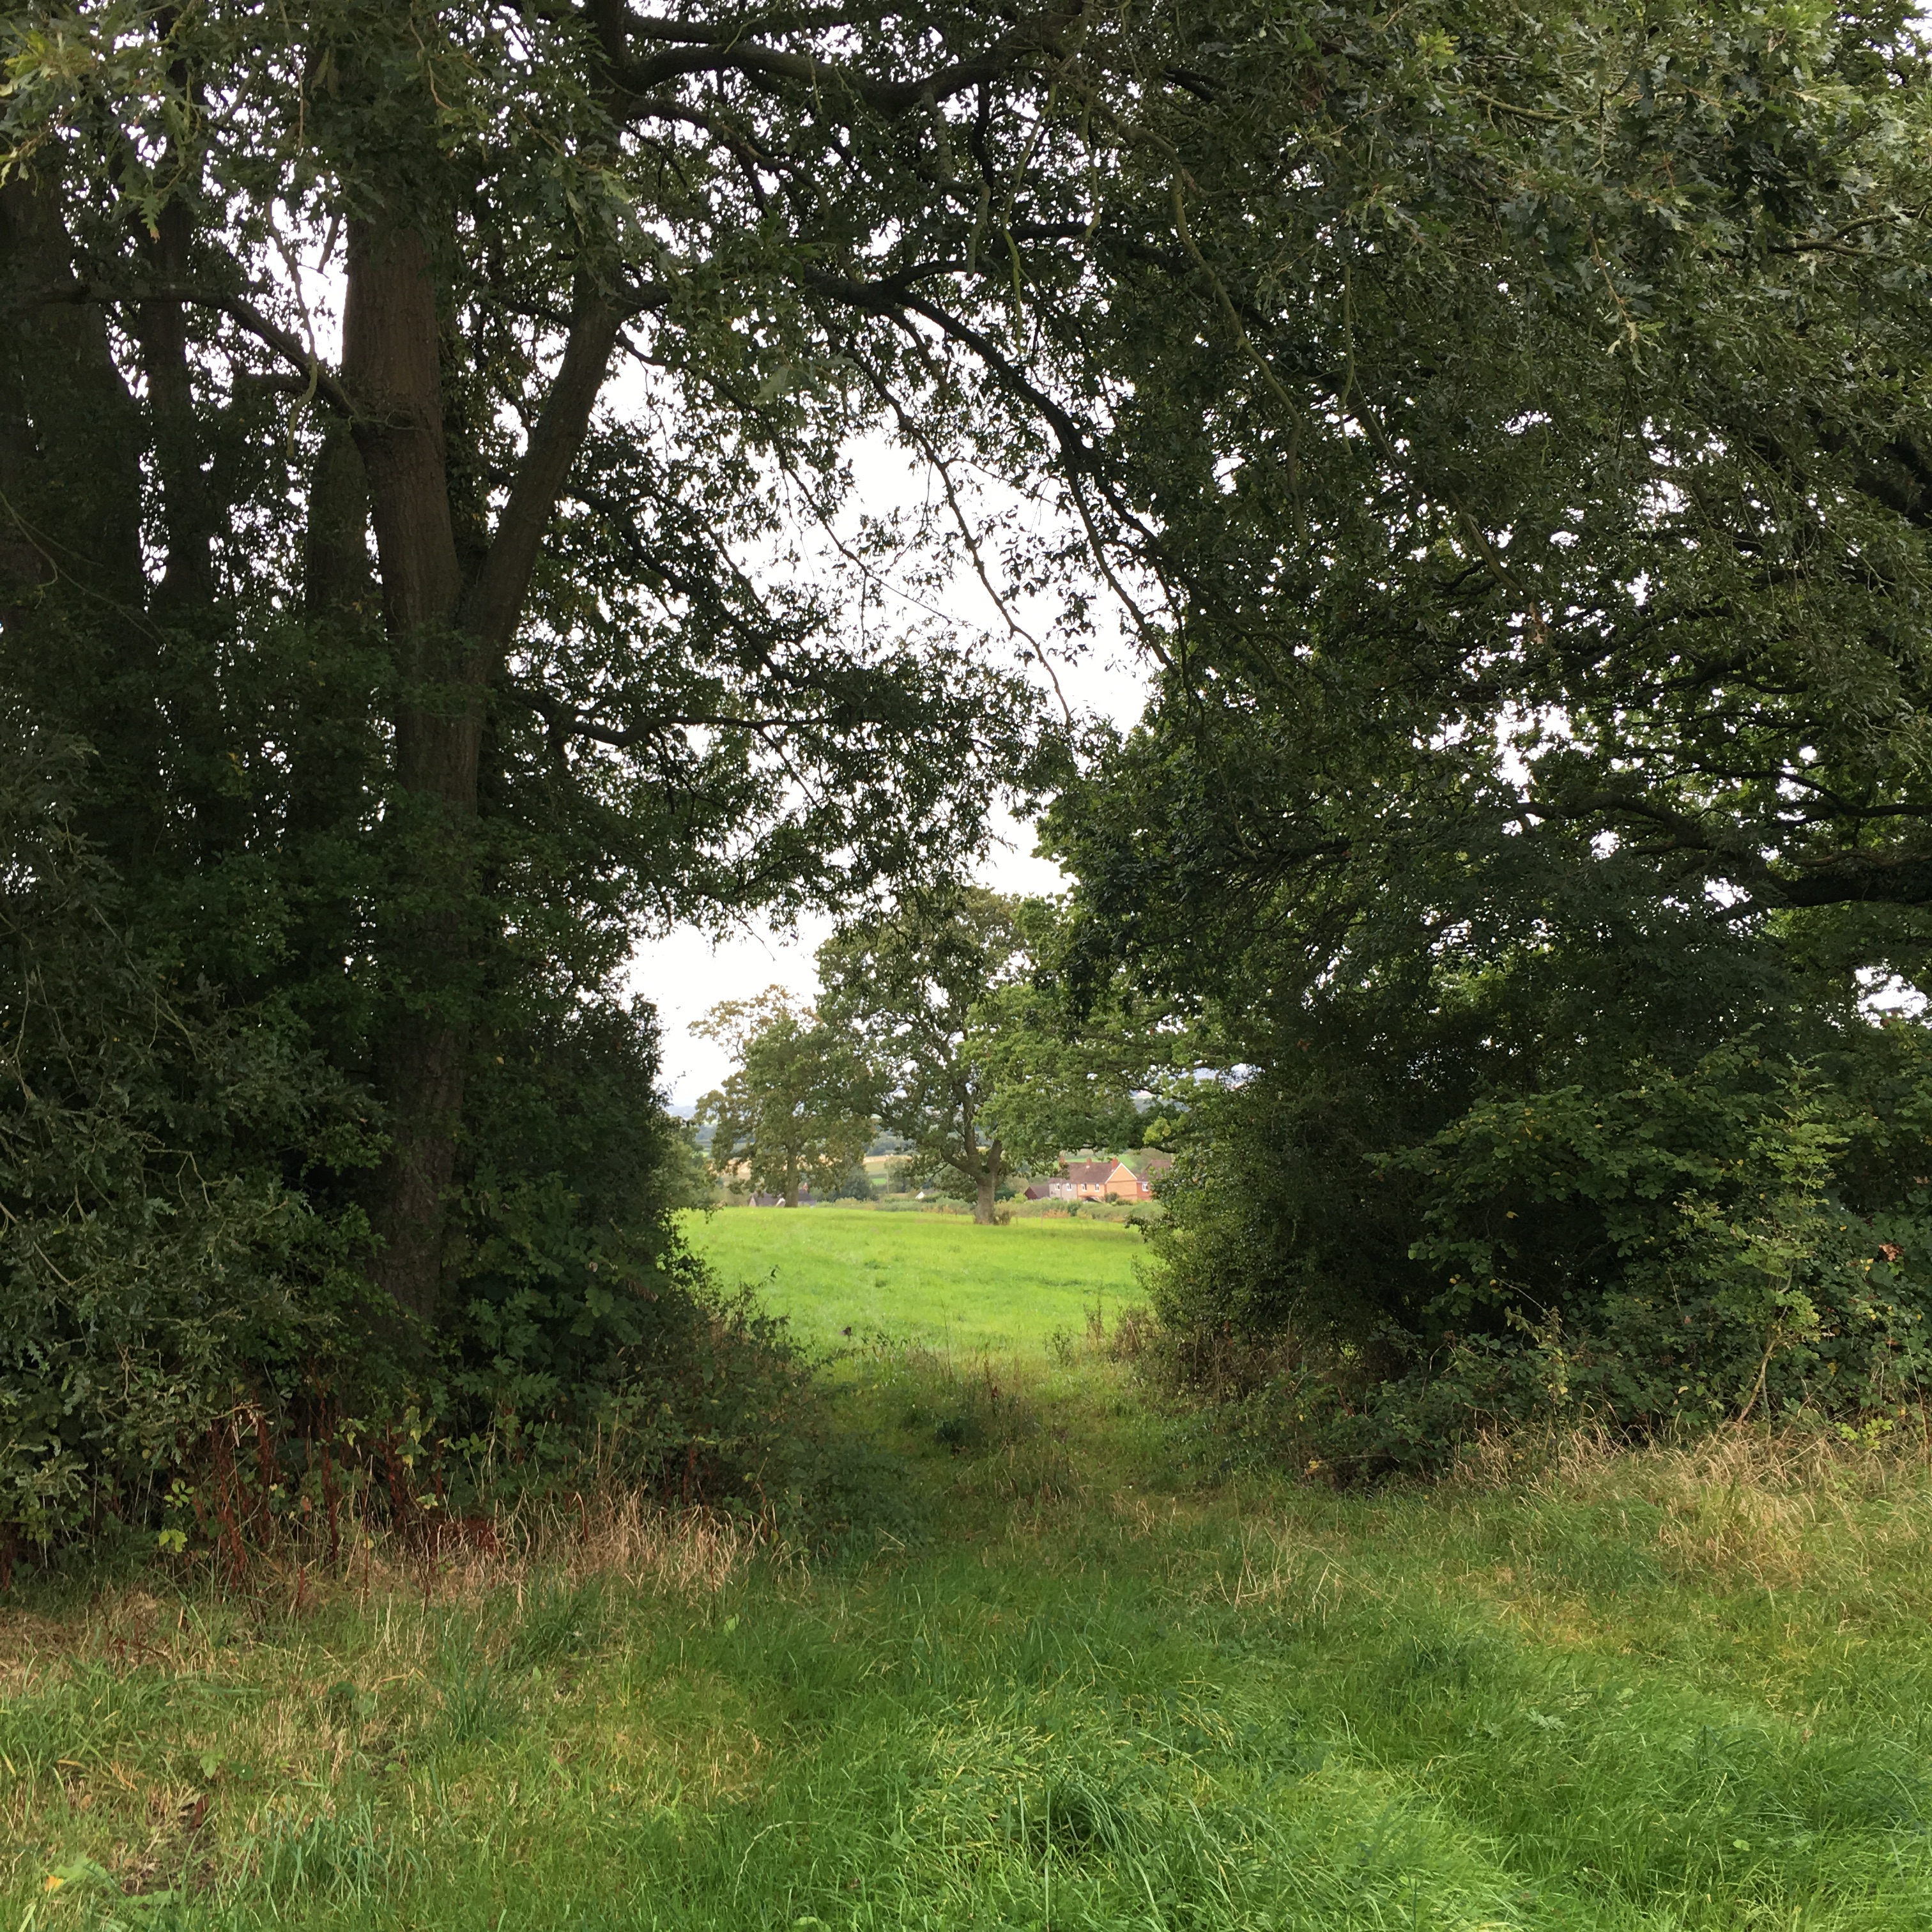
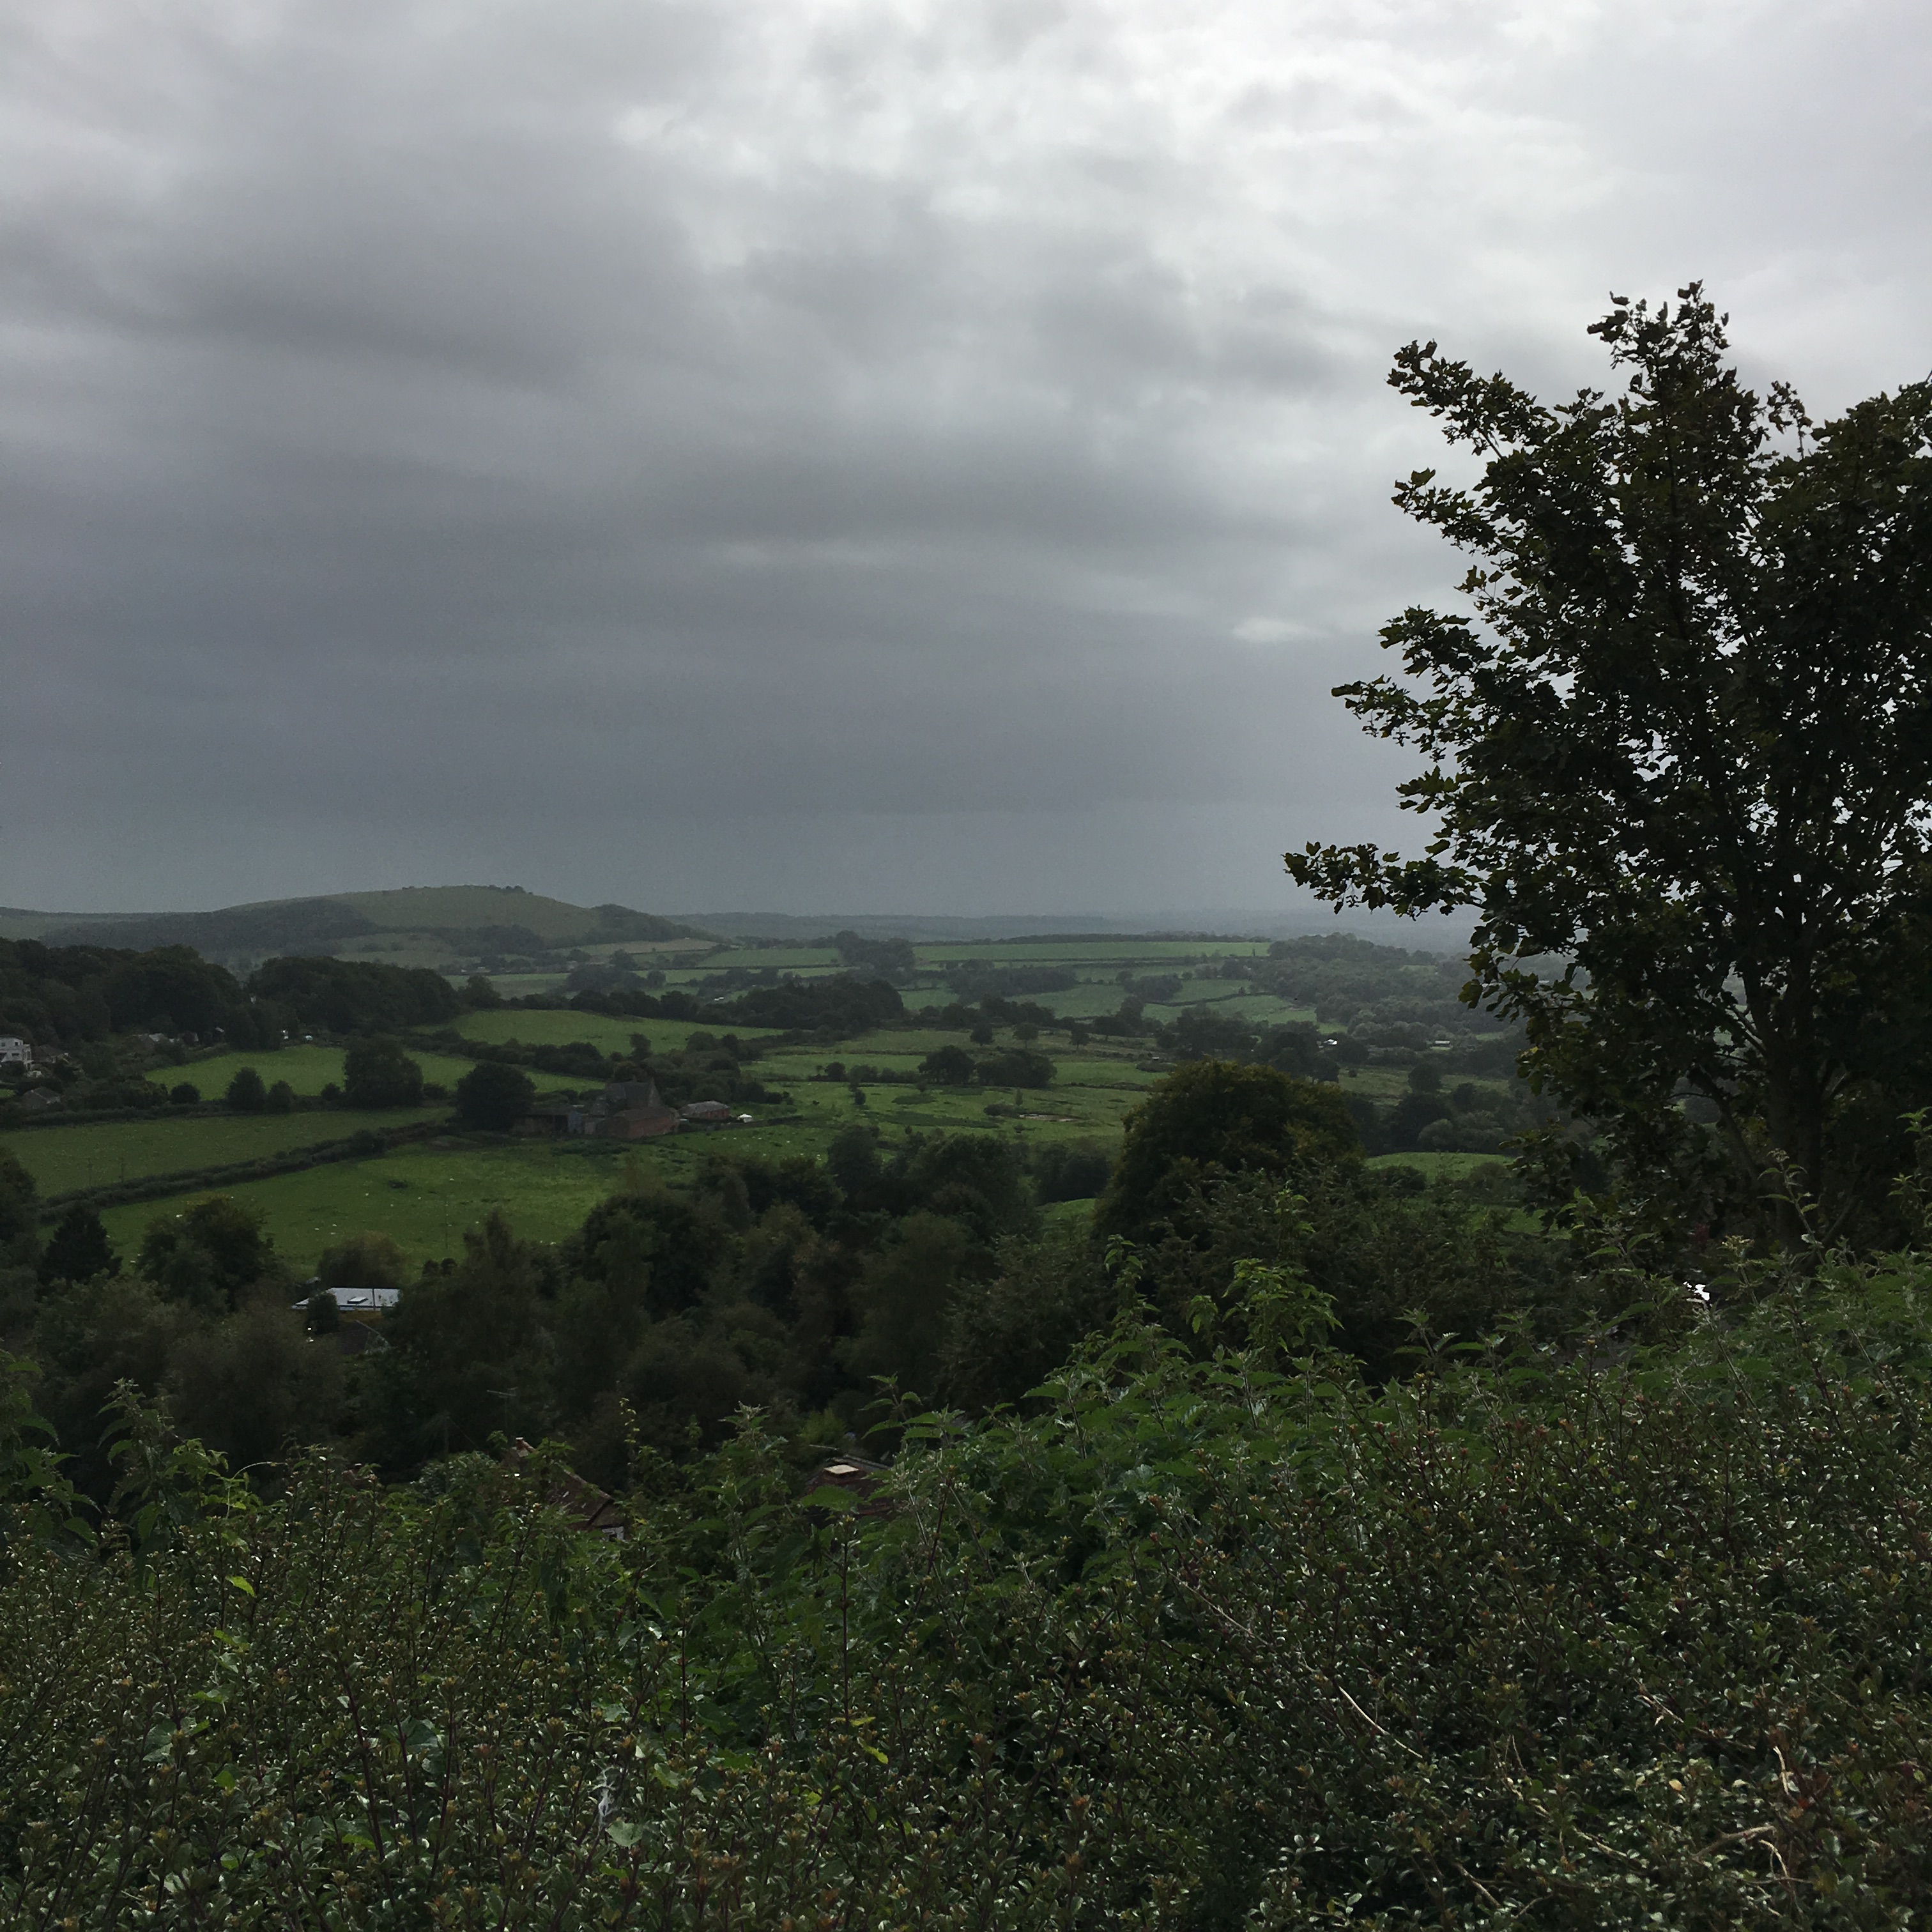
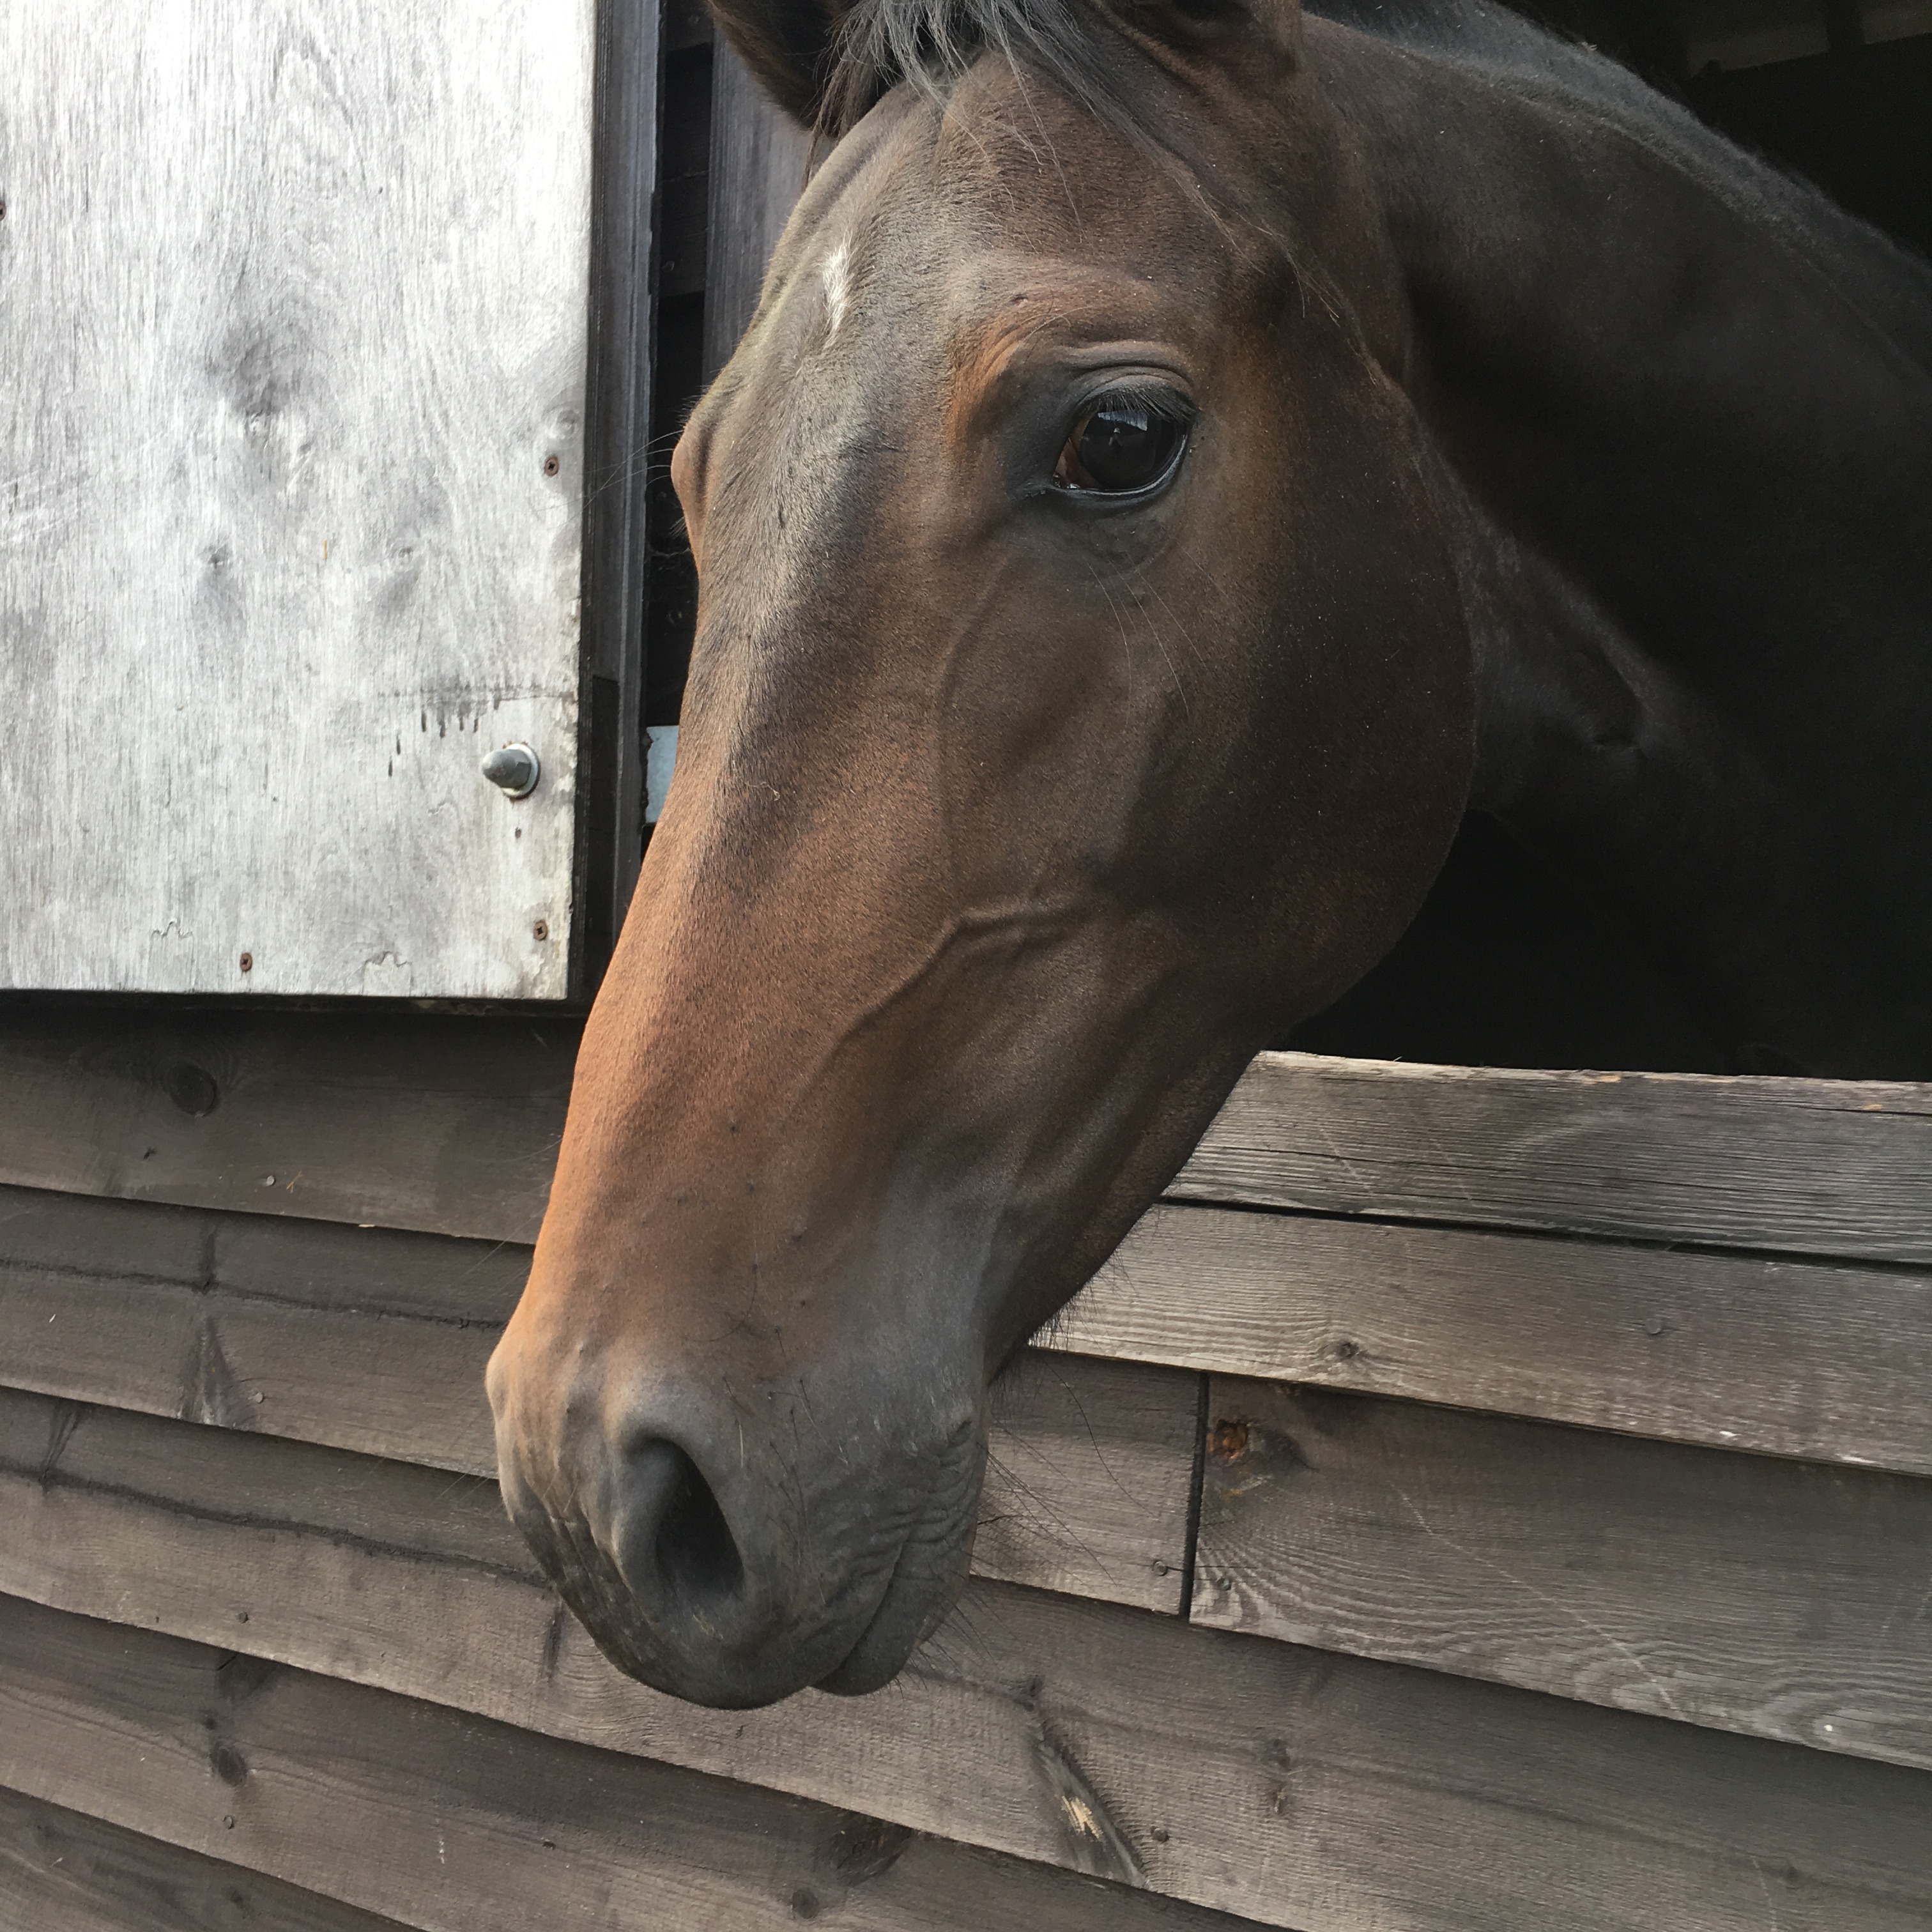
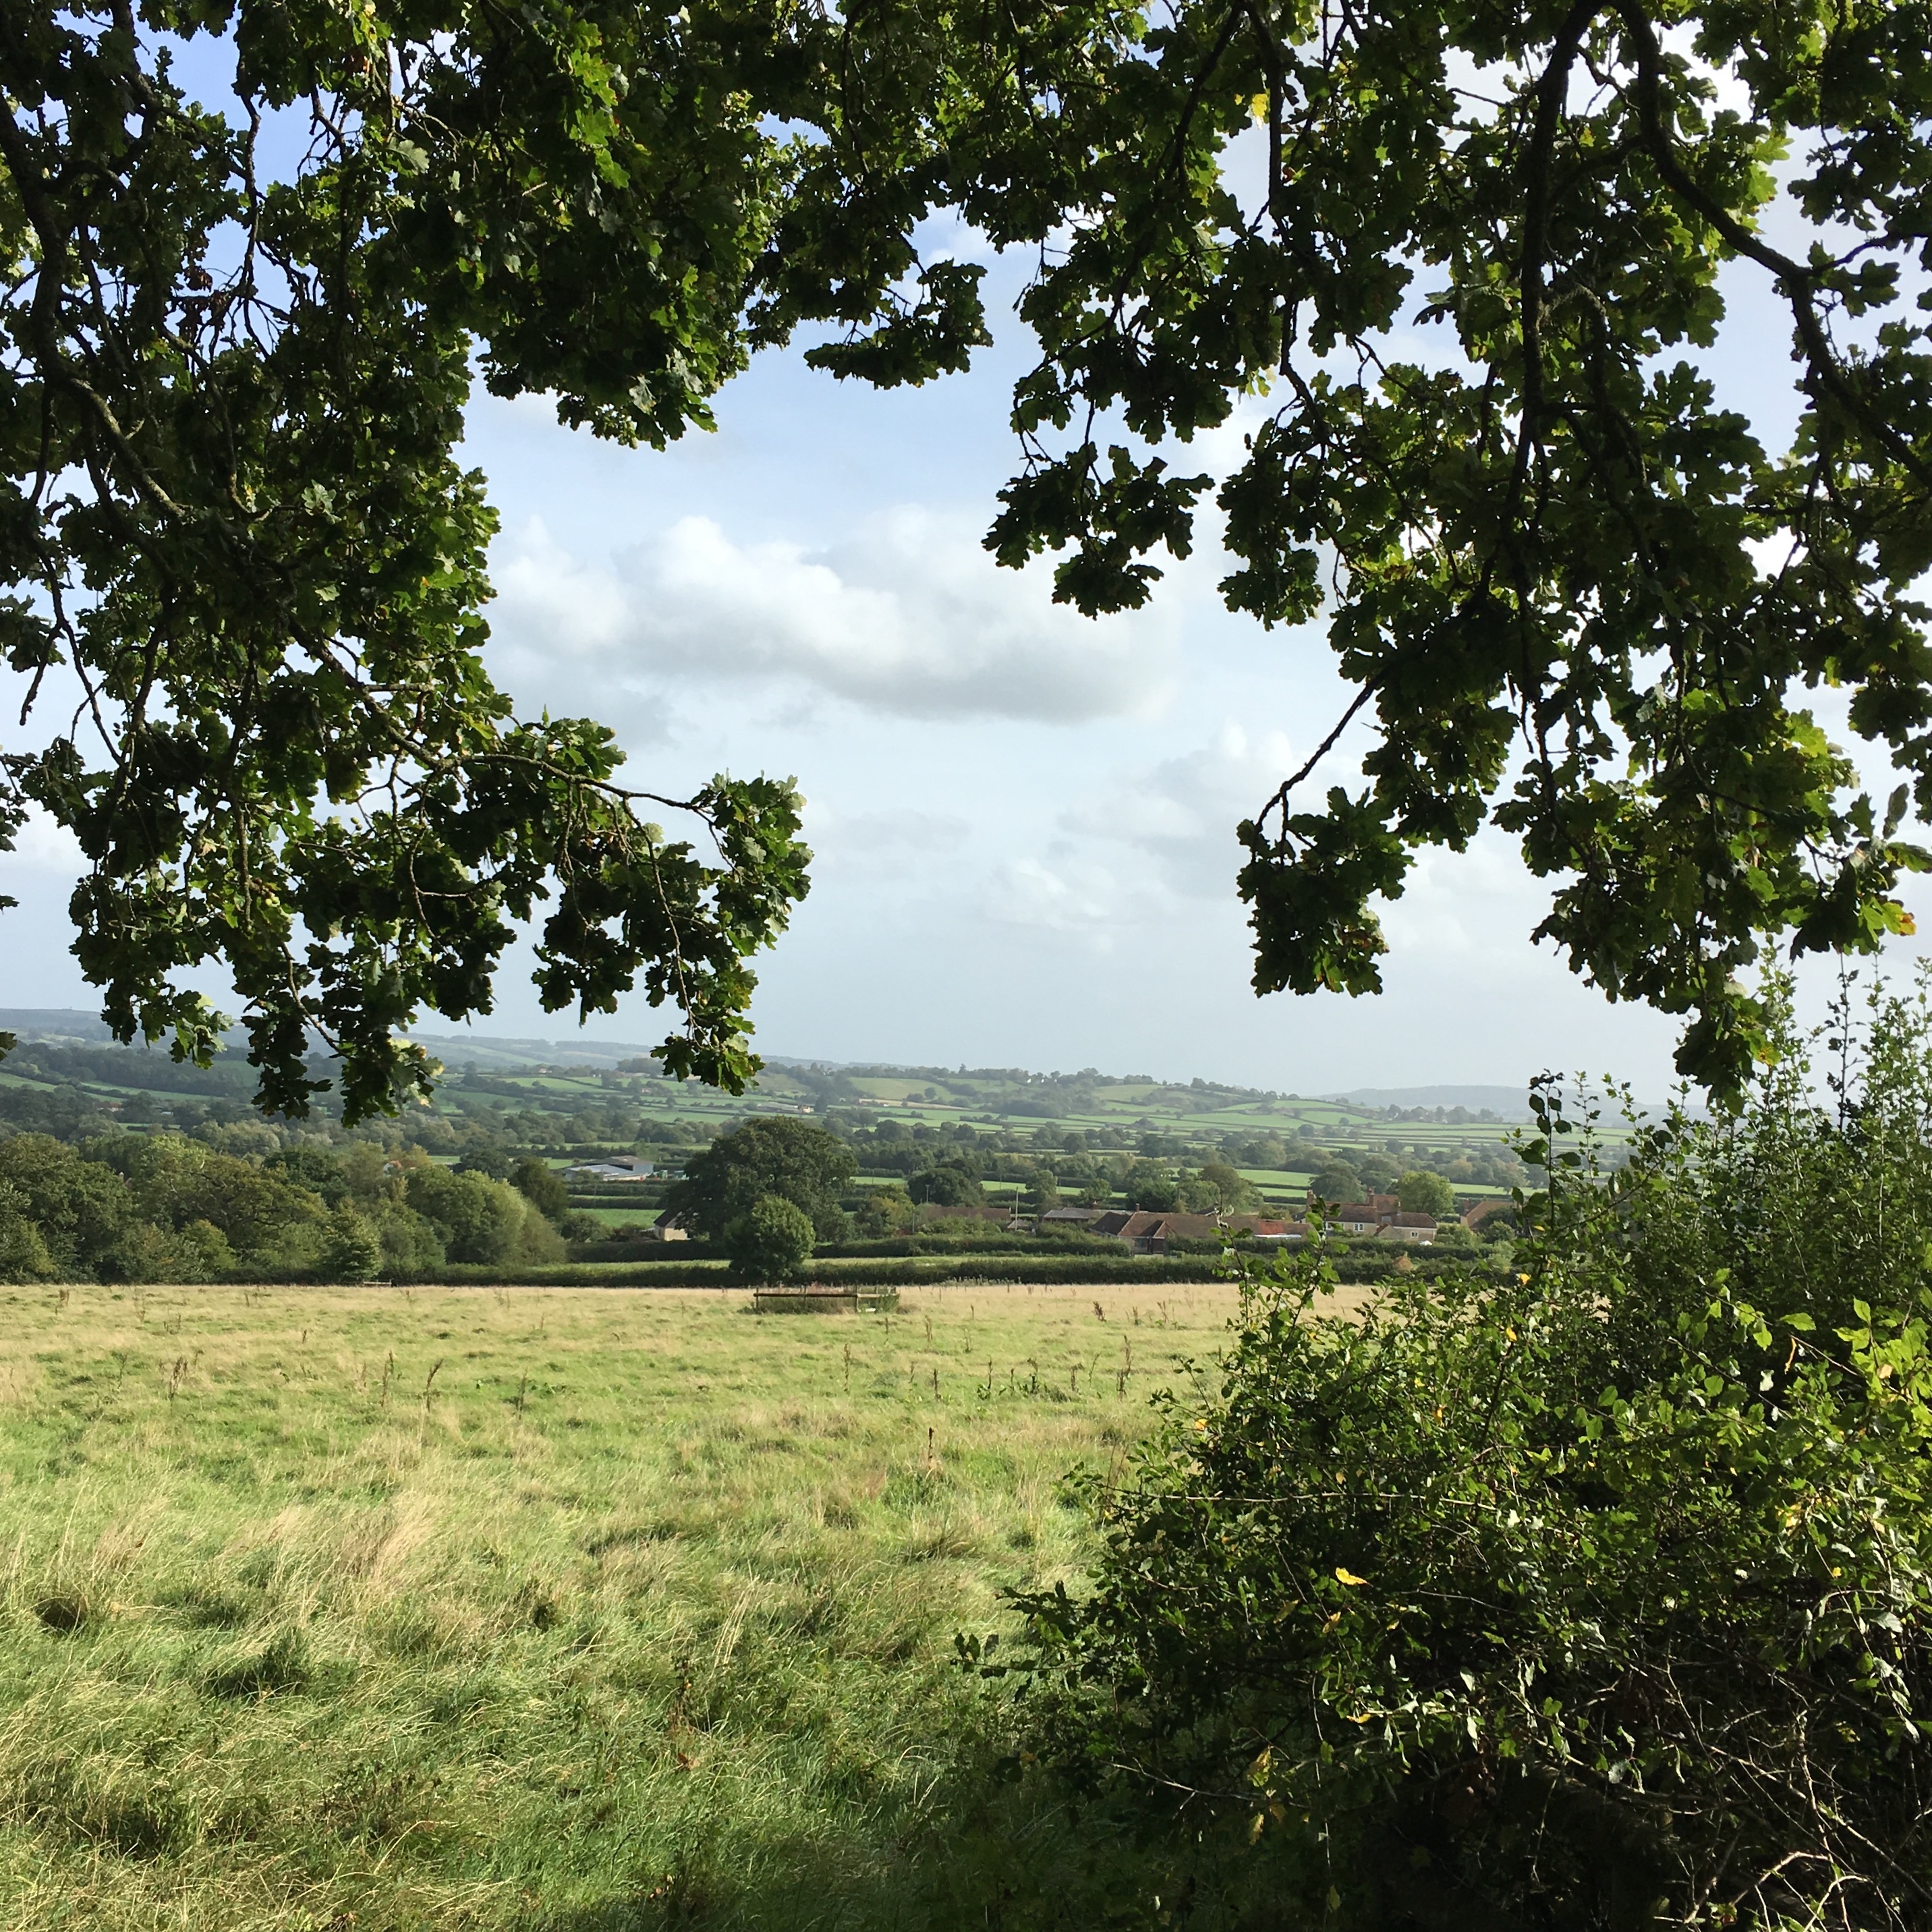
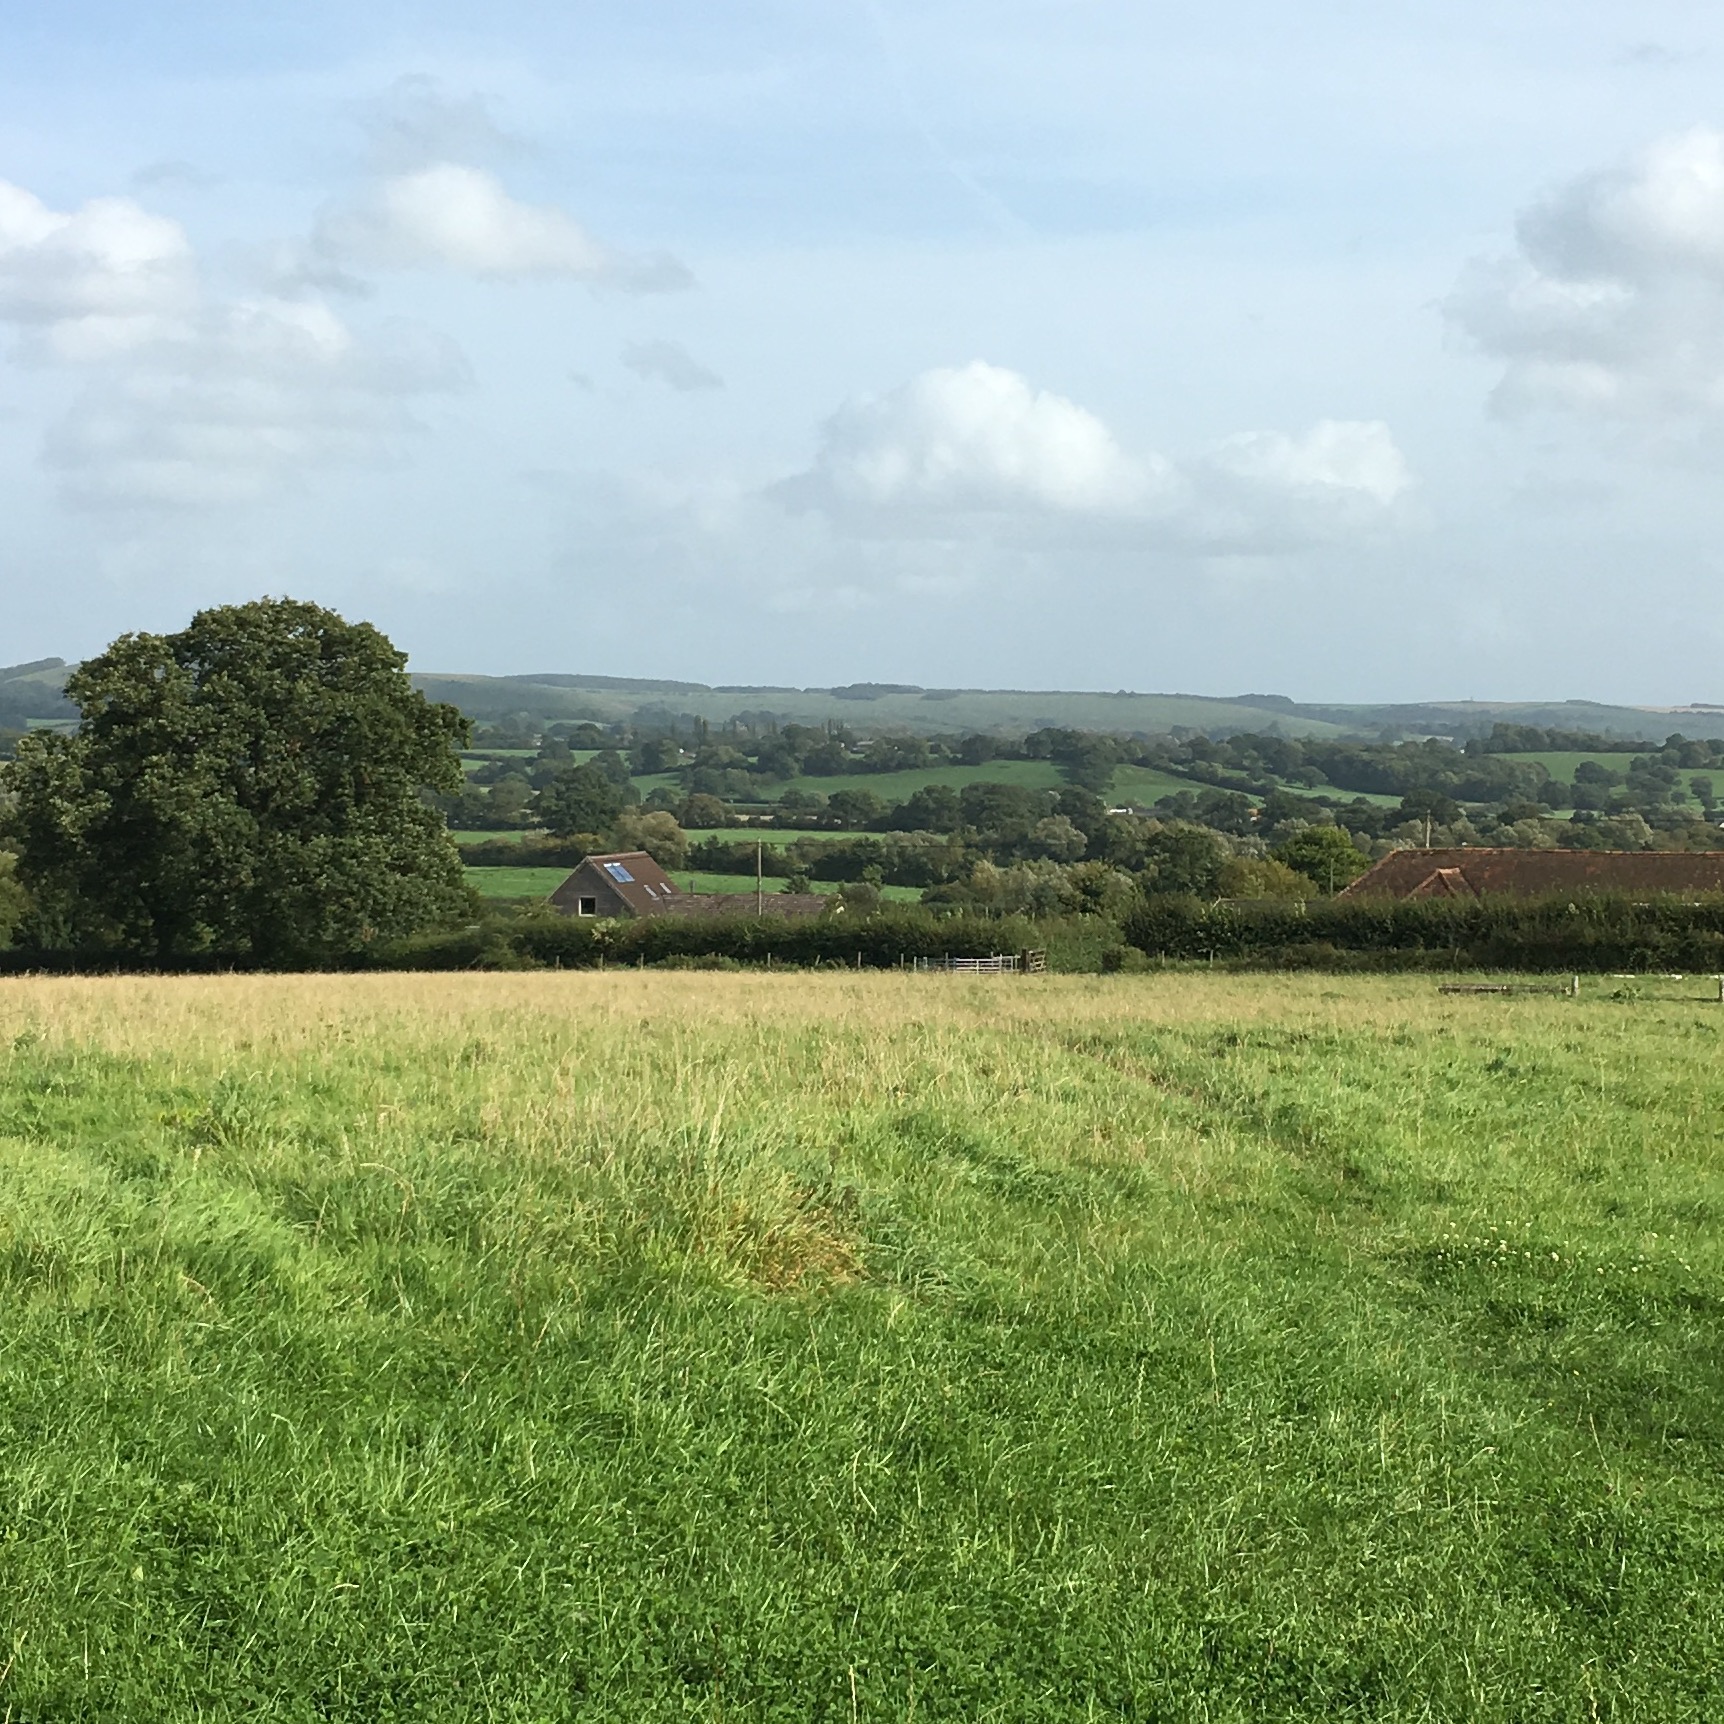
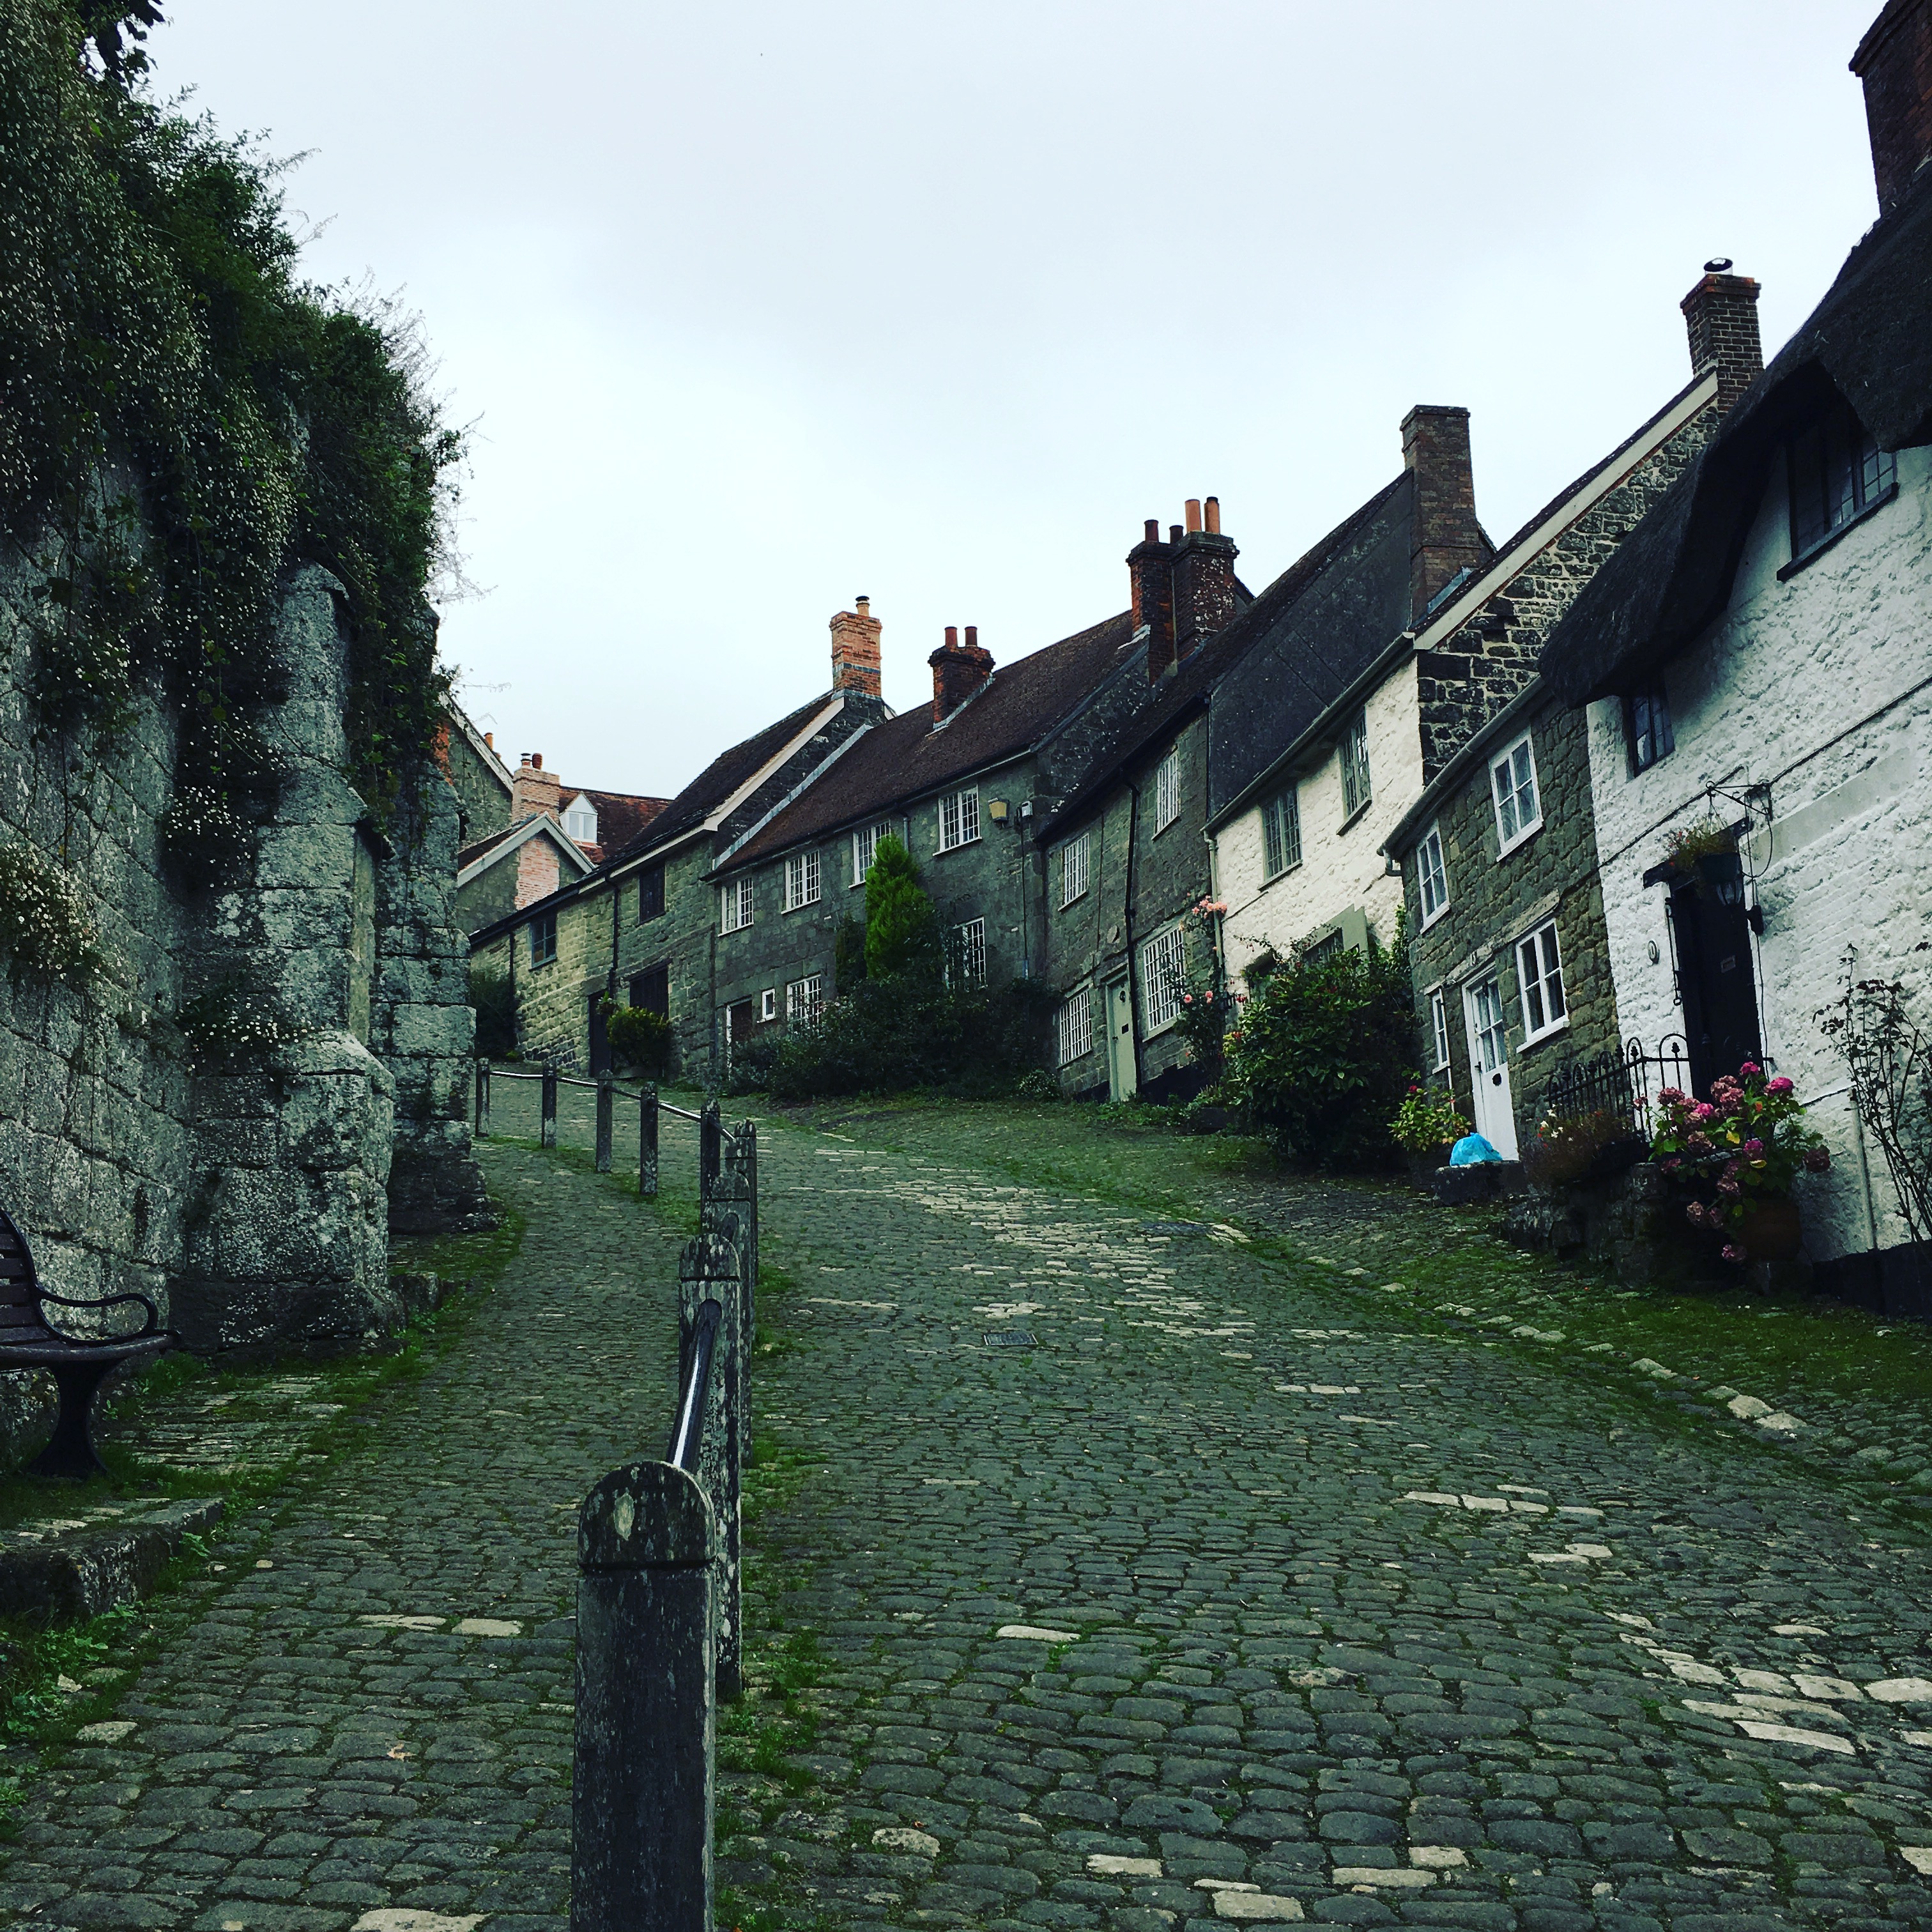


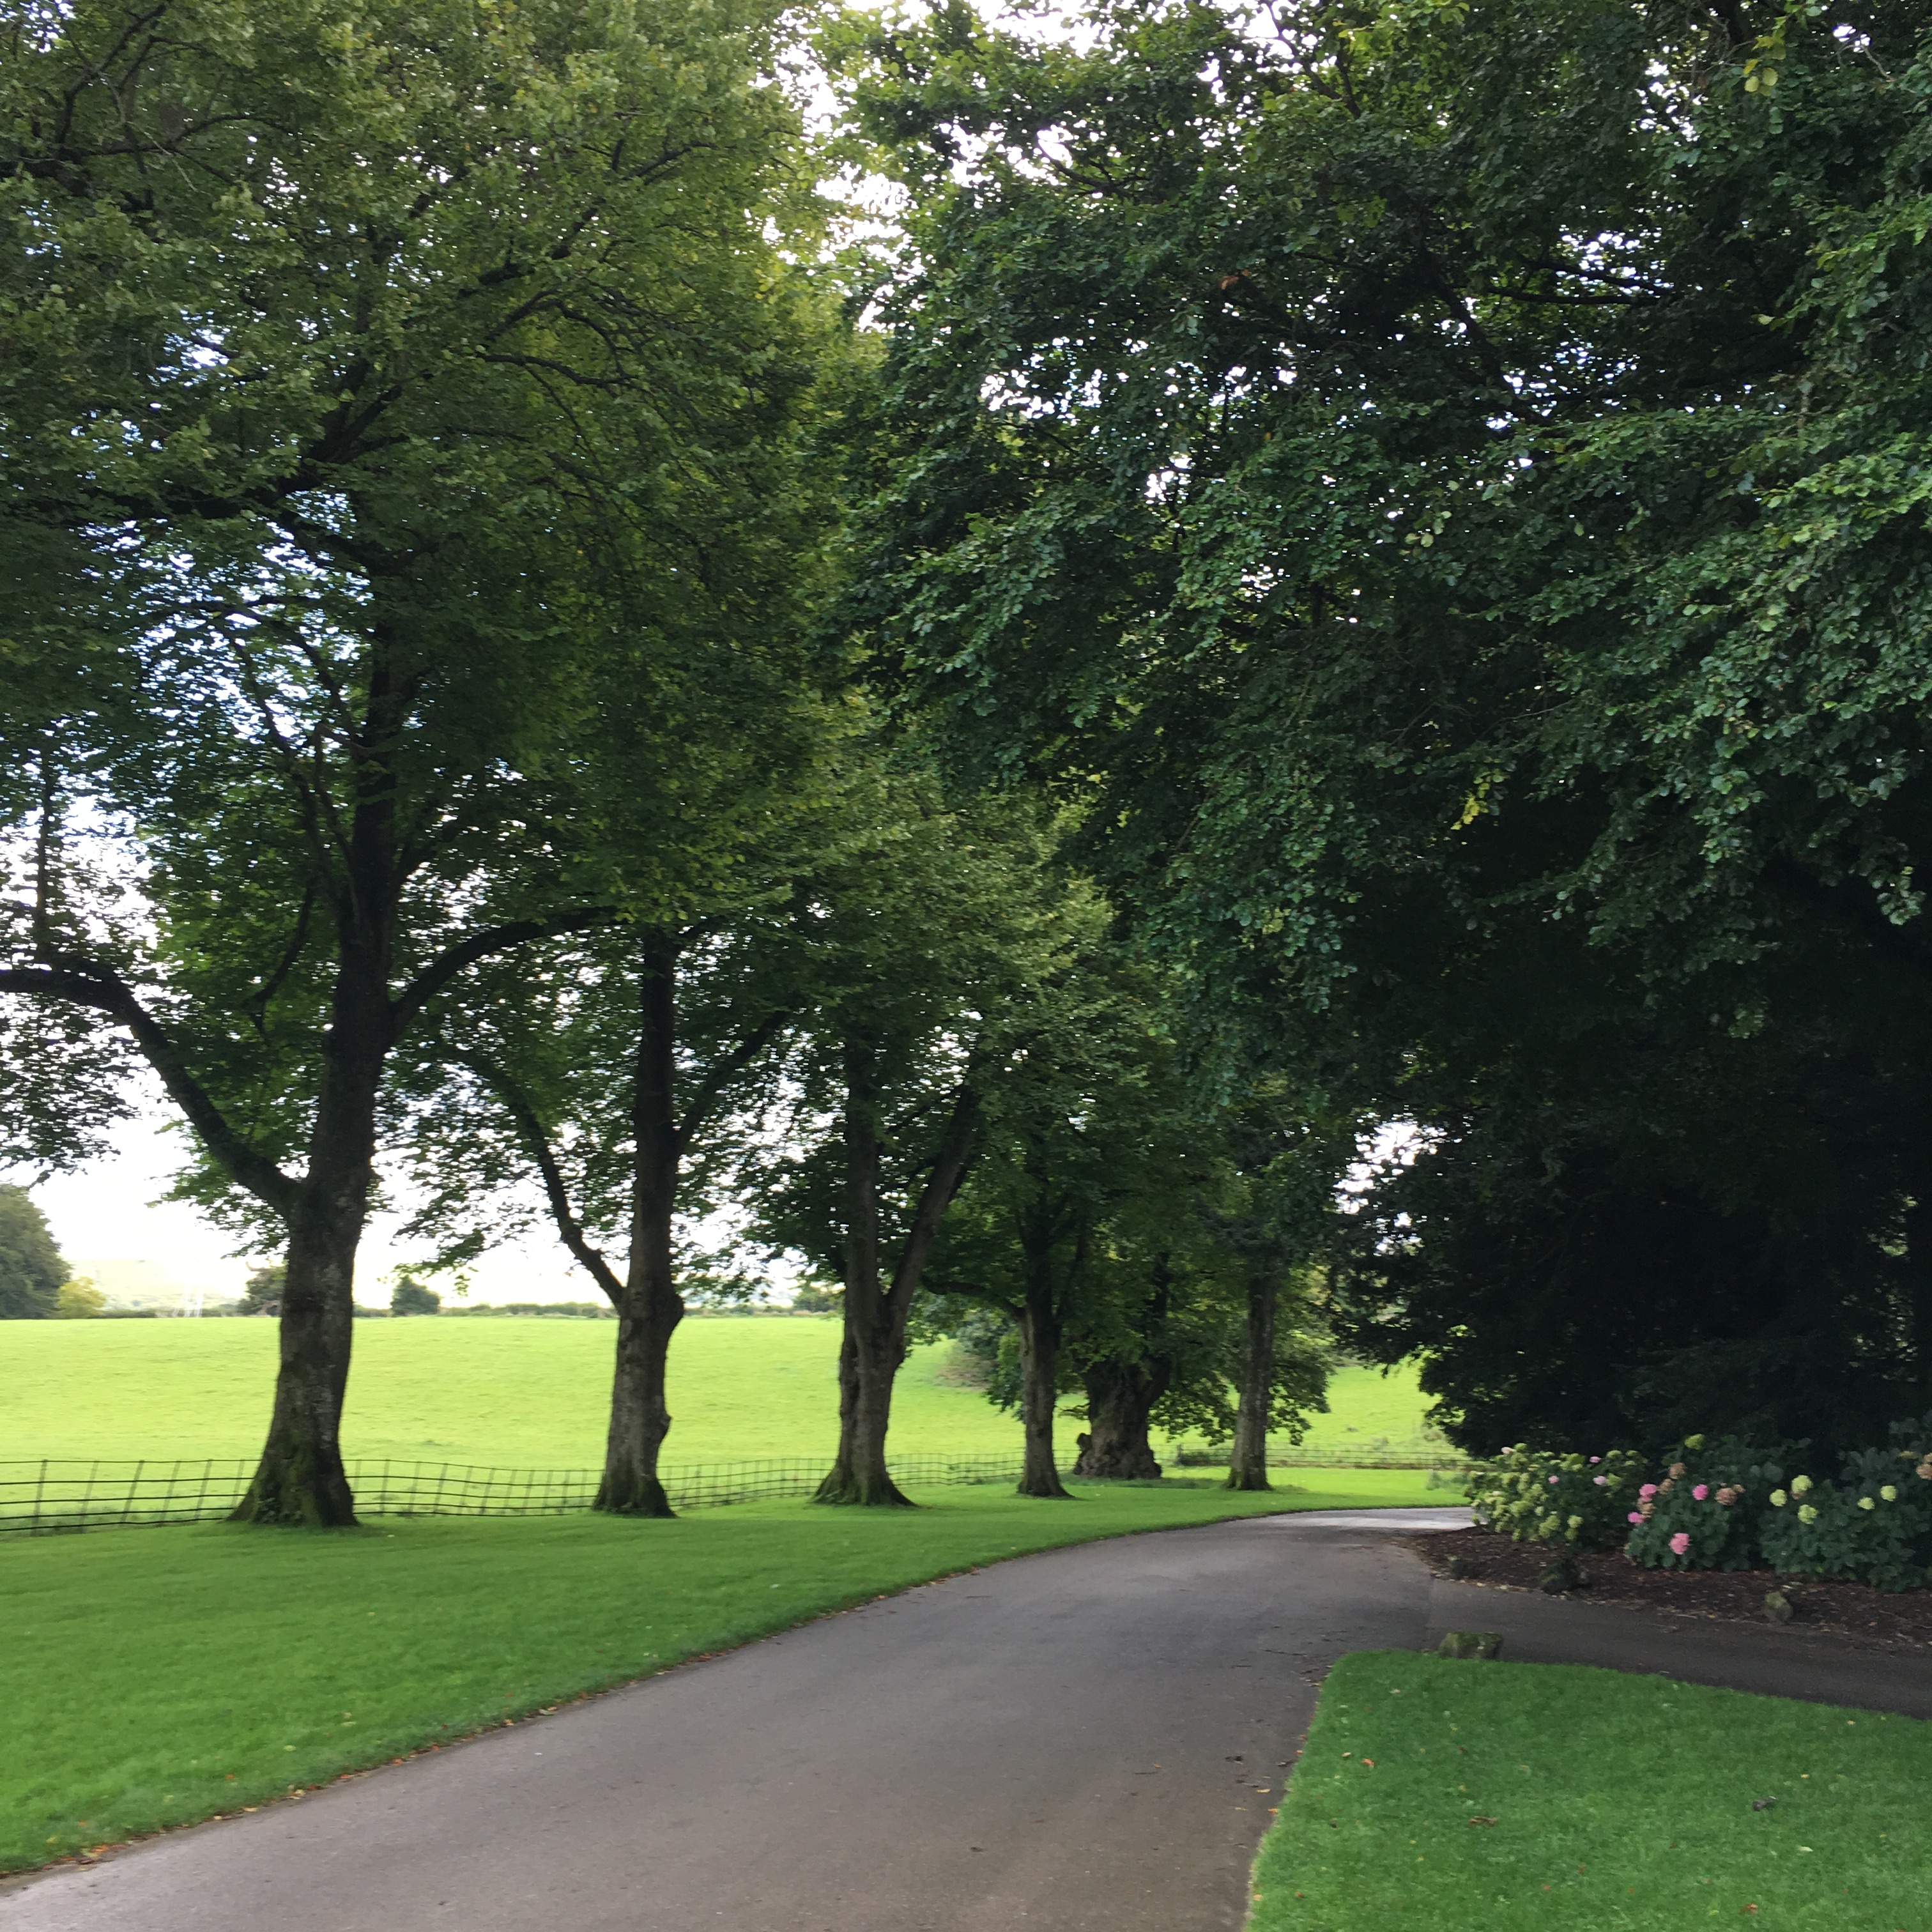


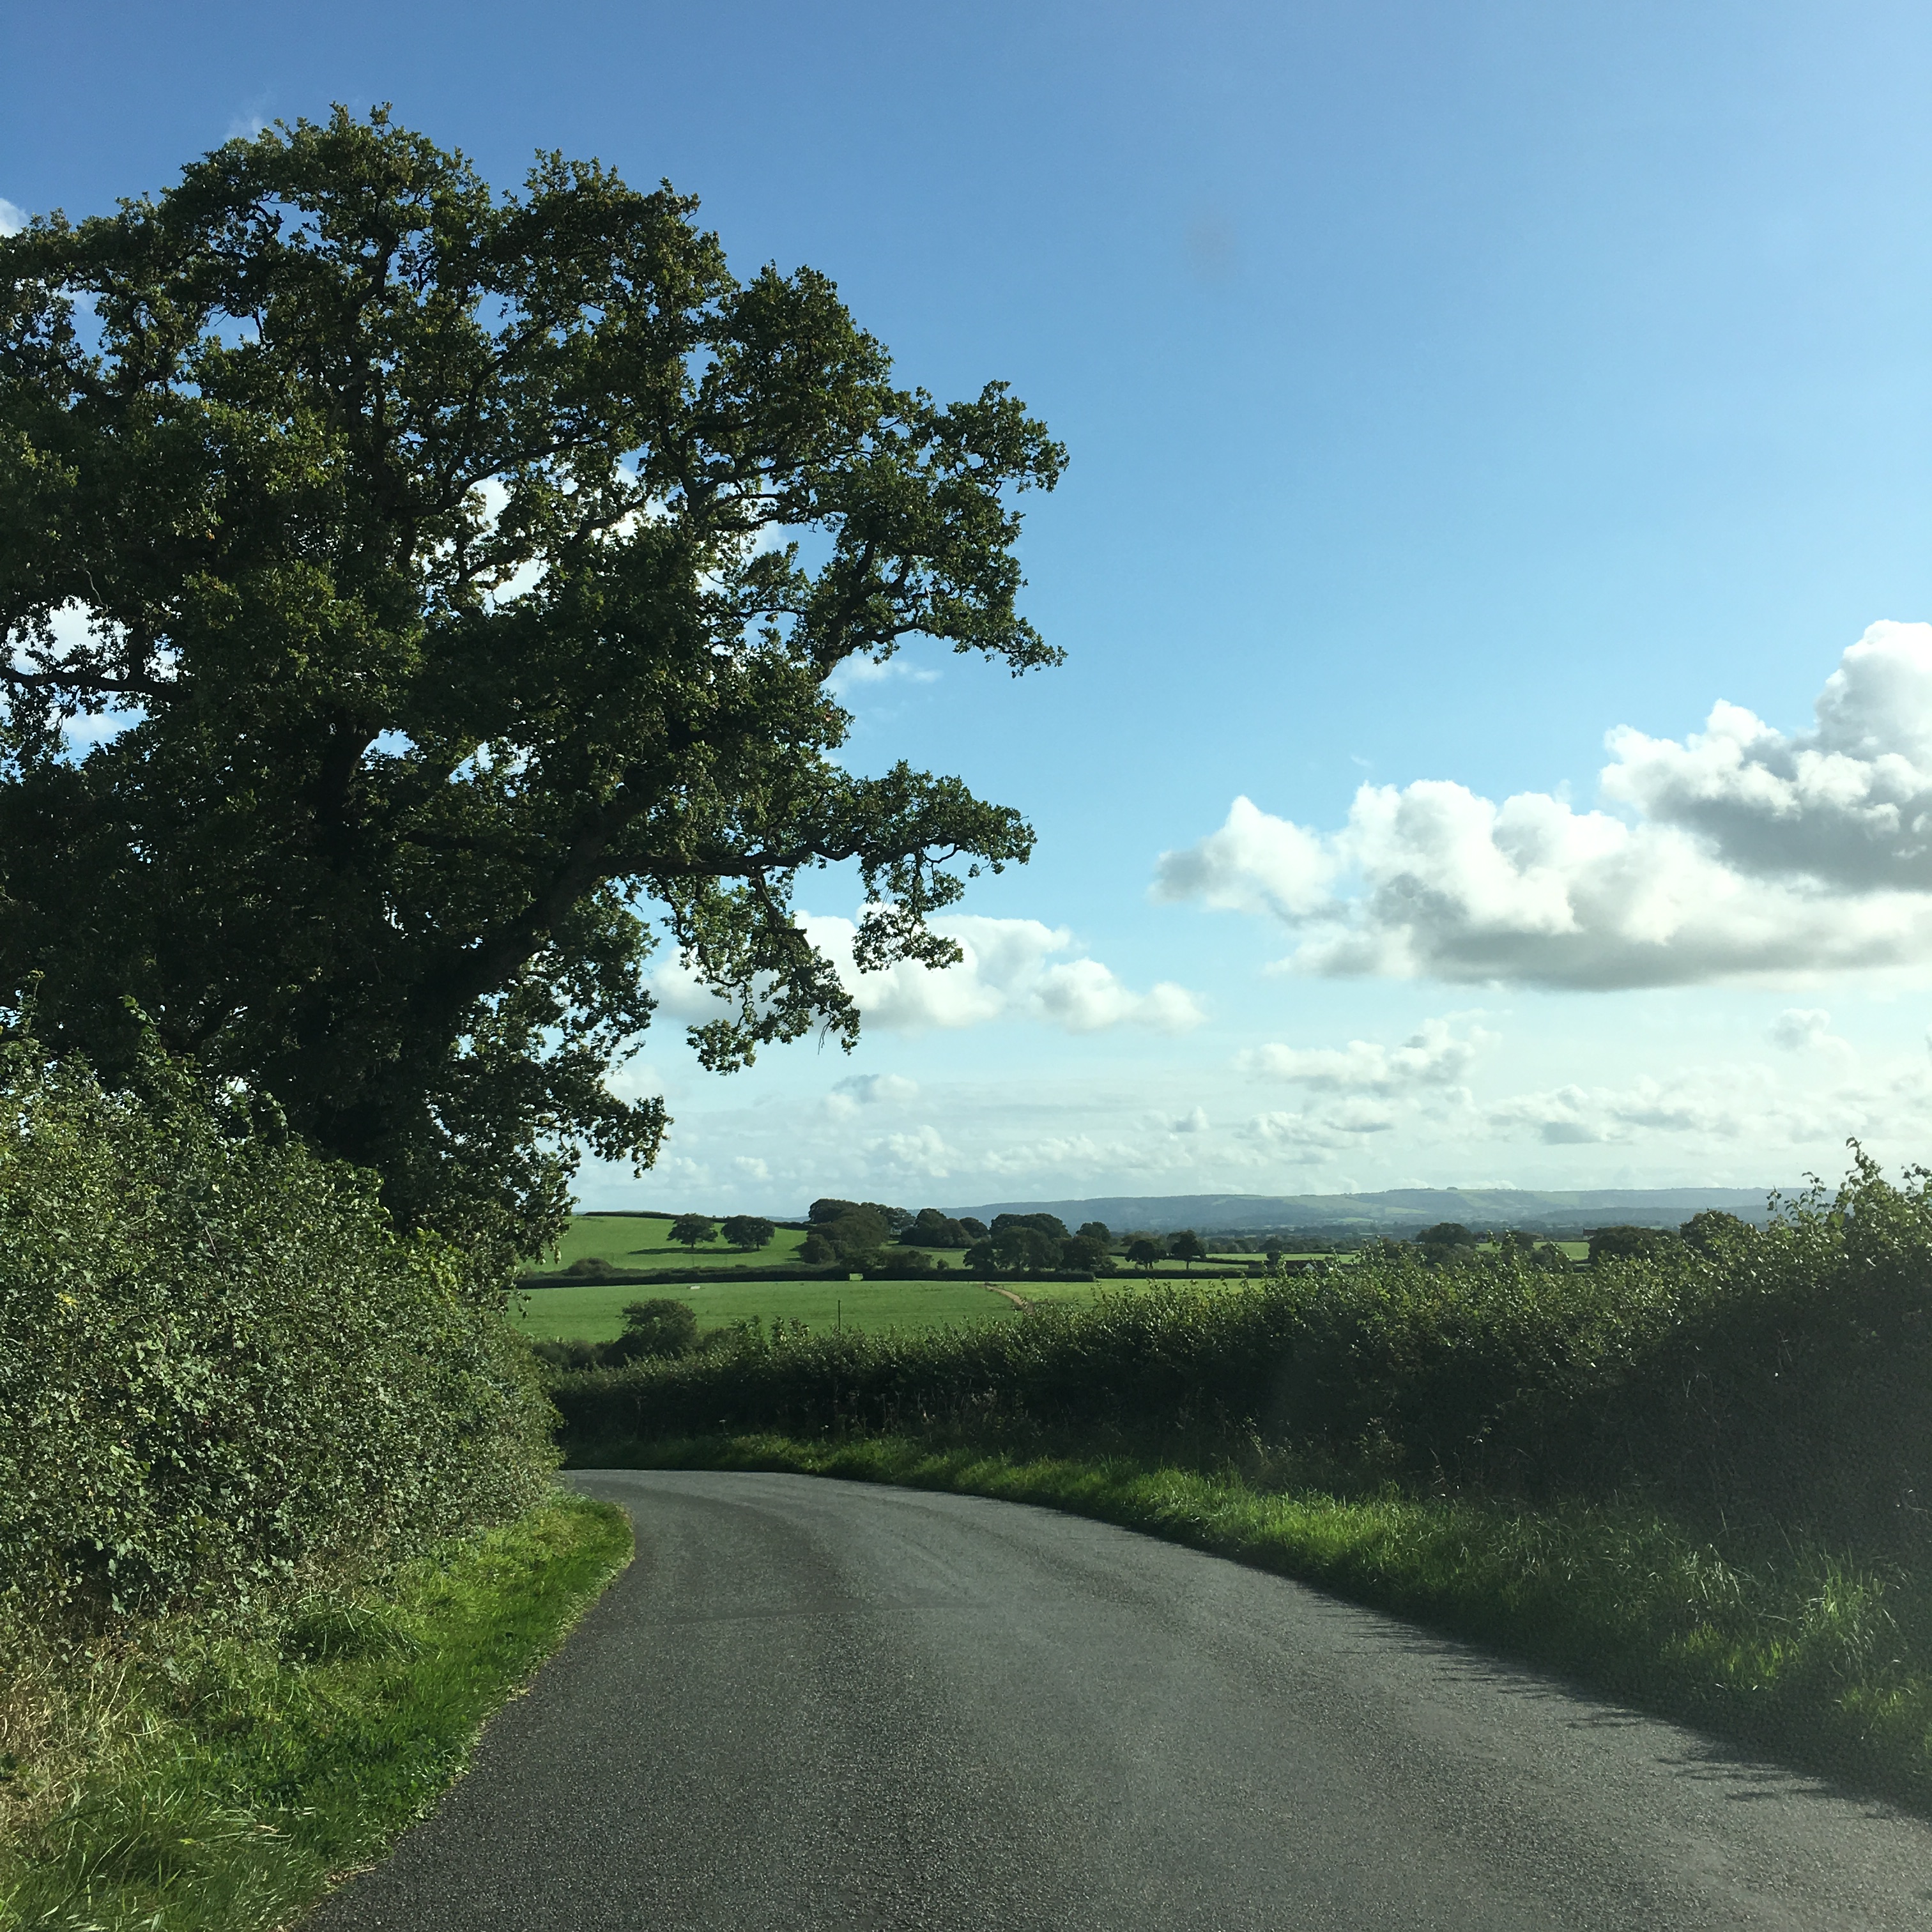
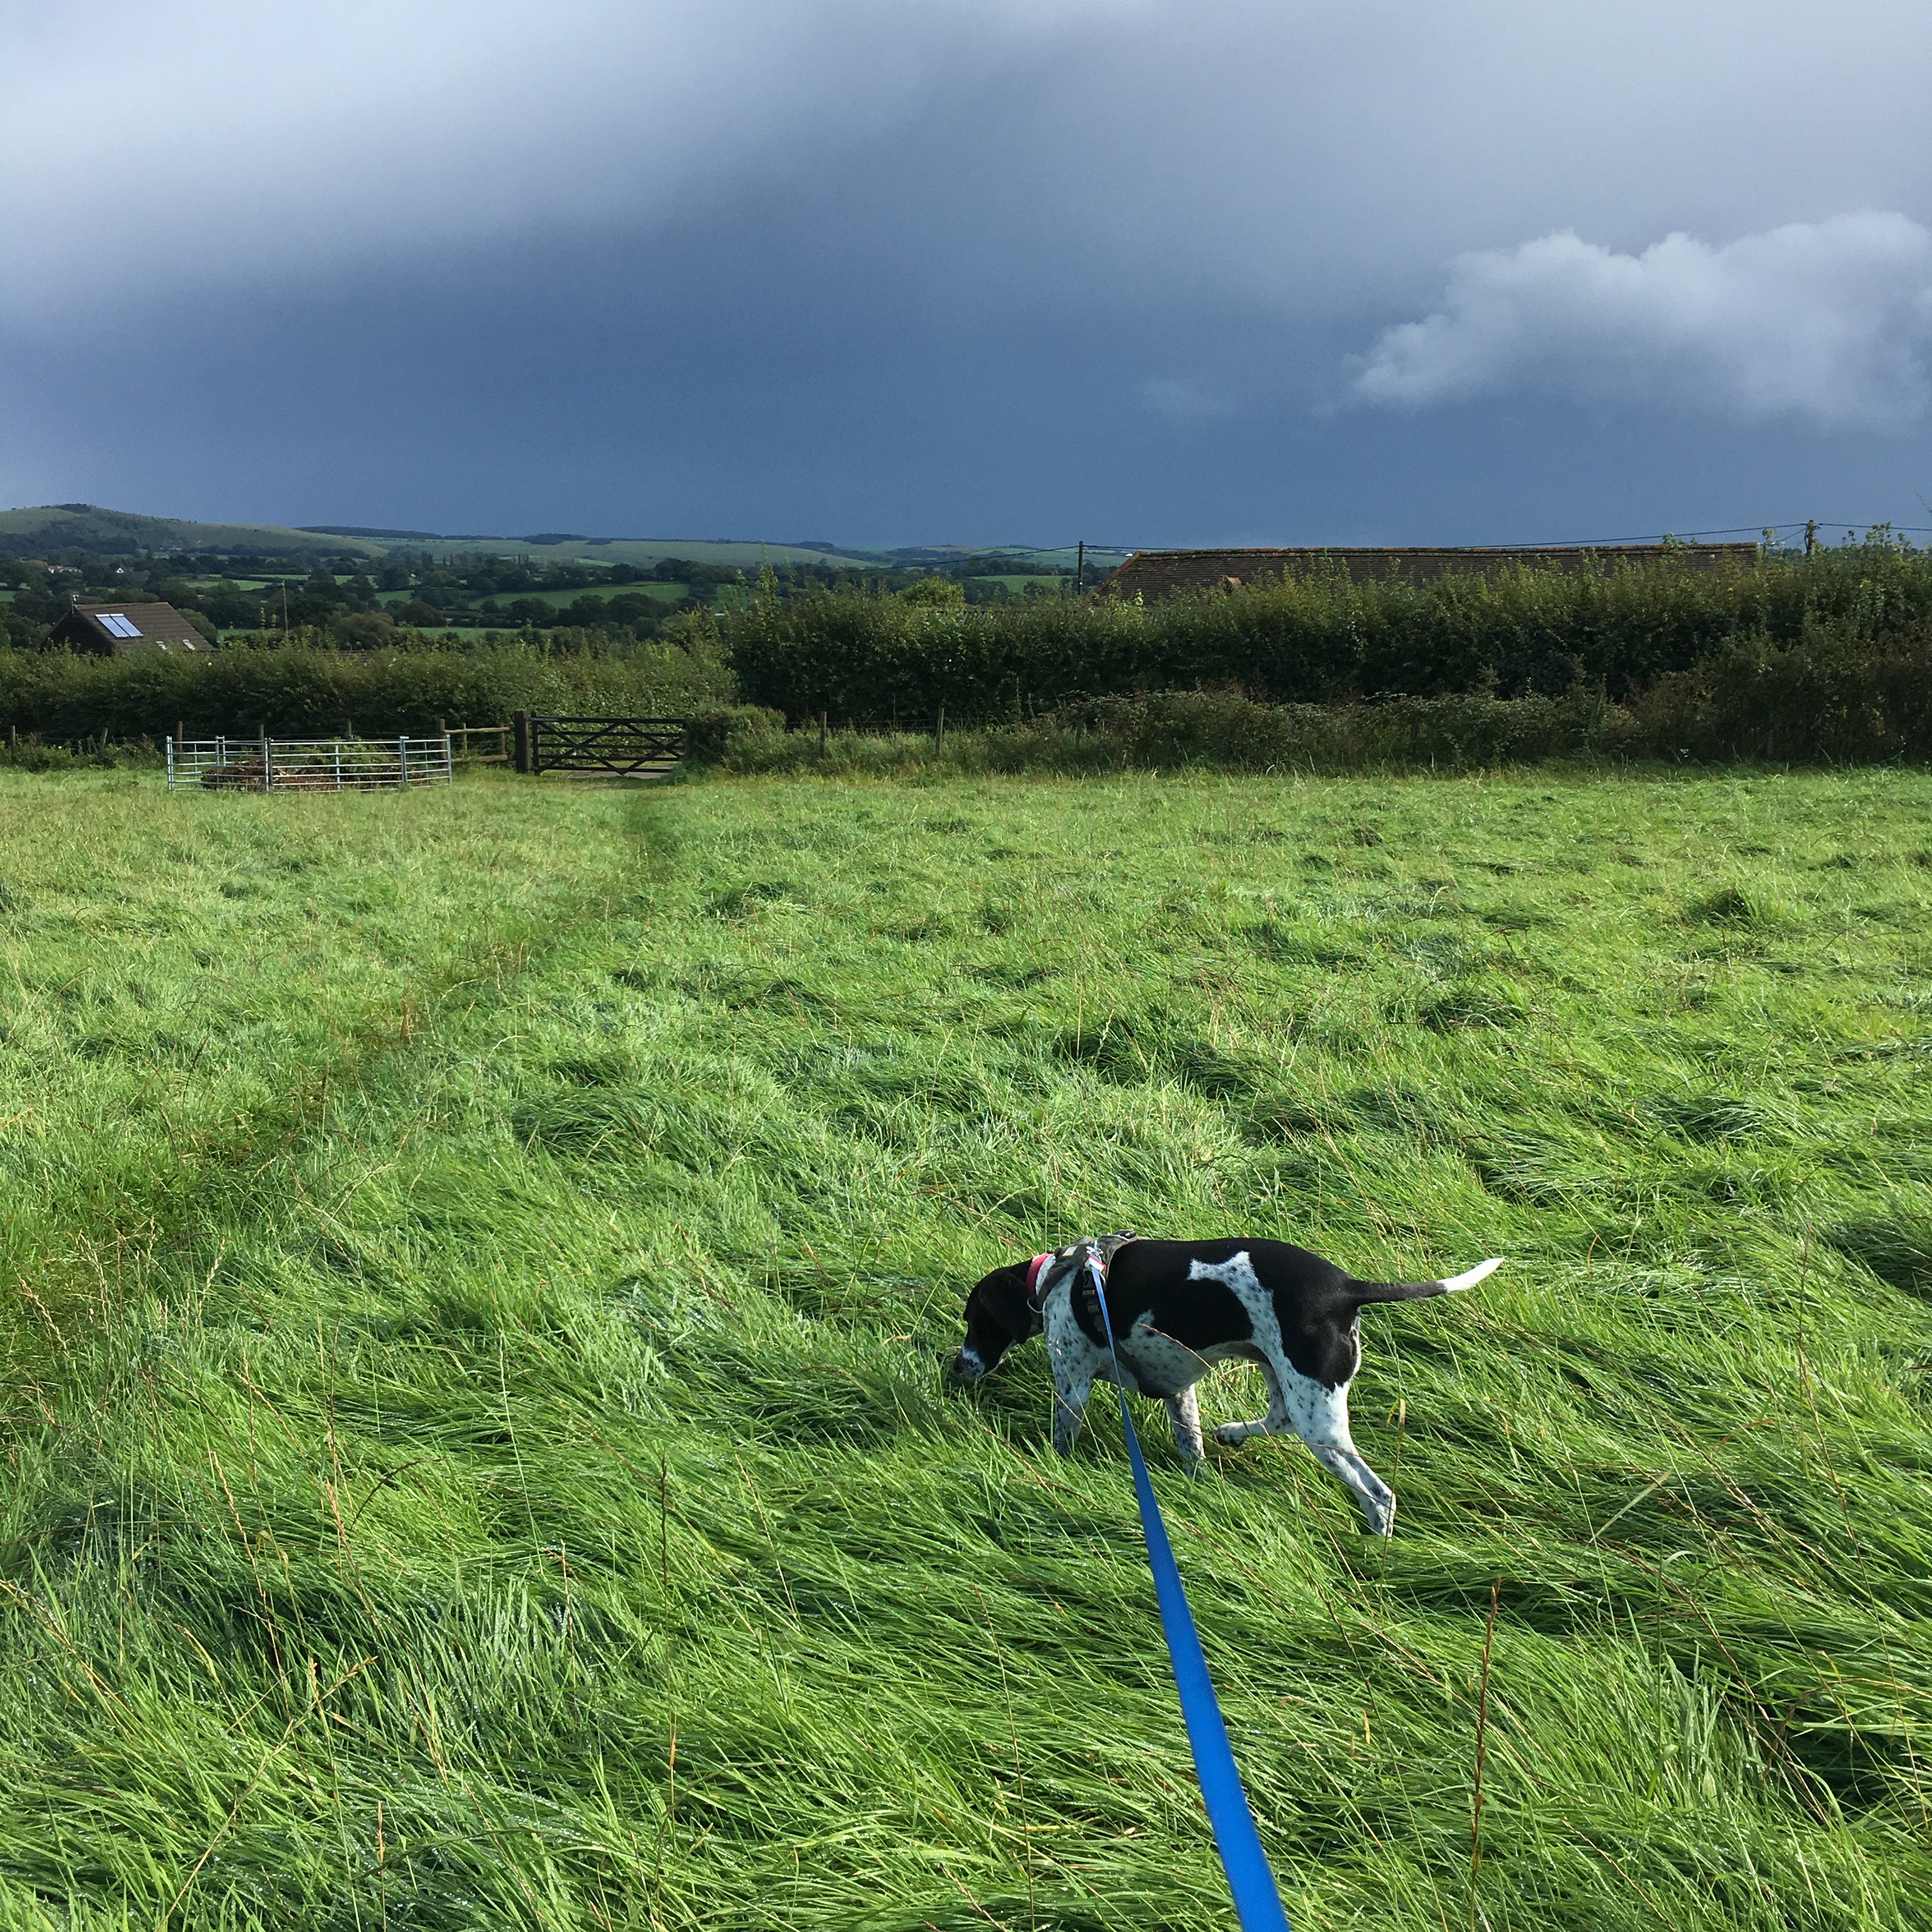
 Aug 25 – Sep 2, 2017